Small Print Album Project
I have always loved printing my photographs. It is an oft-repeated truth that holding a photograph is special in a way that a screen cannot compete with.
I have spent years in the darkroom crafting black and white prints, I have sent my color prints out for professional printing and in both cases framed and hung the work on my walls.
I have handbound a couple of books of my photos. There are numerous options here. Hand stitching and casing in, soup to nuts bookbinding. Using a pre-bound book block of pages and casing it in yourself. Using a self-published book from Blurb or other publisher to then add prints to.
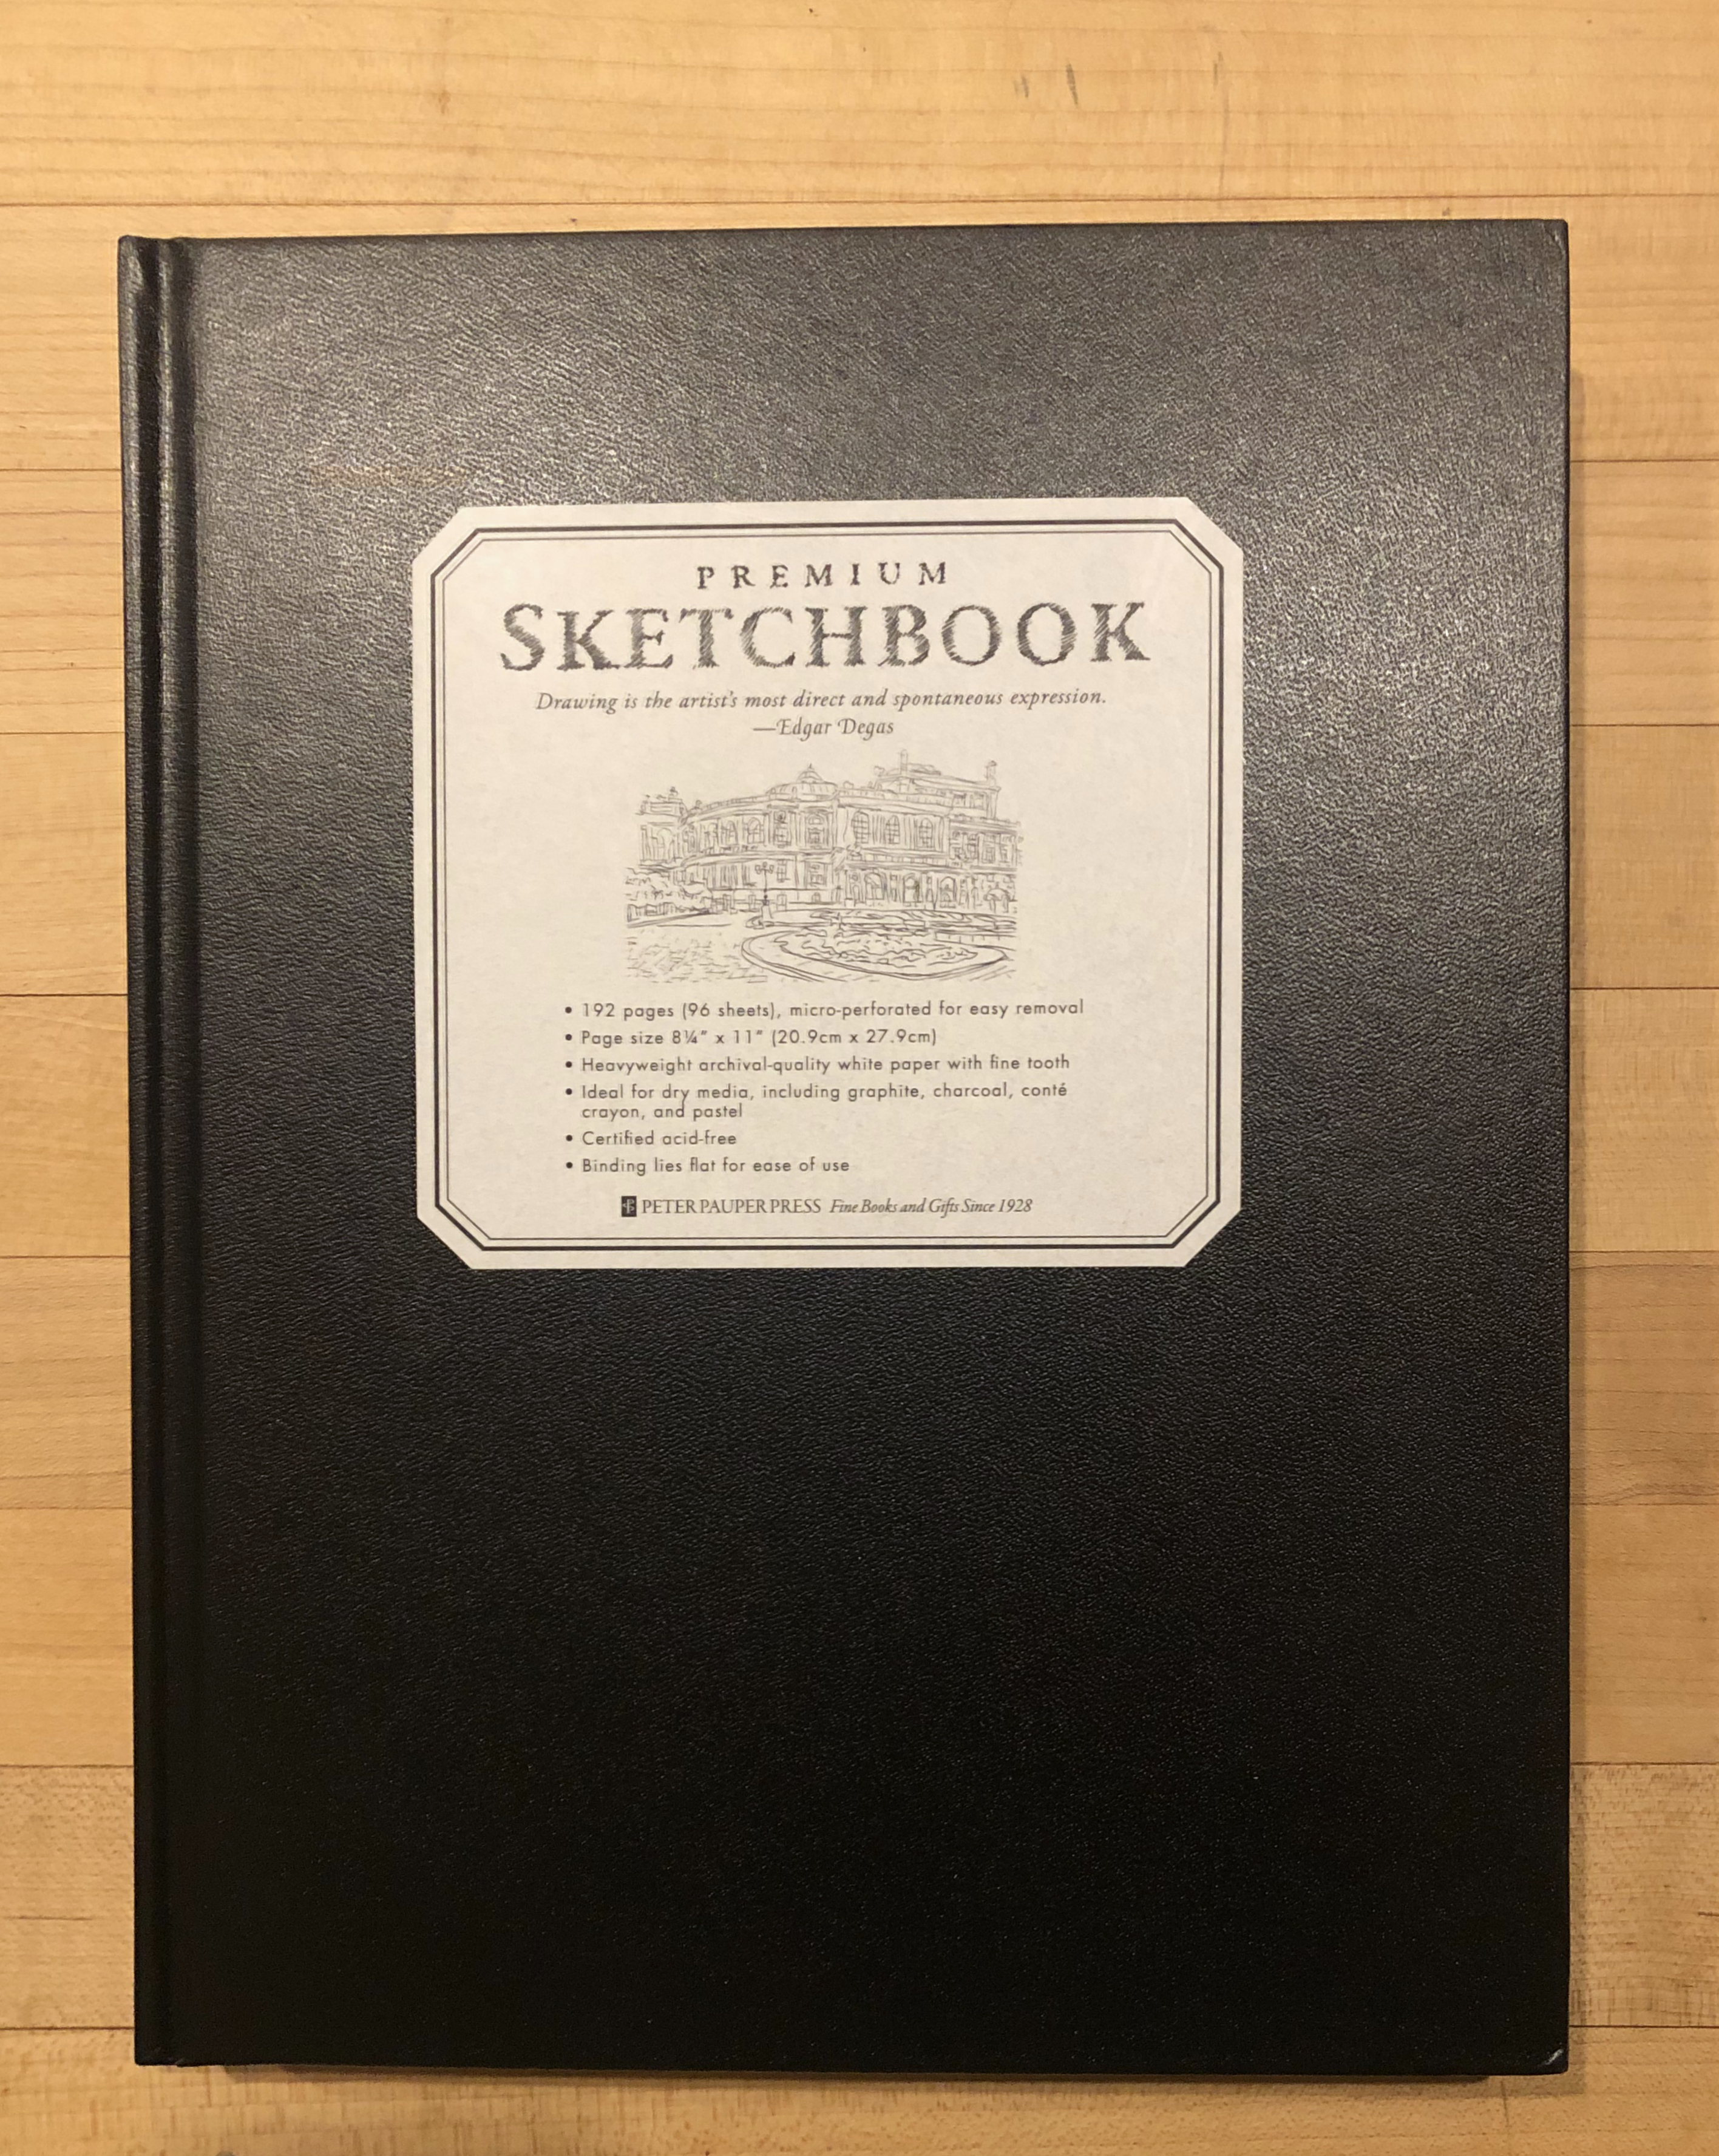
For this project I took a simple approach. I went down to the local stationers and bought a sketch book. I was lucky that I found one that not only had acid-free paper but each sheet has perforations to allow sheets to be removed. This saves me some extra work.
I planned to archive the prints I make with my new Canon printer. See link below…
 Doug Morse
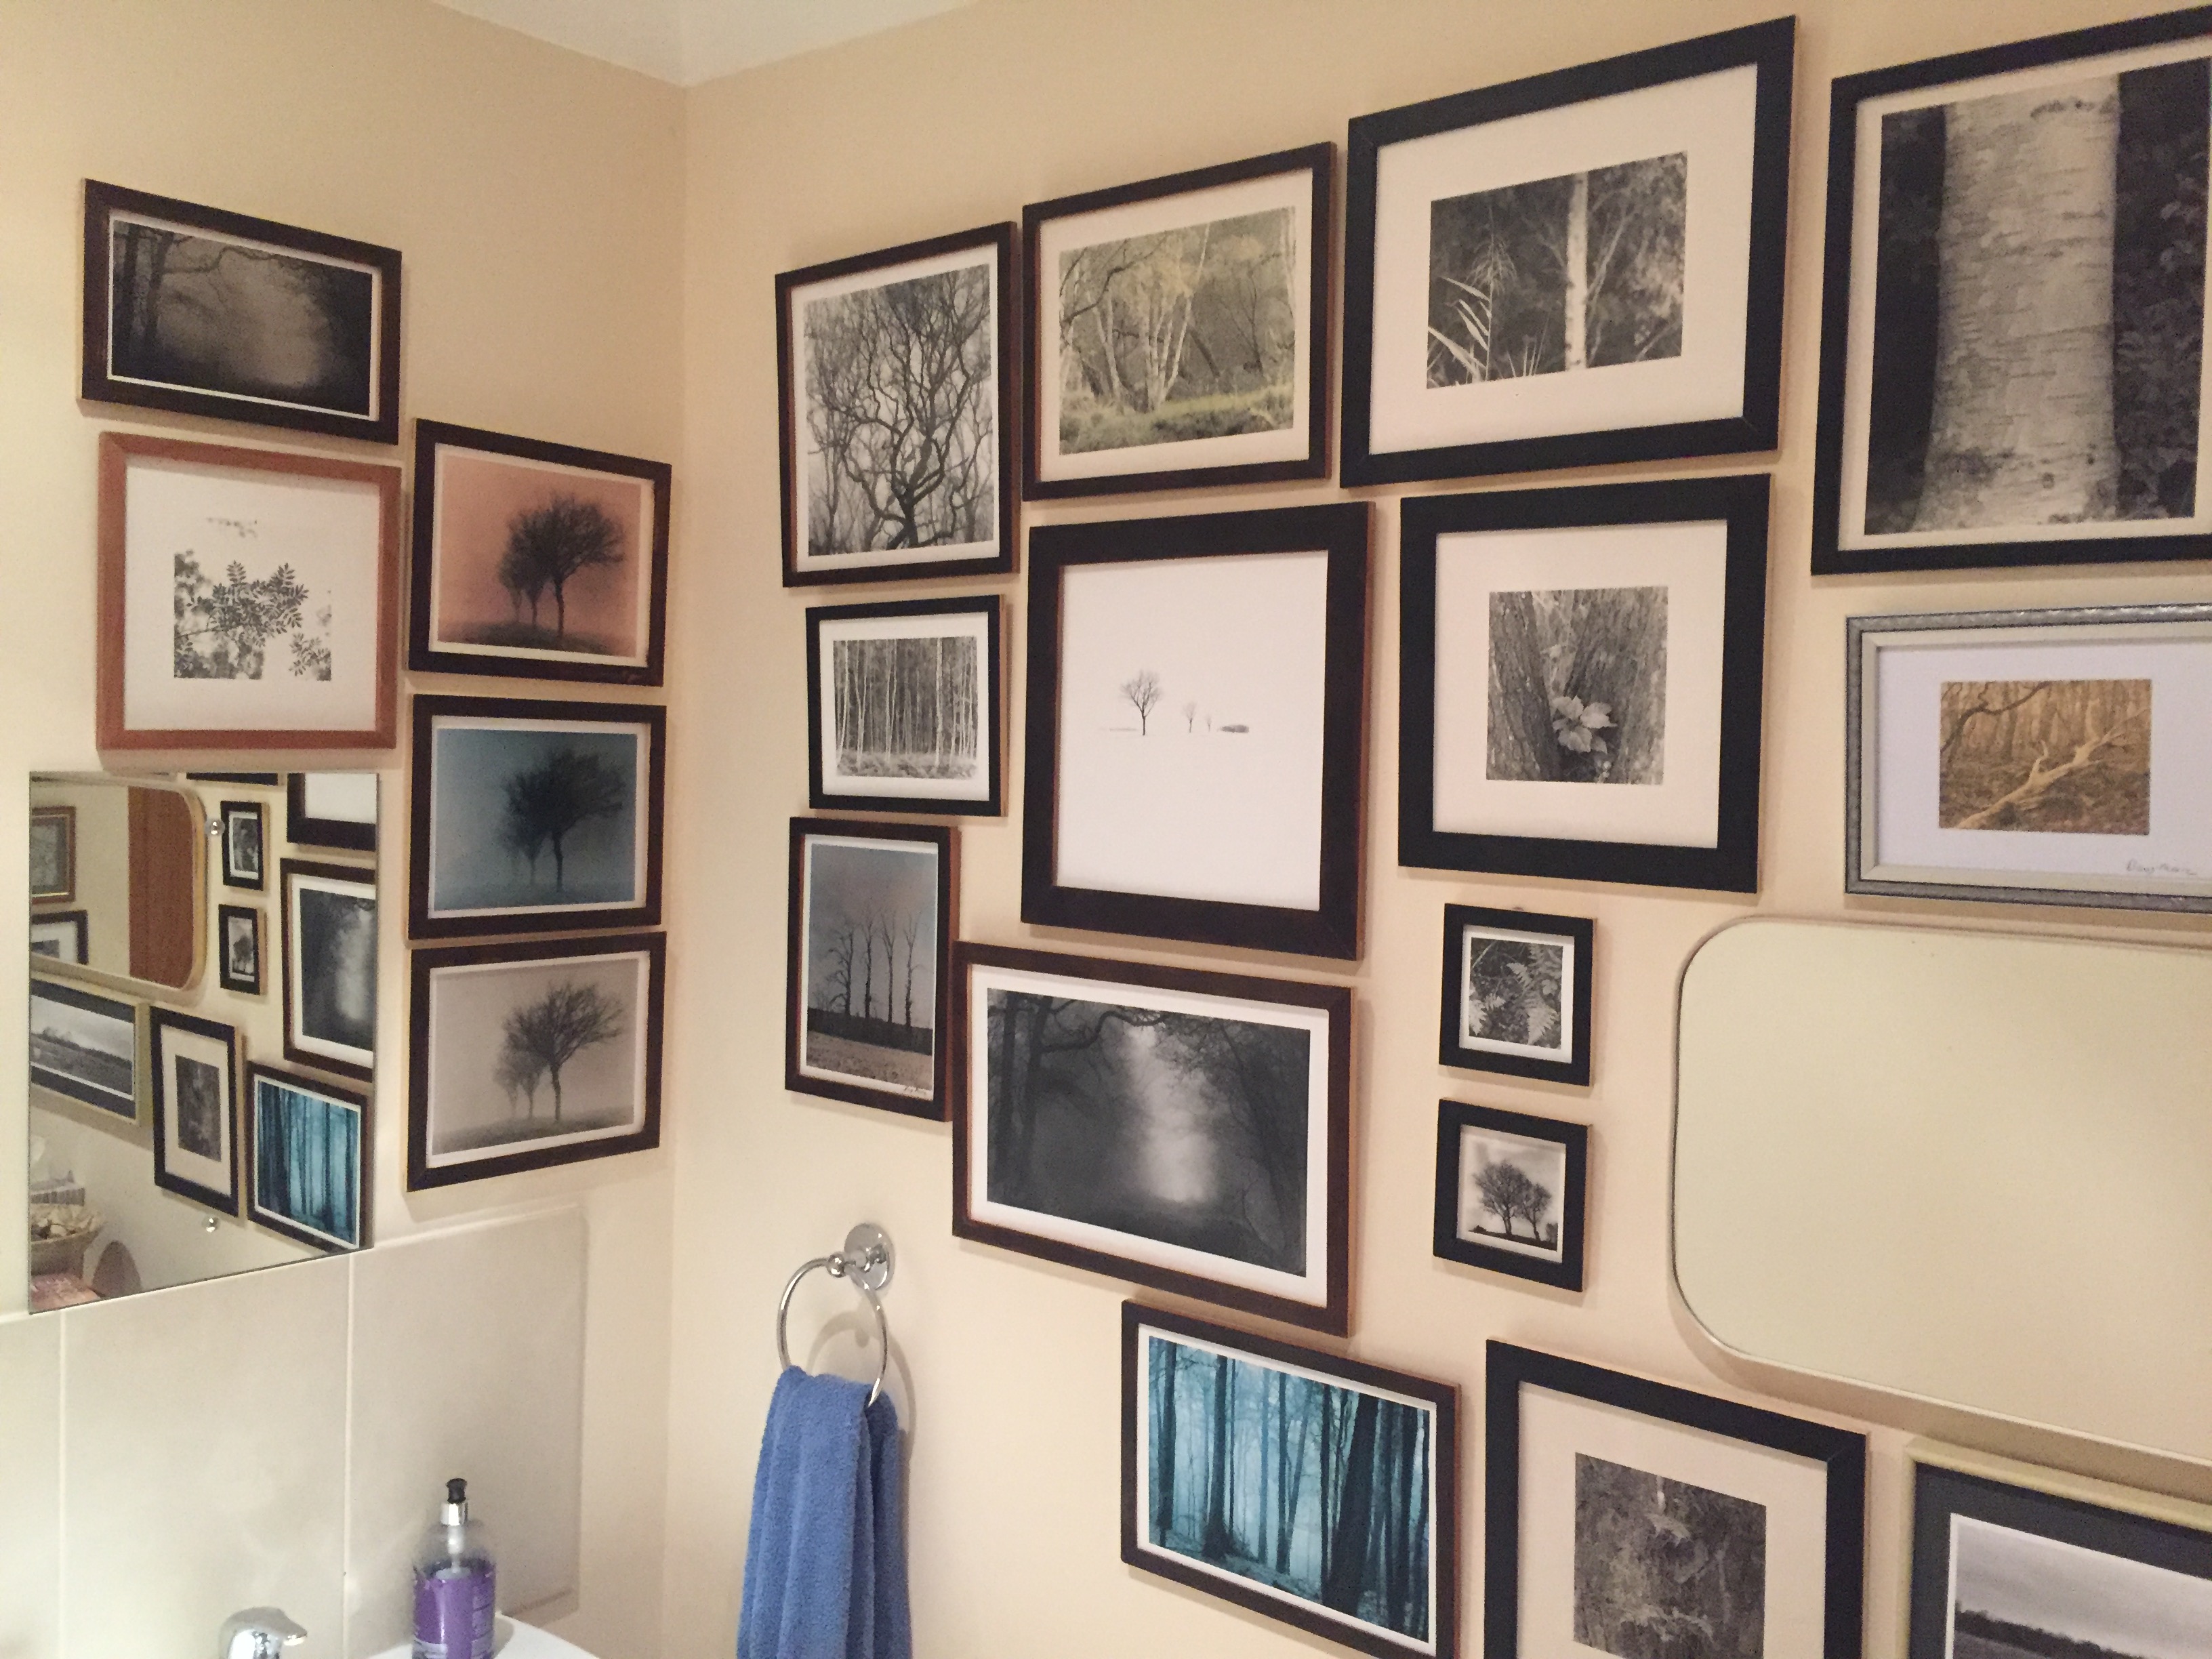
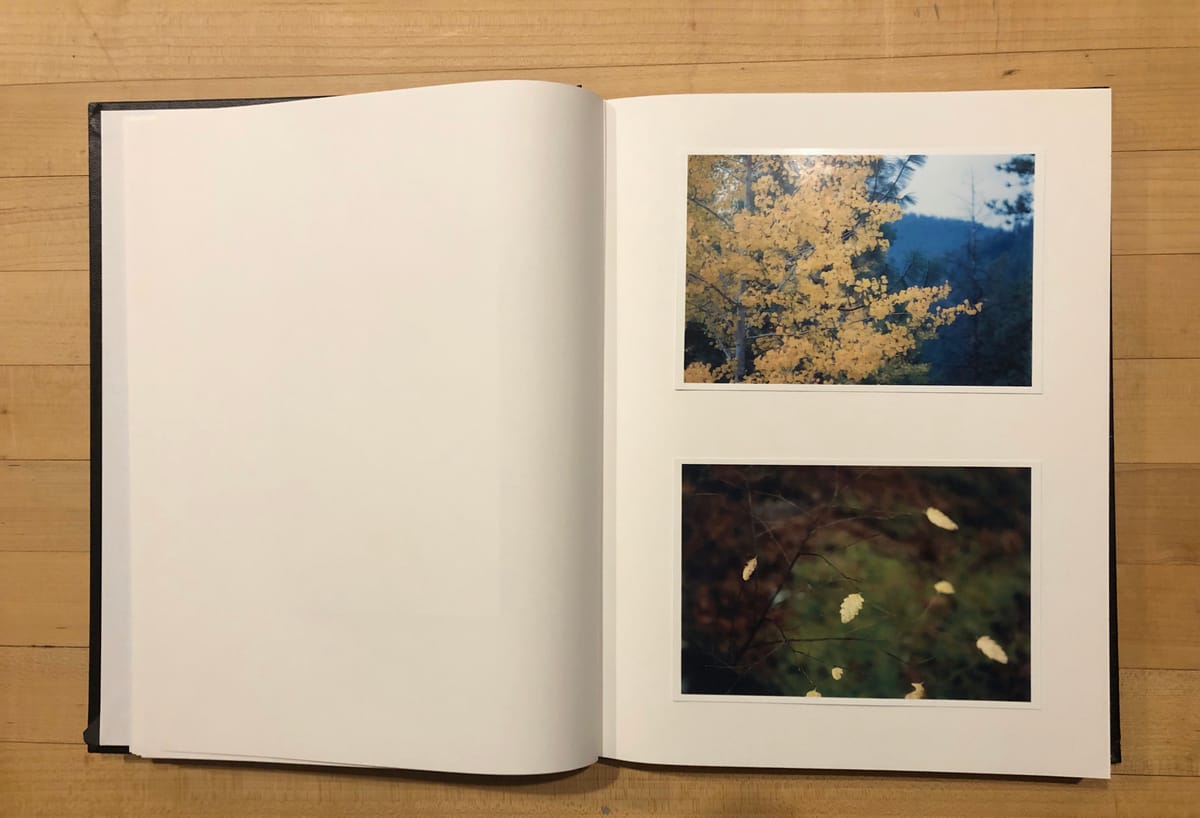
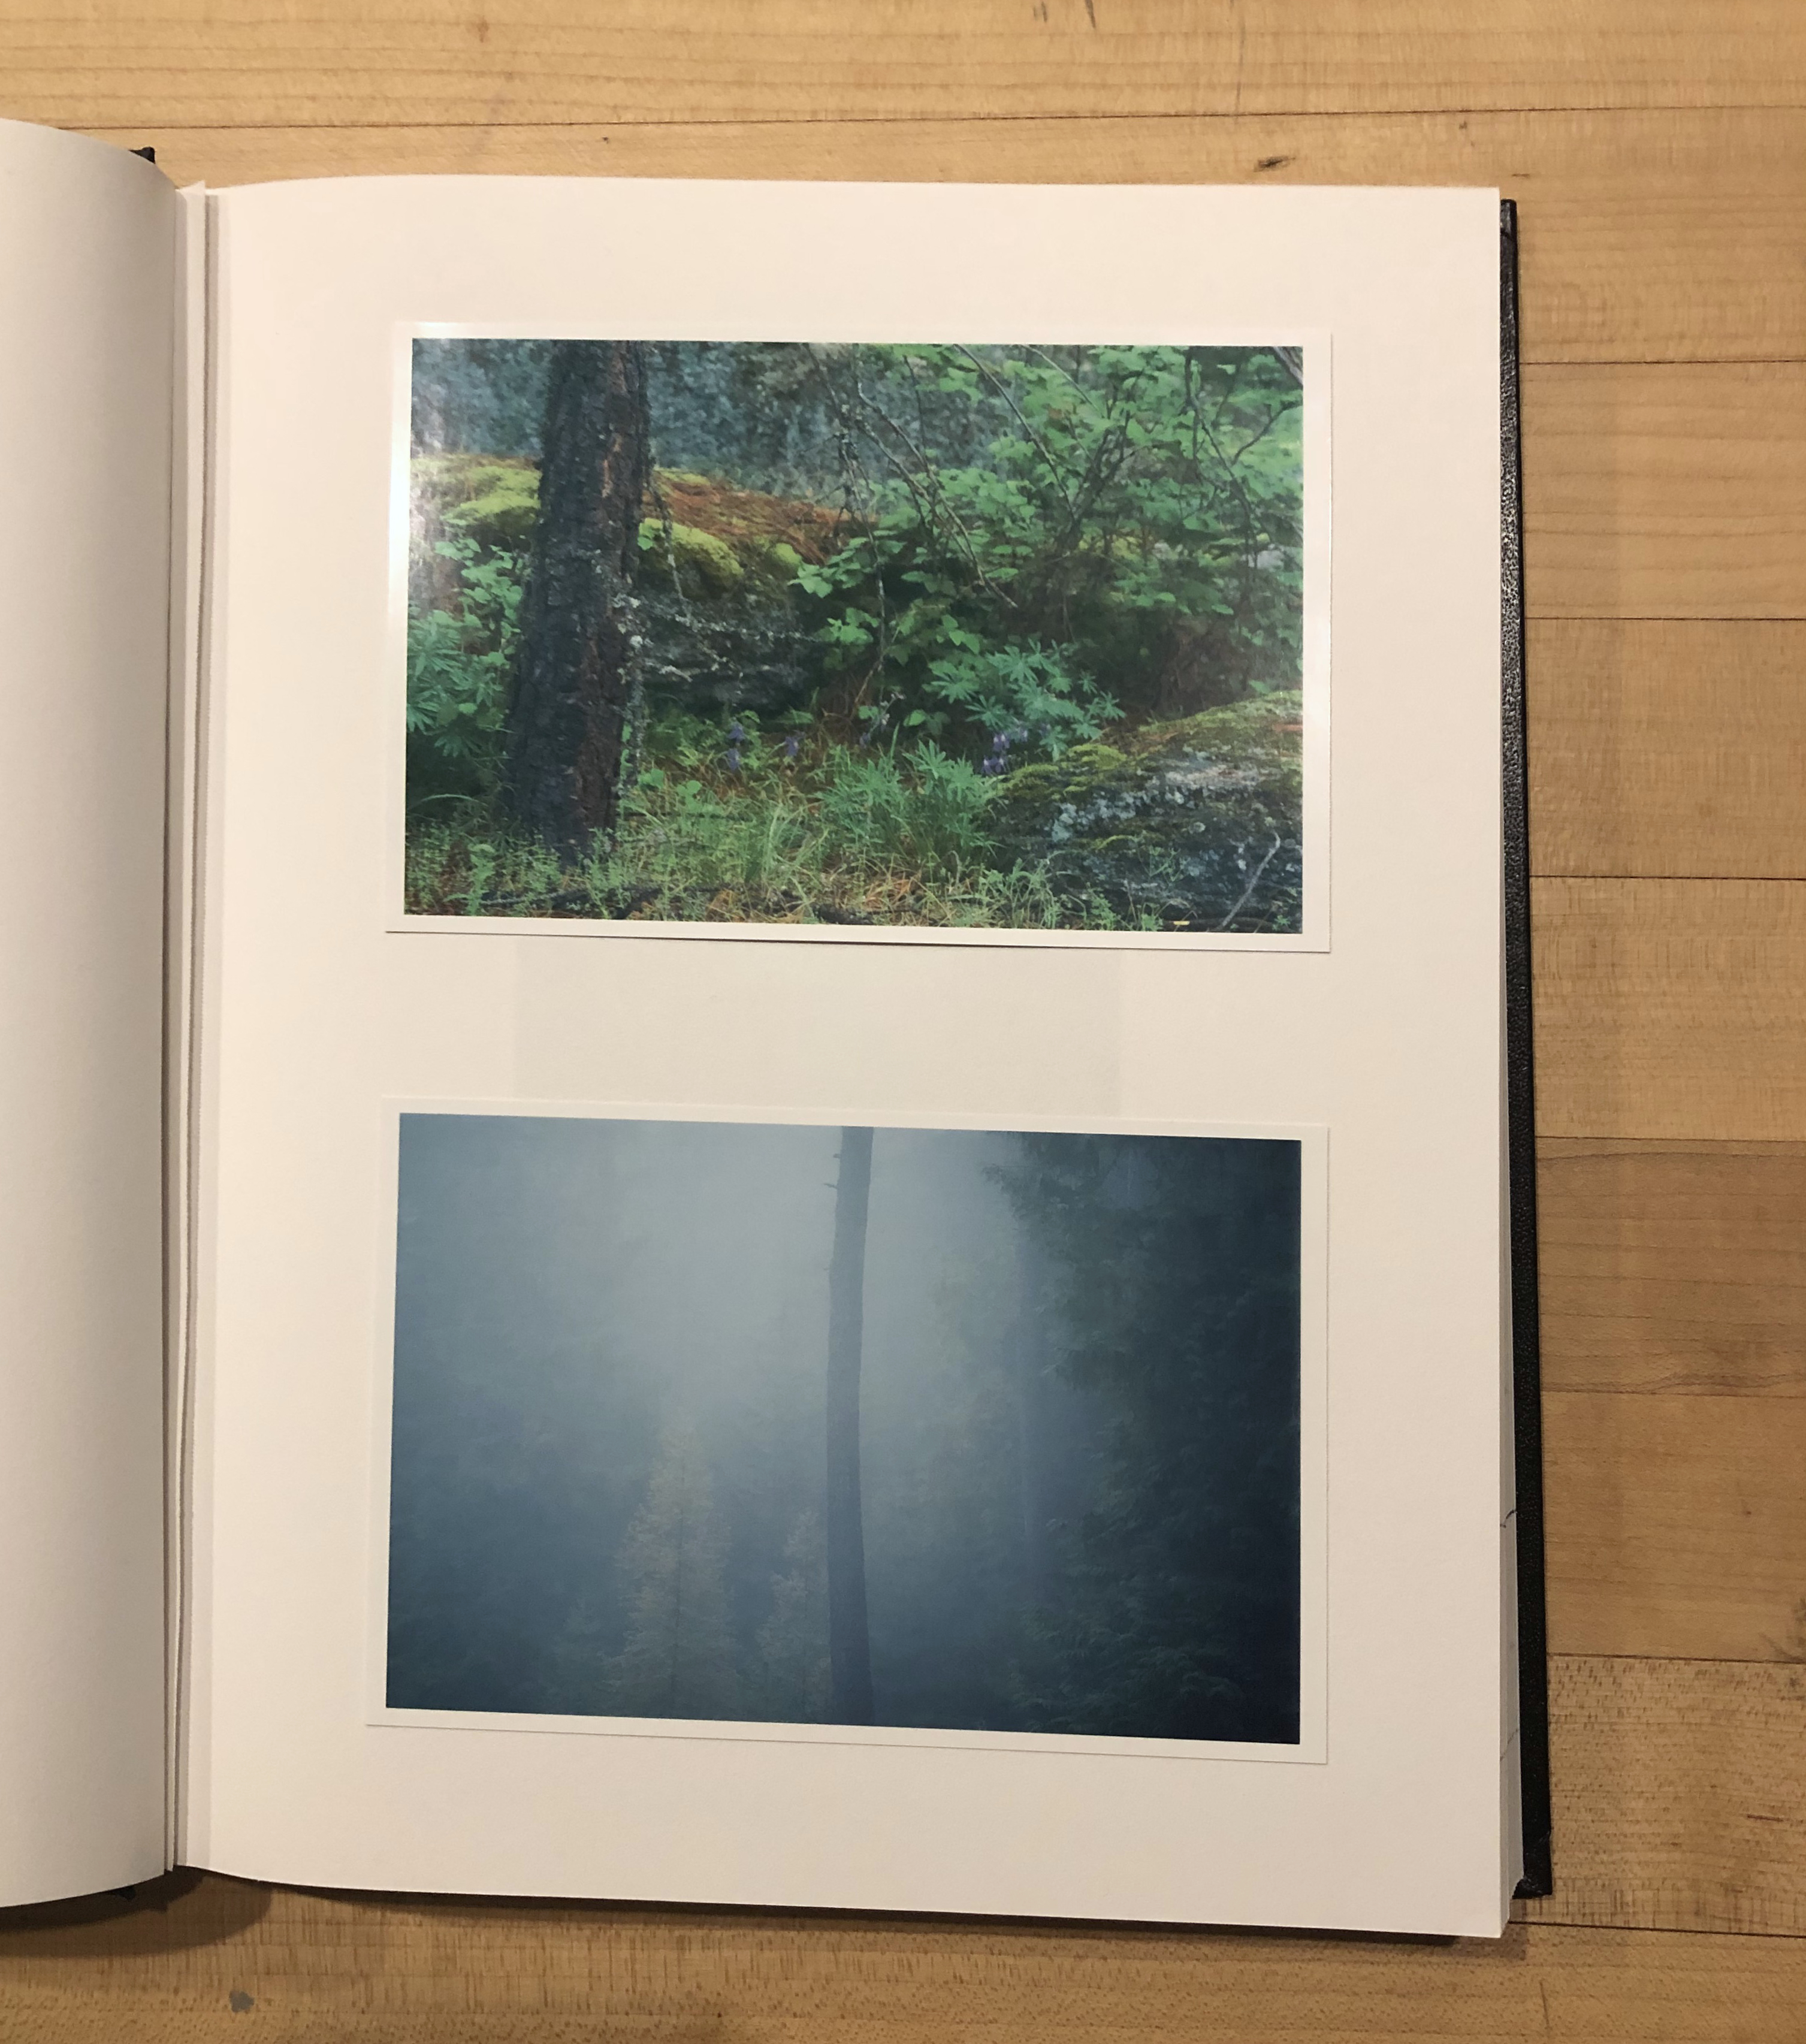
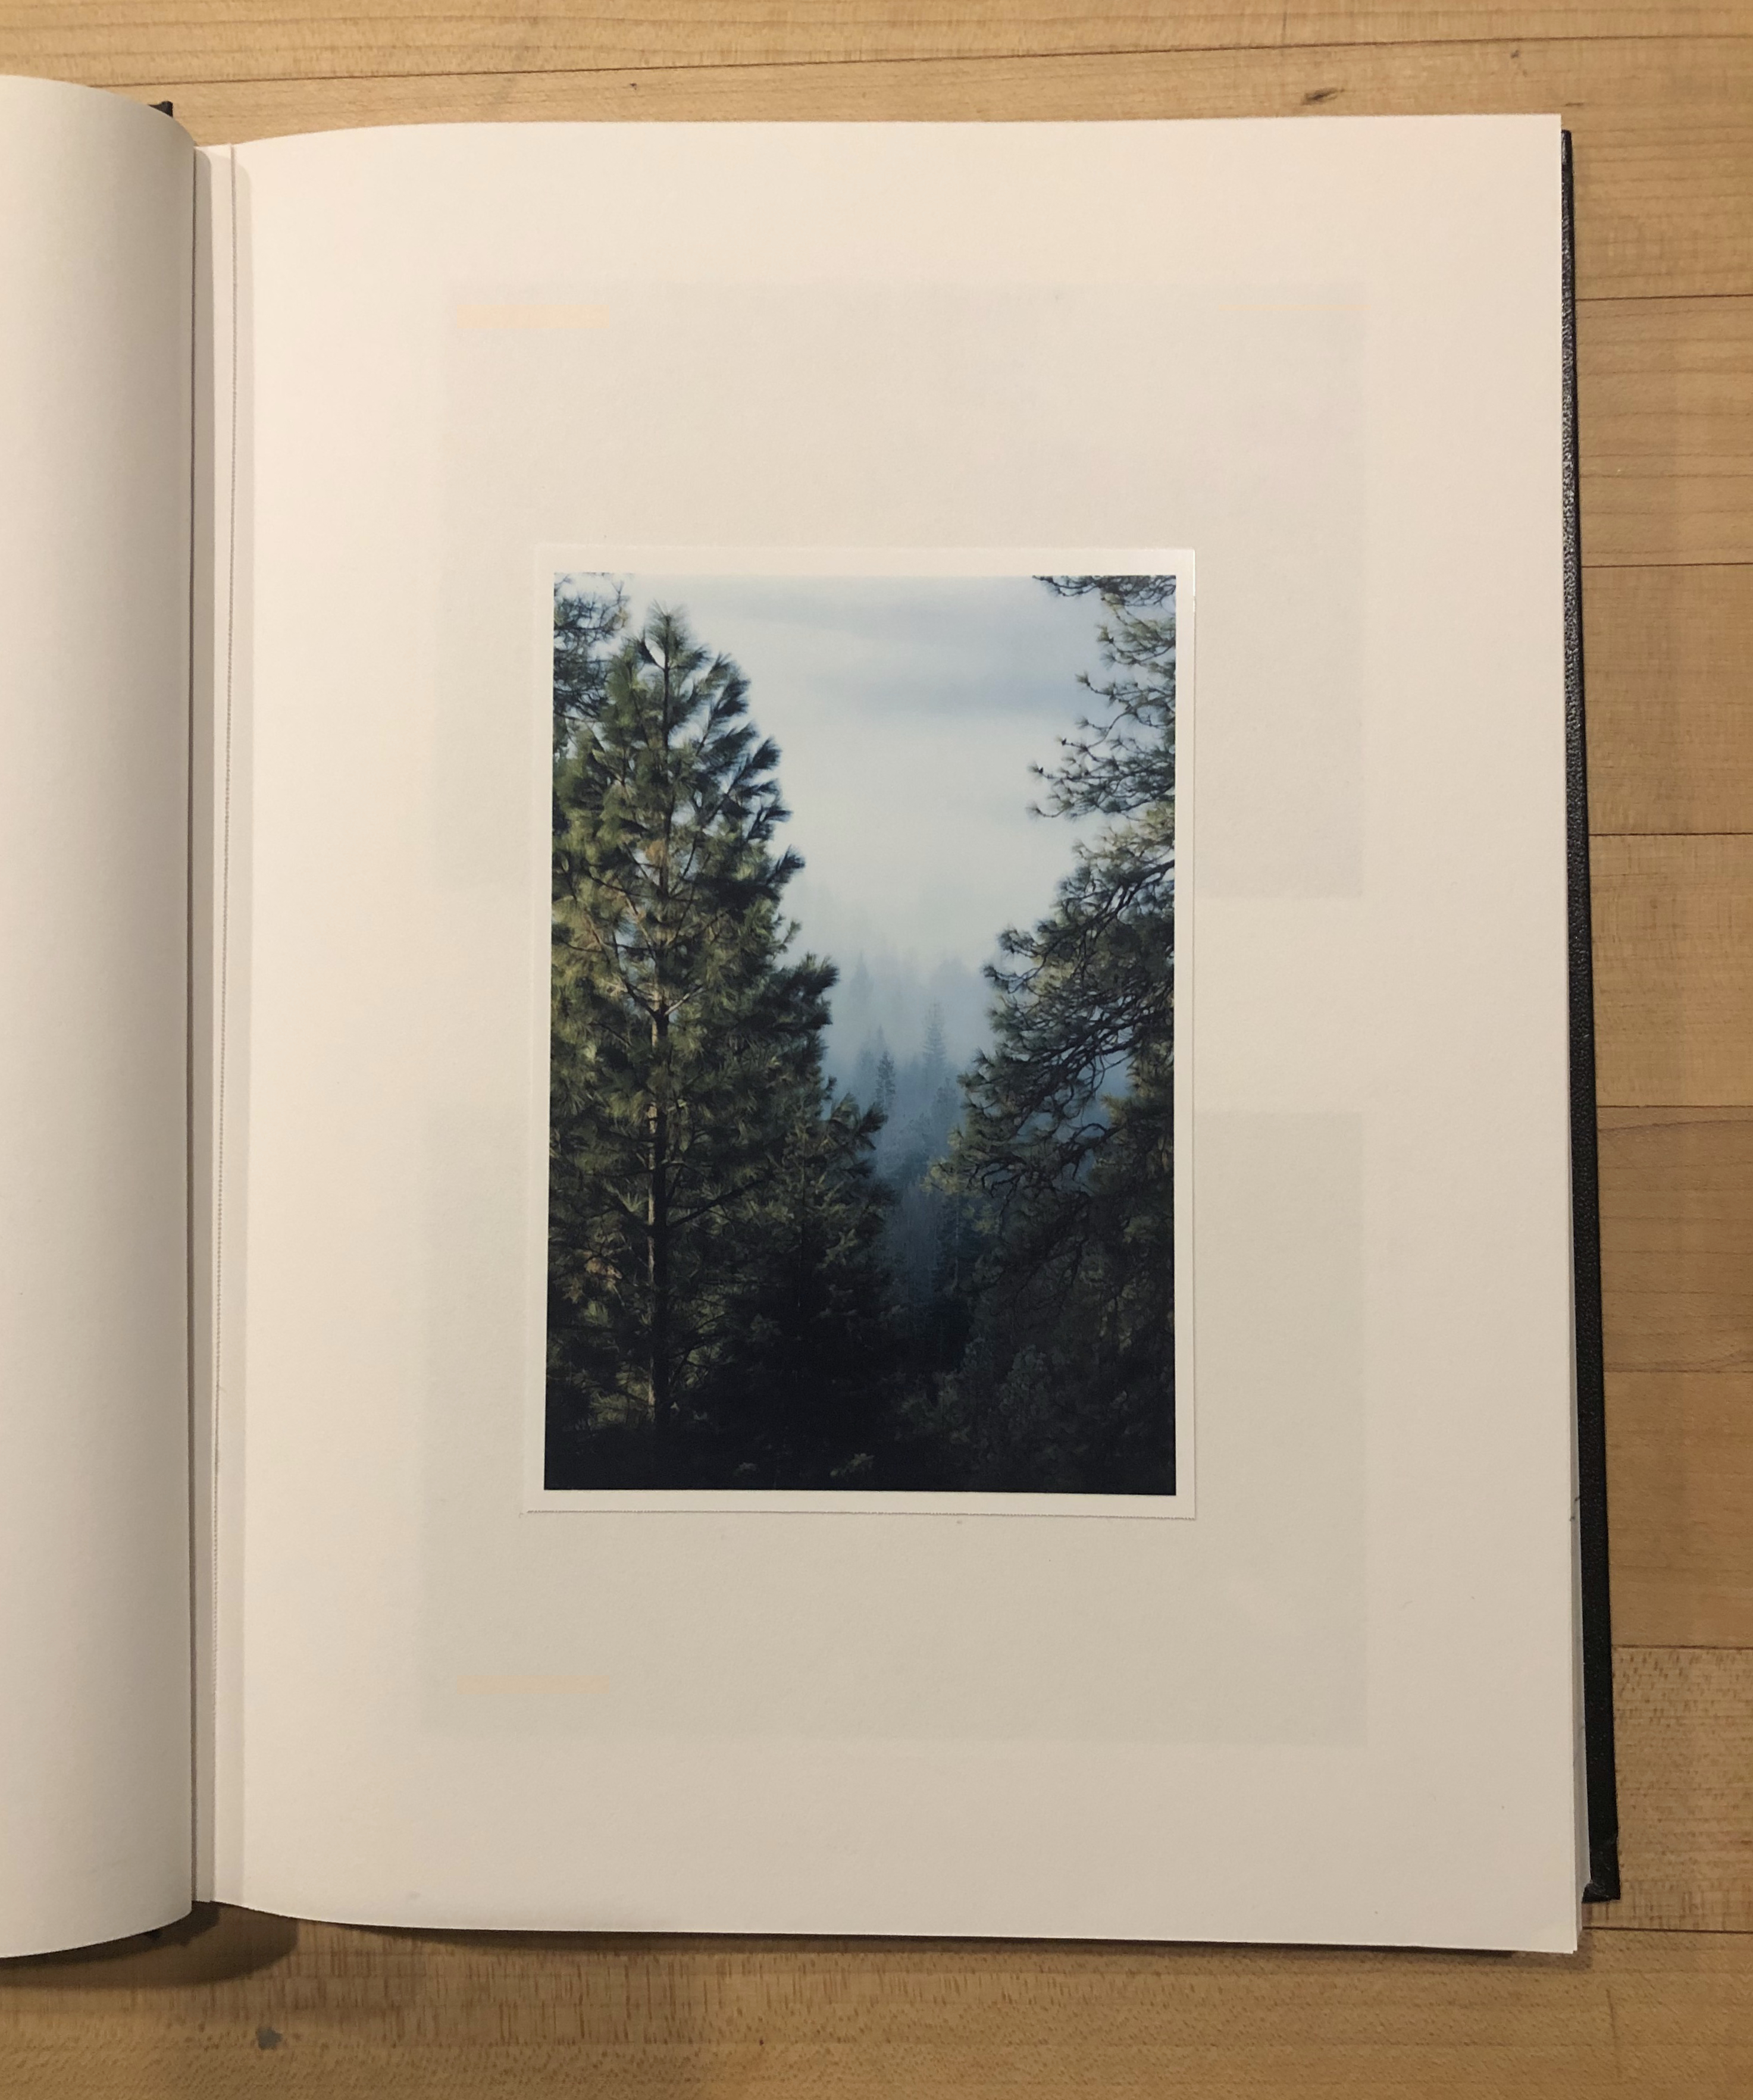
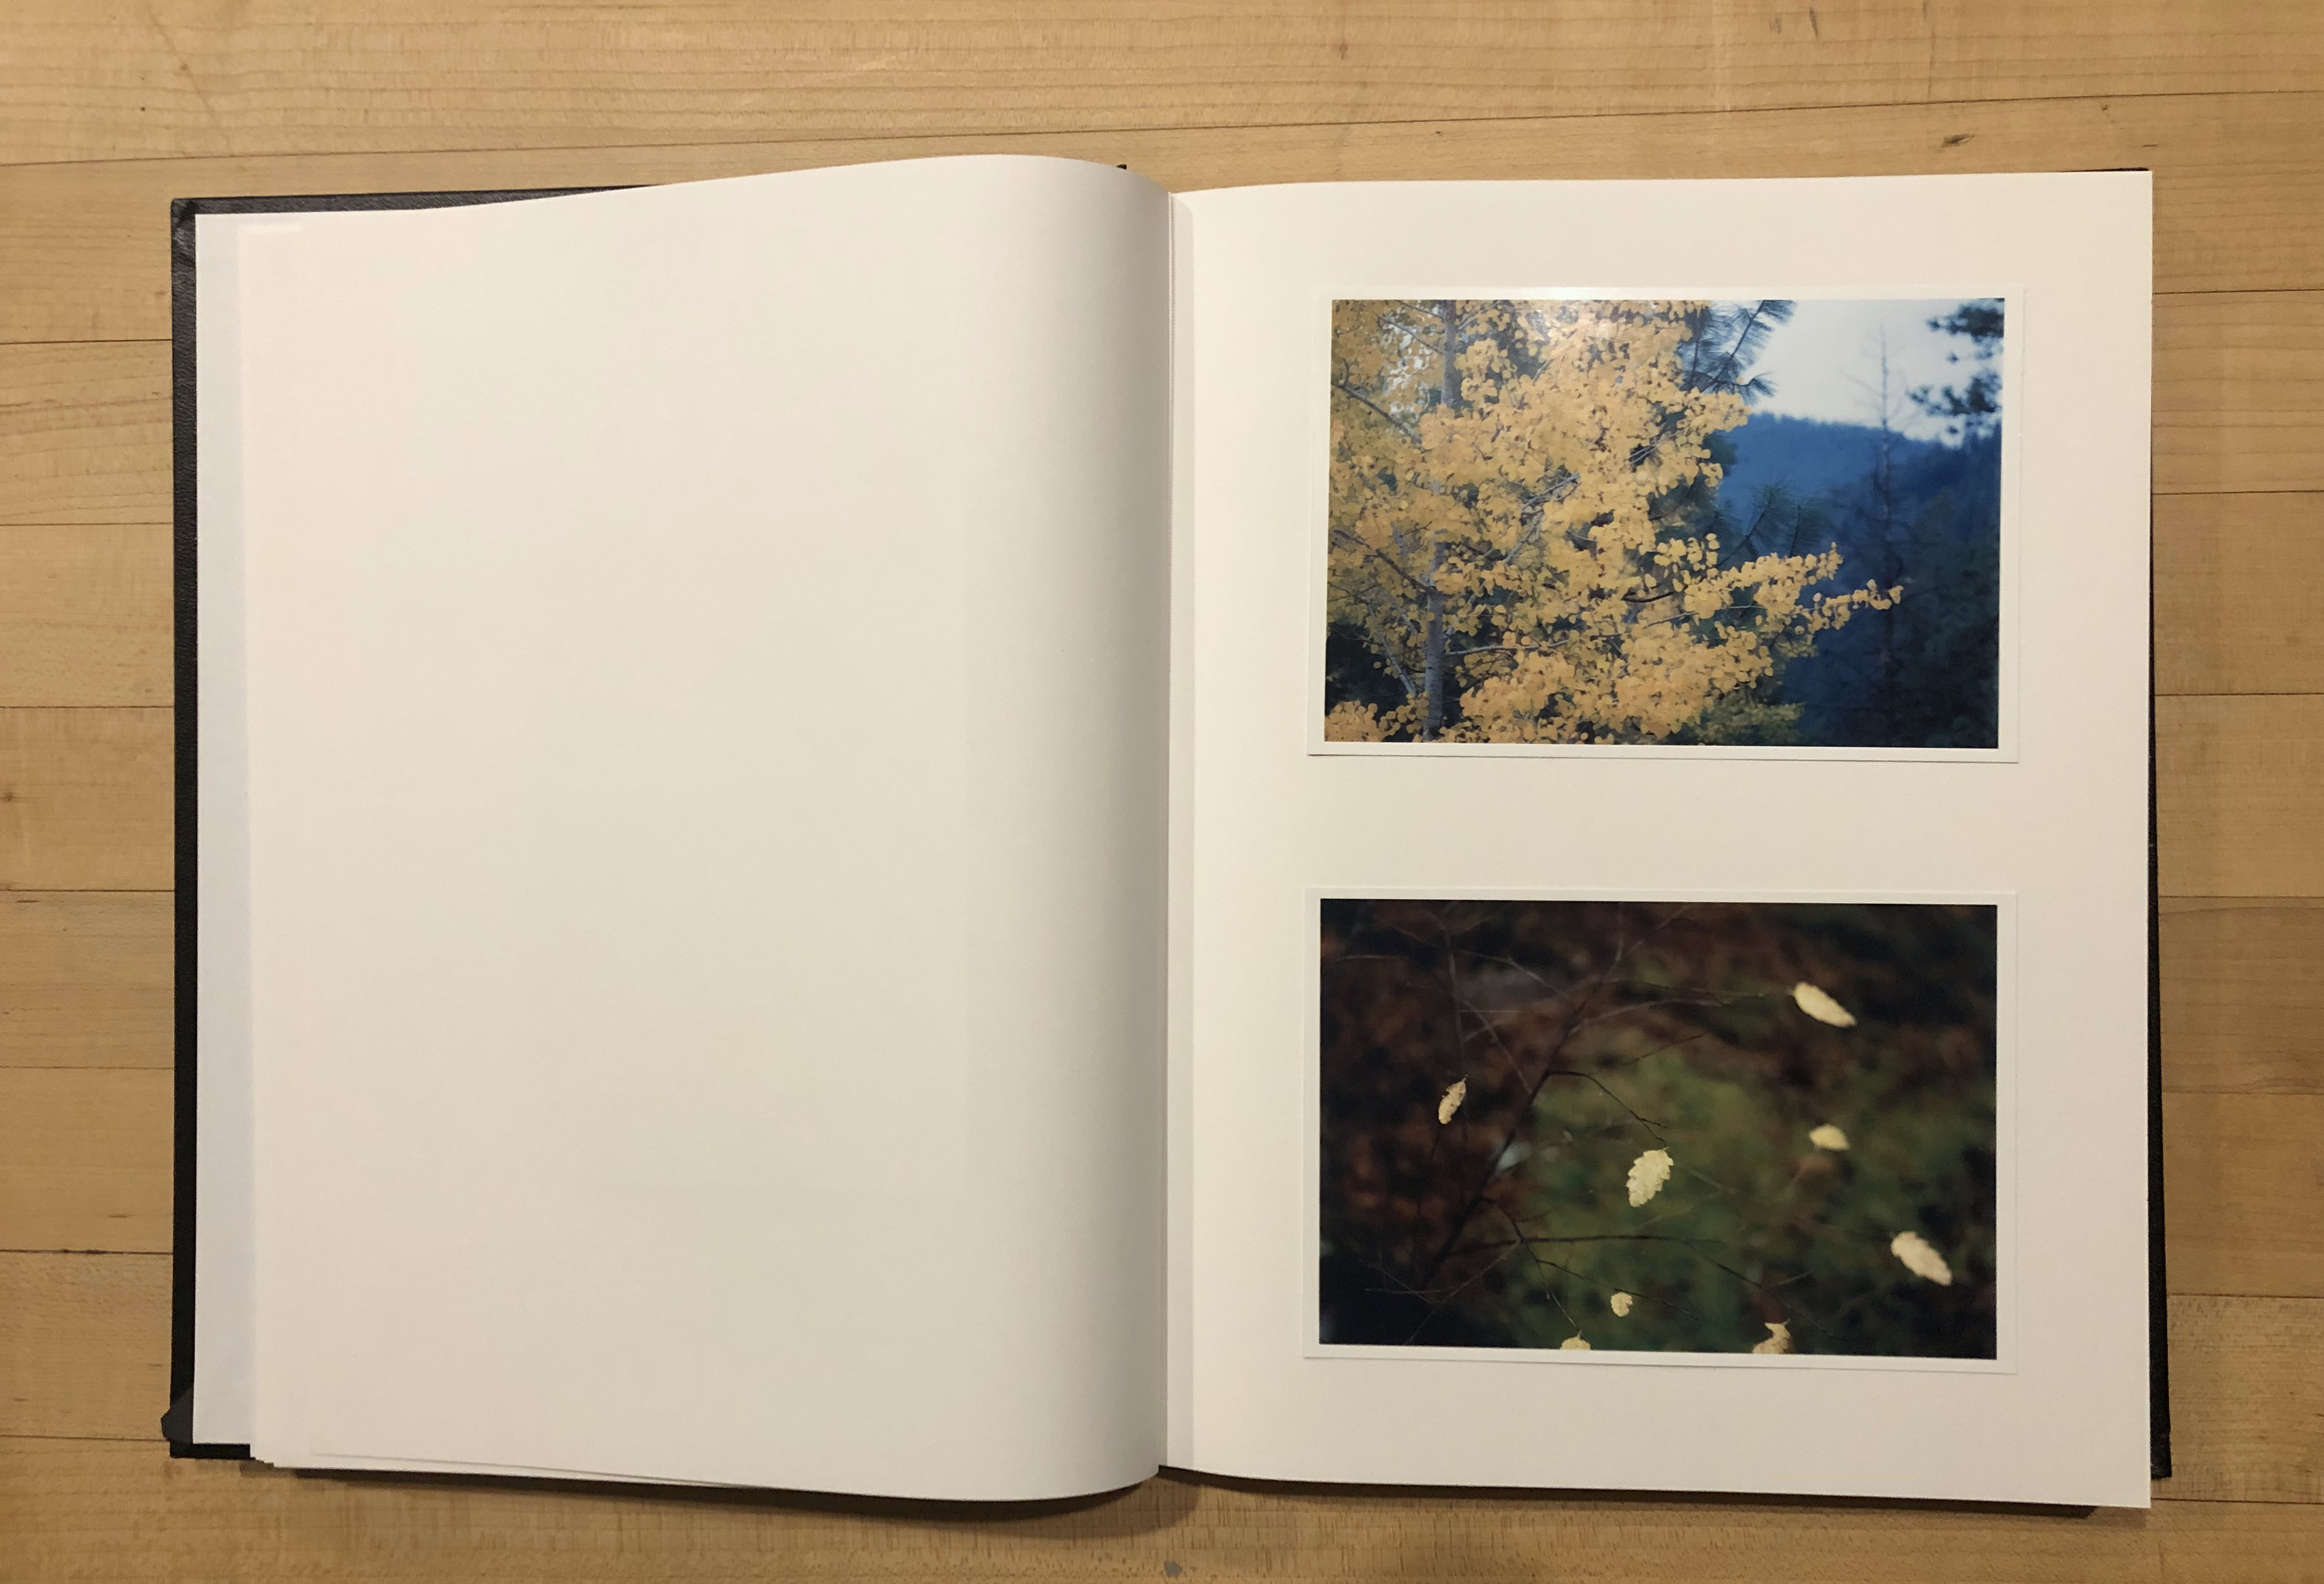
The prints are roughly four by six inches. The book I chose has eight-by-eleven inch pages. This allows two landscape oriented prints per page with one inch margins all around. For portrait oriented prints I can only manage one print per page centered.
I use double sided tape to fix each print in place.
The ability to remove pages comes into play because each print has a thickness. If one keeps adding prints to the volume then eventually the pages will swell to a thickness greater than the binding. By removing every other sheet one can alleviate this problem.
The only issue with these perforations is that they are very close to the spine. Ideally the perforations would give three-eighths inch or more of paper left near the spine. This can then become an attachment point for a glassine sheet to protect the print from abrasion from the opposite page when the book is closed.
When I have used glassine before I use a scalpel to cut the alternate pages away with enough margin to attach the glassine.
I do not place prints on the obverse to keep them from interfering with or rubbing each other. If I used glassine I might consider it but, I would also have to remove another sheet to compensate for the added thickness and would thus lose as many pages as I would have gained.
My plan is to add prints as I make them. I can also add notations in the margins. Here is a video flip through so far…