Shelves for the New Darkroom

What I think is my final major project for the darkroom furnishing is a set of shelves. (I say final but I am having fun building stuff!)

These shelves are a variation of what I called my Cascade Shelves I built during the pandemic in the UK. I wrote about them here in my old blog. (This is another ‘invention’ I suppose.) I was really pleased and thought I would try a fresh design. These turned out more utilitarian than artistic. At the end I discuss things that work and don’t work for me.
In this version I had to fit some specific space in the darkroom. The shelves are about 45 inches long. To save money I used some leftover 1/2 inch OSB which seems to be the primary material for the darkroom. It is about a fourth the price of finish plywood so it is more economical. The shelves are edged with 1/2 inch by 1/2 inch pine I ripped from left over tongue and groove I used in the ceiling. To speed things along I used nails with the glue leaving some holes to fill later.
The shelf edging used a corner feature of butted pine strips with a cut across the corner at 45 degrees. This treatment I dreamed up on the cascade shelves to neaten up the simple butt joints in the corners. Miters can be finicky to get just right and butt joints are simple. The cut across the corner helps disguise the butt joint.
One corner of the shelves is cut at 45 degrees as this is the corner nearest the door and it helps make it easier to enter and leave the room without clipping the corner on your shoulder.
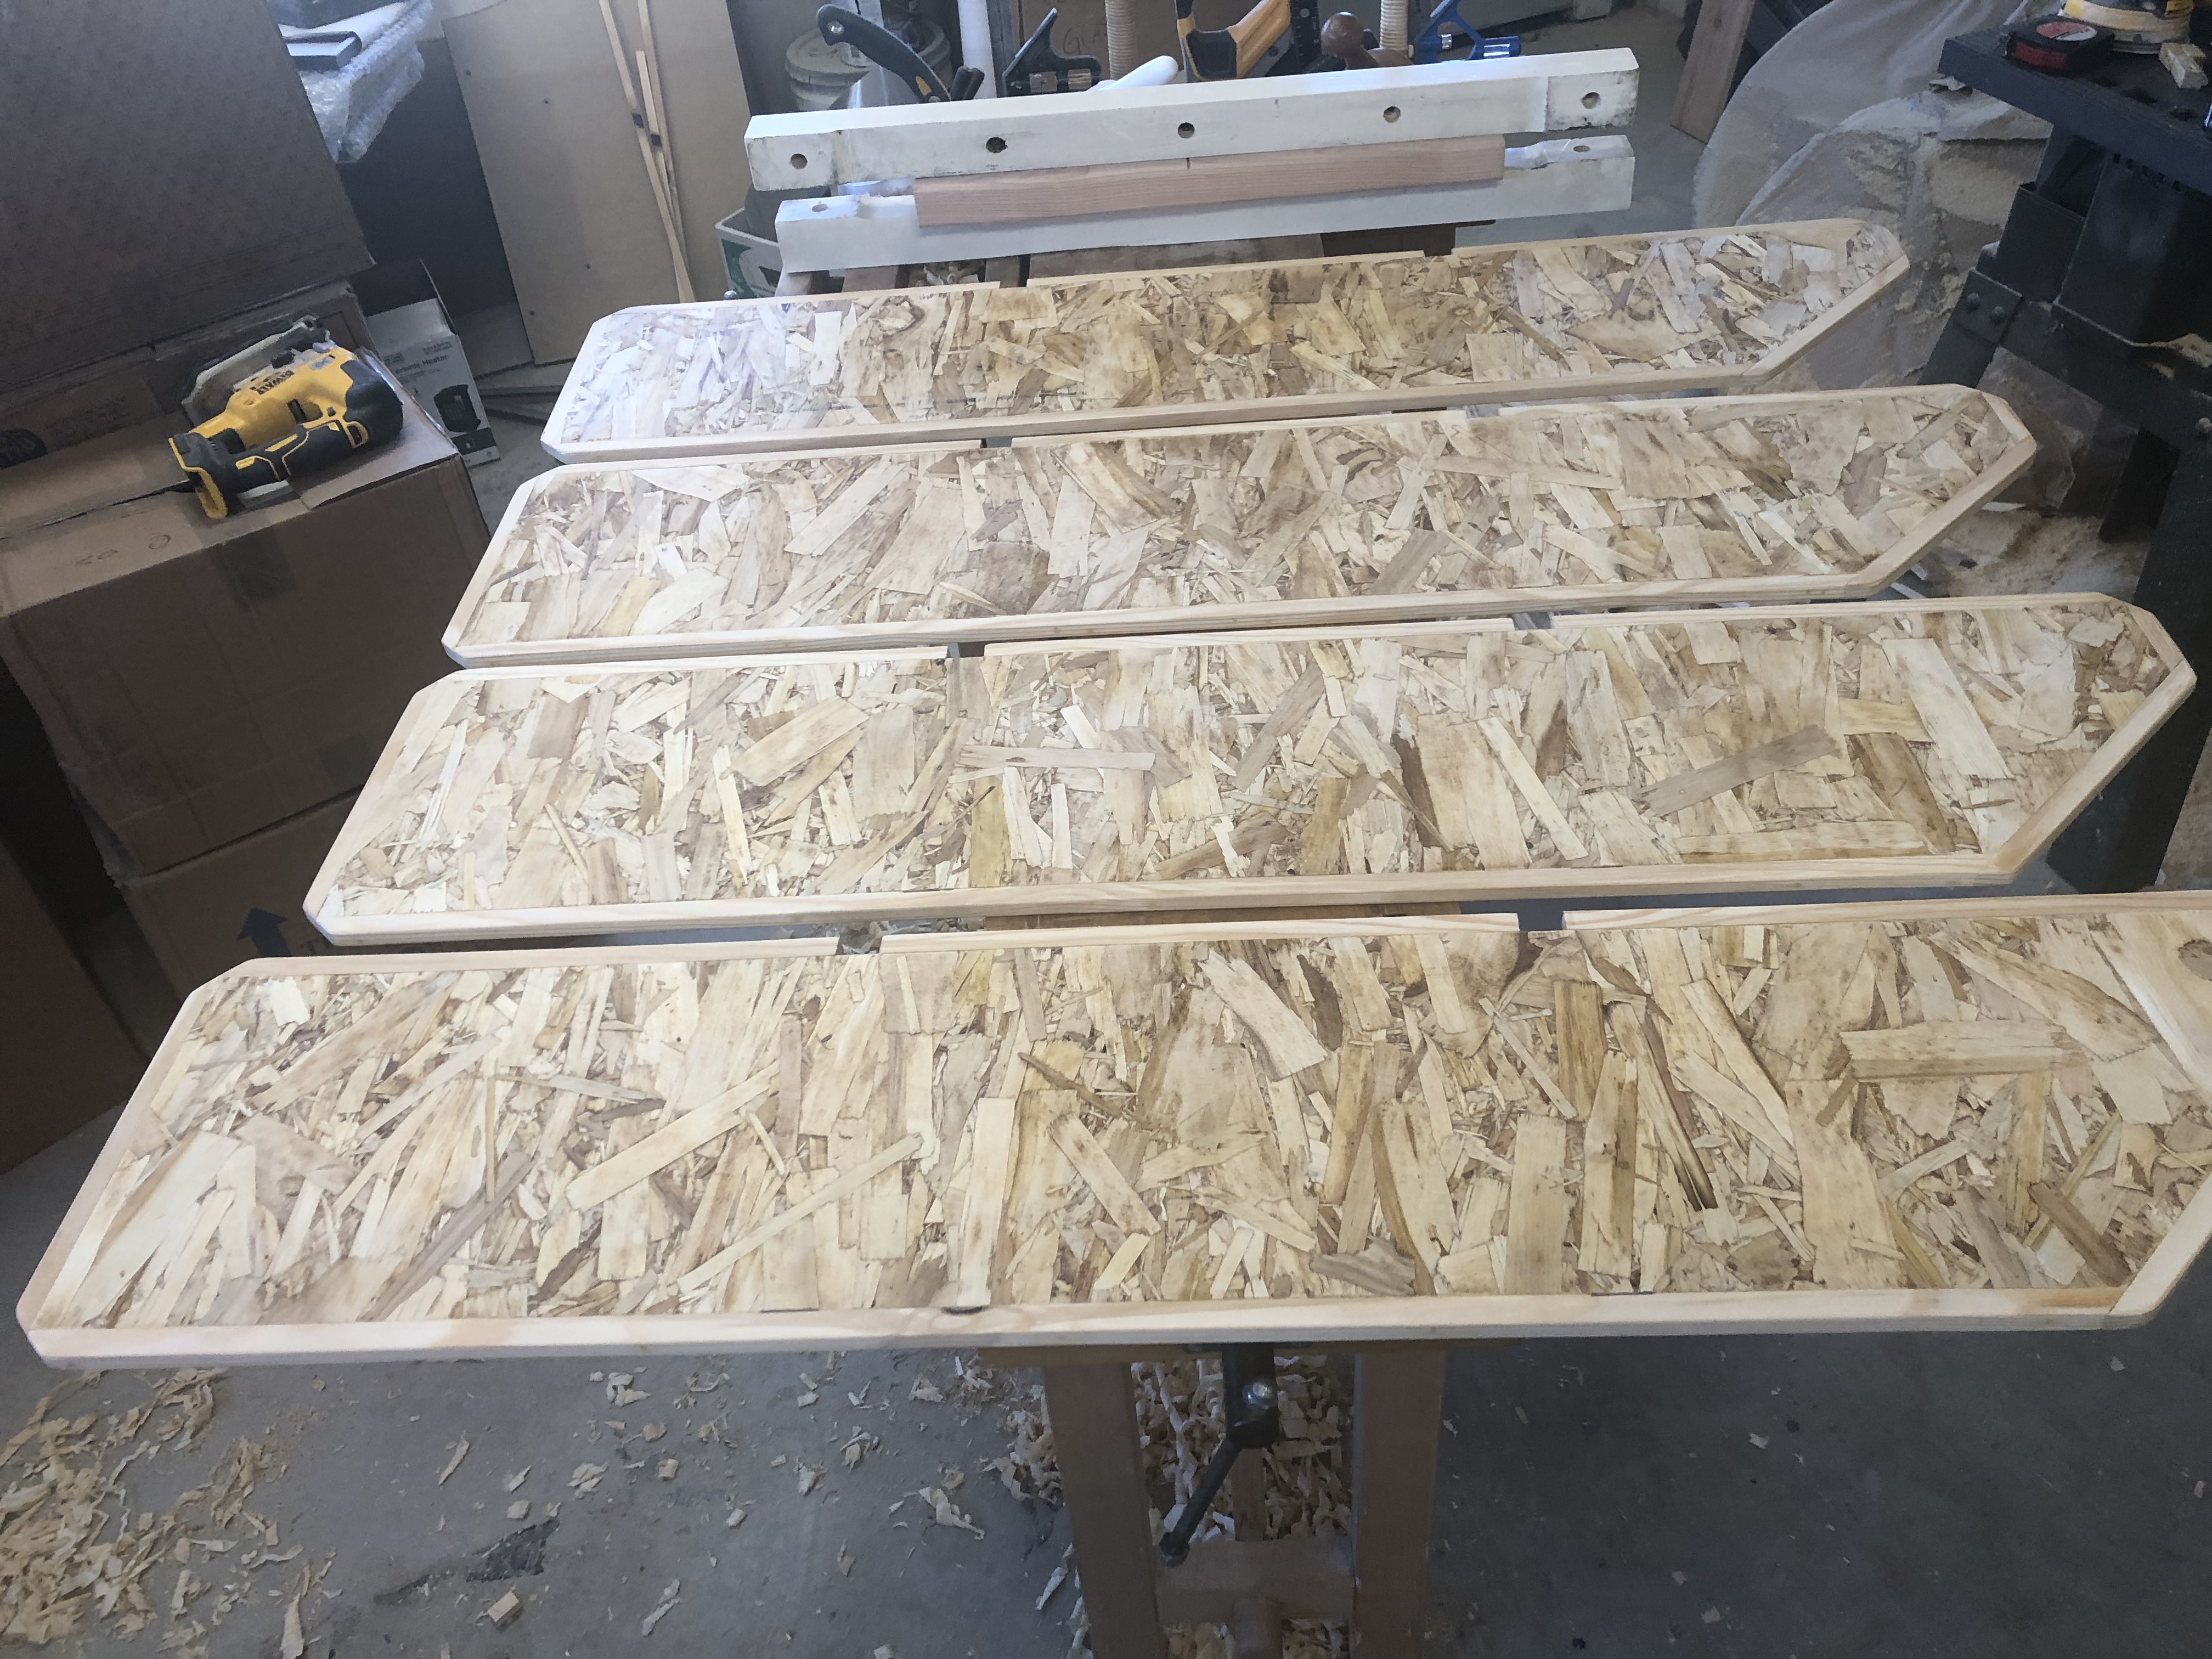
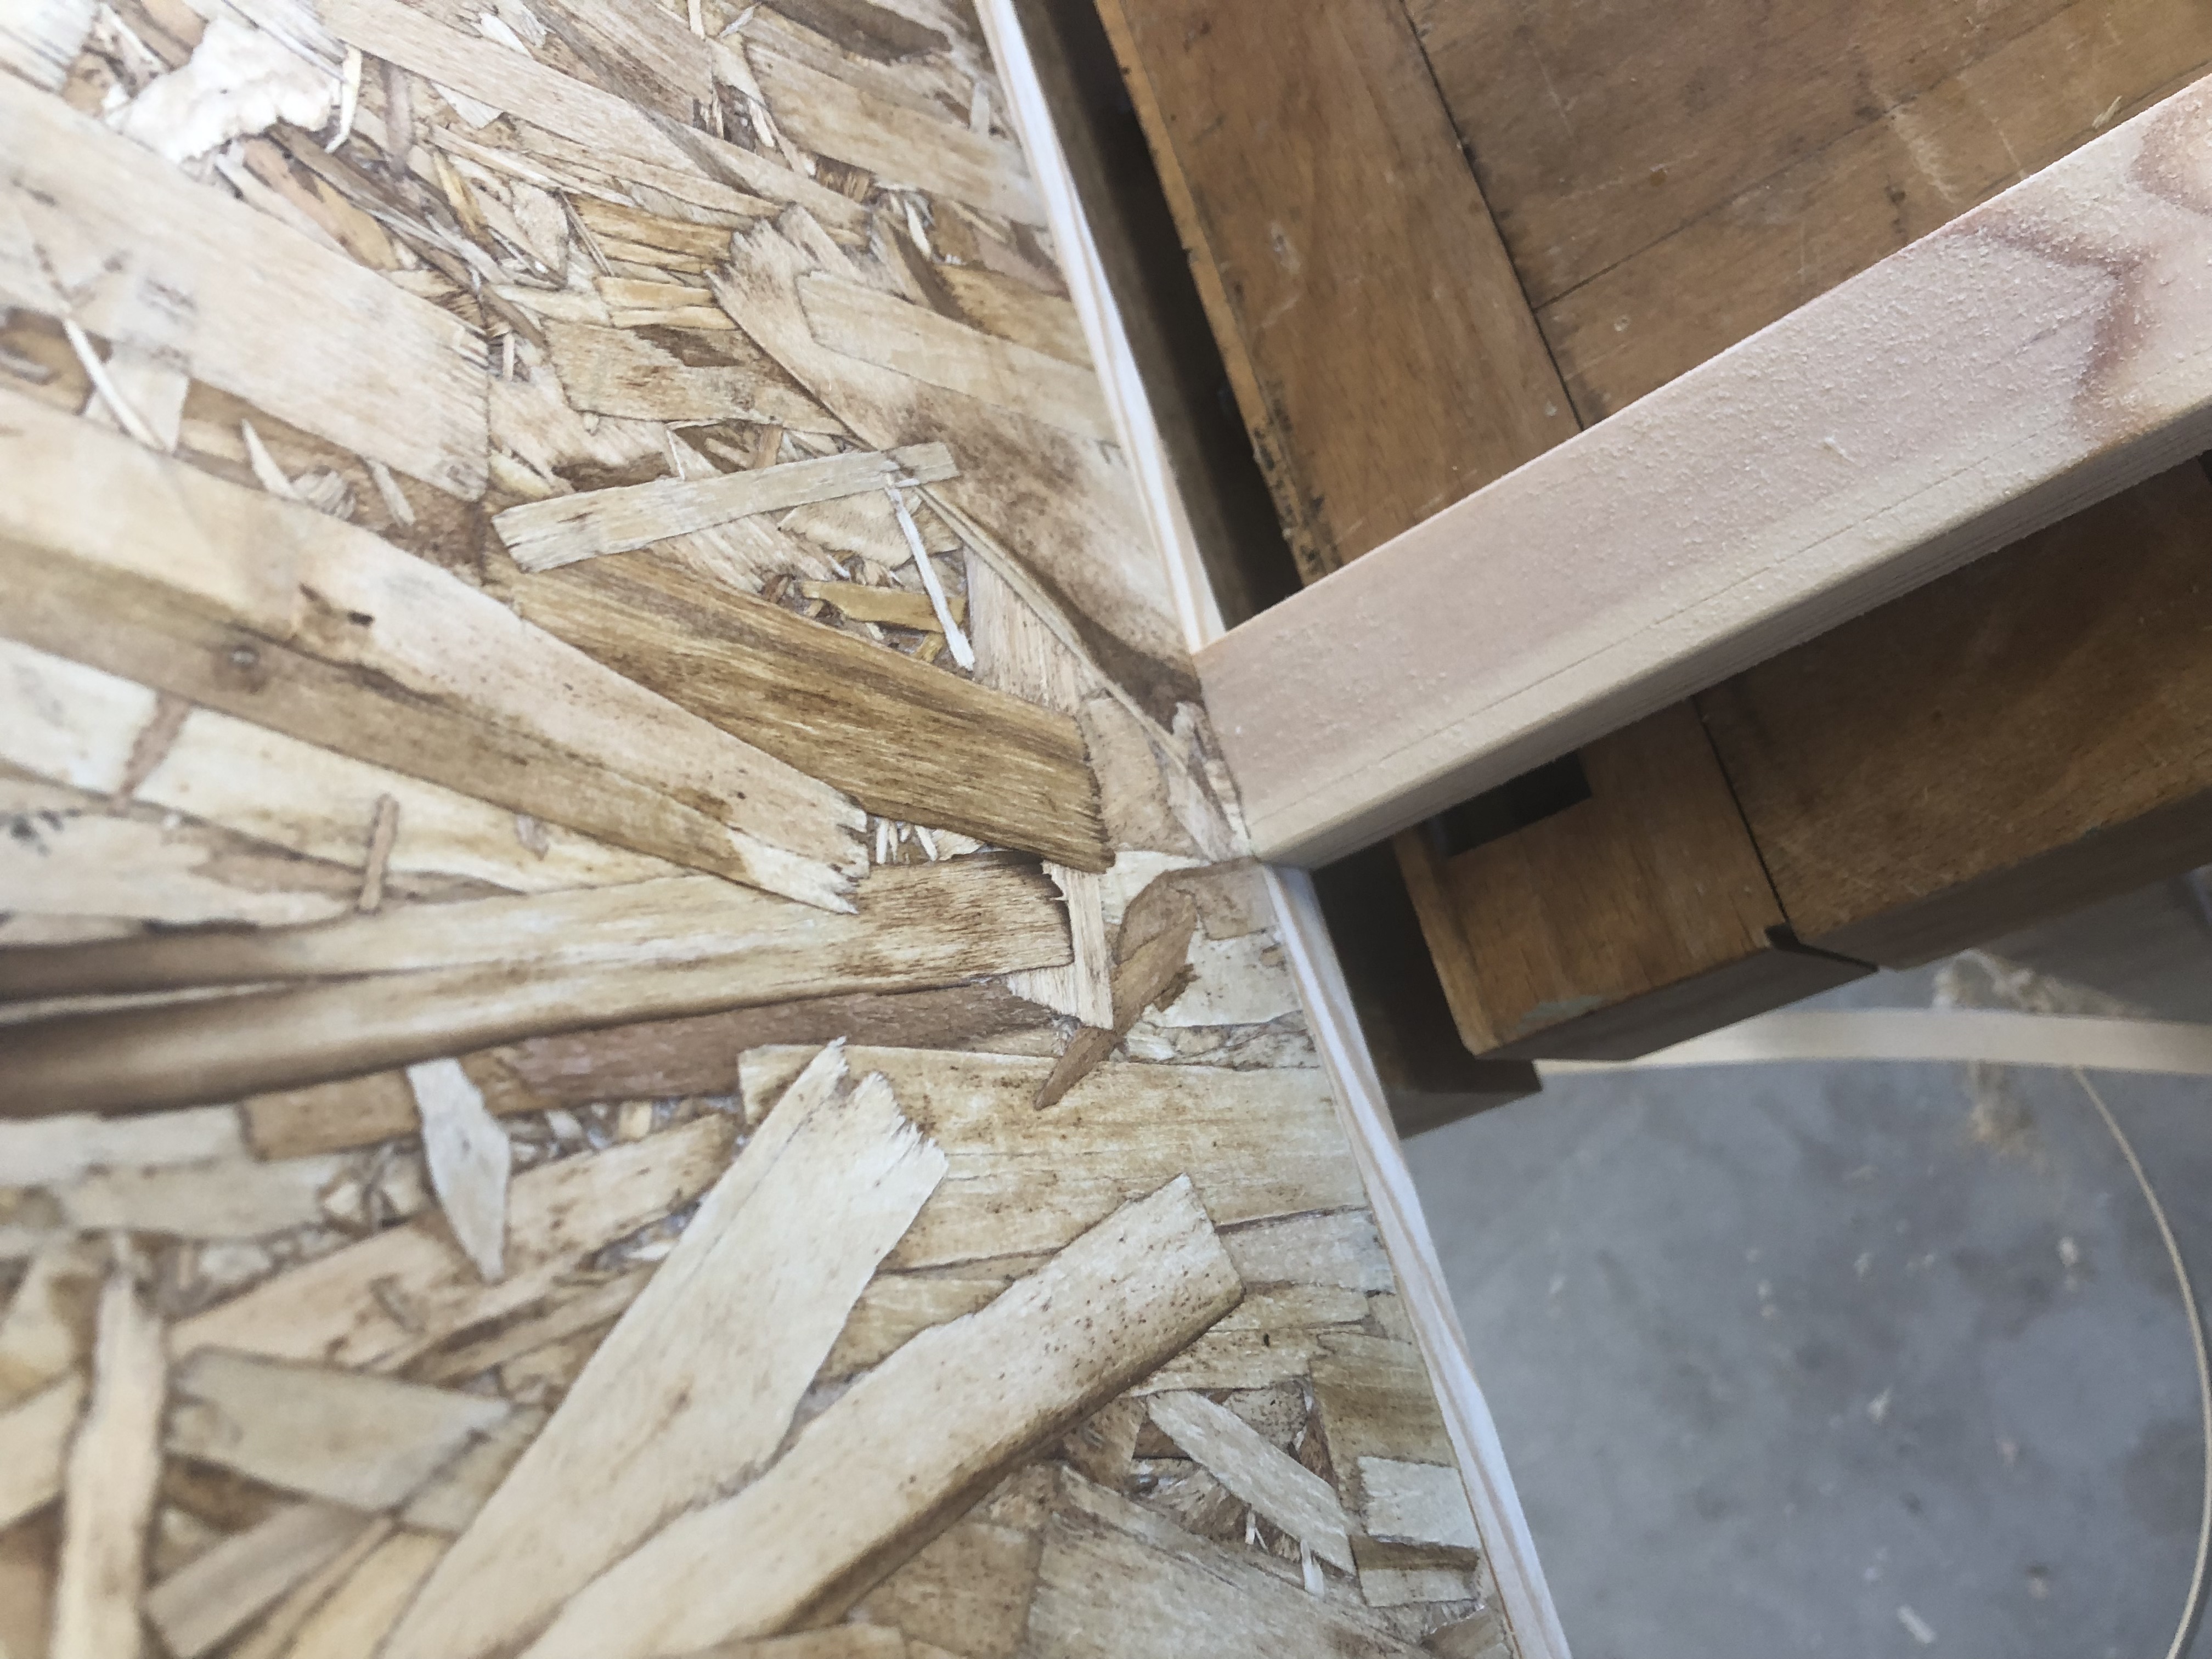
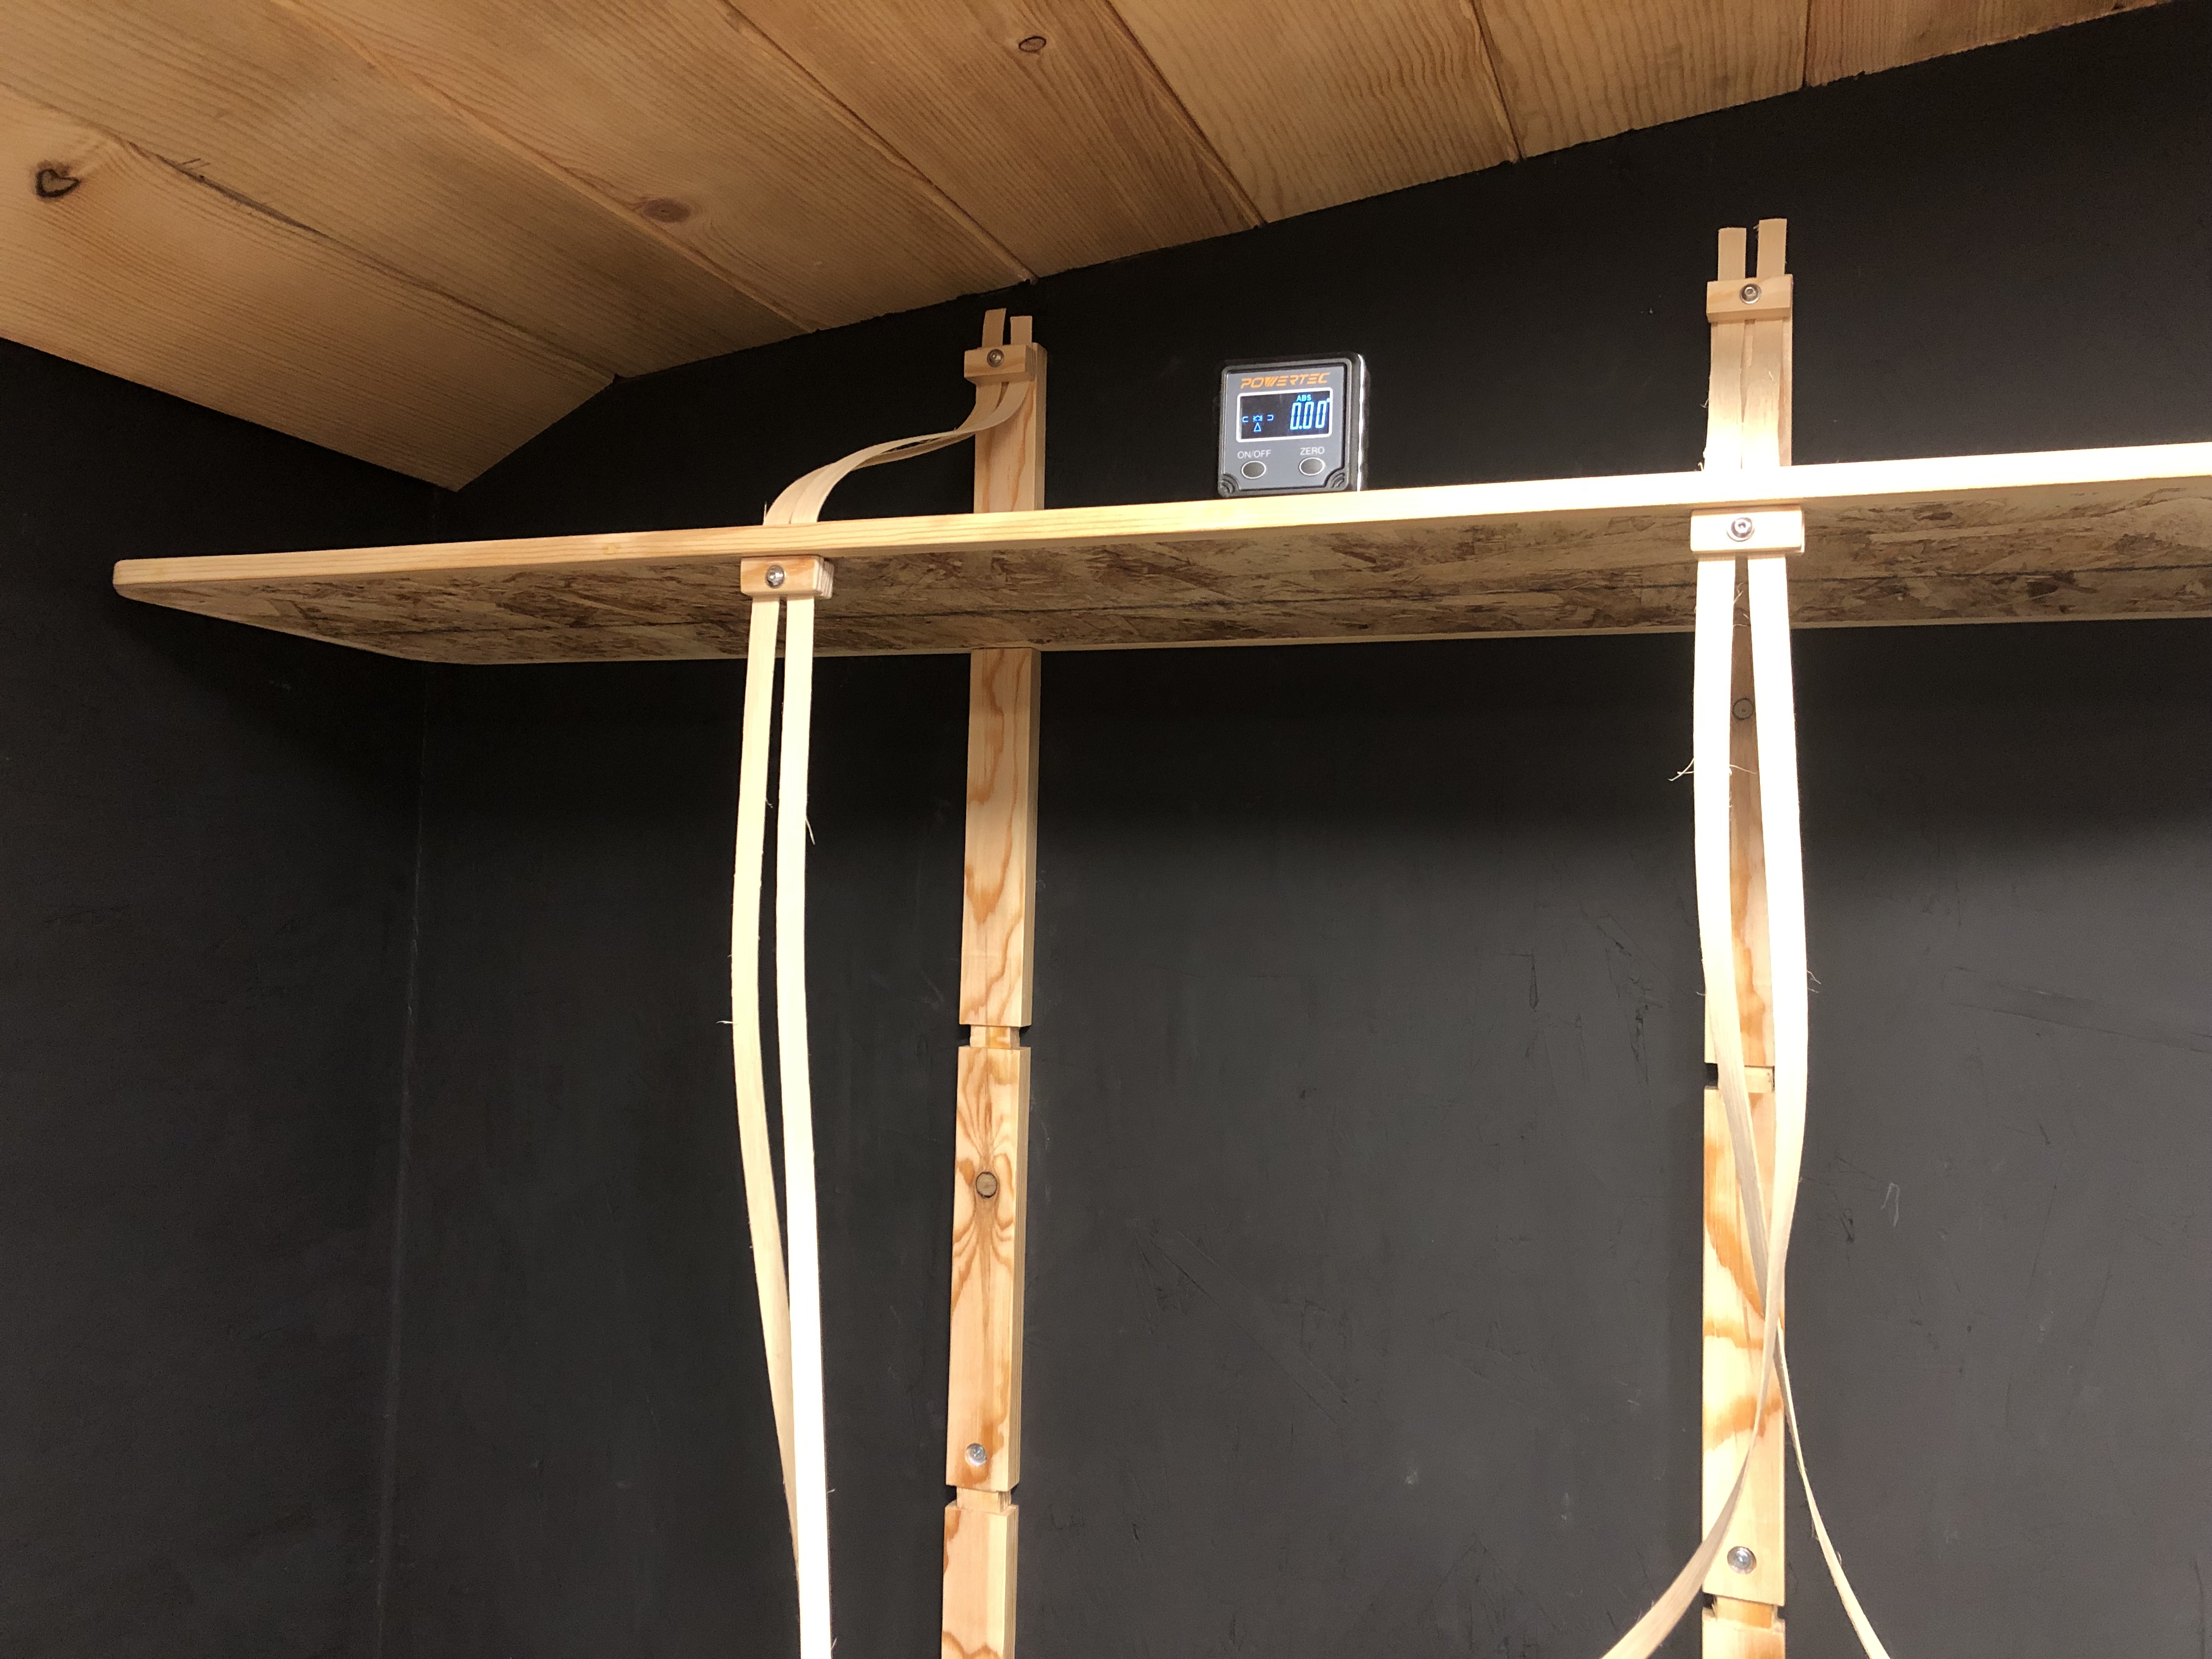
I sanded the OSB well which reduced some roughness and lightened the color. I cut two notches in the back edge of each shelf to accept the wall support. I also made a narrow slot in the front of each shelf corresponding to the back notches using a multi-tool and jigsaw.
I finished them with polyurethane varnish.
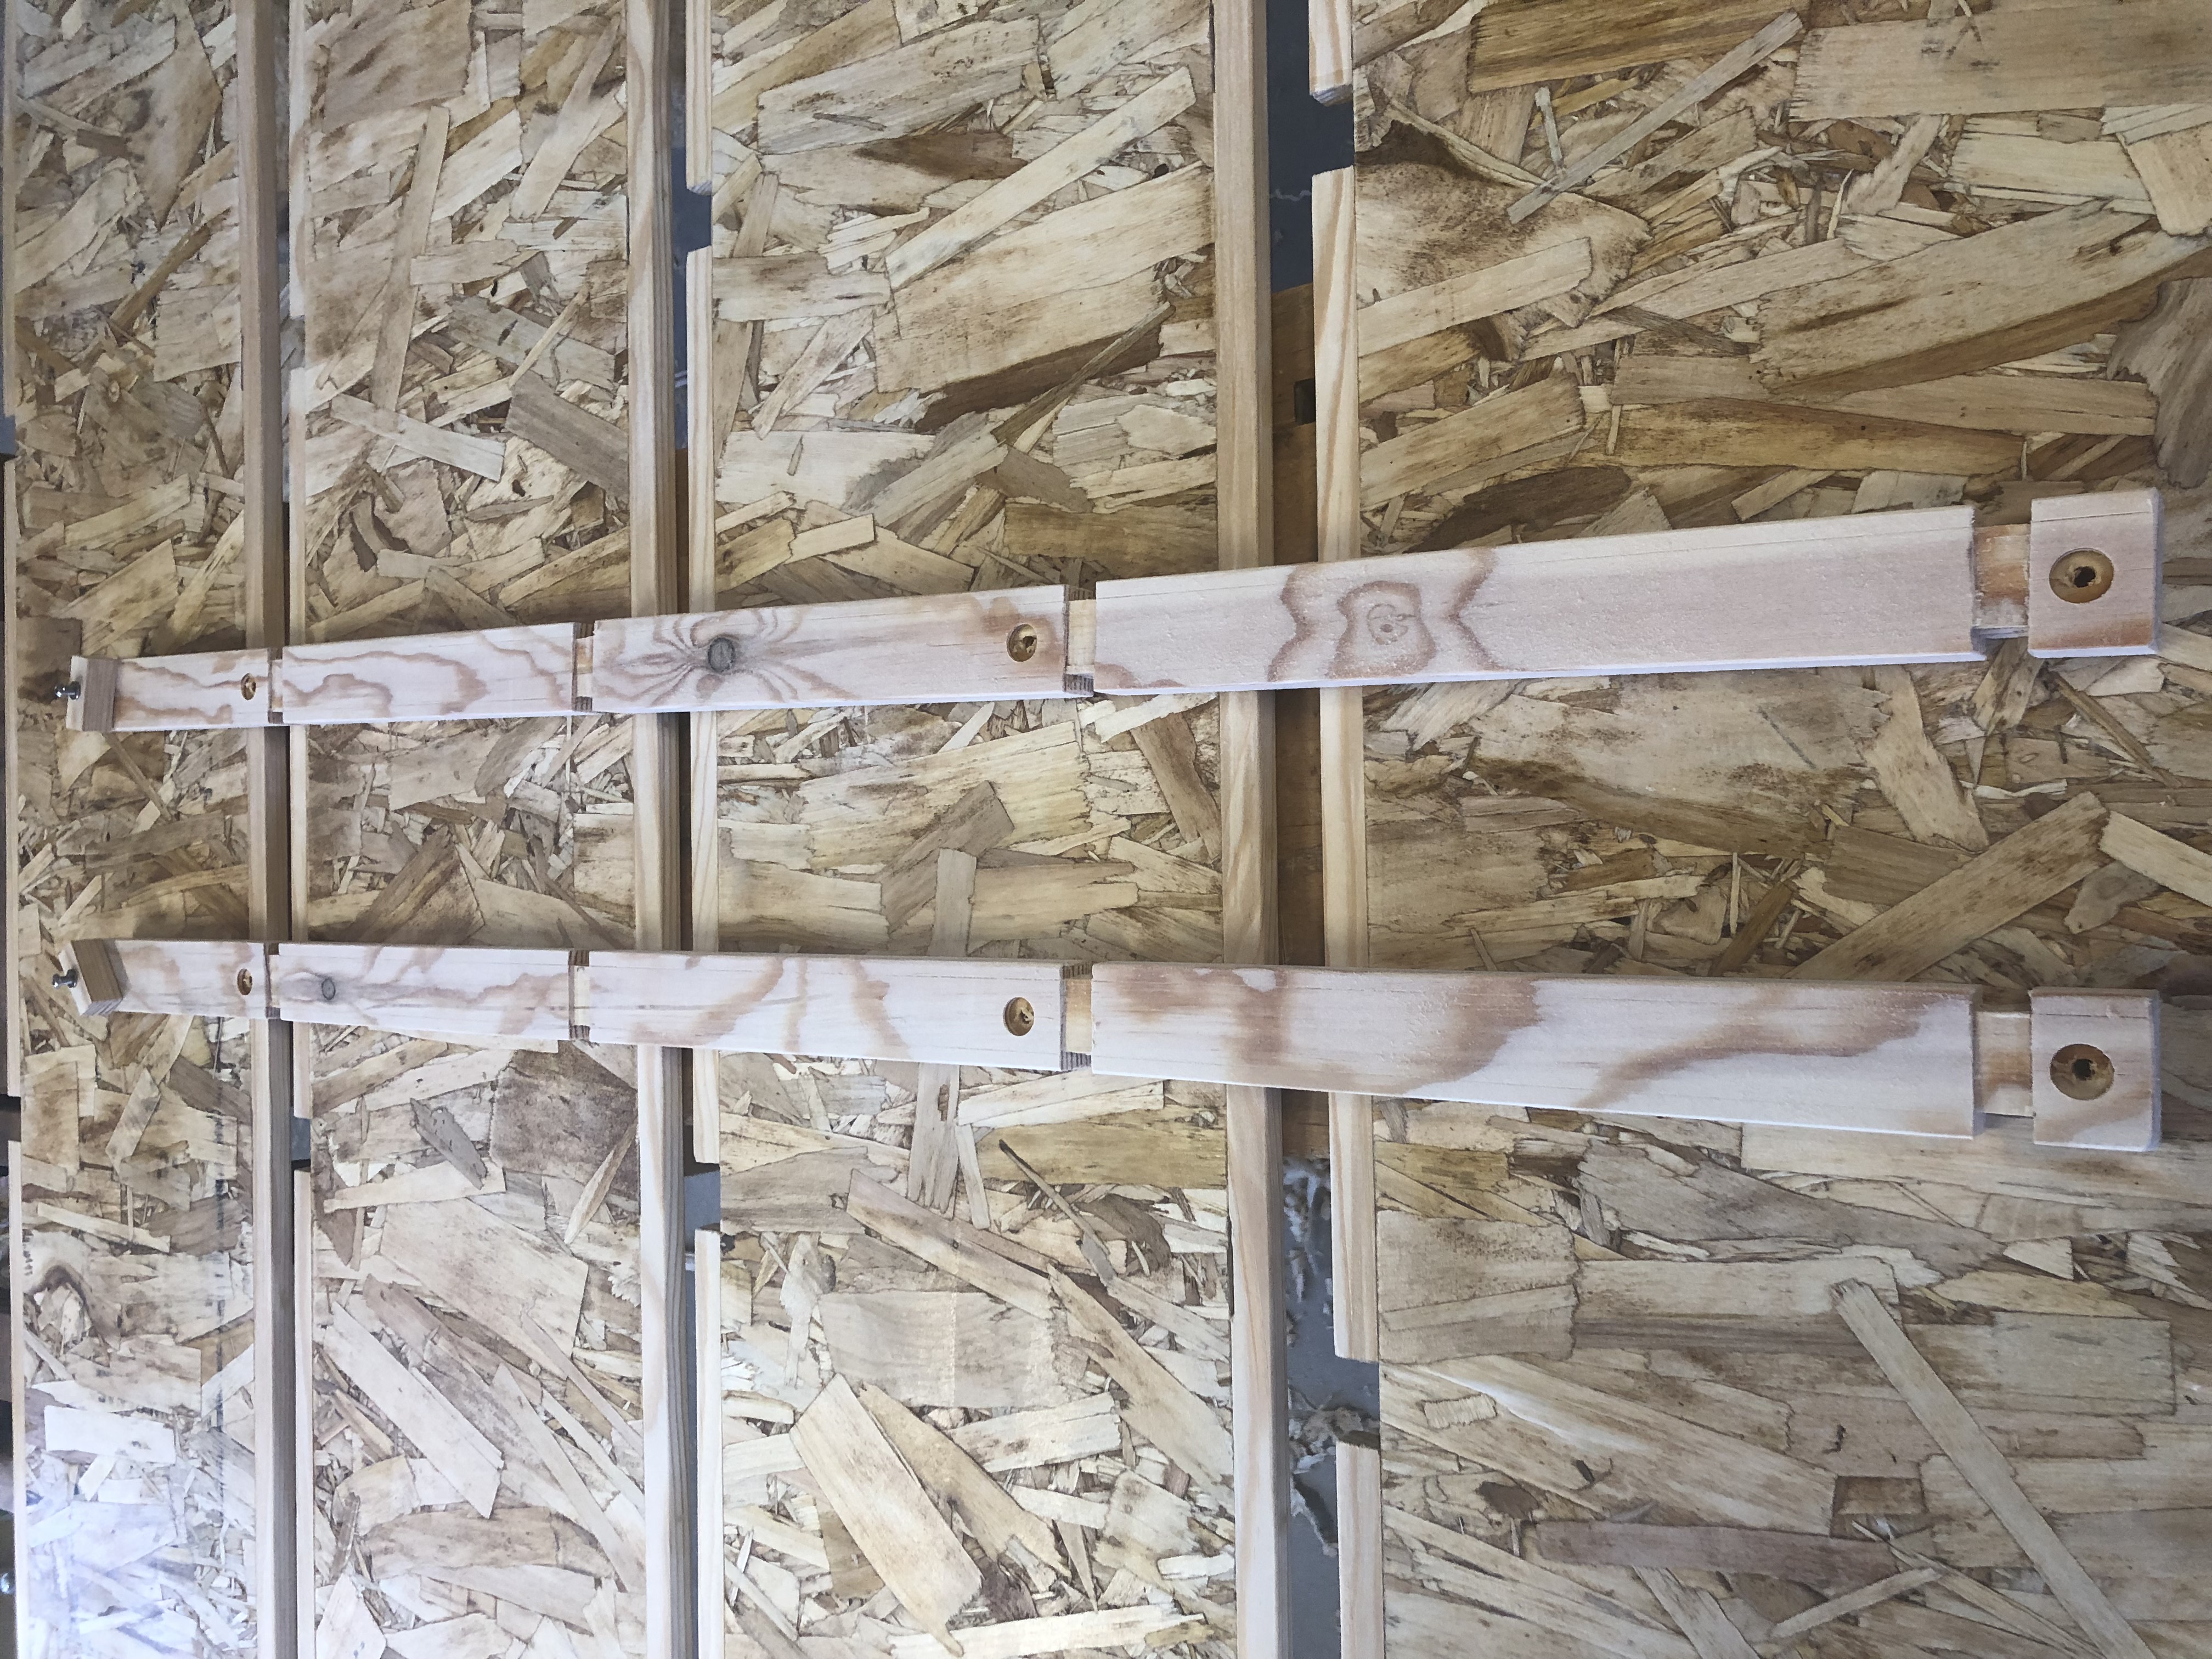
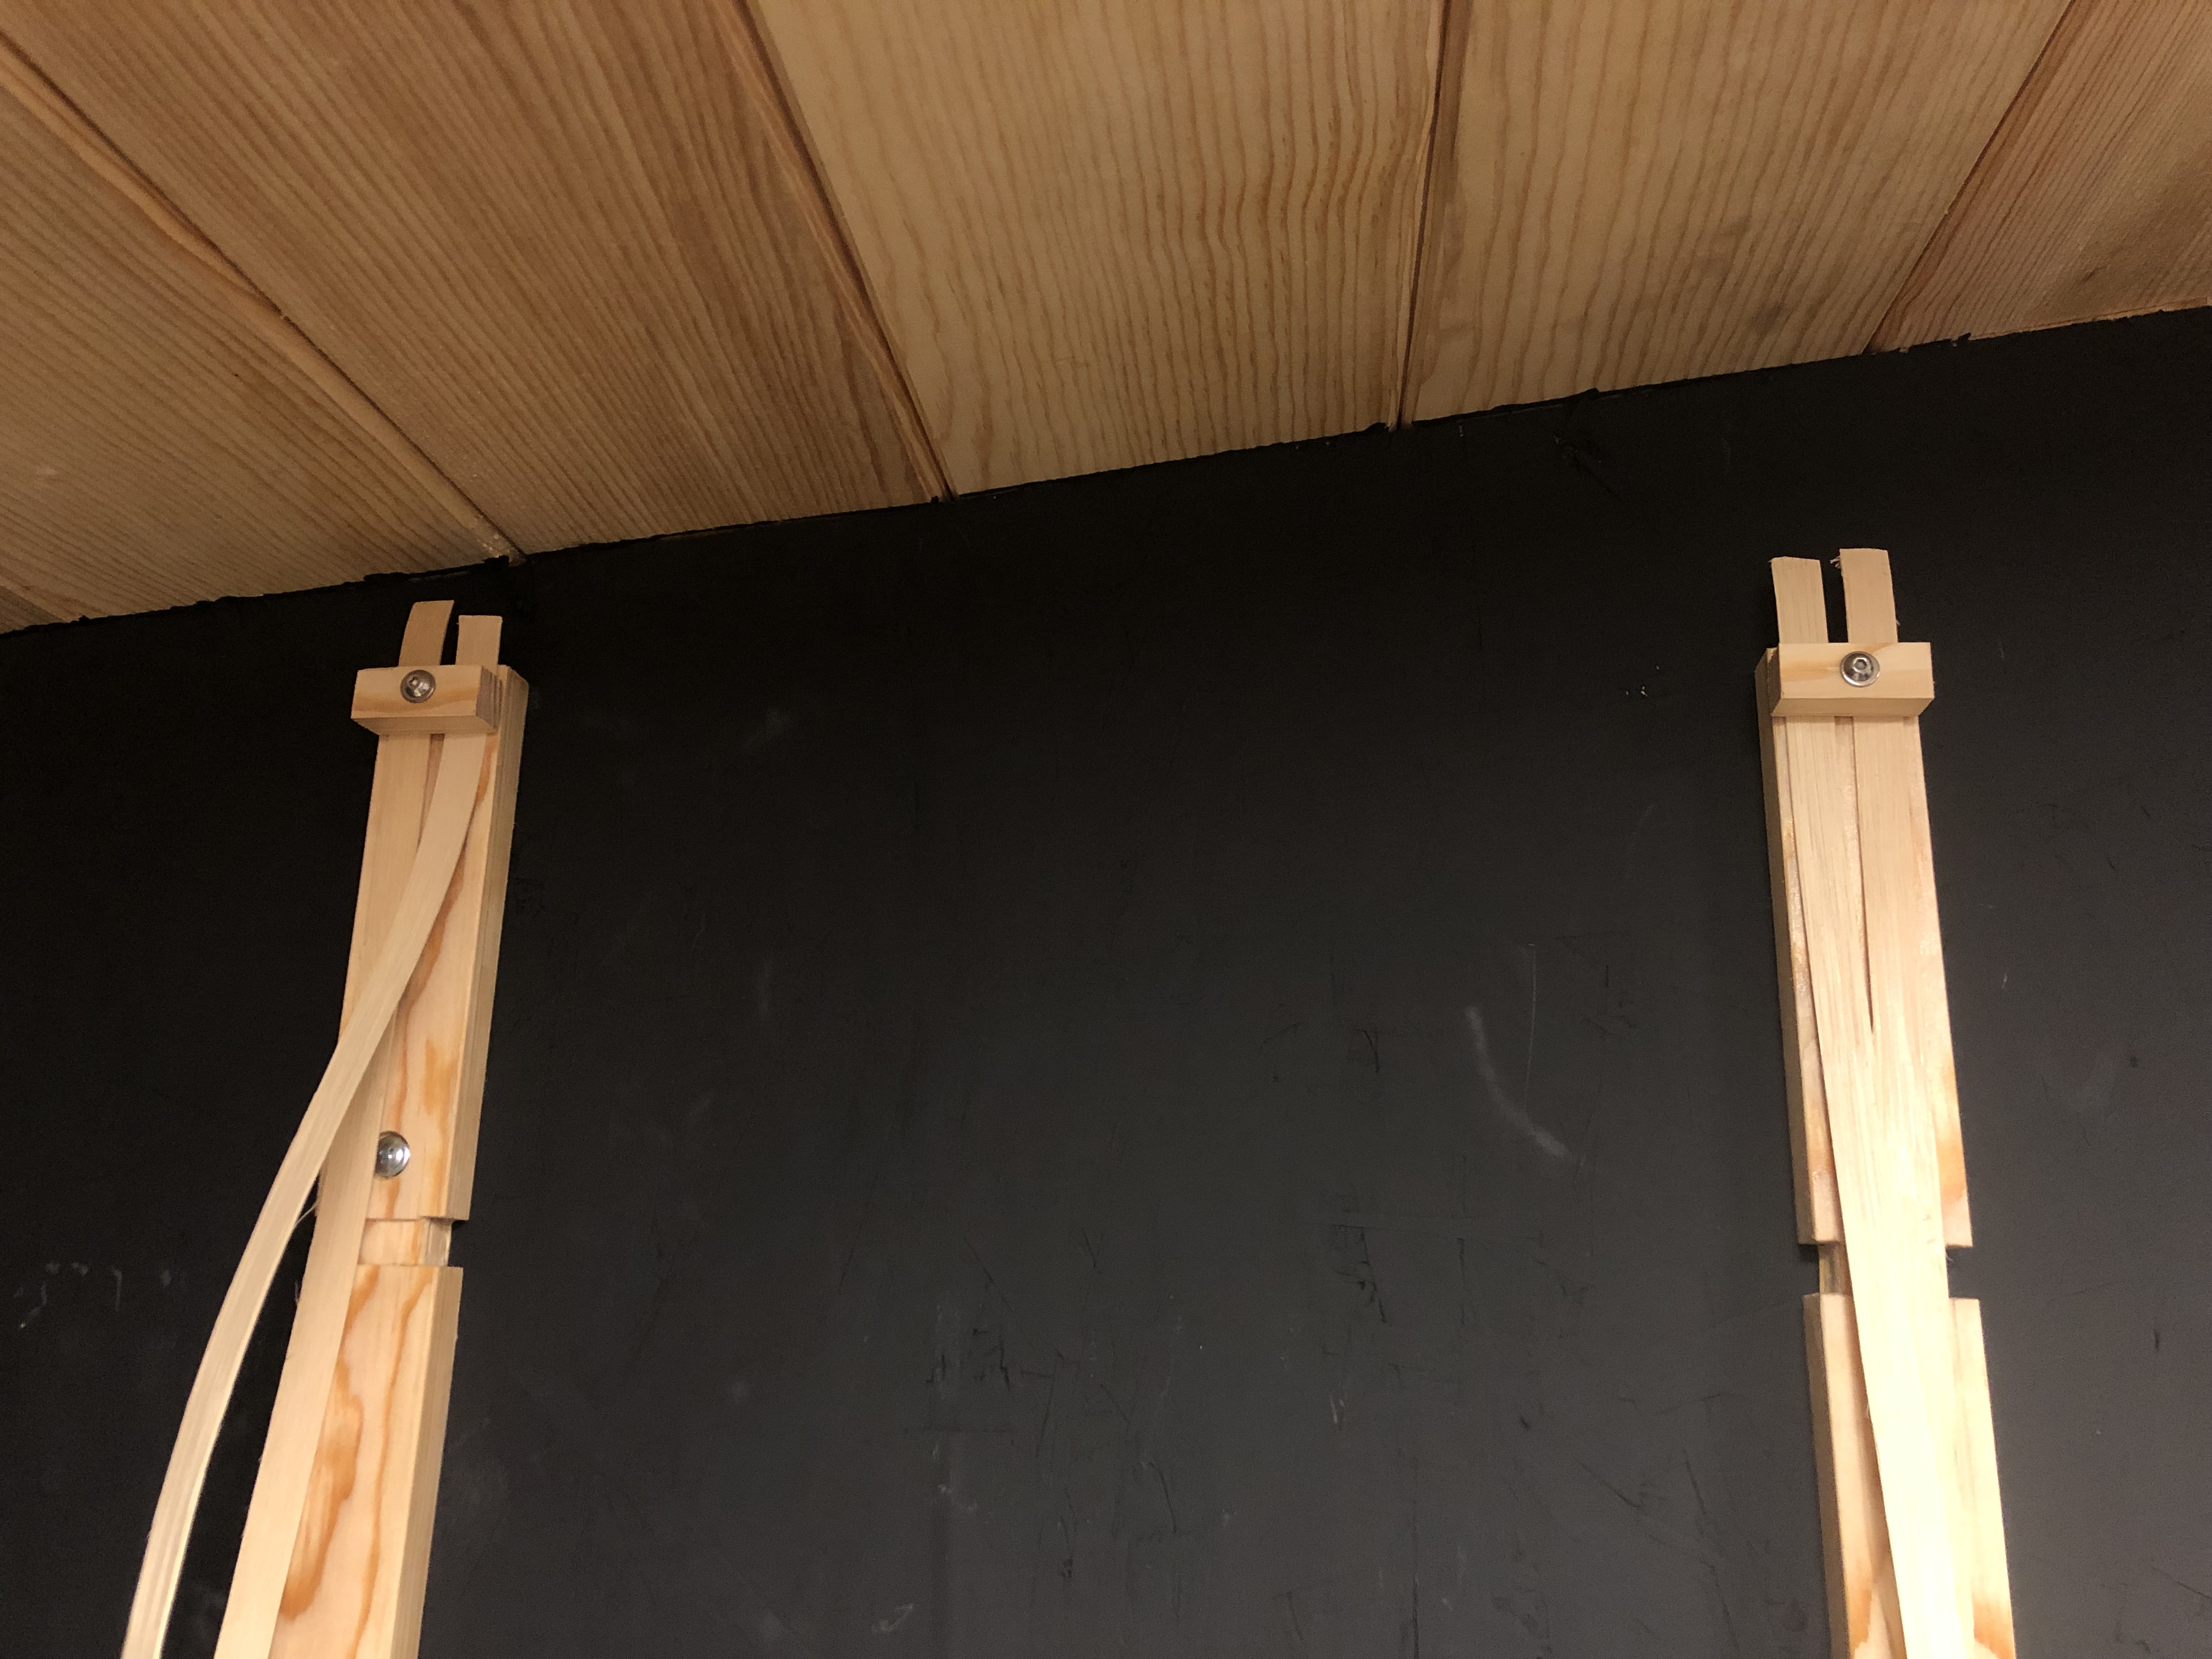
I made the two wall supports from the same pine as the edging. I cut notches on three sides that accept the notches on the shelves. This will support the back of the shelves. I counter-bored these supports for the screws to attach them to the wall.
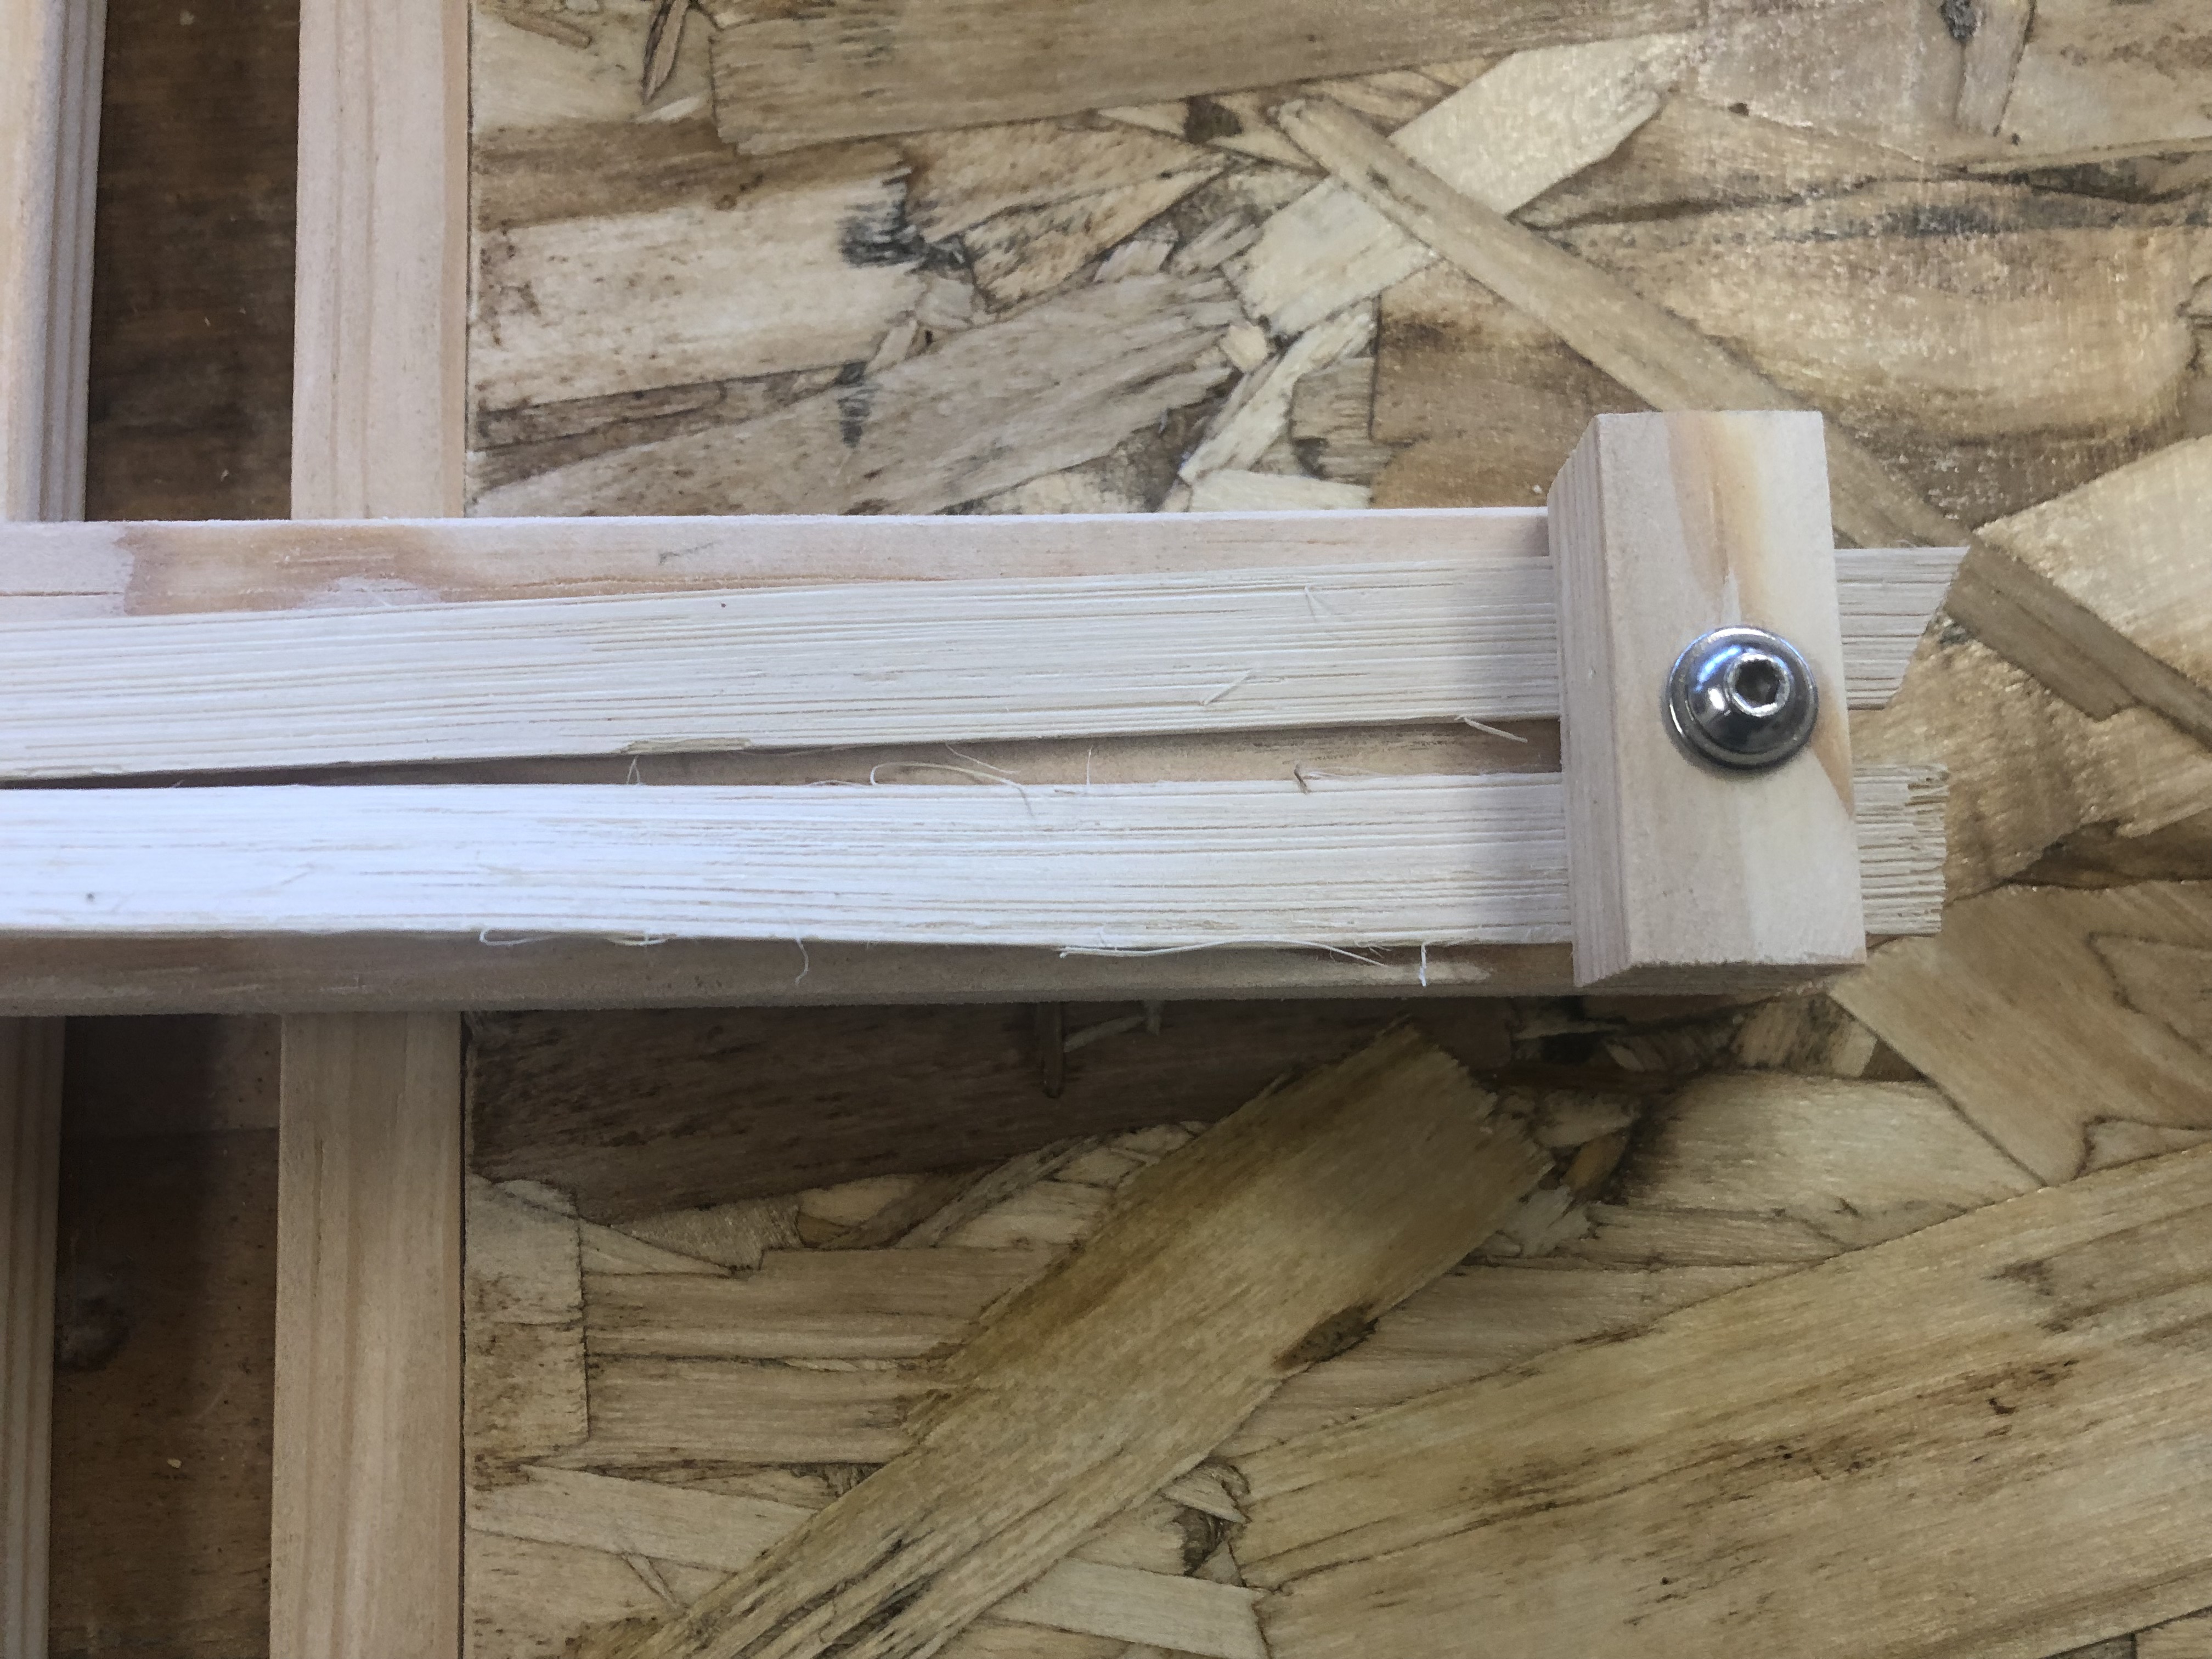
Next I must concern myself with support of the front of the shelves. In the cascade shelves I used bent wood strips. This was a lot more work than I was prepared to undertake for this project. I had some leftover strips of wood used to make woven seats from a 20 year old project.
I reckon these could be used down the front of the shelves as supports as they are quite strong in tension. They are 1/2 inch wide and I settled on a pair for each support. I thought a while about a simple attachment mechanism and decided to make some small clamps to hold the shelves to the wood strips.
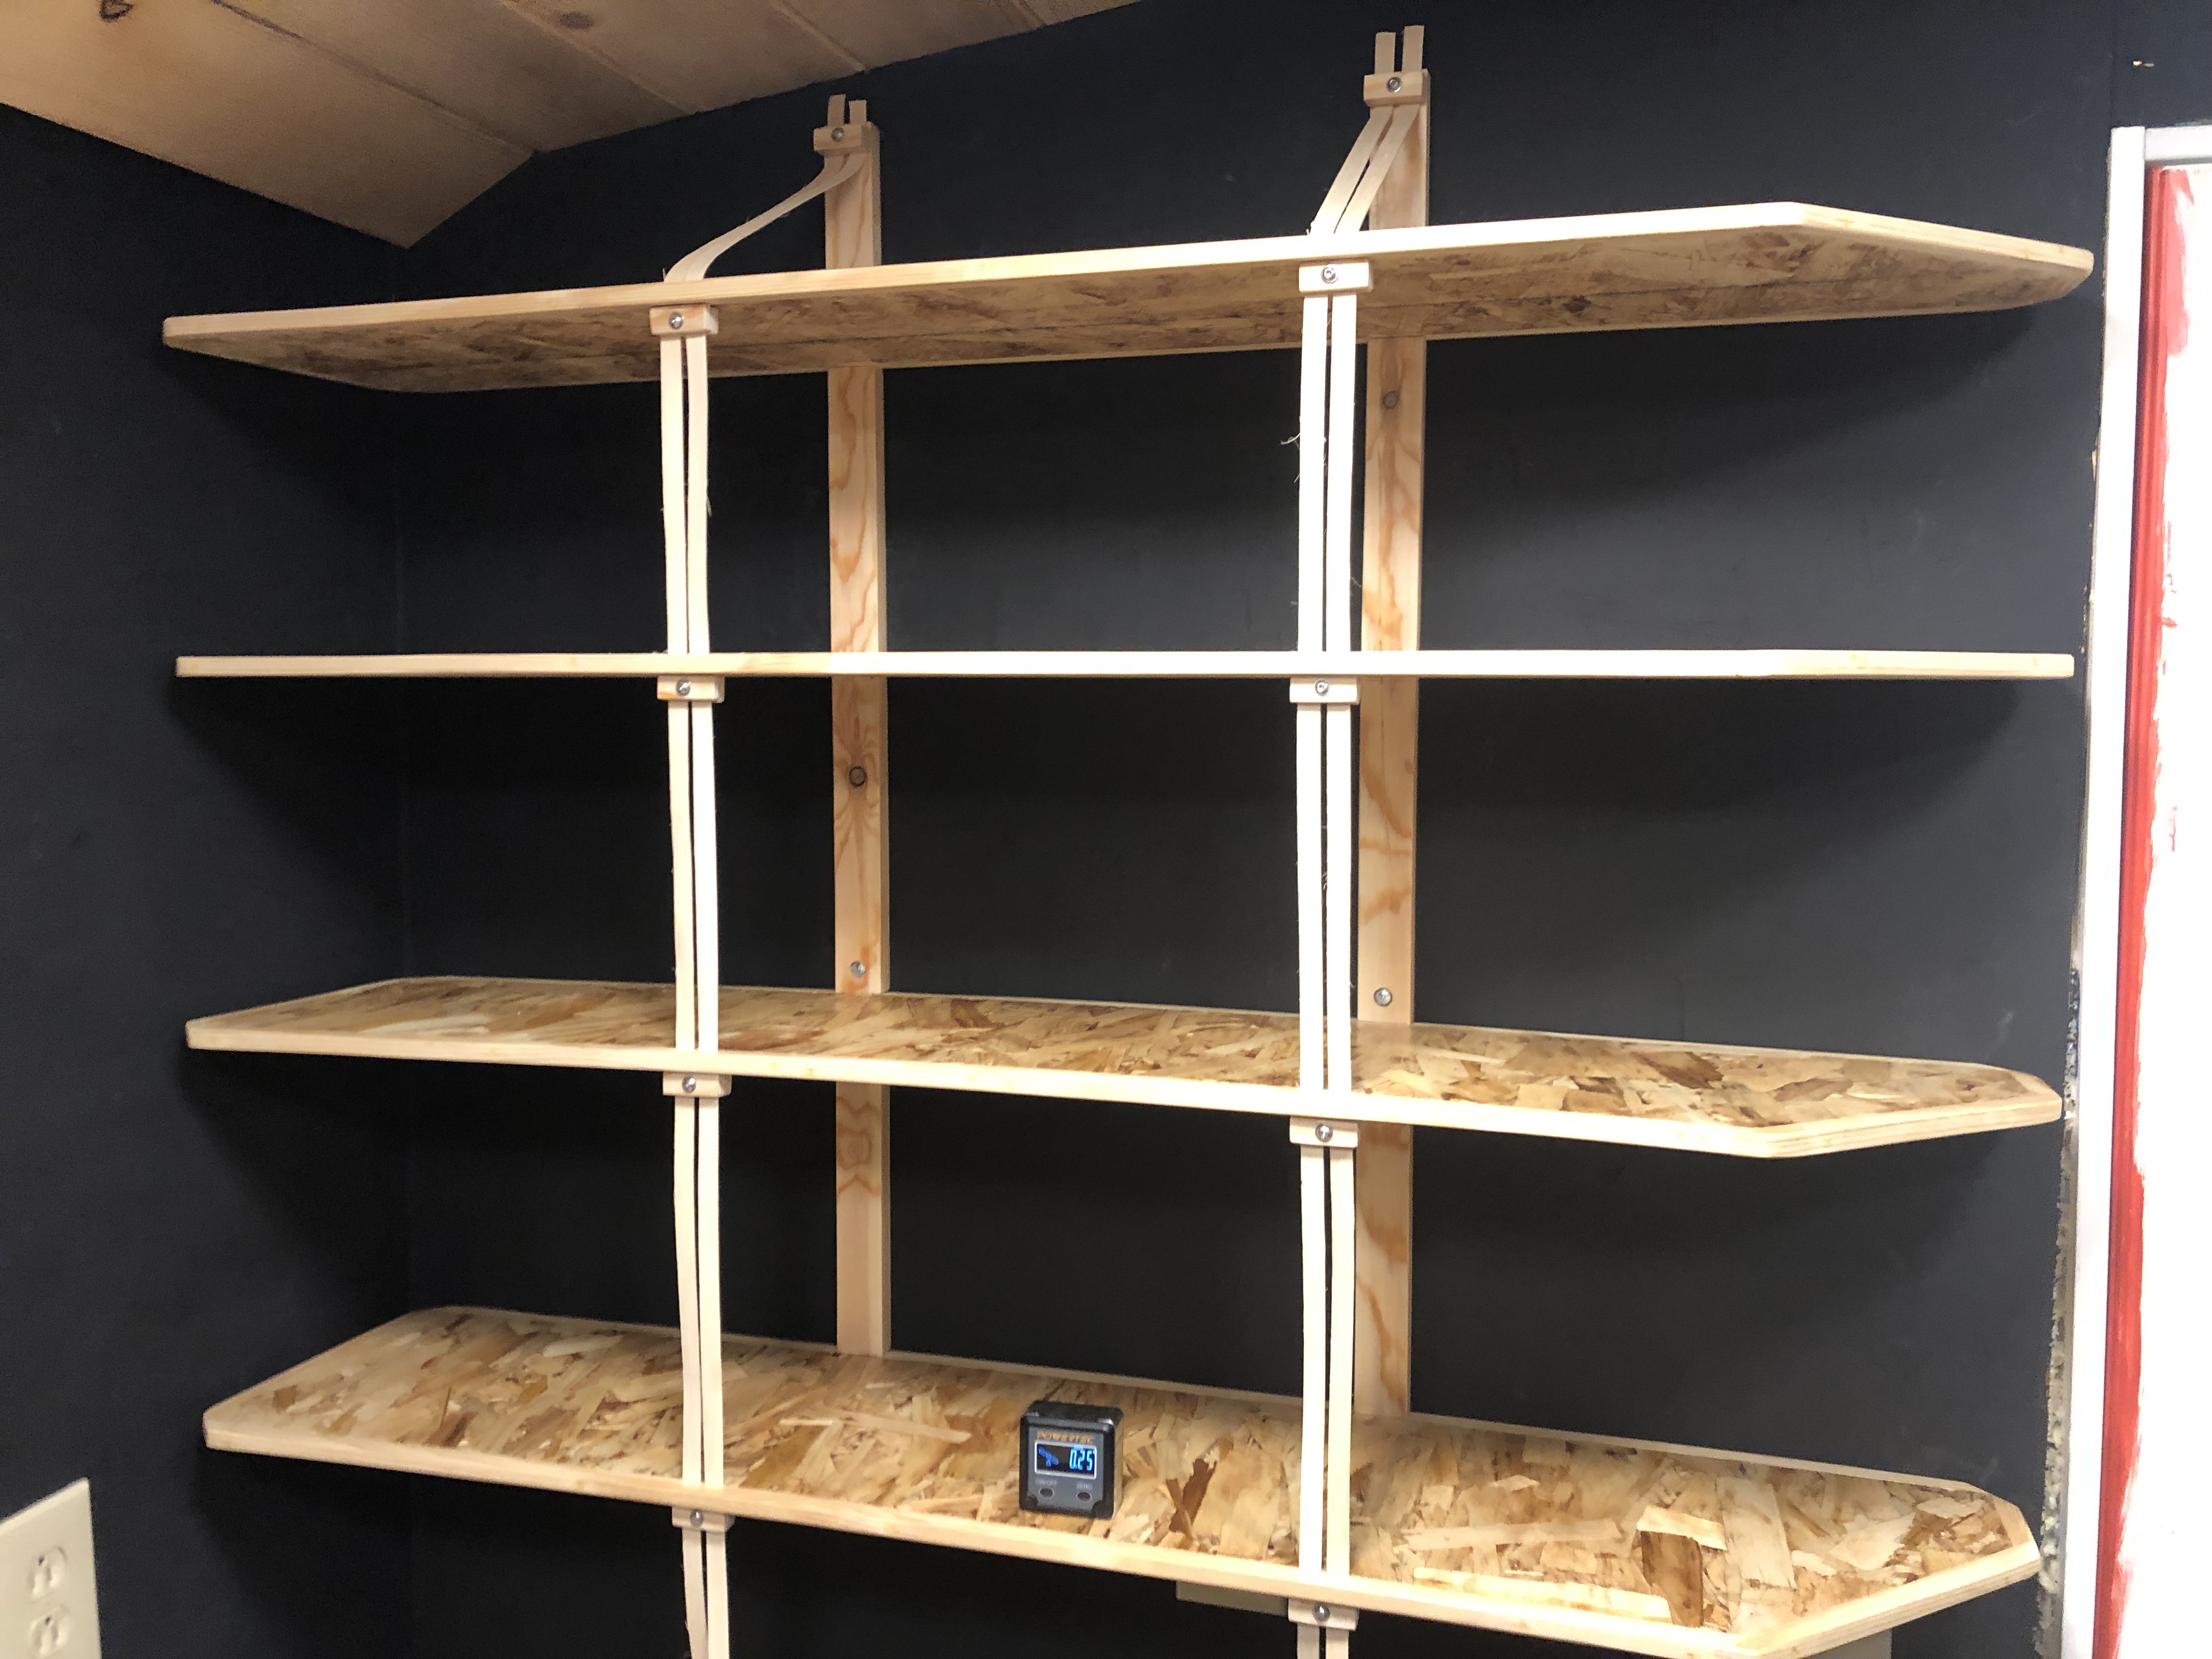
There are a pair of supports for each shelf.
I next needed to mount the shelves. I used a shelf to set the distance and height of each wall support as I screwed them into the wall. Then I clamped the strips to the clamps in the top of the wall supports.
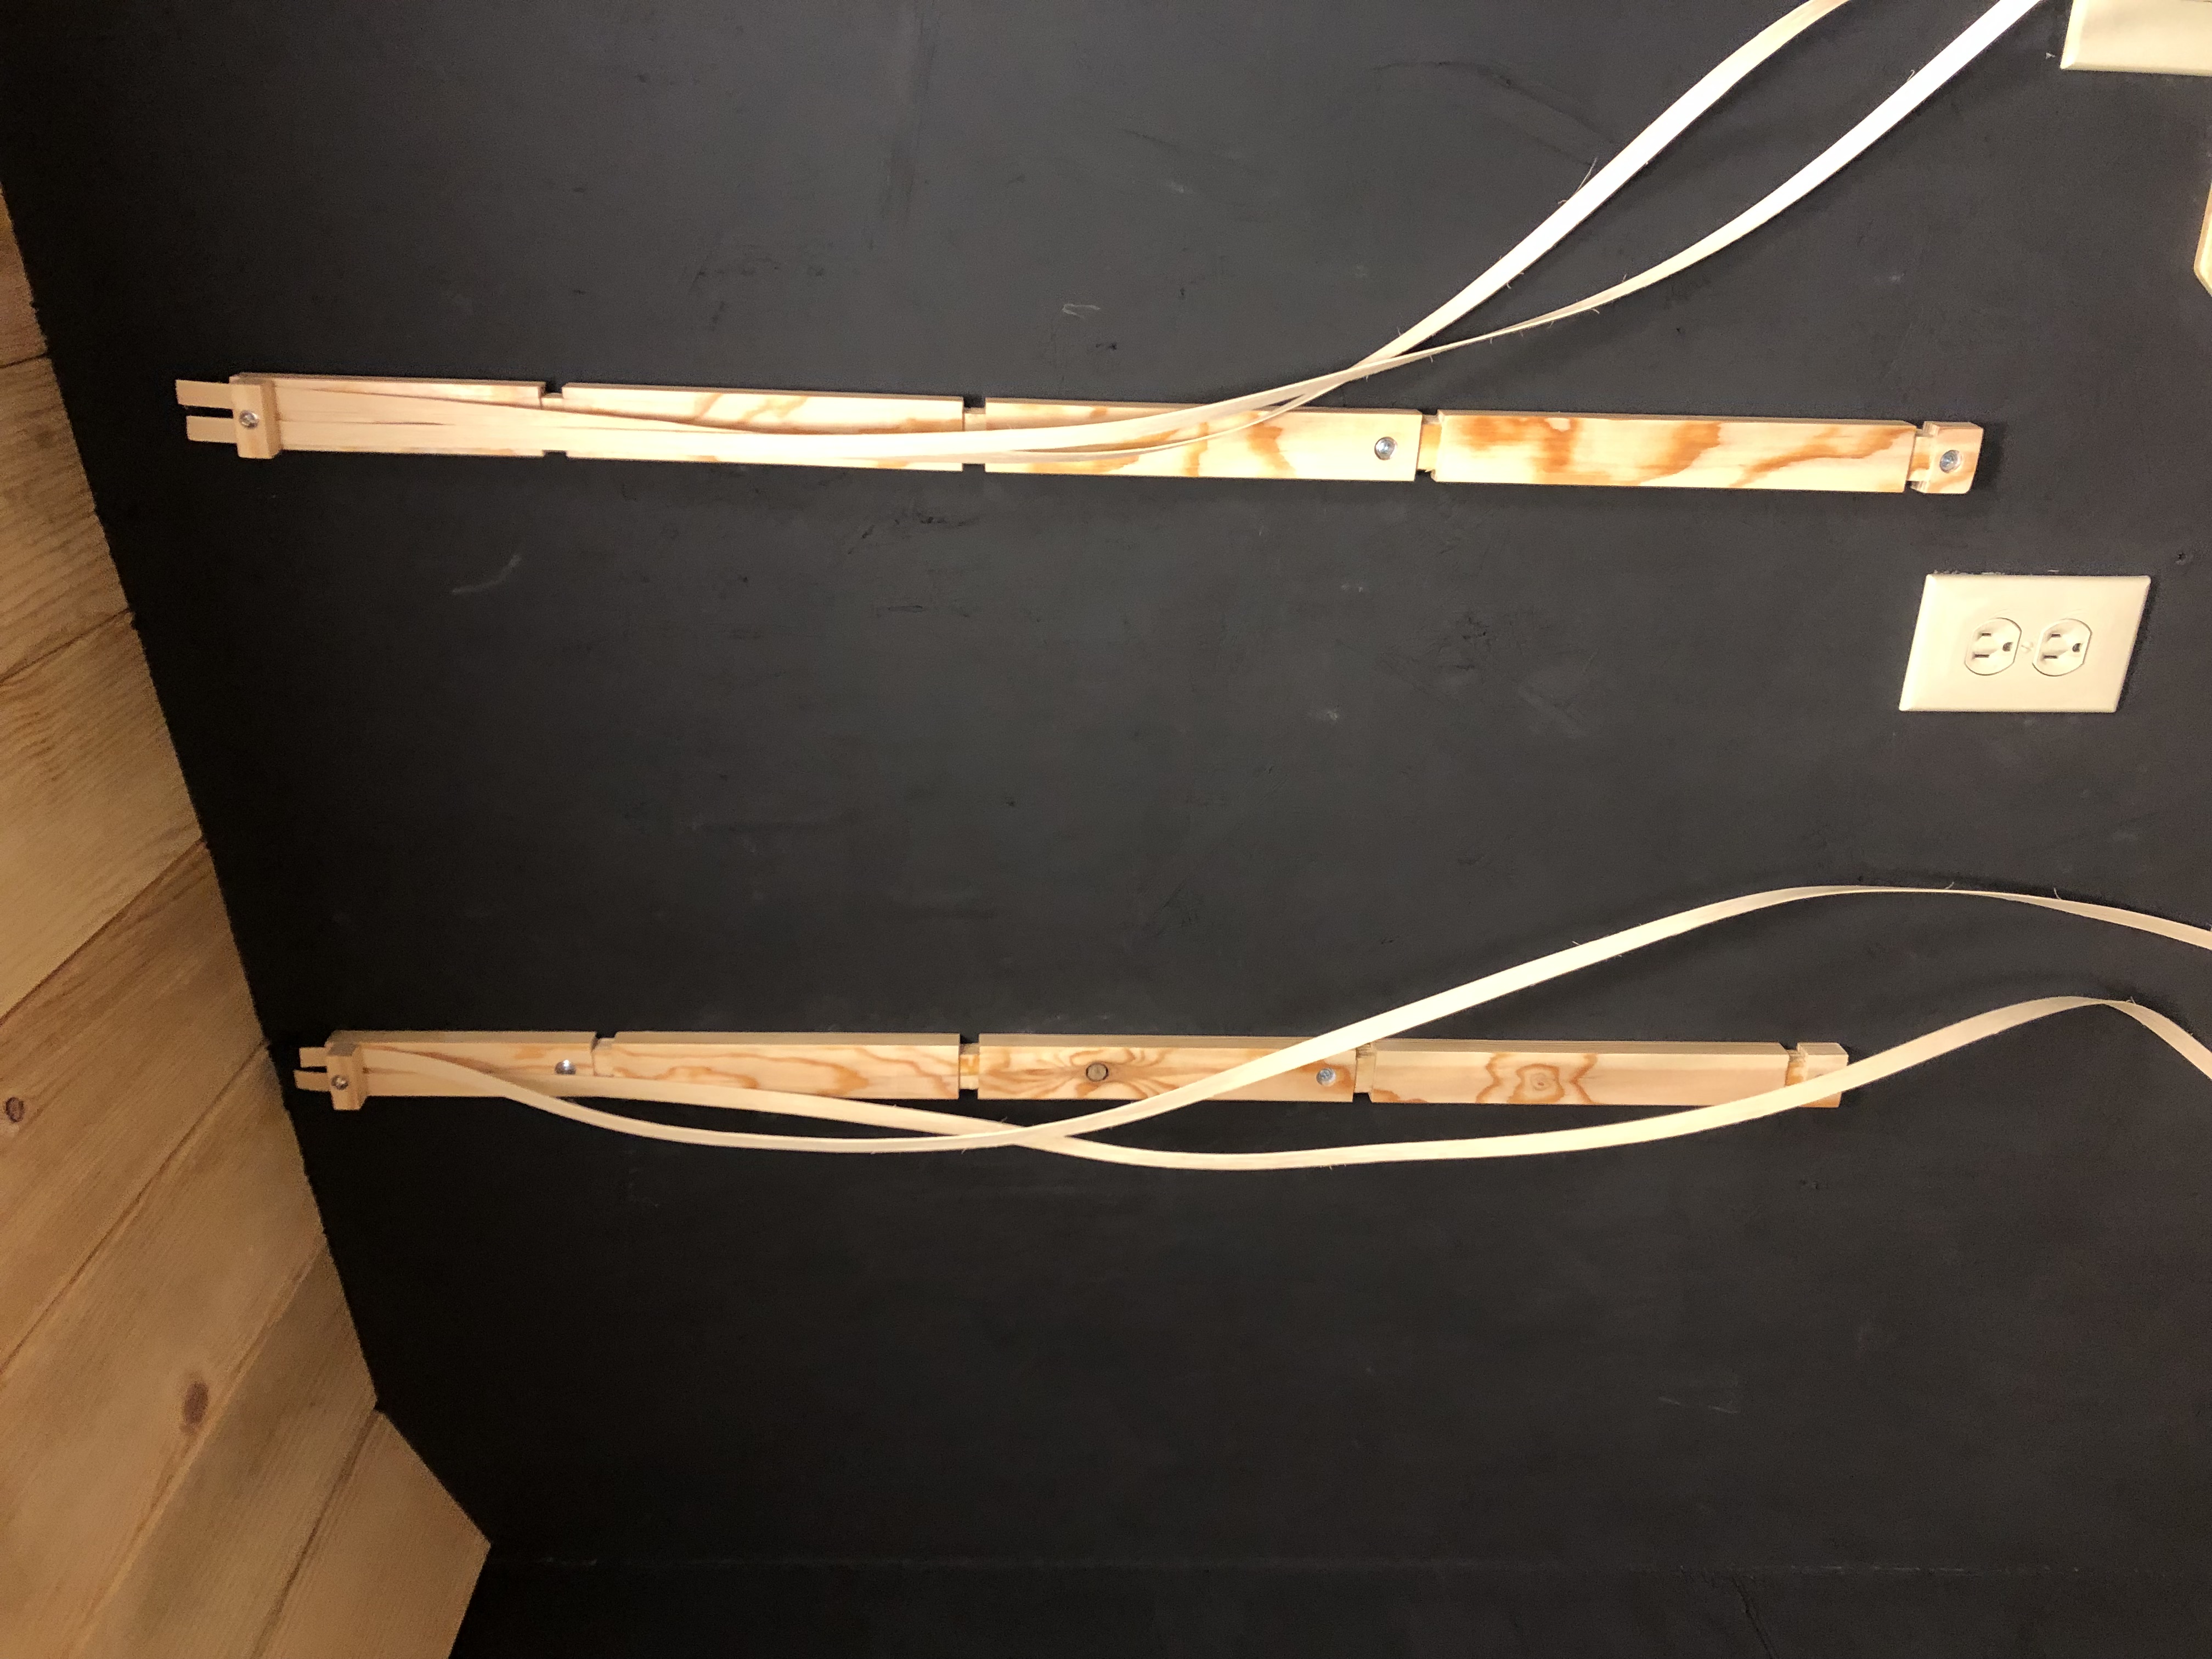
Next the first shelf is placed in the notches and the wood strips threaded into the front slots.
I followed with each subsequent shelf until they were all done.
Summary
The shelves work well. There are a few problems. First is the way the shelves are attached to the wall support could be improved. There is nothing to keep the shelves against the wall, they could pull forward. In practice this does not seem to be a problem, especially with weight present. I would do something different if I lived in California I suppose.
The wood strips do not look neat enough. Despite my efforts they do no pull exactly straight. This may change as they work under tension.
The 1/2 inch board thickness can be a little flimsy under extra weight but not a problem for this application. Books could present a problem and moving to 3/4 inch shelves or more supports would help.
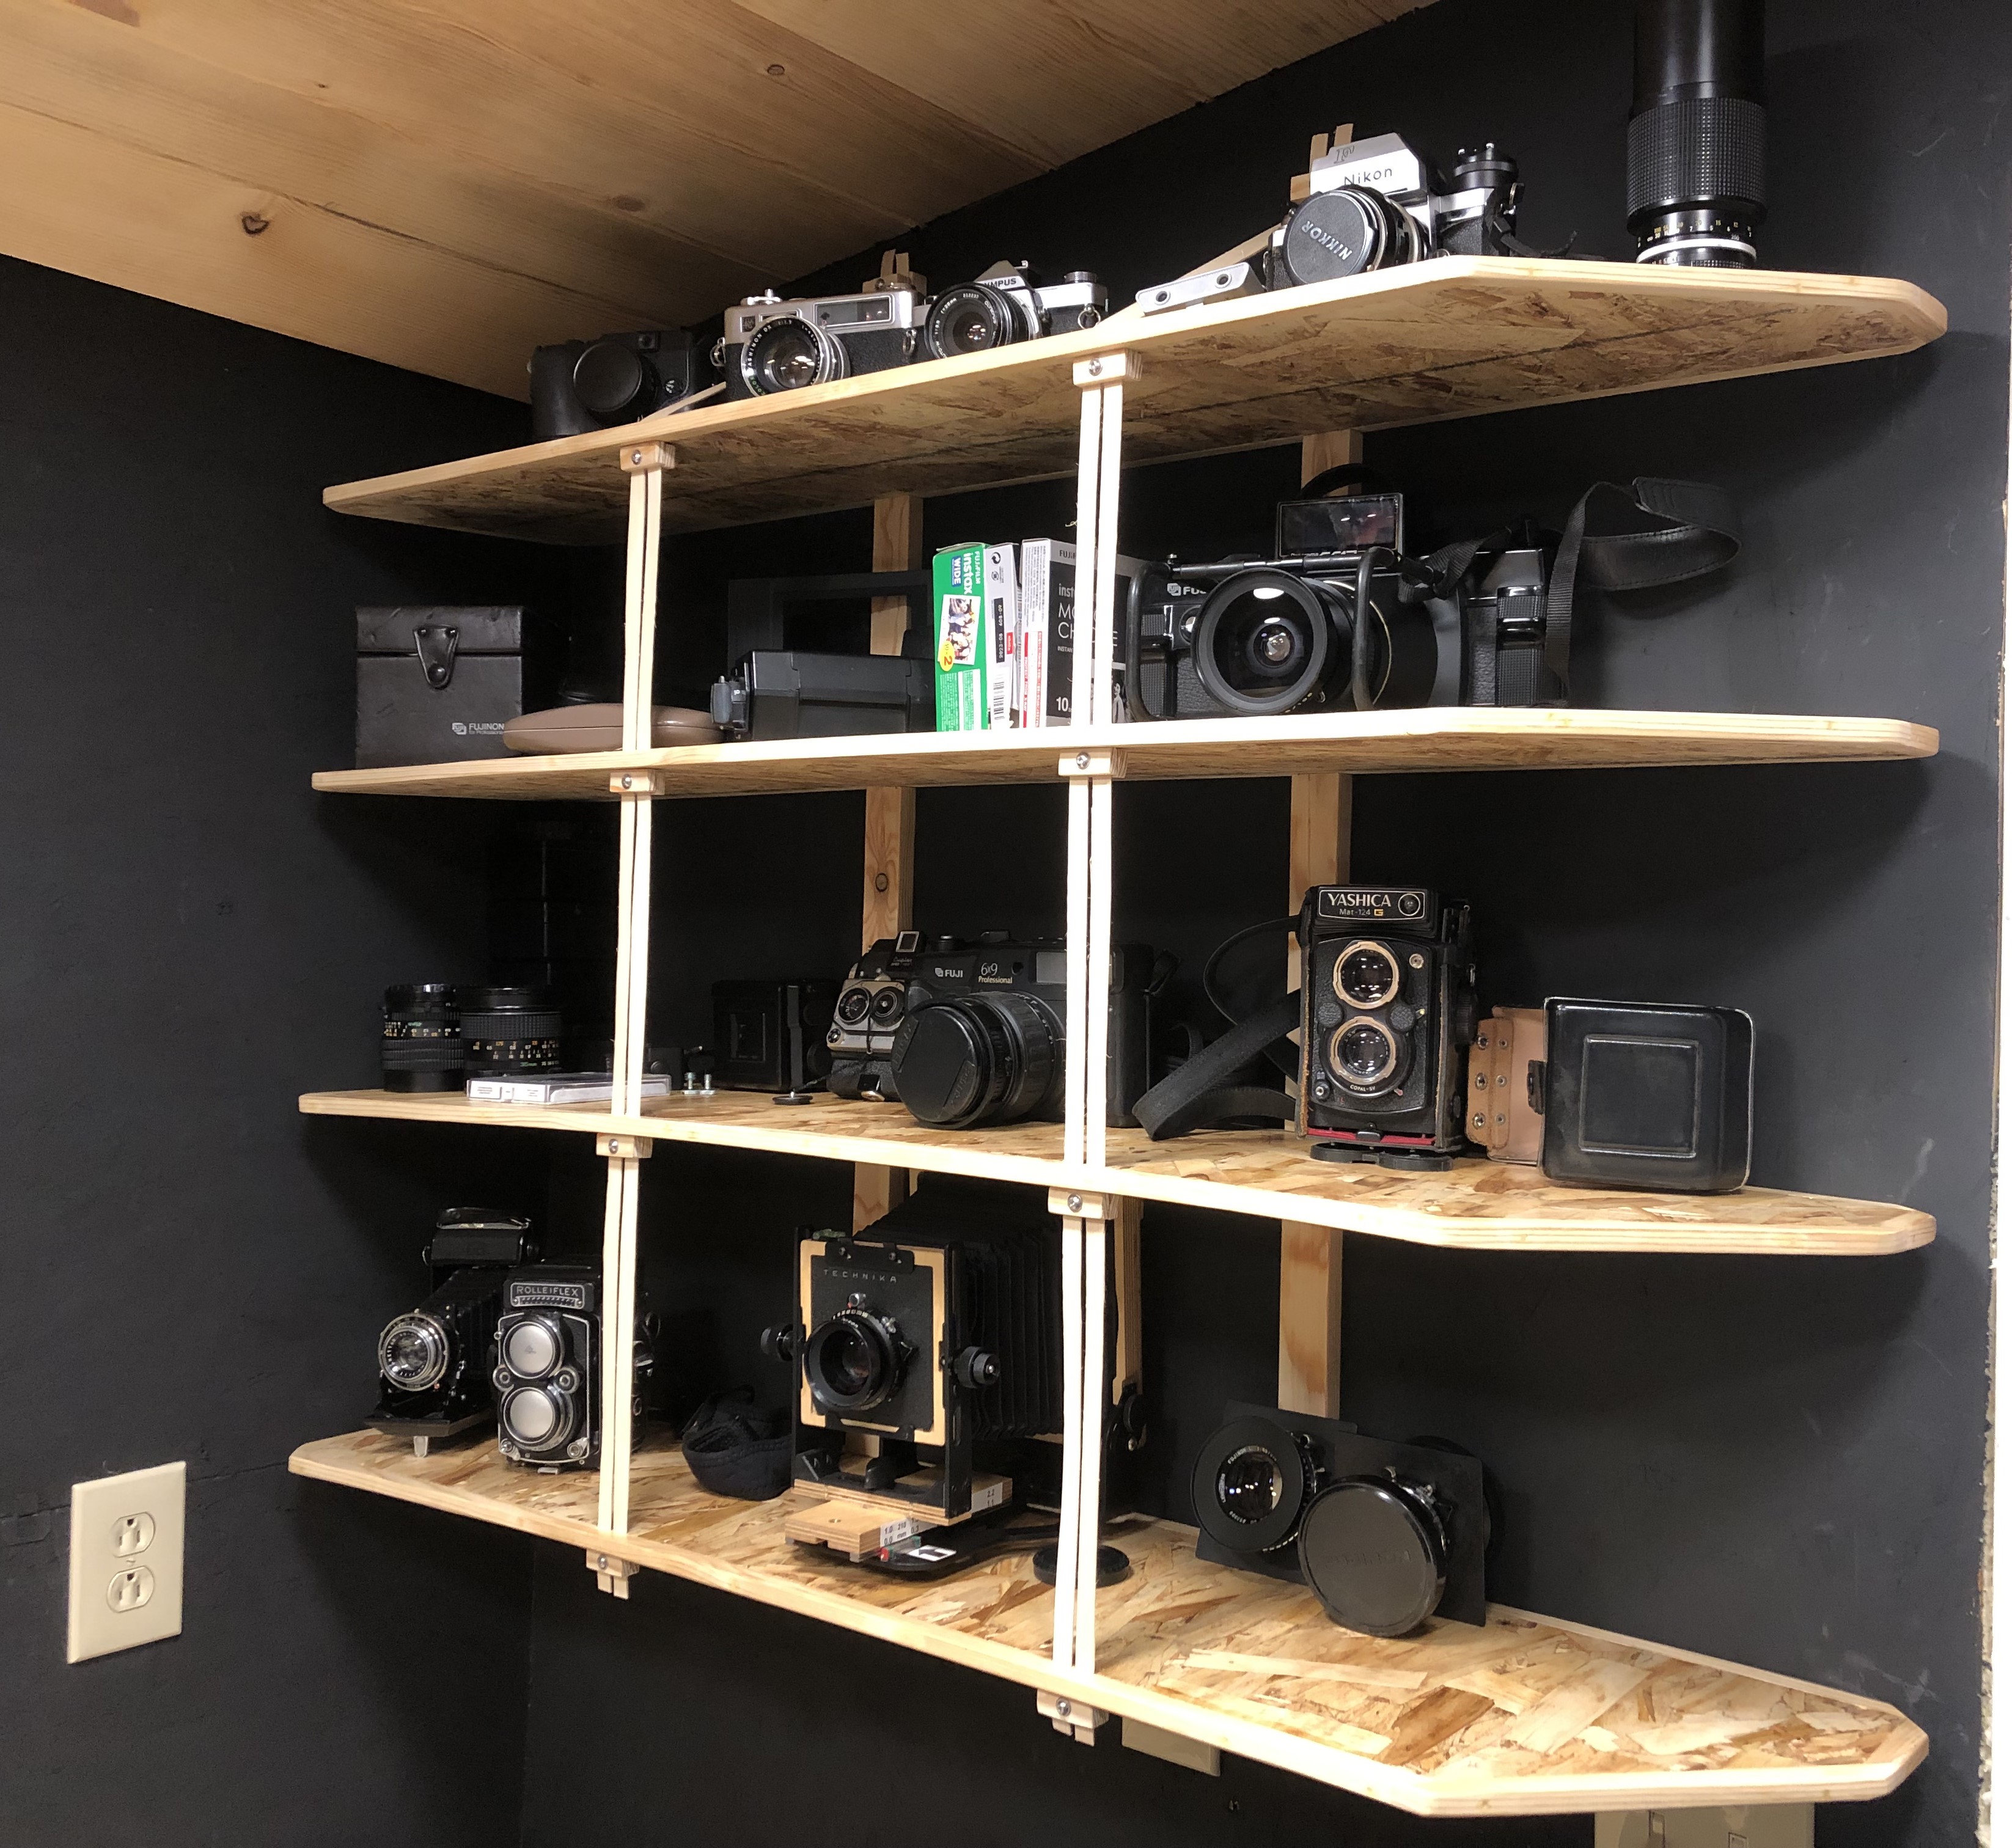
The design is very good overall. It serves the purpose and fits in well with the room.