Shed and Darkroom Project

This post is some means of explaining what I have been up to the last few months.
Moving to the US has meant we have a much smaller house and the consequence is that there is not enough room for a dedicated darkroom. I decided last year that it would be best to build a modest shed to house the darkroom.
The local building code allows for a shed up to 100 sq ft to be built without a building permit if setbacks are respected. We have a limited back garden (yard) and so I settled on an 8x11 ft footprint. Within this I opted for 8x8 ft footprint for the darkroom and the remaining space would be a separate storage area.
Being as we arrived at the end of September there was some urgency to get started so a couple of weeks after arriving I started in early October. It was key to get the roof on and the structure weathered-in as winter approached. Painting the exterior would be done when temperatures were above 35 degrees F. Fall here in North Idaho can have extended days of steady rain which puts the kybosh on working outside as well.
The climate here can get quite cold but I decided to make the exterior walls 2x4 studs as this would minimize the impact on the square footage leaving 8 inches short of 8ft in each dimension. (Most walls in houses are now 2x6 to allow more insulation.)
Beyond this I didn’t do much planning. I had shipped just my 4x5 enlarger and had to junk my Meopta 6 medium format enlarger. (Ebay and Facebook market place could not find a buyer. Too bad as I had a lot of good times on that enlarger.) The 4x5 is what I call the Beast a Durst Labrator 1200 of ancient vintage. It can handle 35mm through 4x5 so just about anything I want to do aside from 6x17.
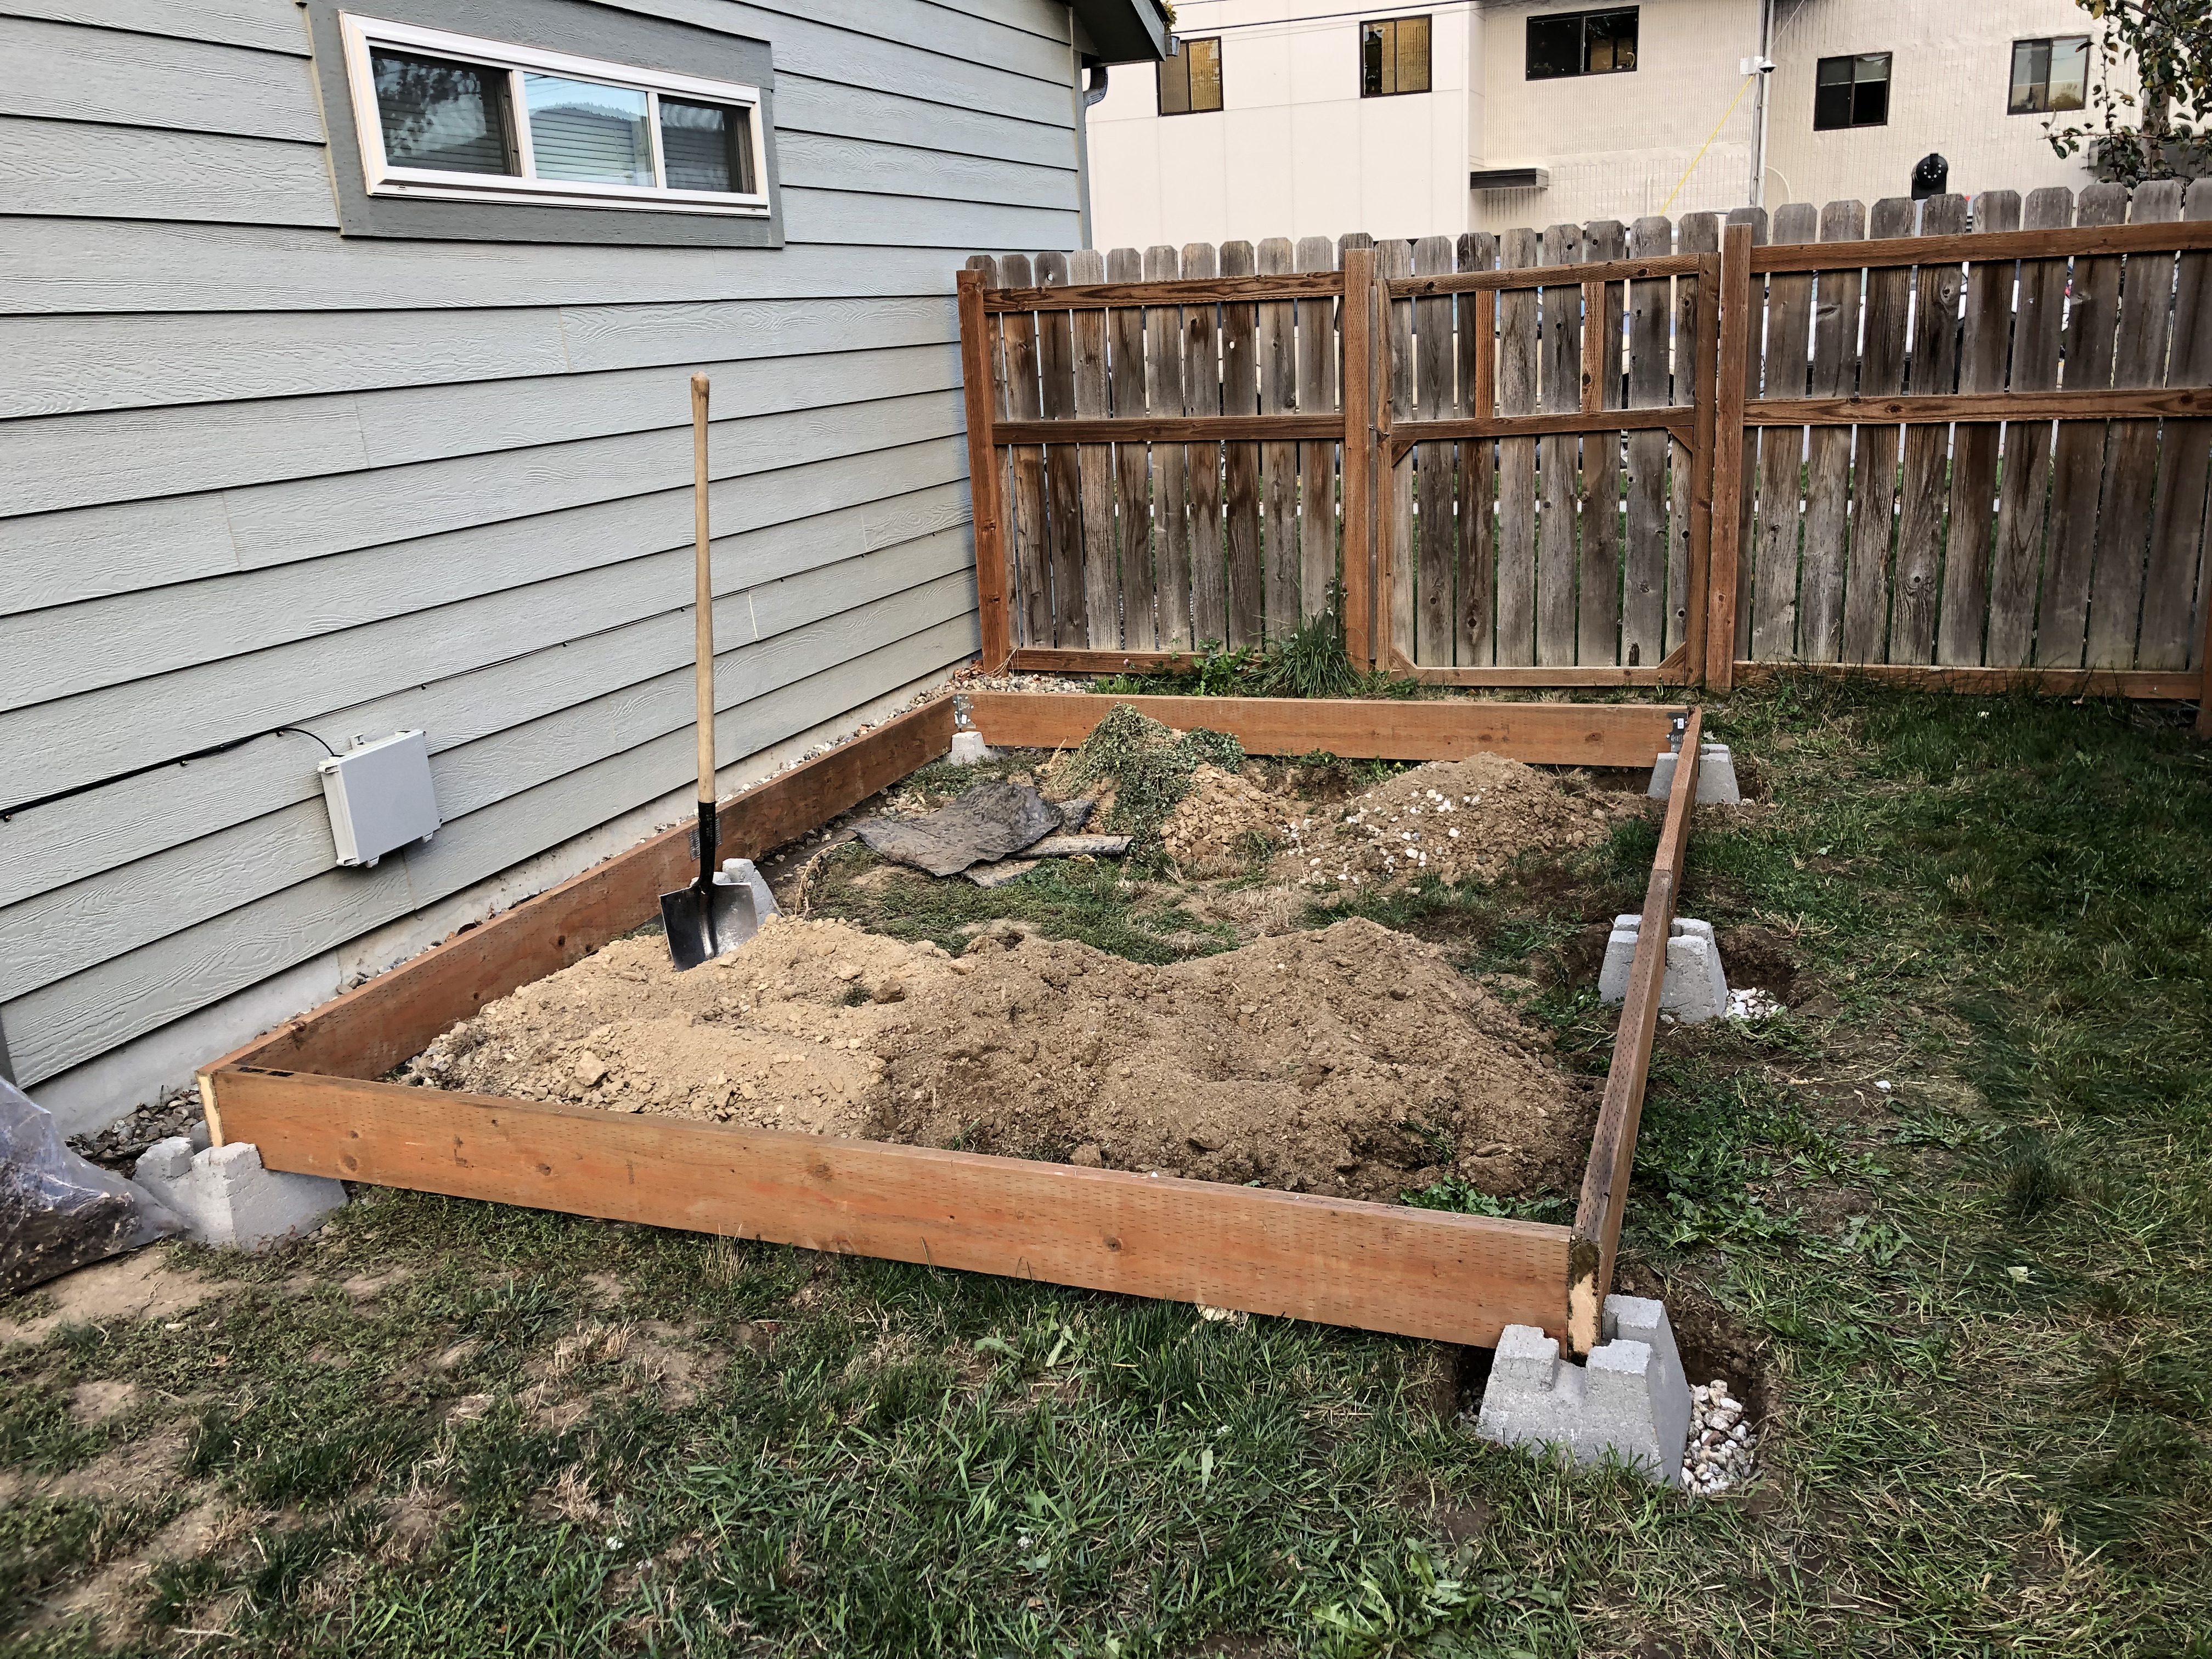
The foundation of the shed was 6 concrete blocks set on gravel 16” deep to get below the frost line. The load bearing frame is 6x8 pressure treated wood and then 2x6 joists hung on joist hangers.
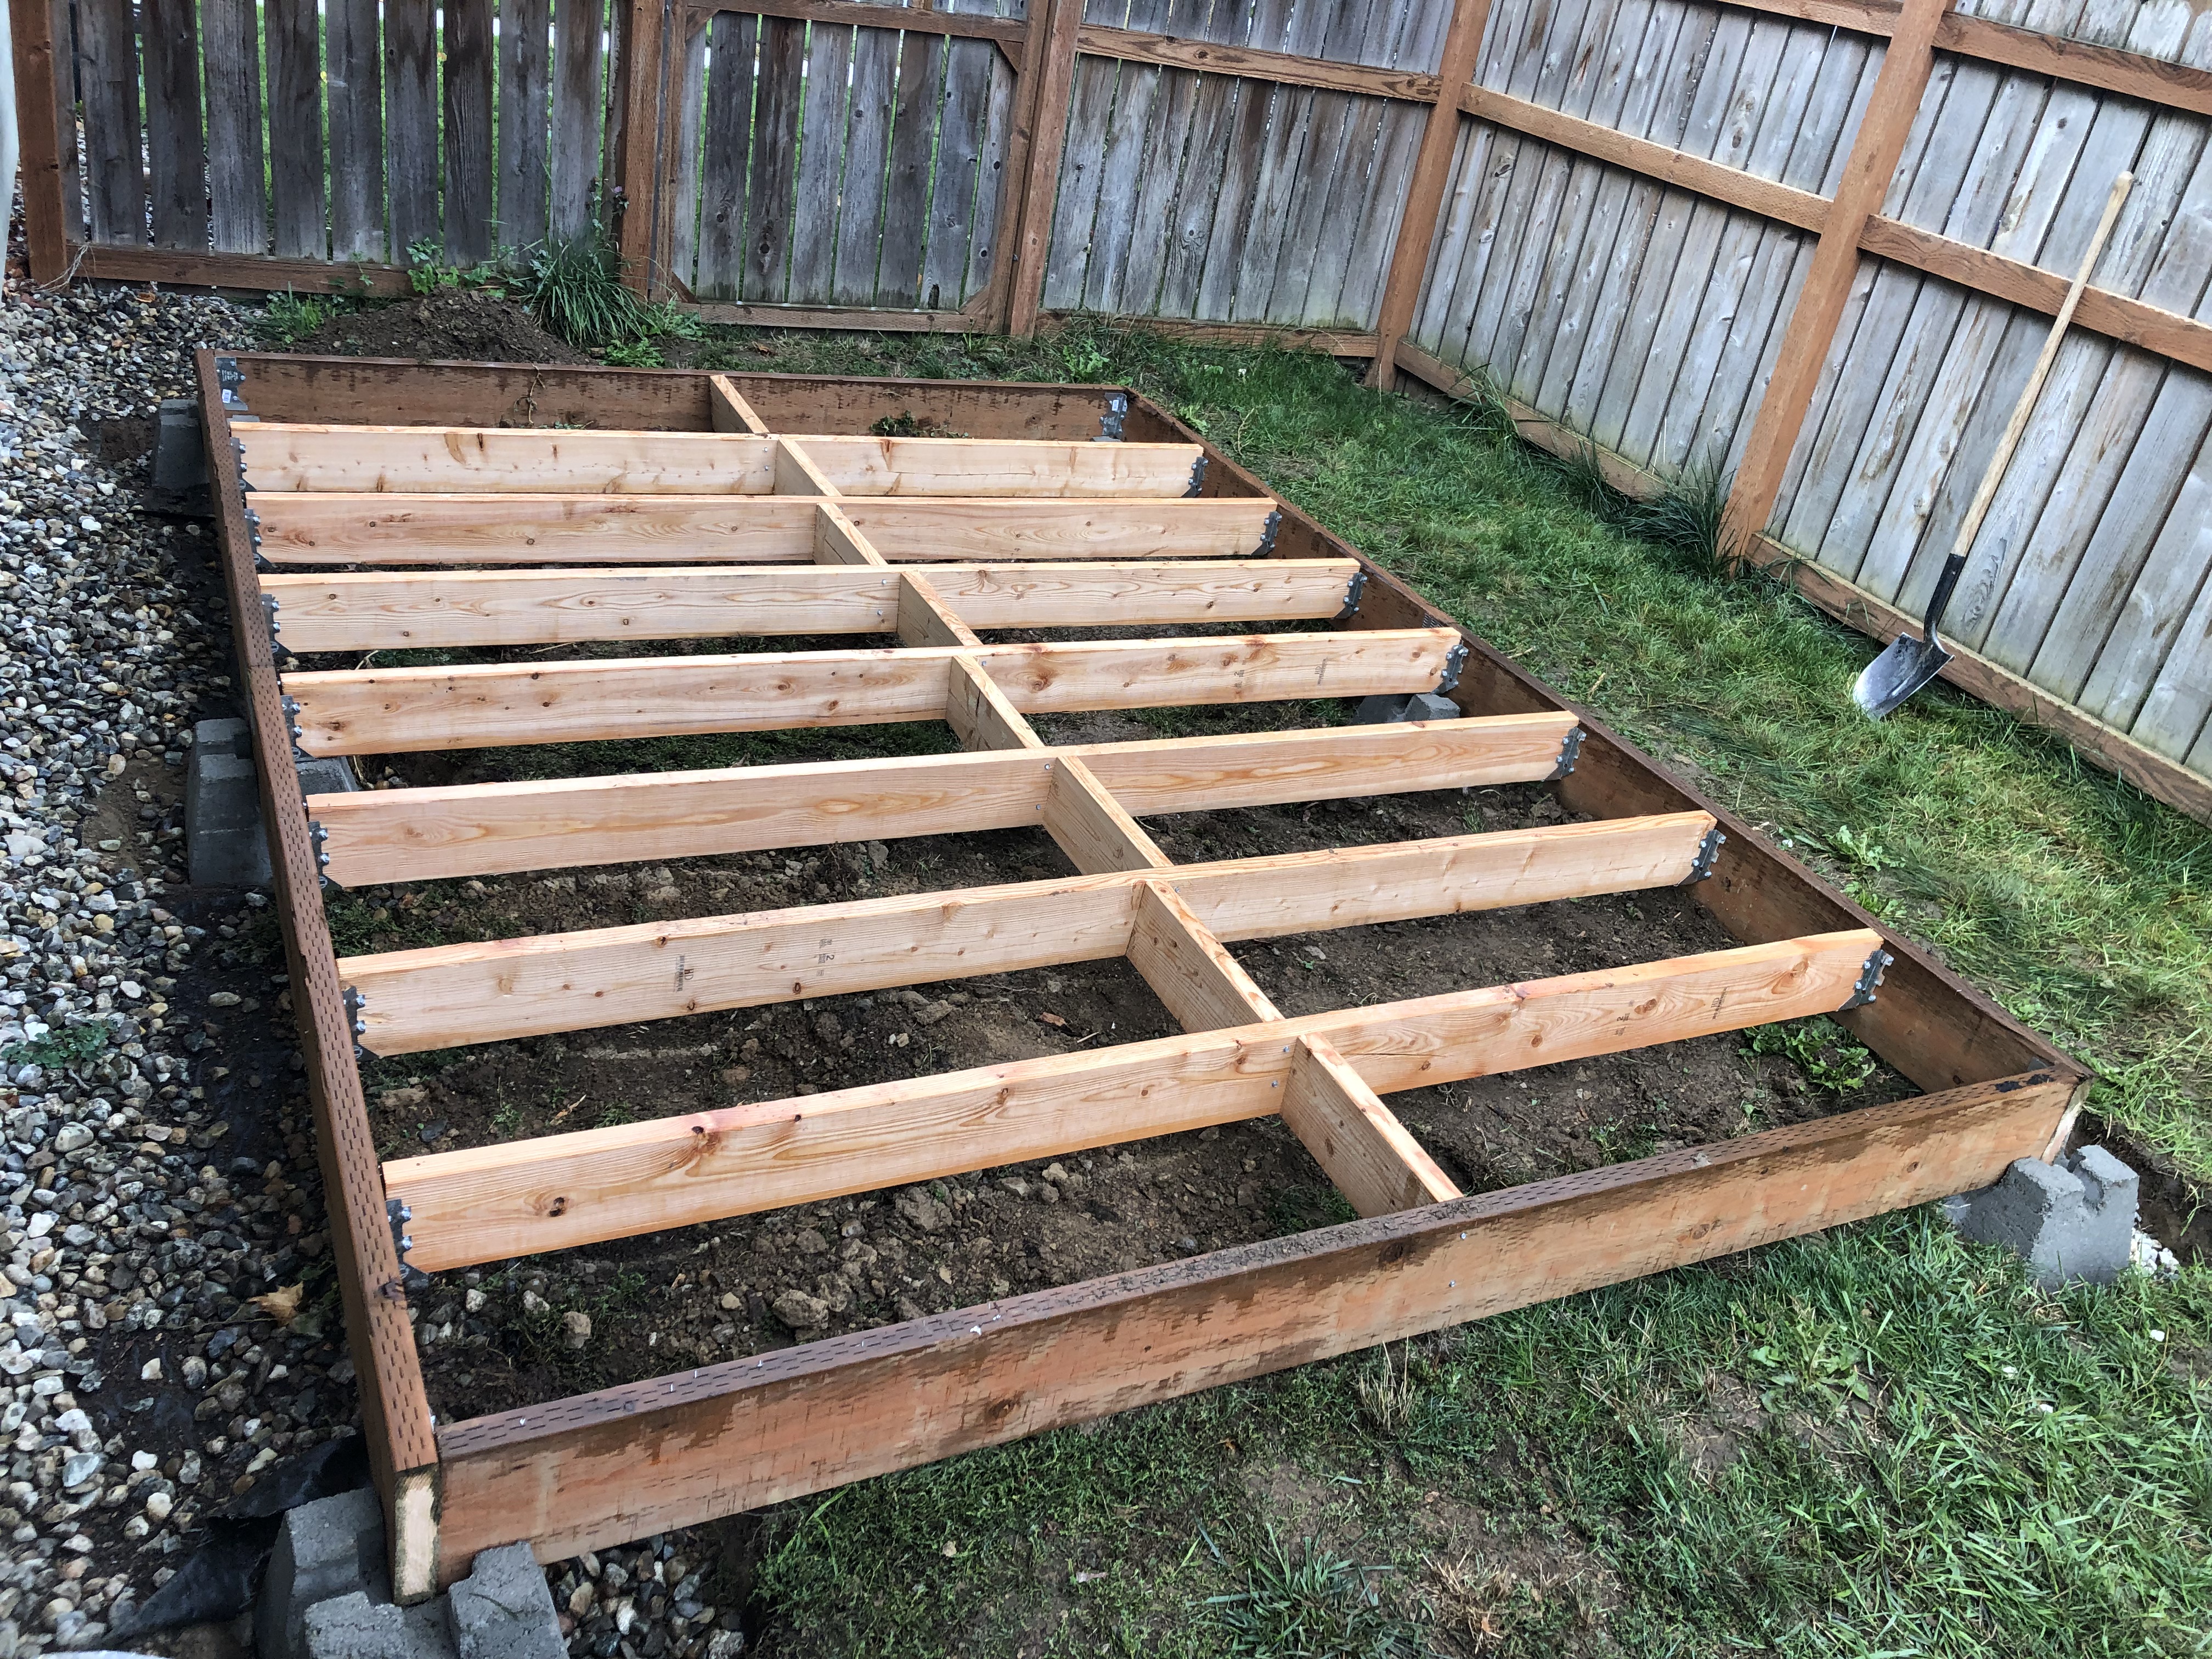
Next was R-16 fiberglass insulation followed by 19/32 OSB decking for the floor. By now the floor was solid and very level.

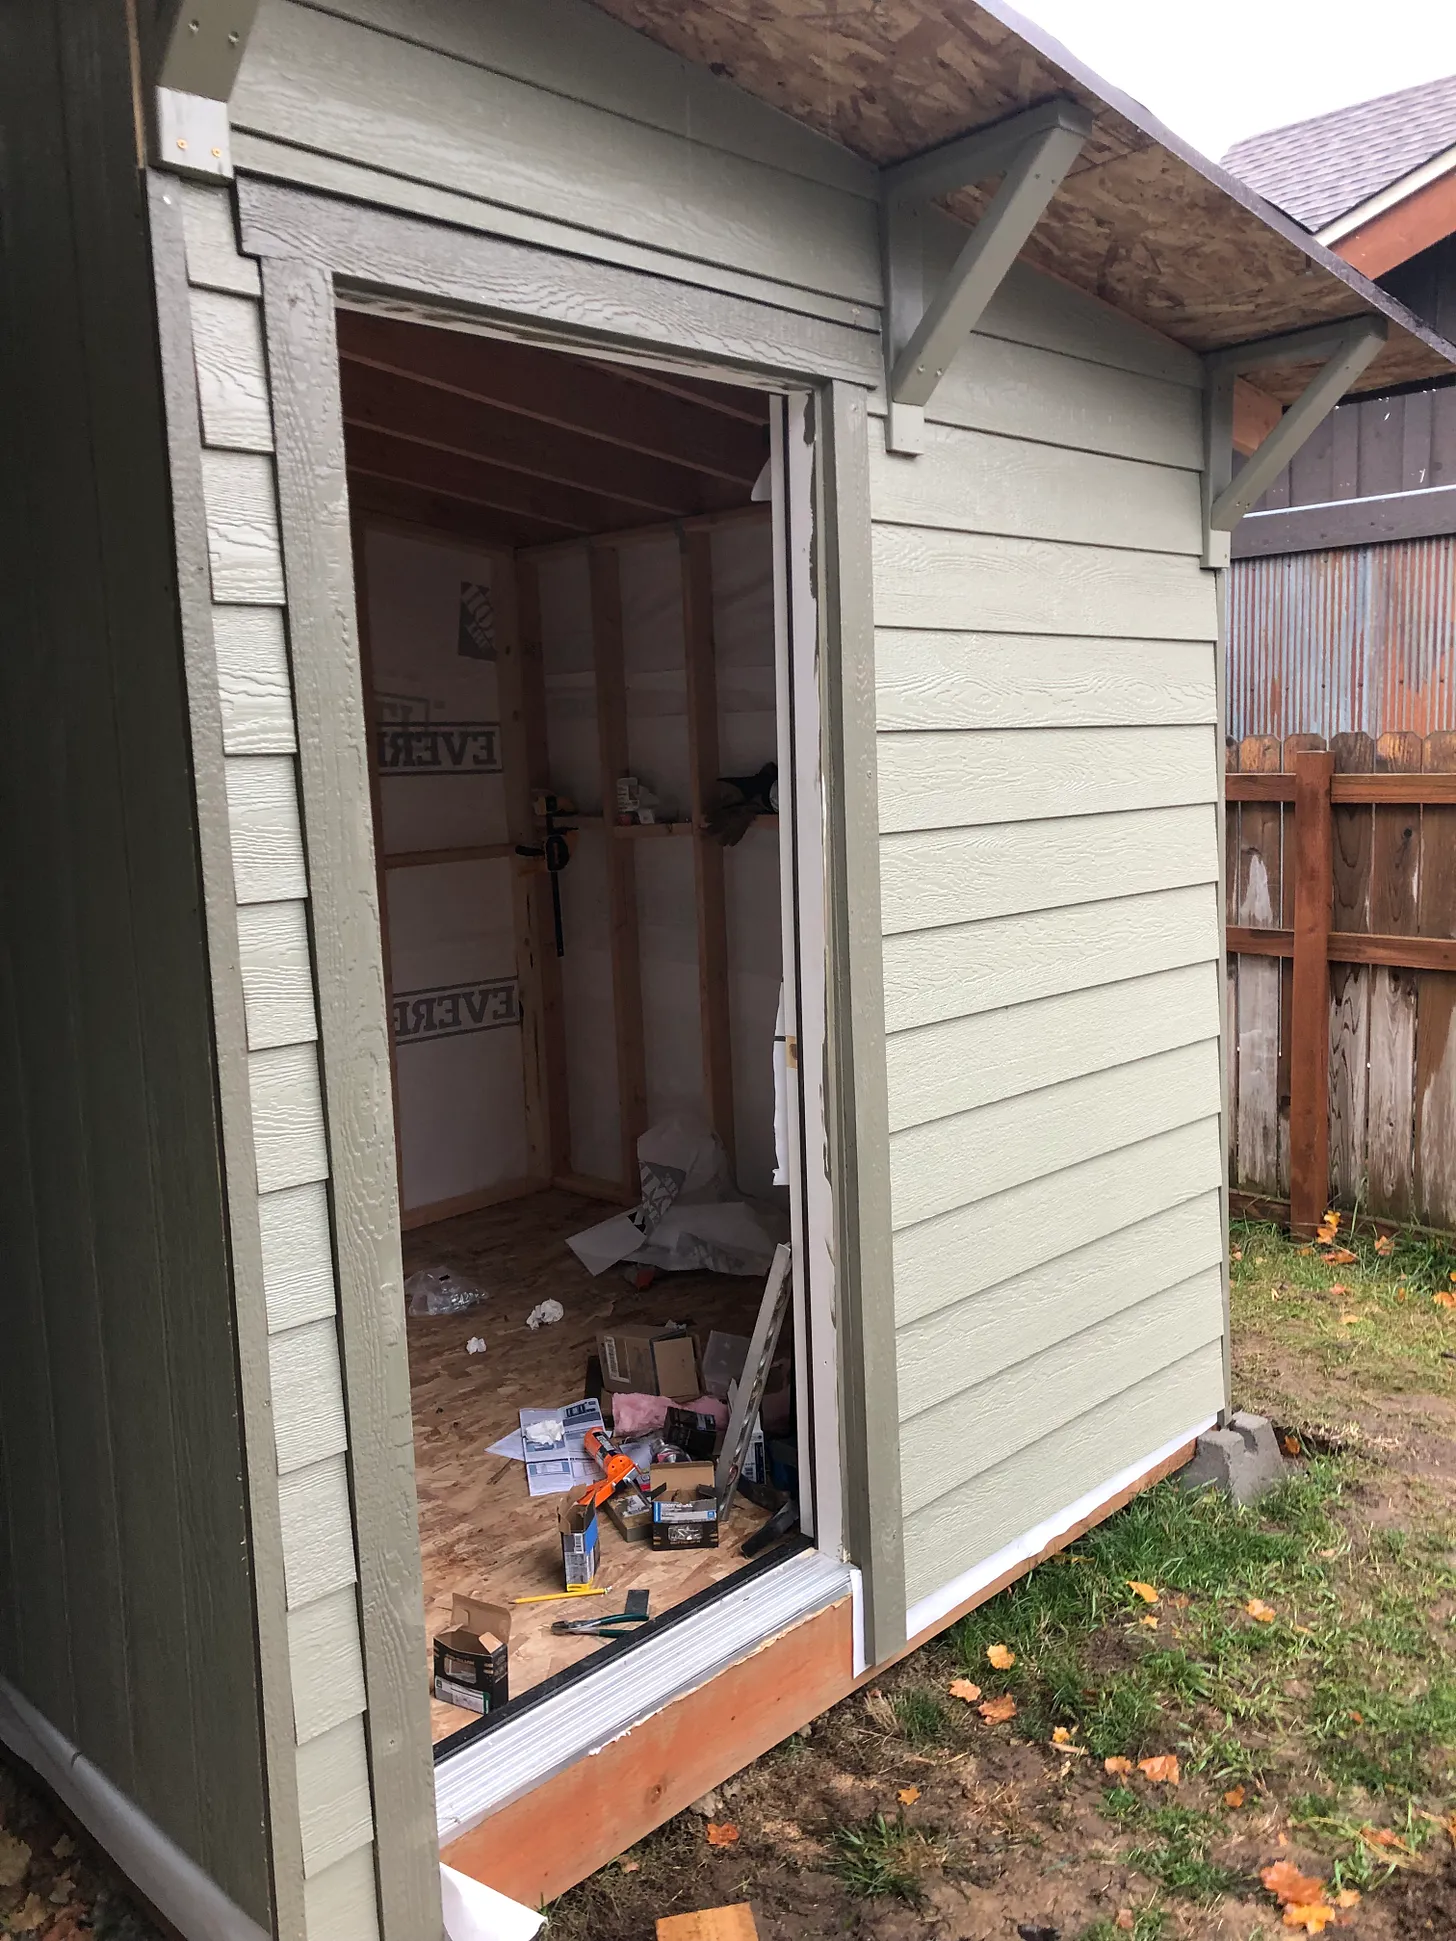
Next the stud walls went up. The back wall against the house was the most difficult as I imagined that putting up the siding and painting it after it was erected would be a problem. I built the wall complete with siding and painted it as well. This made it a heavy lift for me and my wife. Once it was braced the other walls went up fairly easily. Everything is 16 inches on-center. I wanted a sturdy little box.
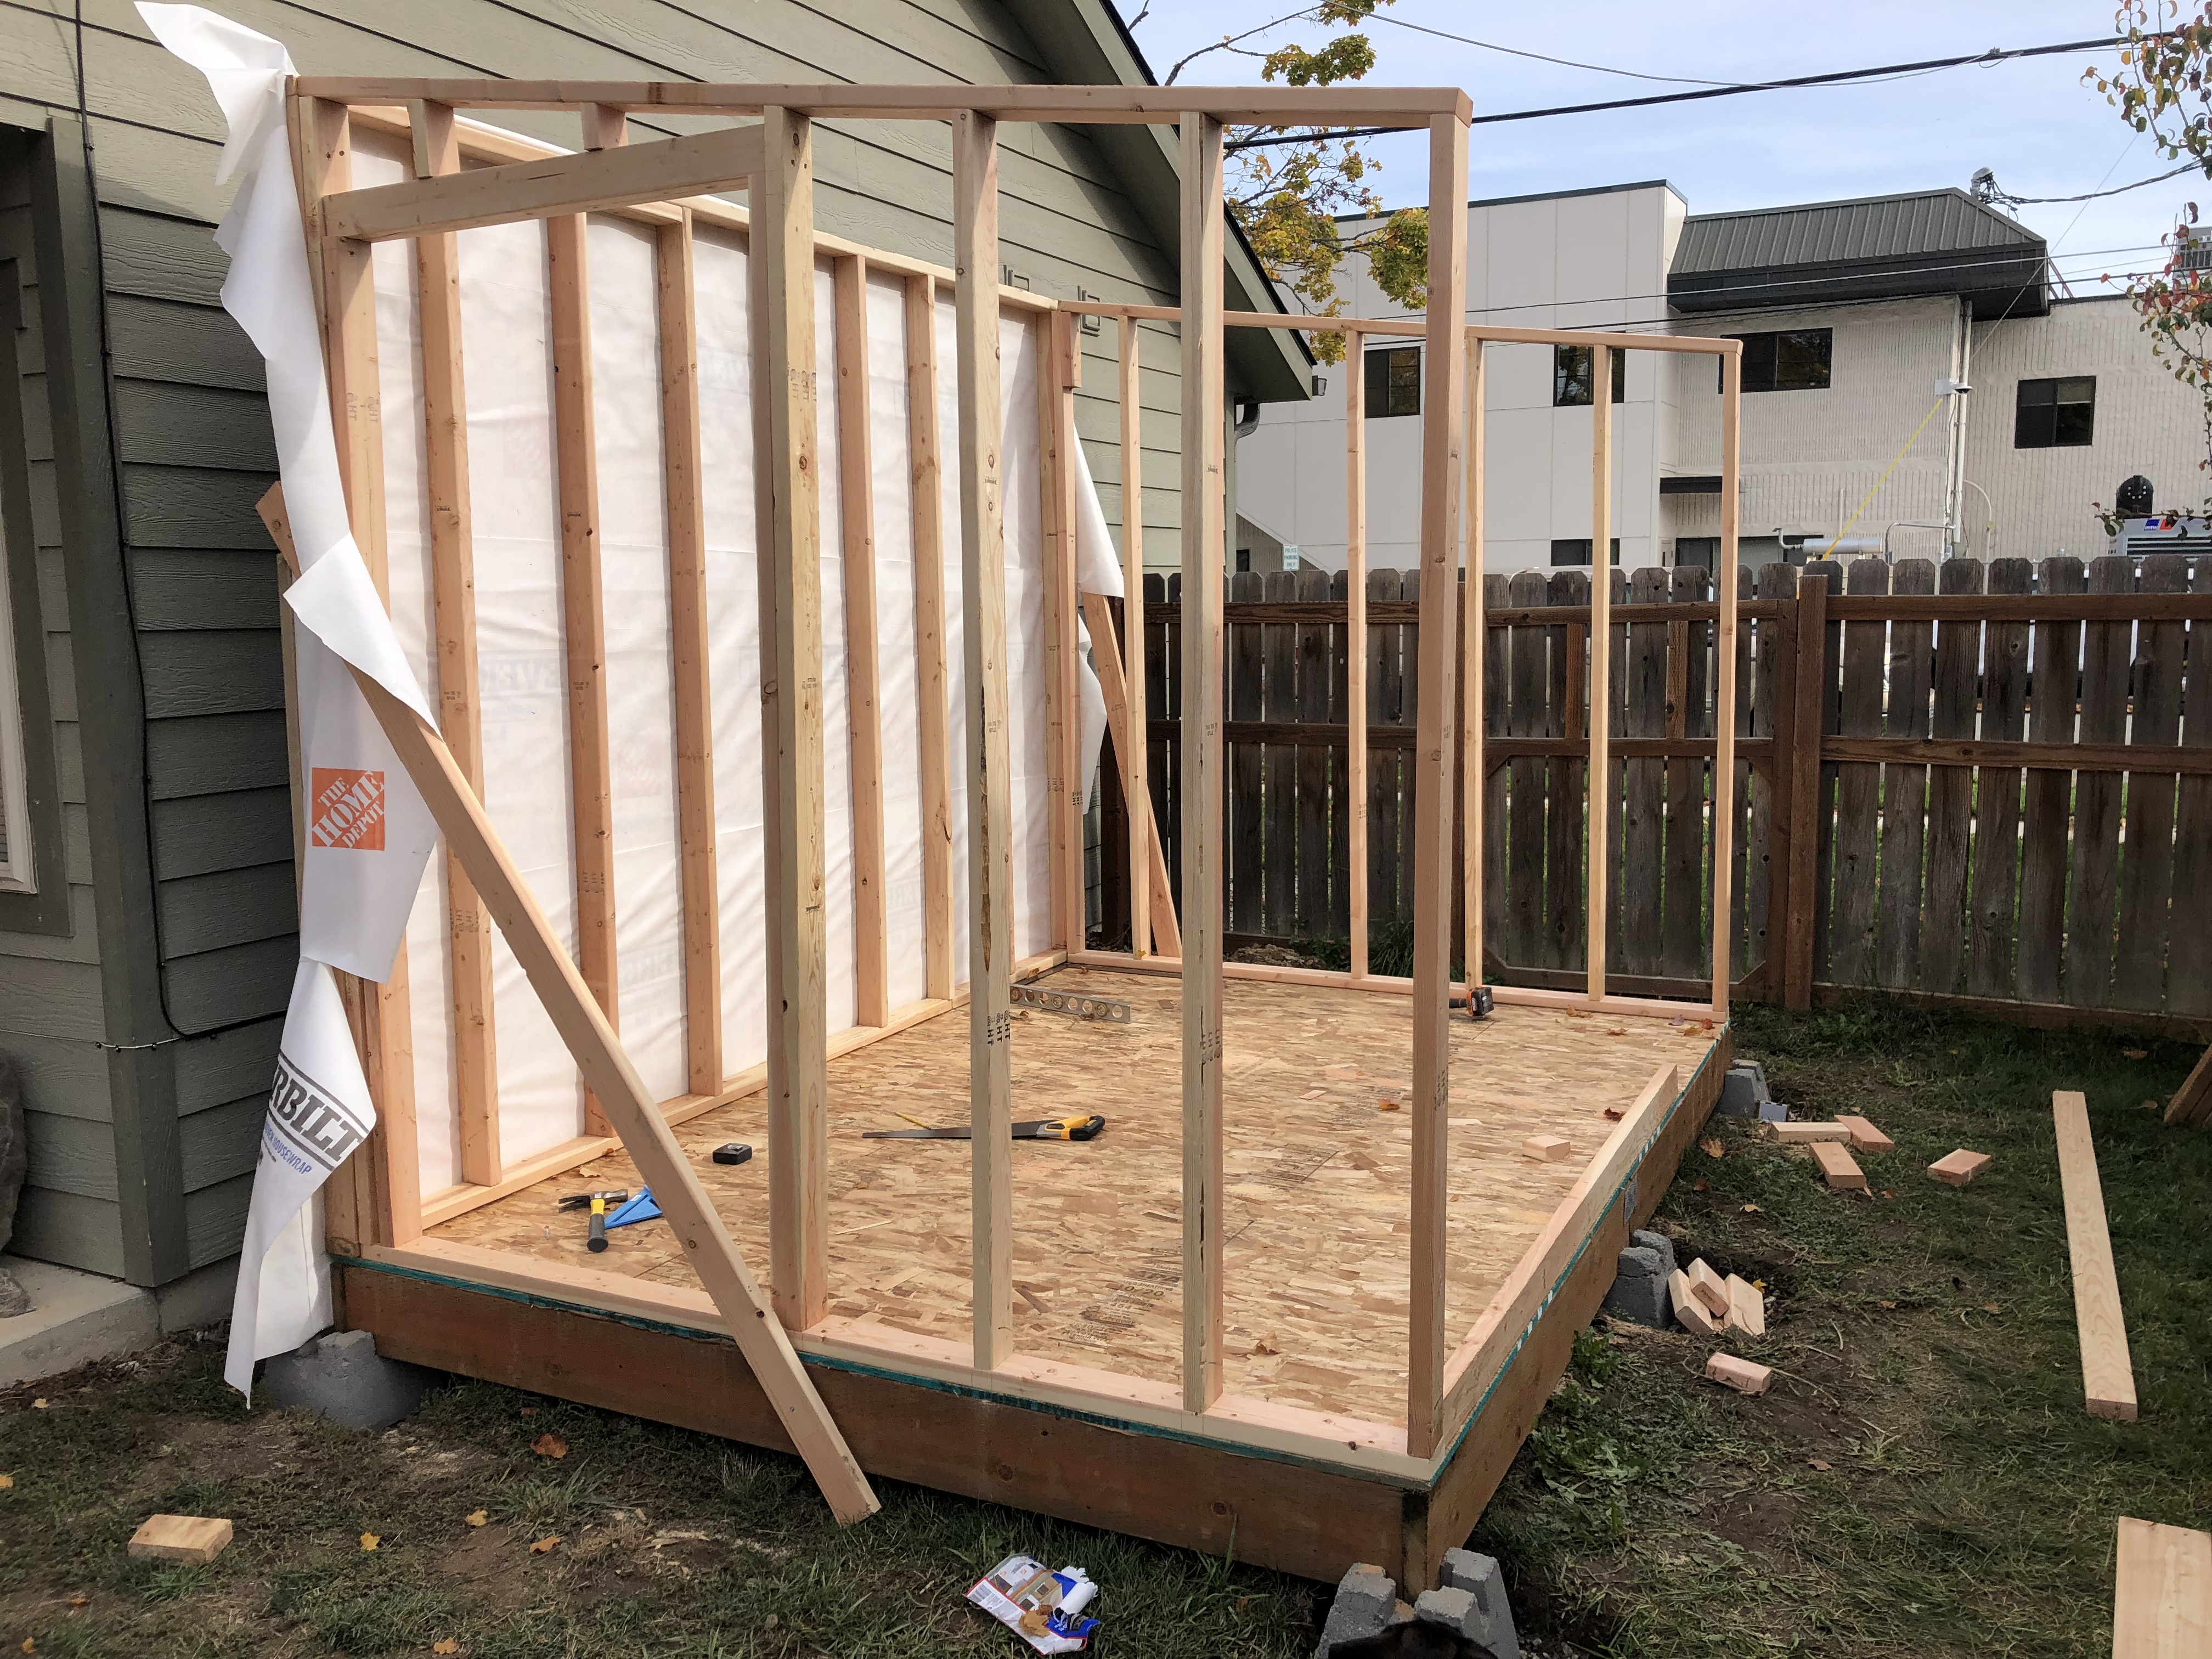
Since my tools had not arrived yet from the UK I worked with a borrowed cordless drill and hand tools. Most of the framing was done with structural screws and not nails. Though more expensive they are easier to take apart when a mistake is made. (I did surprise myself at how well I could wield a hammer after so many decades of not doing so.)
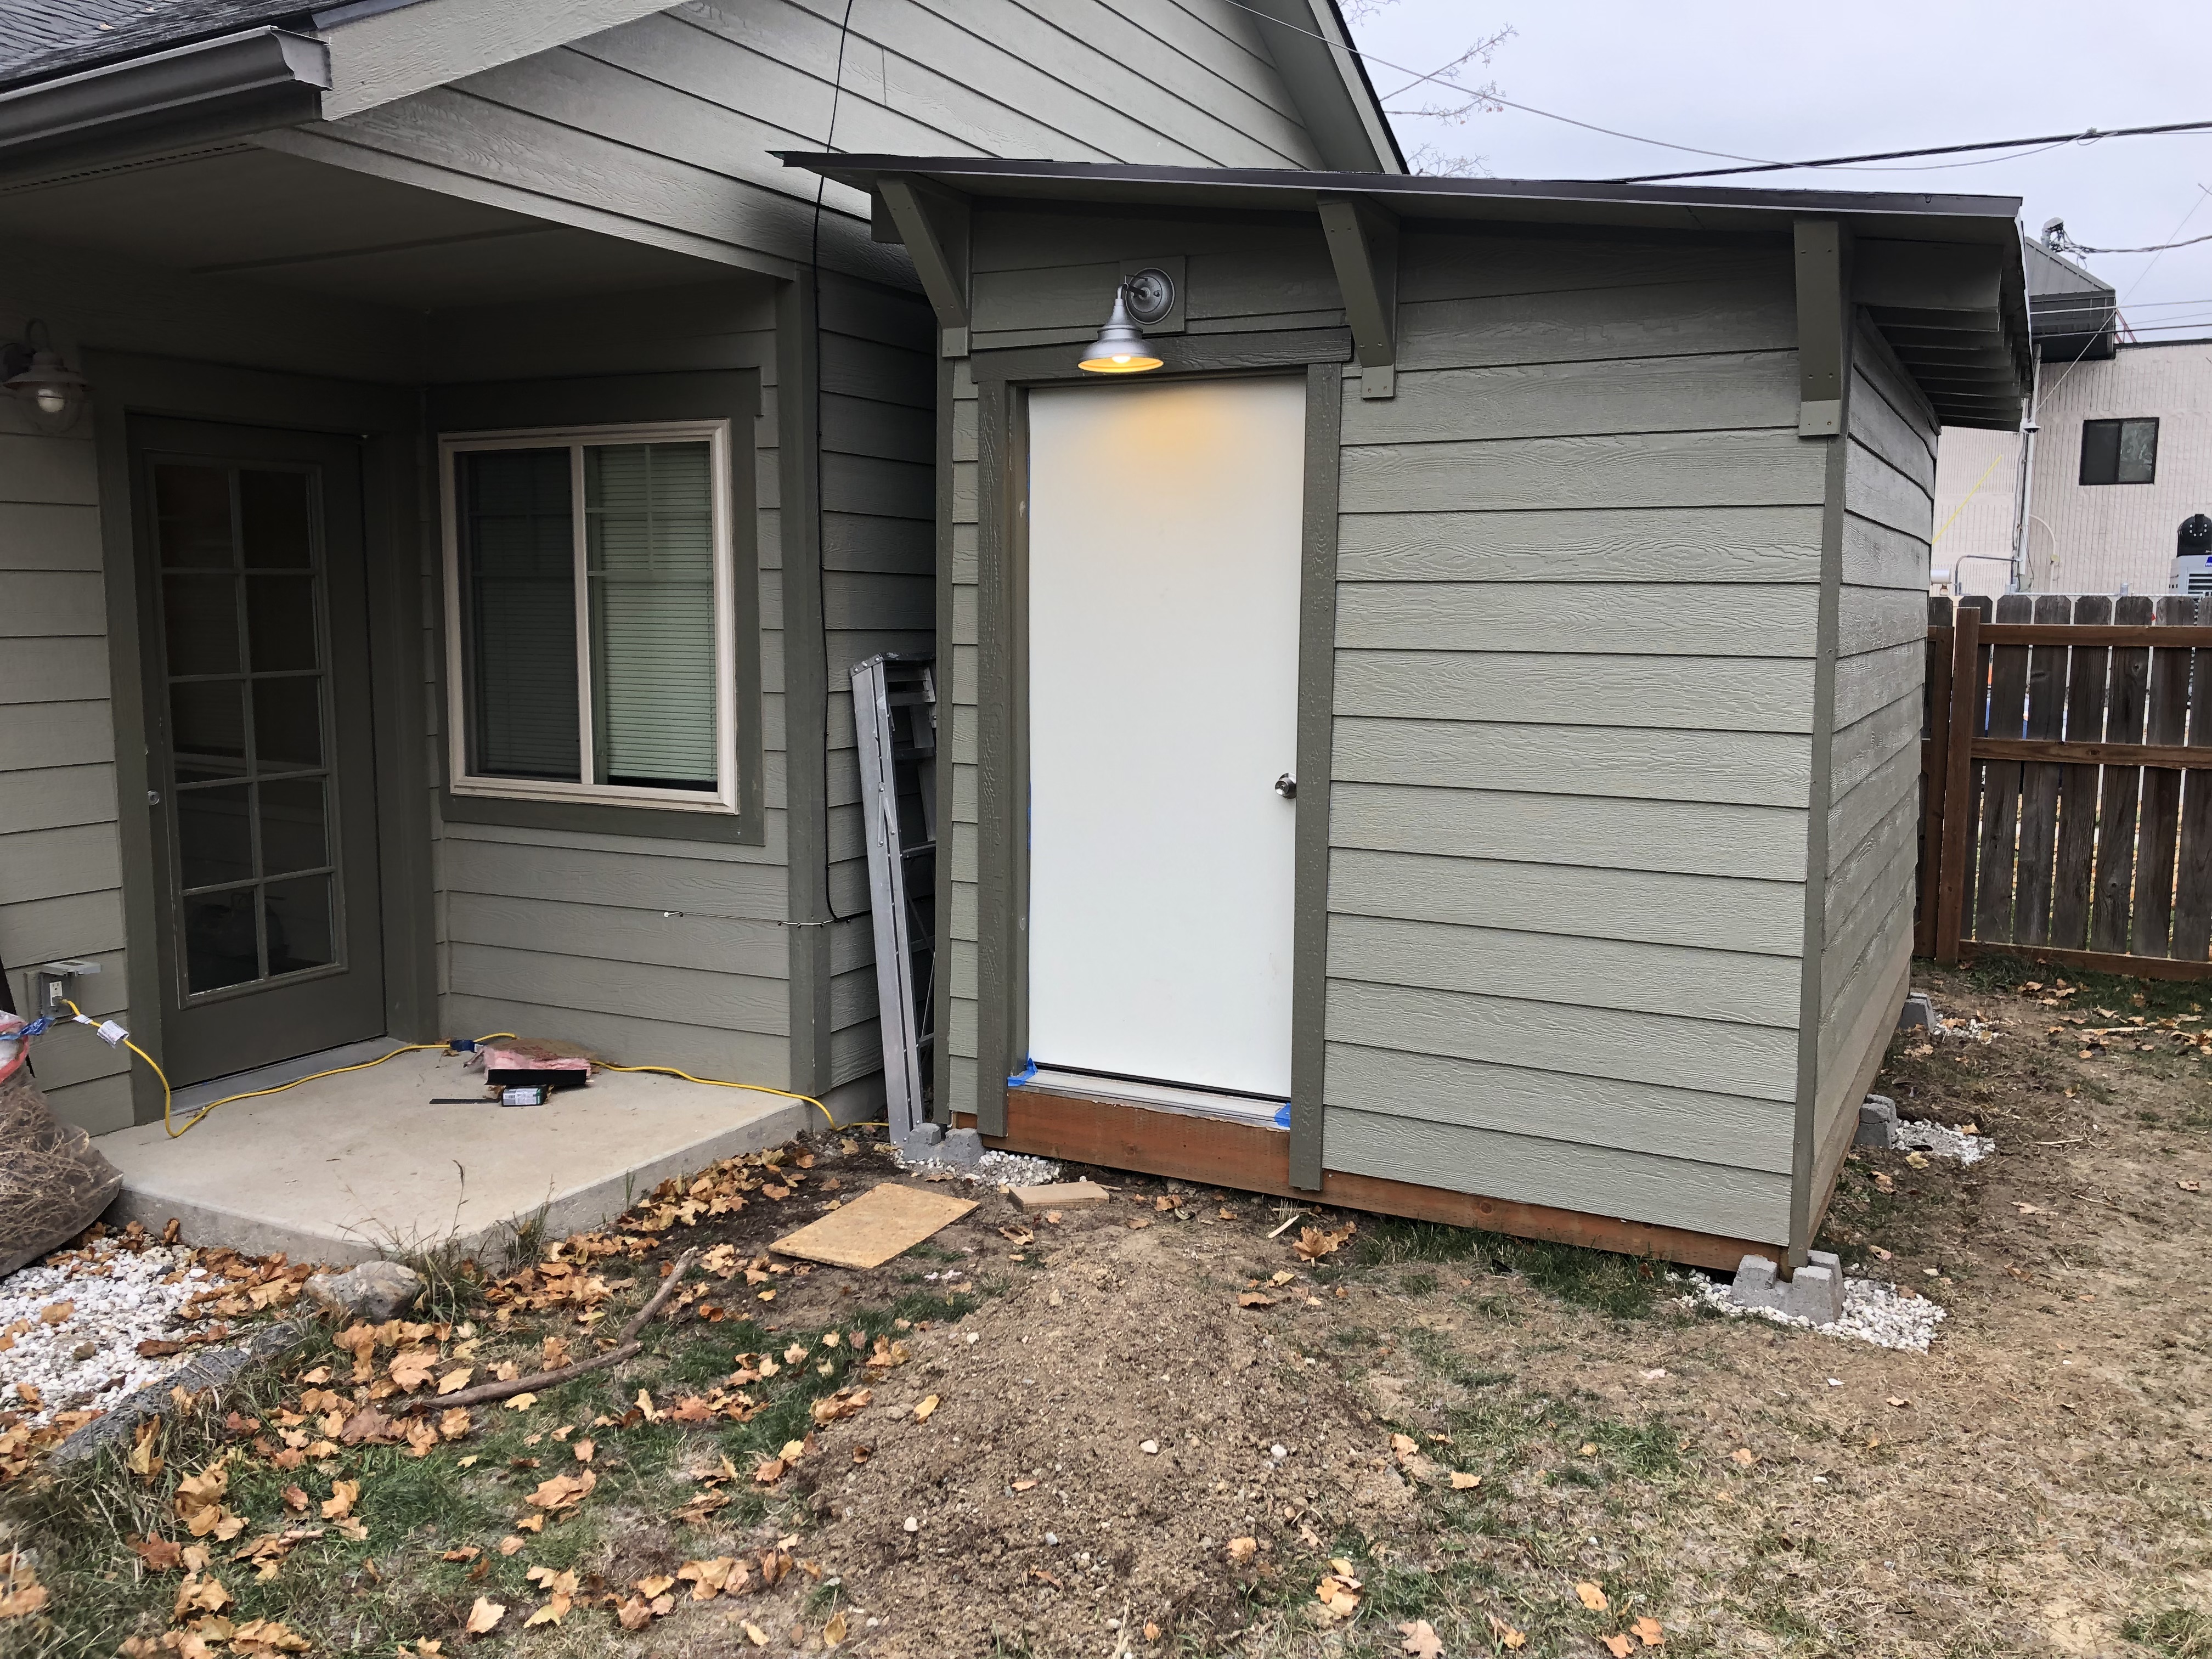
With the walls up I next set the roof rafters. It has a simple shed roof and for simplicity and cost. I sloped it from 8 feet high to 7 feet high over 8 feet making a 1.5 pitch roof. (In the USA roof pitch is expressed as how much rise over 12 feet of horizontal run.)
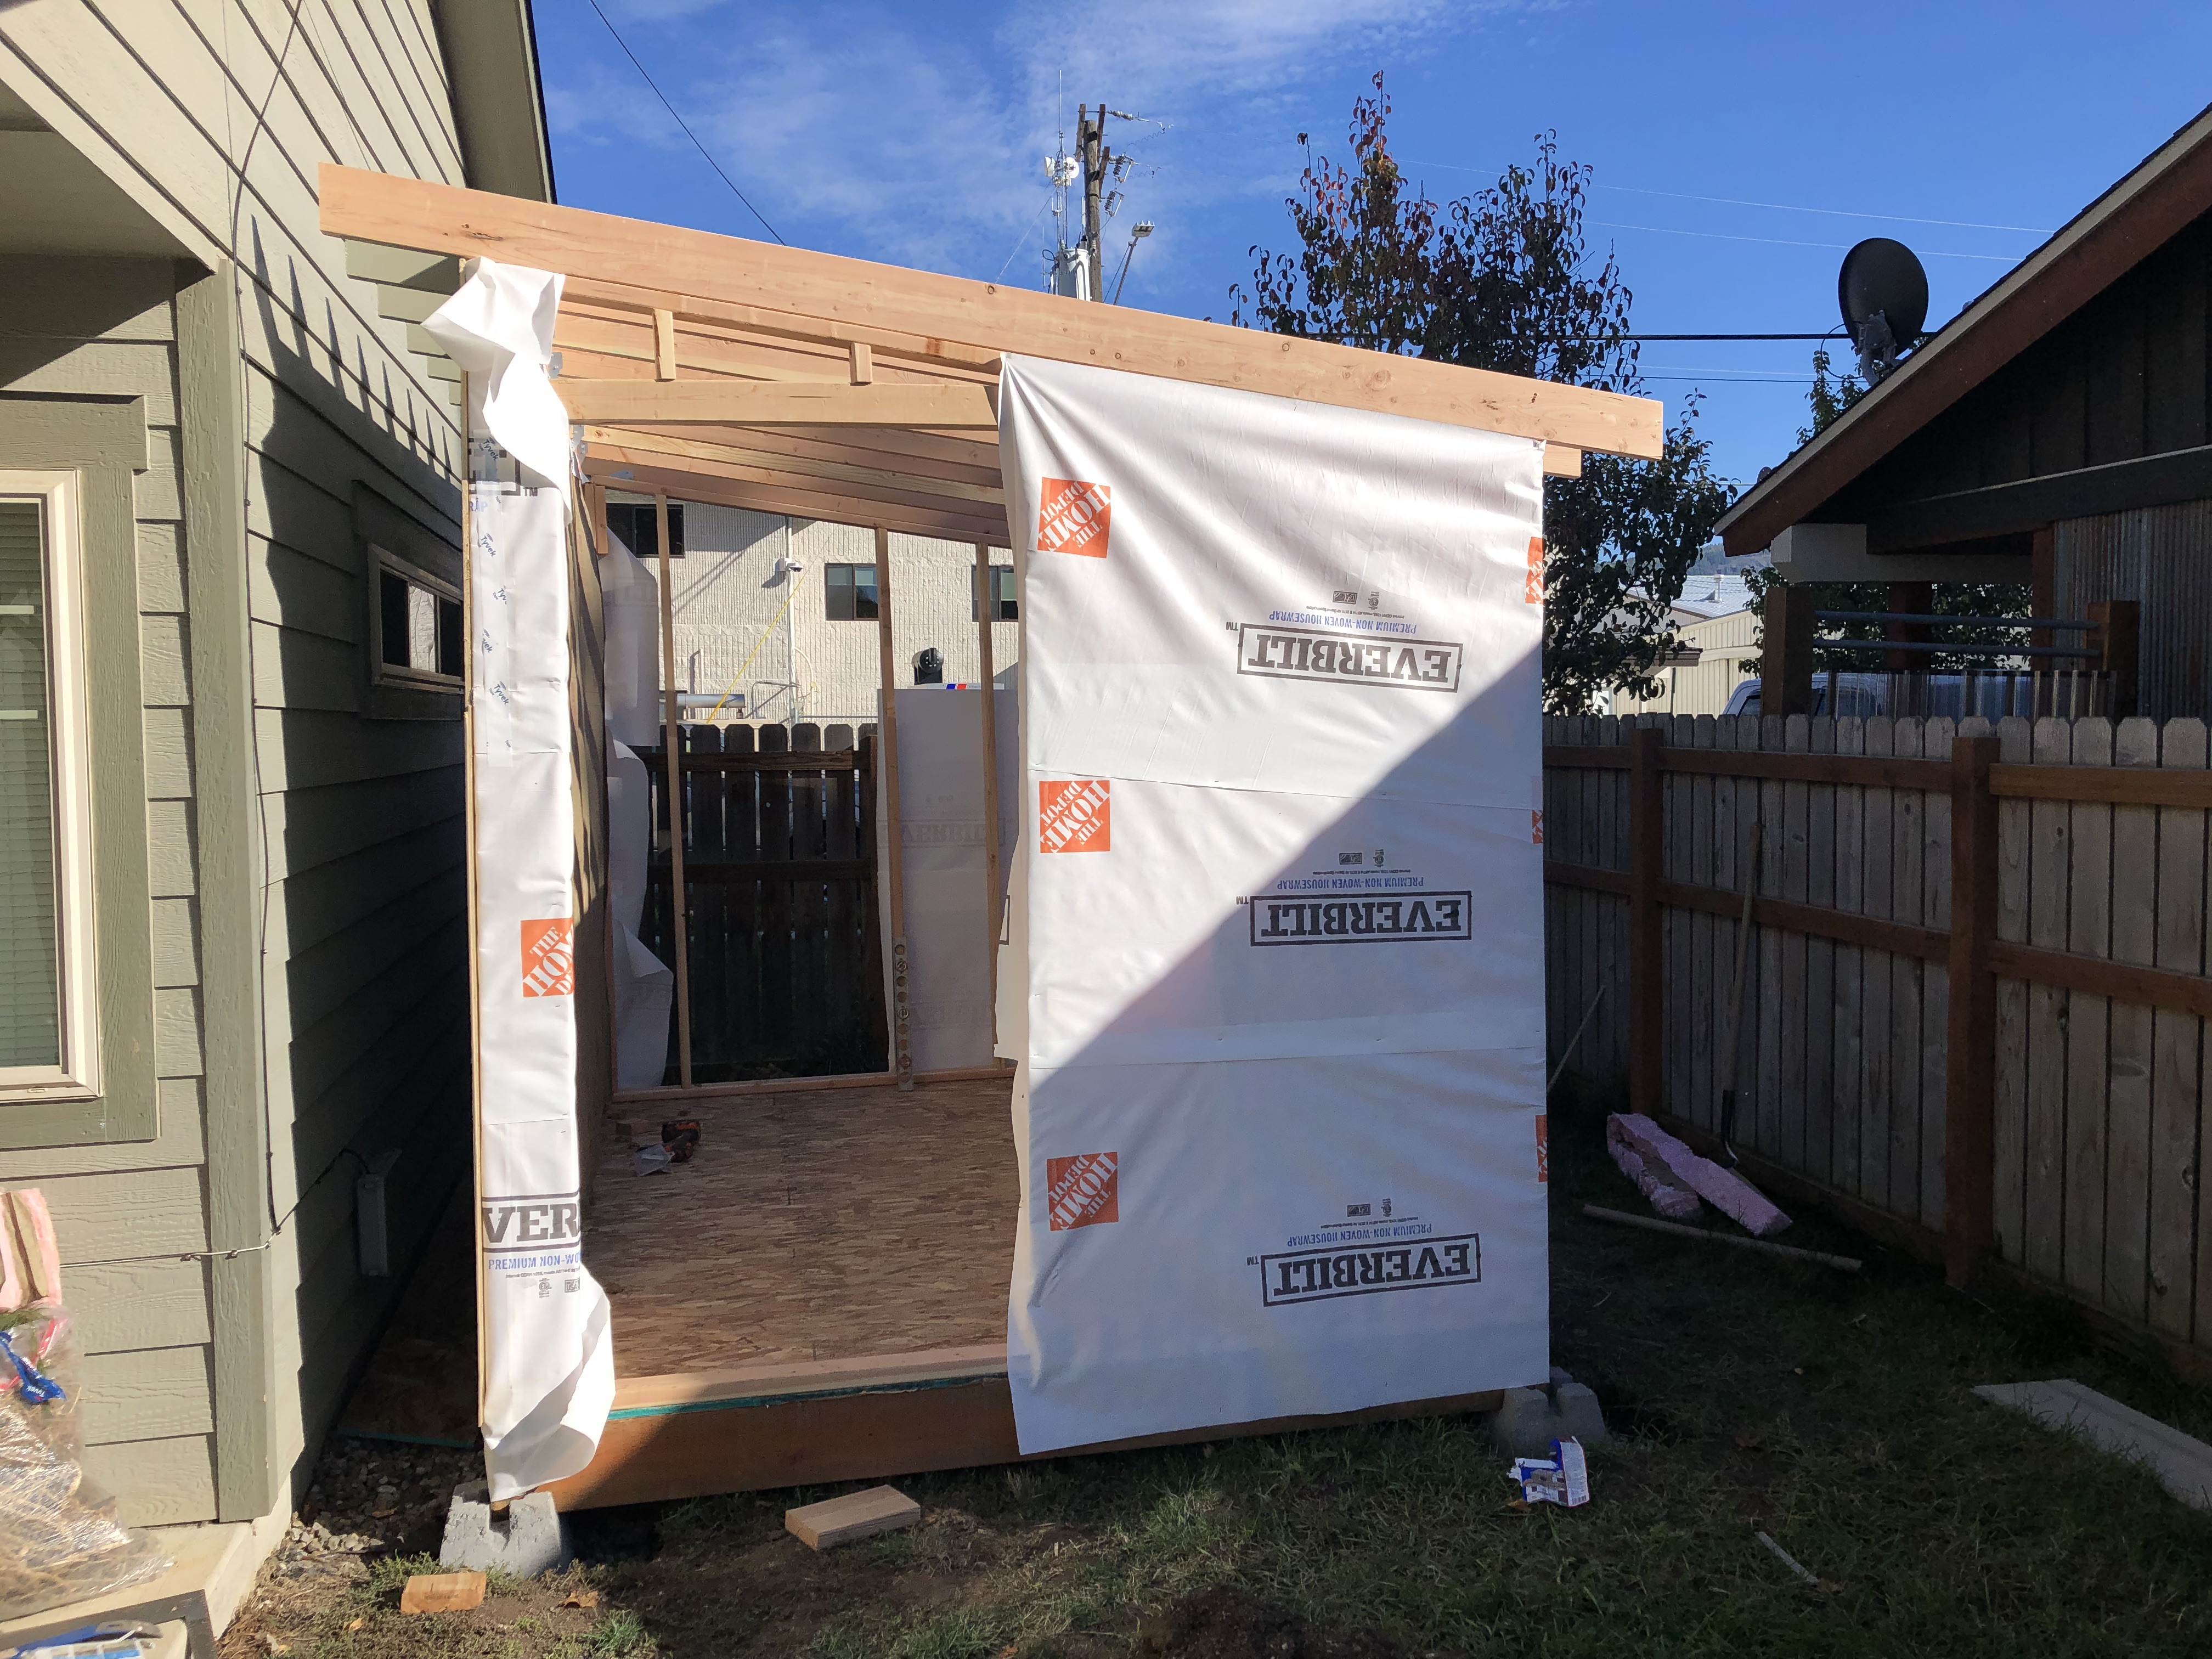
I wrapped the whole thing in building wrap. (or North Idaho siding as my dad calls it. There are many self-built houses in the woods that have not been able to afford to finish the siding and thus spend years in this state.)
For this pitch of roof shingles are a no-no as the water can work its way back up the overlap when there is ice and snow present. I thought about metal roofing but that still requires underlayment so I opted for rolled roofing as a cheaper alternative and if I decided later for metal roofing it would serve as my underlayment.
Rolled roofing is just a 3 foot wide roll of tar impregnated fiberglass that you roll out. I overlapped 8 inches for each course and then used roofing cement to adhere the overlapped parts. I used roofing nails to secure it to the OSB roof under the overlaps. I was blessed with good weather which actually made it a hot and messy task.
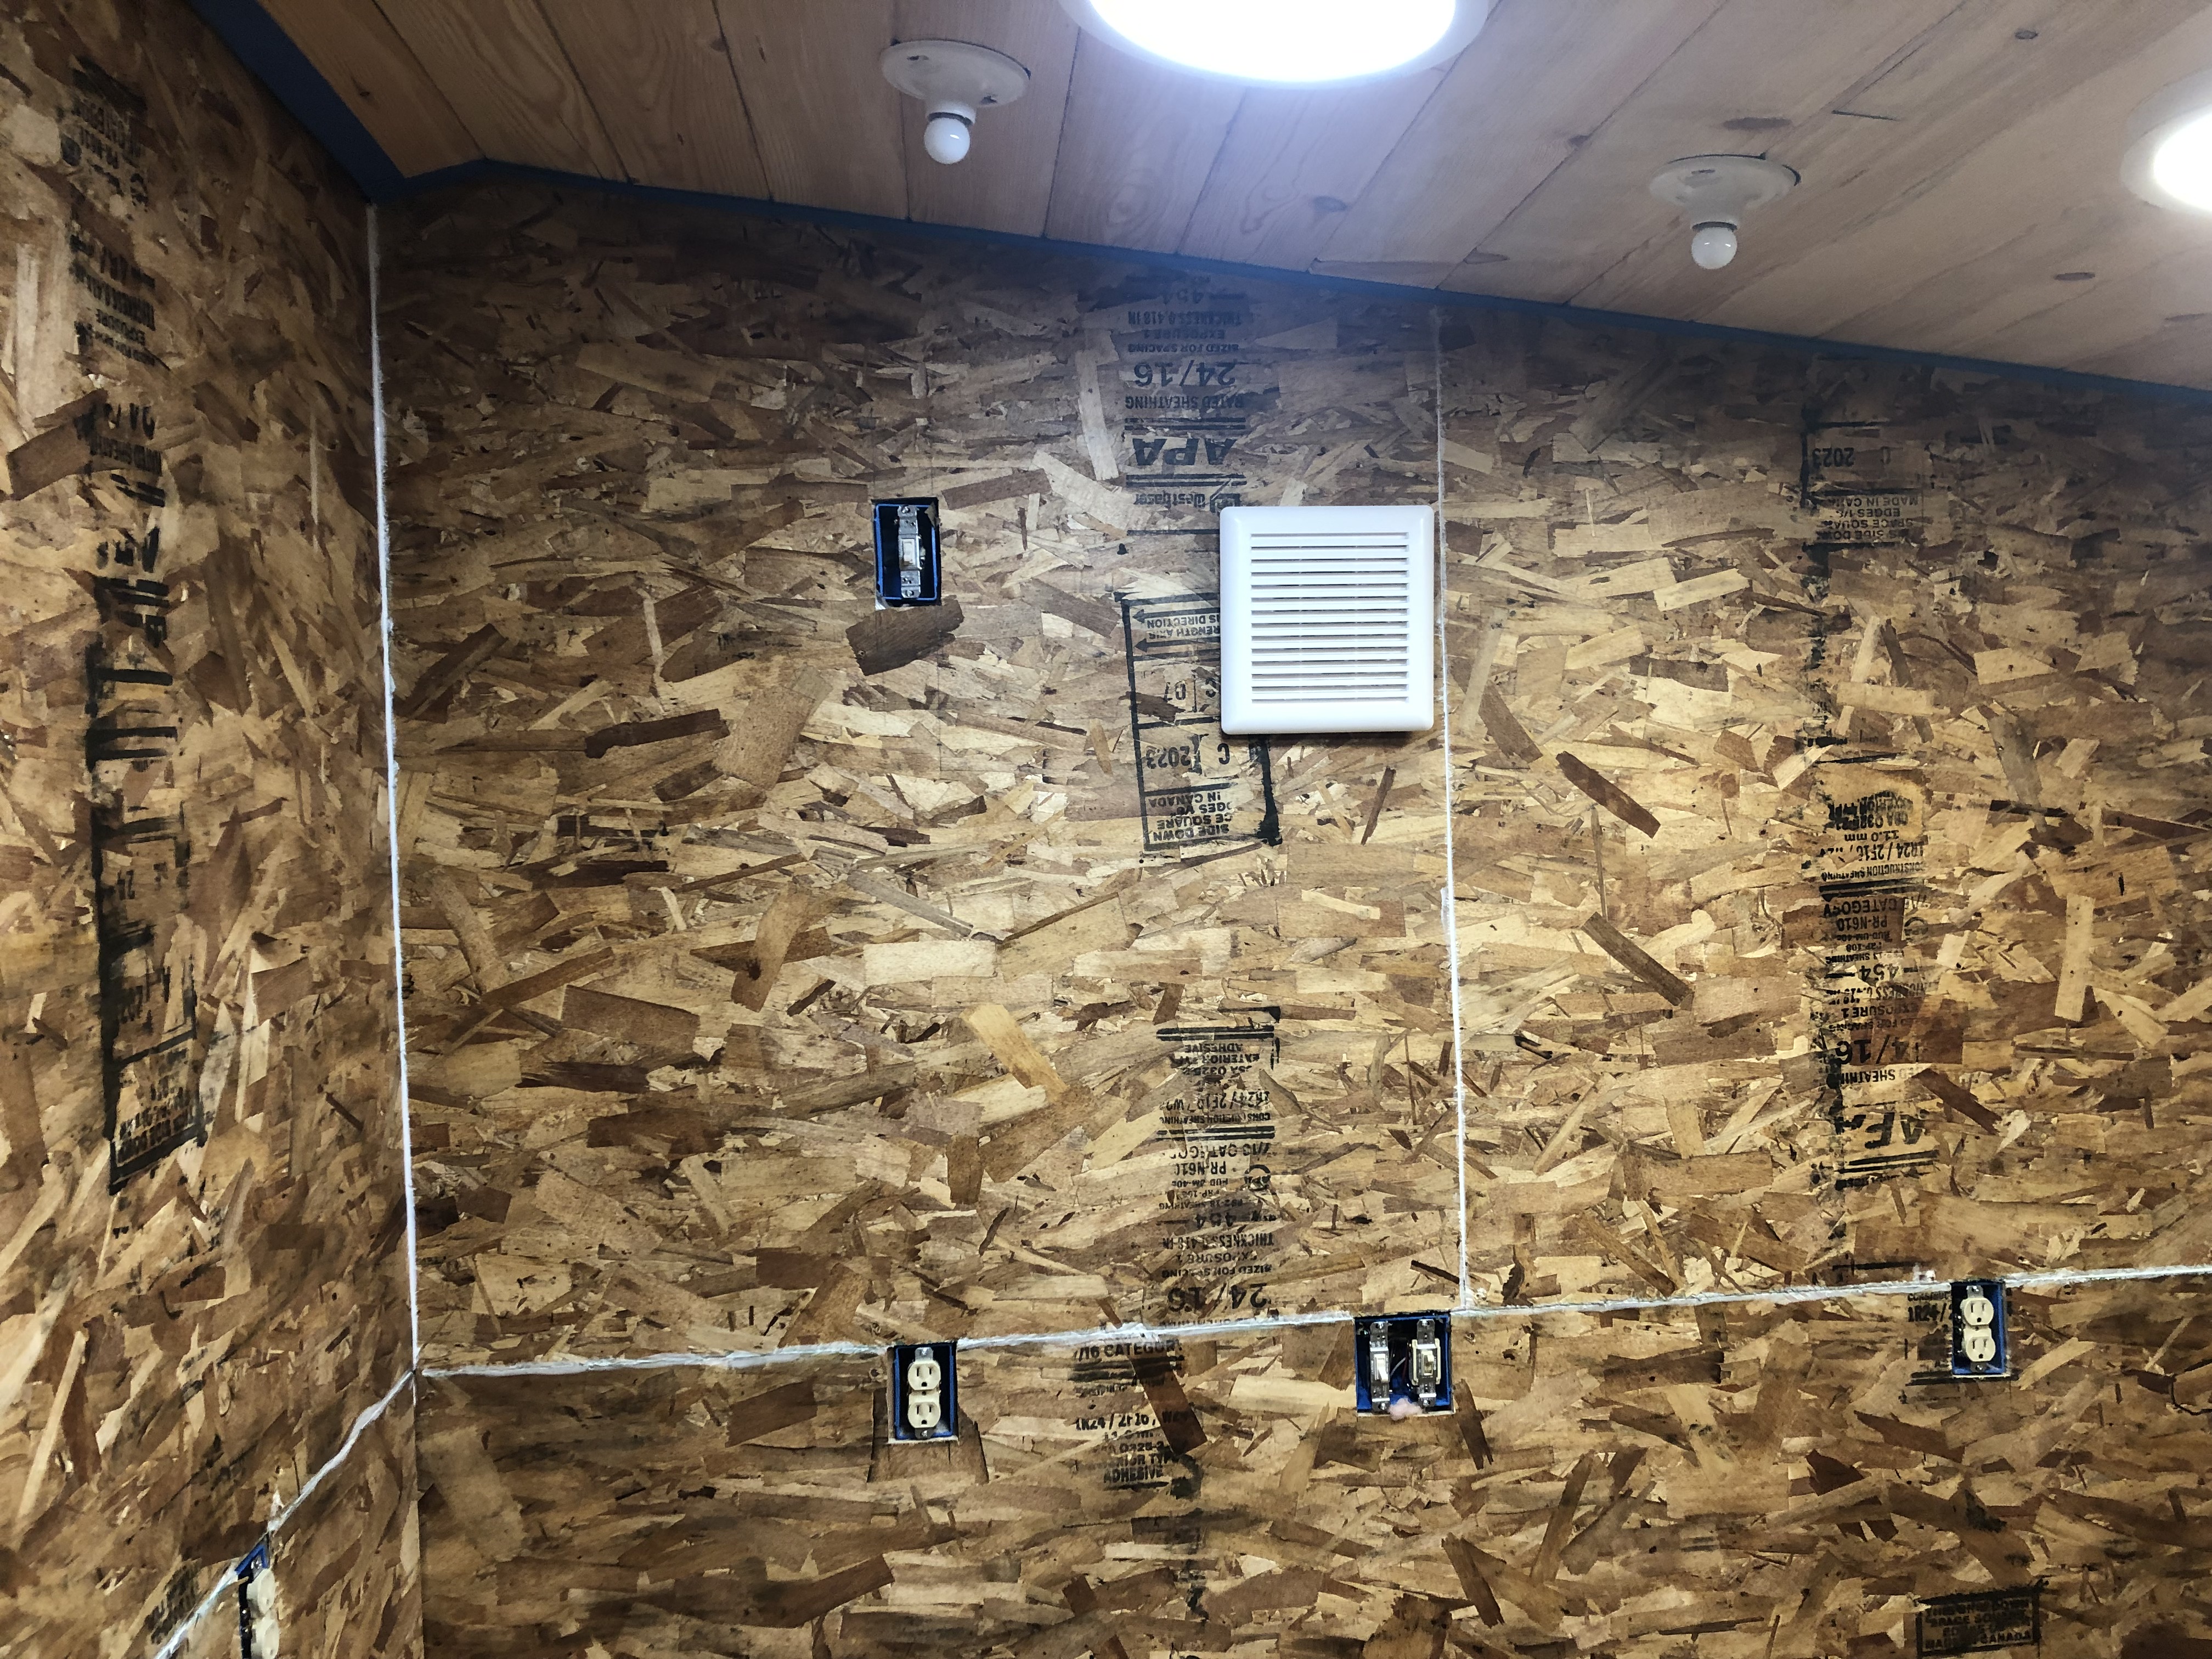
I took an unconventional approach to the next phases. Normally one sheaths the structure in OSB (Oriented Strand Board) or plywood. This gives tremendous structural strength. Then the interior is sheathed in sheetrock/plasterboard. I hate working with sheetrock and decided I would put OSB on the inside getting the structural benefits and having a surface that is easier to mount things to as well.
For the siding I made two choices. For the side facing the house and the back I opted for cheaper sheets of OSB exterior siding. Since these are not as visible I could go a little cheaper and easier for these sides. My wife wanted the rest of the shed to match the house so I used the LP lapboard siding so prevalent in new builds around here and what is used on my house. It is slower to put up (especially by oneself) but looks the part.
The wiring came next. I did get a quotation for an electrician to hook up 220 volt service but owing to the location of the service panel it would cost upwards of $3000. A cheaper option existed to dig a long trench but I opted out of that as my days of good weather were numbered. I would make due with an extension cord off of a 15 amp circuit and hope there was enough power for heat and lights. I could re-address the power problem in the spring if needed. It is served off a GFCI outlet so has good protection. I will also add eight foot ground rods in the spring to improve lightning protection.
I put in a small breaker panel for two circuits (one for light the other for outlets). The wiring was pretty simple, lots of outlets at 48 inches for above countertop work. Four overhead LED lights with a three-way switch at the door and back of the room. That way I can shut them off from either side. On the back wall I also added another switch next to the overhead light switch for the red safe lights. I installed an extractor fan on that wall that ventilates into the small sub-shed behind the wall. (Nov 8th-19th)
Next went in the insulation. This was followed by the OSB interior walls. For the ceiling I bought 6 inch tongue and groove pine boards from a local couple that mills their own lumber. Lifting and cutting large sheets of OSB to the ceiling sounded too strenuous. The tongue and groove looks nice as well.
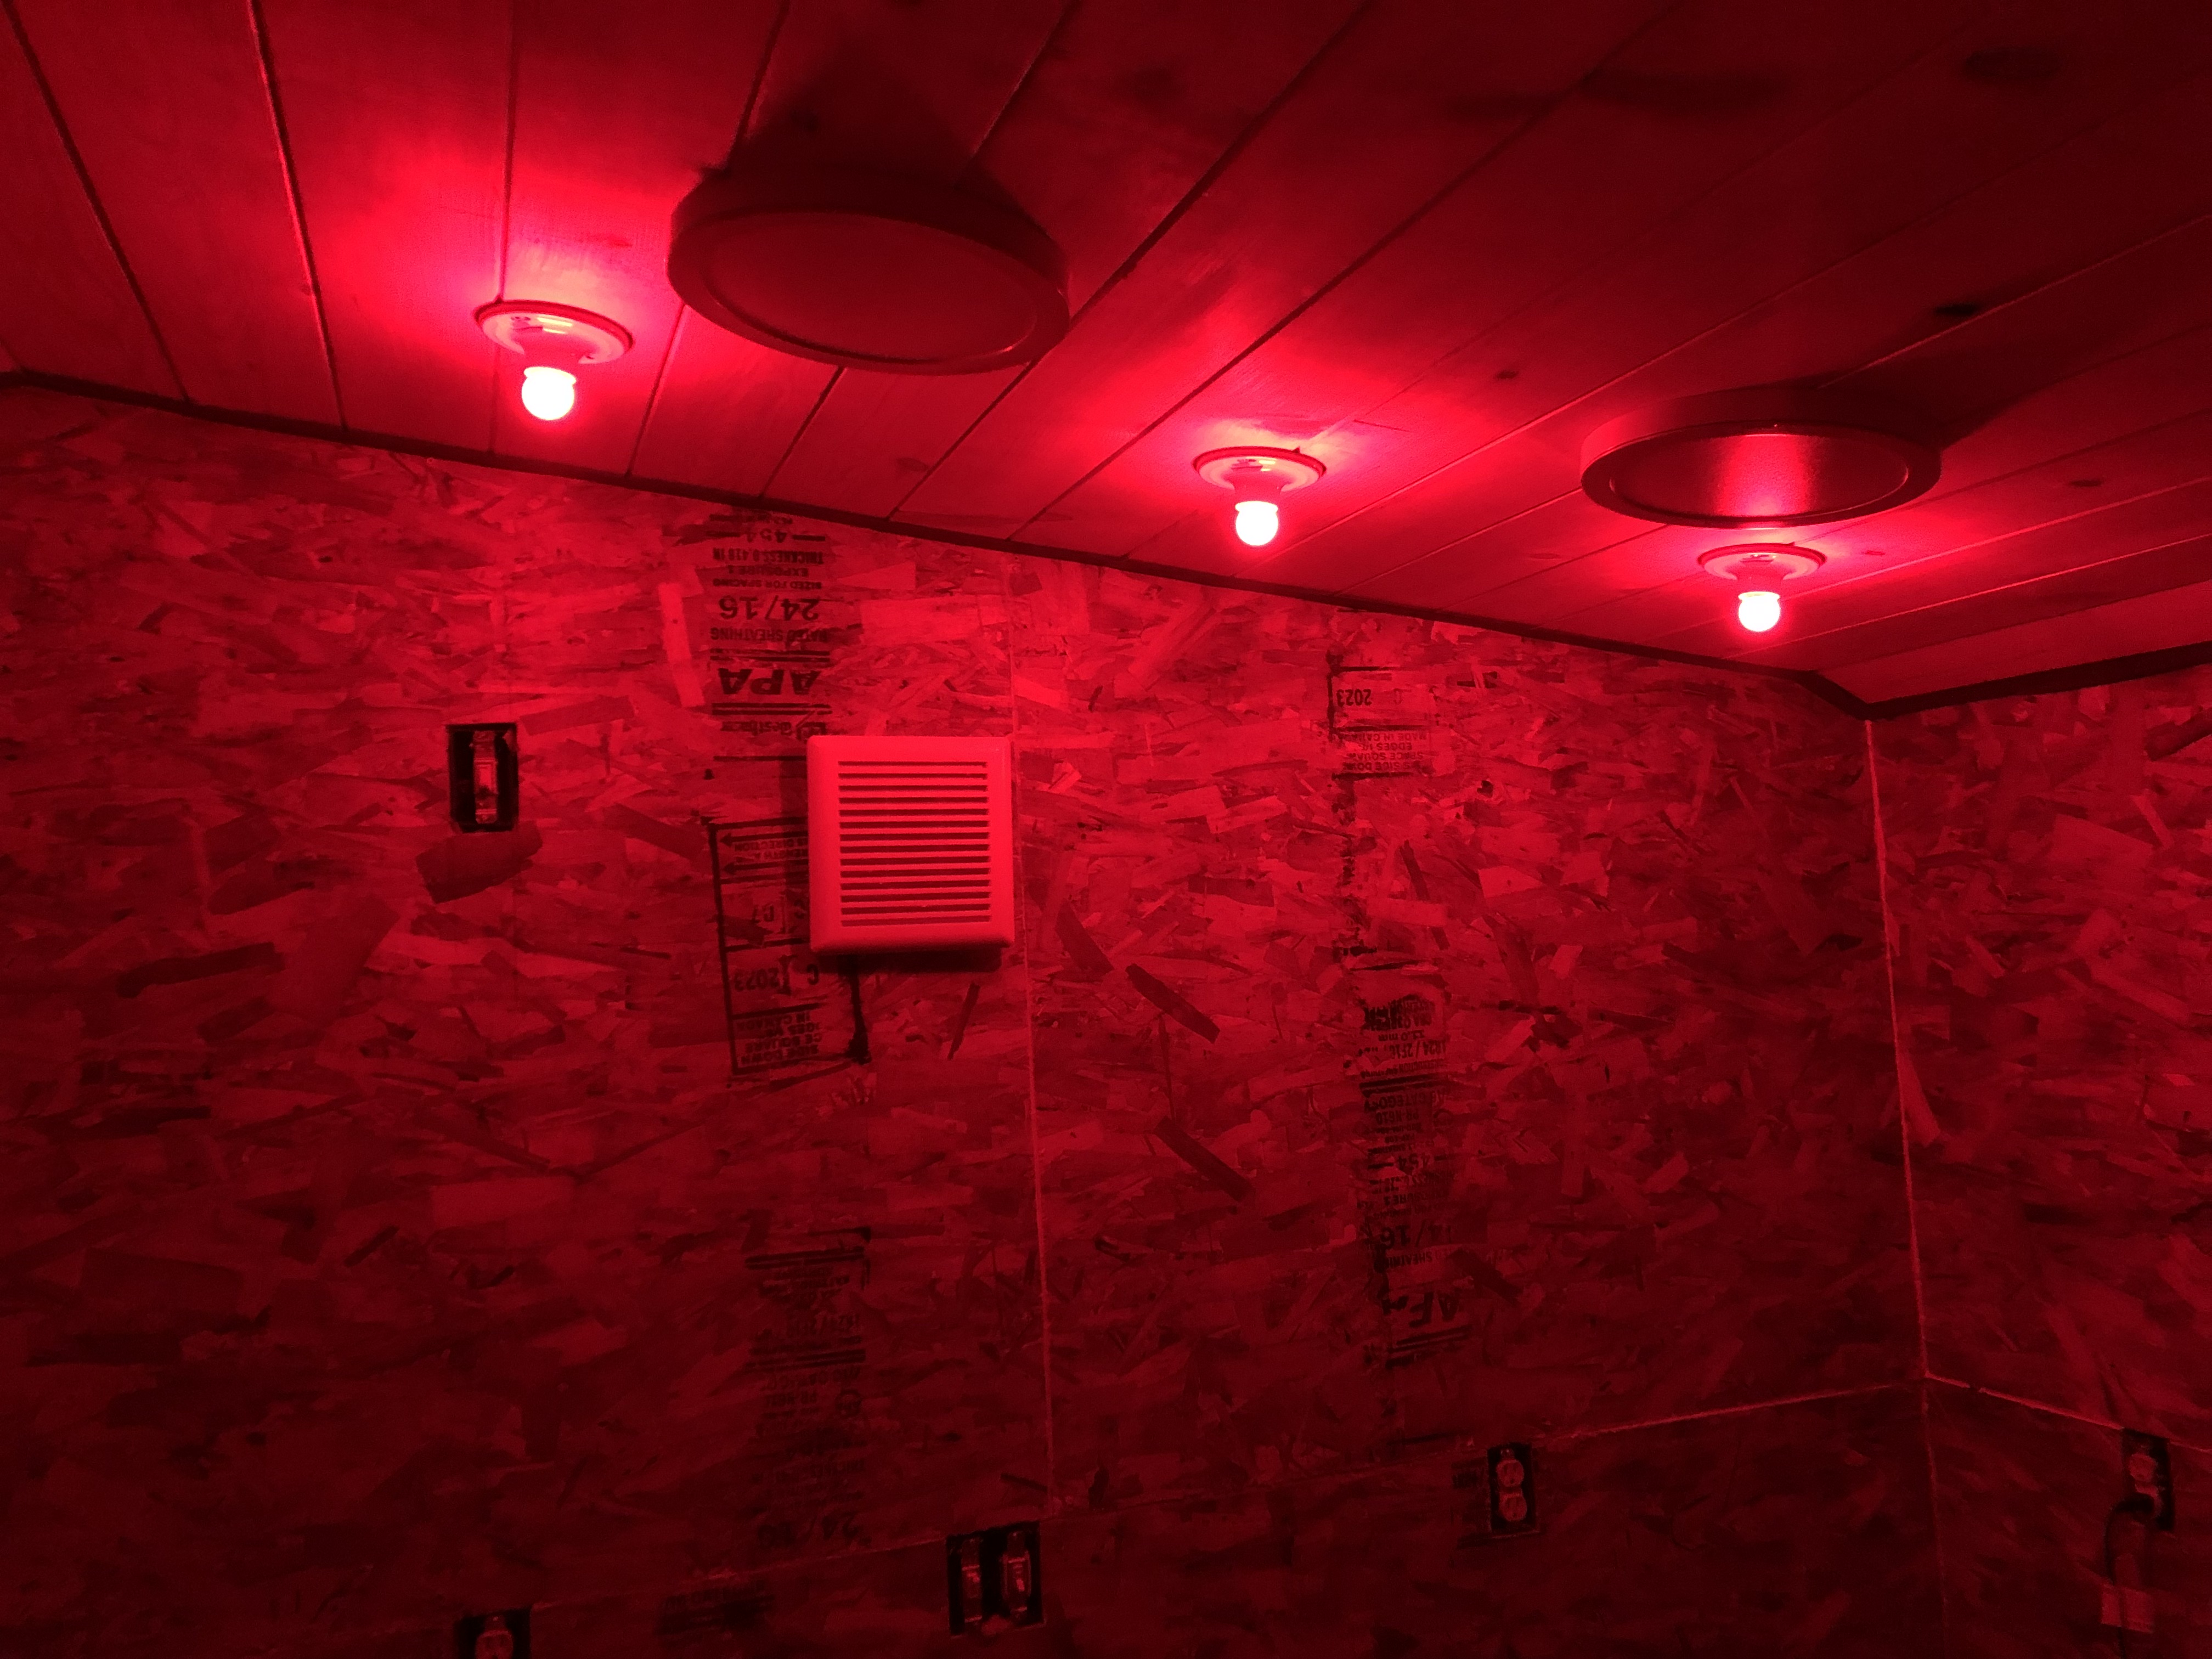
I painted the interior flat black, a kind of traditional darkroom color. Why red isn’t used more I don’t know. It is just as good a black at reducing reflections and impacting print contrast. The door will be red (inside and outside). OSB which is an engineered board of wood chips soaked in resin is surprisingly thirsty with paint and takes two coats of latex emulsion to get good coverage.
For heating I use an electrical oil-filled heater. It has three levels of heating so I can adjust according to how much load there is on the 15 amp circuit. I added a little Wi-Fi plug adapter so I can start heating the room from my phone without going outside.
The next in this series is the interior furnishings…