Progress of a Print: Film from Digital
I received another set of negatives from Gammatech the other day. This time, I had the negatives made on 6x7 medium format film. I was partially following my reasoning from another post on the subject where I concluded that medium format would probably yield good images at a more reasonable cost than 4x5 film. Unfortunately, I opted for 6x7 as it maximized the fit of some Xpan (65:24) aspect ratio images but I continued this onto single 4:3 aspect ratio (native Fuji GFX ratio) images and of course I cannot fit these completely in my 6x6 enlarger.
I decided to make a couple of prints cropped square anyway. The print turned out pretty well.
I started with a square 8" x 8" crop from 9 1/2" x 12" Ilford MGFB Classic paper. For some reason that I don't recall I have two unopened 50 sheet boxes of the stuff. This gives generous 3/4" borders and a large blank border on the bottom which lends a kind of balance to the print. So, I retained this 3 1/4" bottom border and decided not to trim the paper square.
After setting up the easel and focusing the image, I made some test strips and saw that I needed to add 2x 1-stop ND filters in addition to setting the aperture to f11.
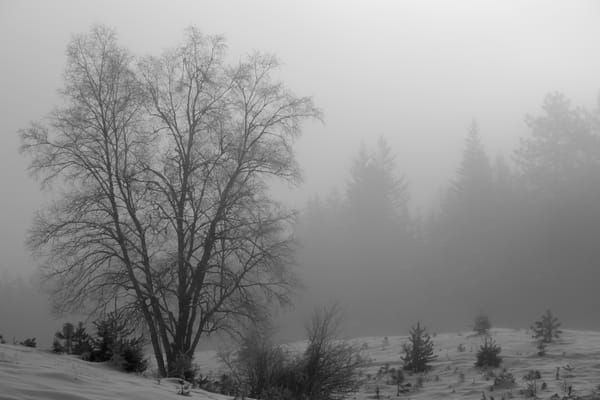
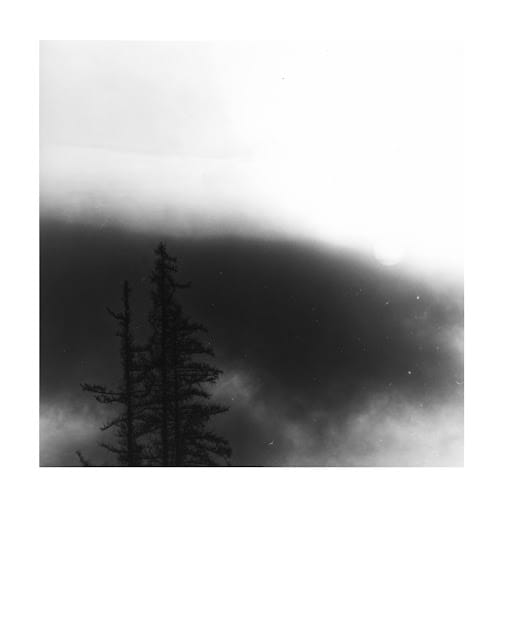
My first full size print I made looked like this...

I need to lighten it up on the #5 hard filter and so the next print is at 22 seconds for the #5 filter and then I run a full test strip across the image in the #00 filter.
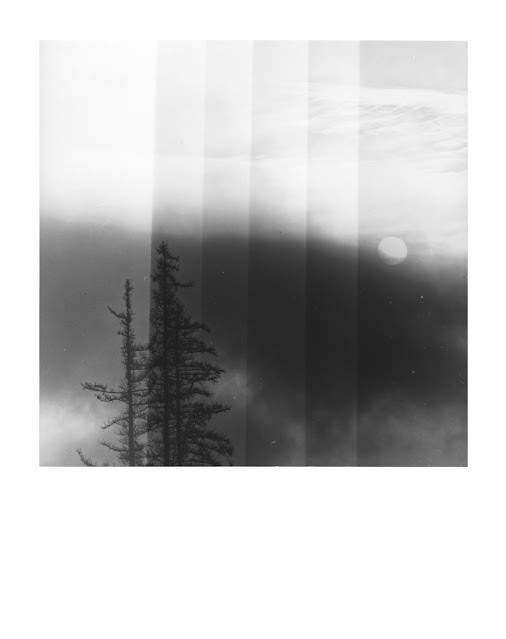
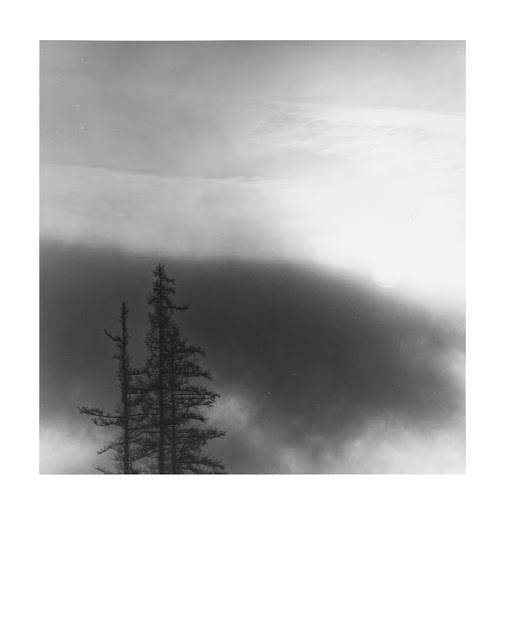
The left band is with no #00 filter followed by 8, 11, 16, 22, and 32 seconds. When I have seen a full-size print, I can begin to assess a number of things. First the negative needs a good cleaning. Next, I look at the crop and composition and, in this case, I see the trees are not quite vertical. IN this case I take out ruler on the baseboard and measure form the center of the tallest tree to the edge of the easel at the top and bottom of the tree and adjust accordingly. It is important to check the edges again to make sure there is no bleed from the edge of the negative. I also move the easel up to eliminate that orphaned limb on the bottom left of the image.
Armed with this I make another print #5 27 seconds and #00 27 seconds. i was concerned about getting the trees black enough so I upped both the hard filter and the soft filter. 27 seconds is 1/4 stop more than 22 seconds. This was too dark of course. But I do get good detail in the sky above the cloud so I am learned something about what that exposure should be.
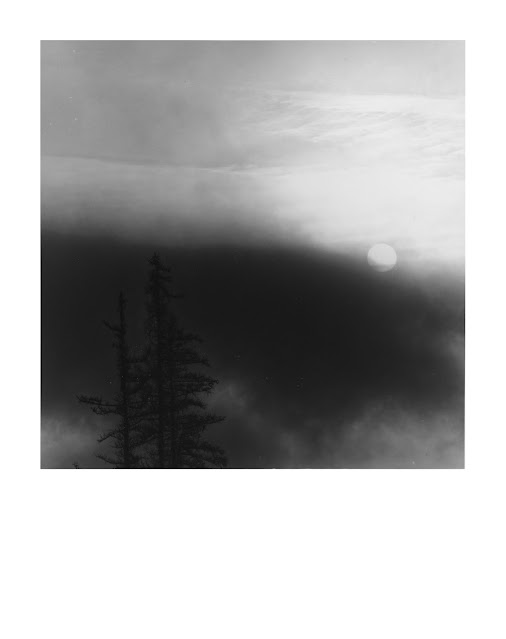
Next, I thought I should reserve the soft filter for the area above the cloud. So, I exposed the whole image for 27 seconds with the #5 filter and then burned the area above the cloud for 27 seconds with the #00 filter.
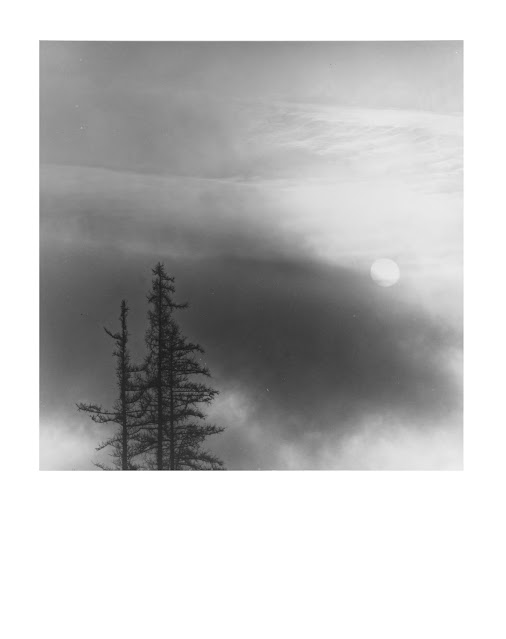
Now I feel like I am on the right track. The cloud wants to be a little darker. I bump the hard filter 1/4 stop to 32 seconds. (The hard filter is quite step in terms of adding density, so this is when 1/4 stop resolution becomes meaningful.) I leave the soft filter for 27 seconds.
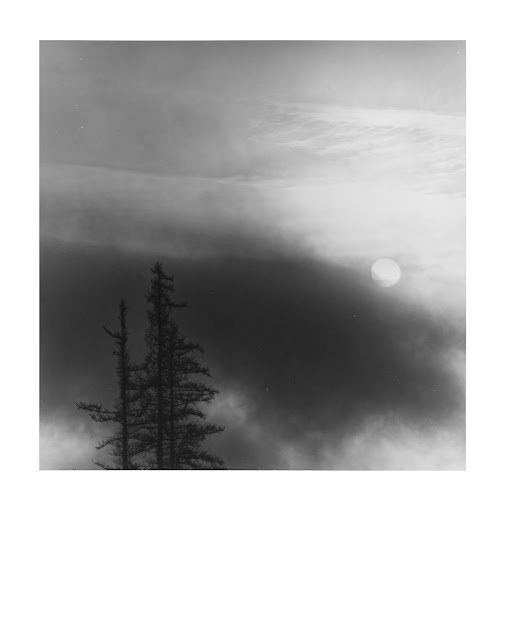
This is really good. I was concerned I wouldn't get the contrast right, so I tried the same print as above but held the development to 1 and half minutes from the normal three minutes. Unfortunately, the highlights are a little blown and the sun is lost so I revert to the prior image as the final print.
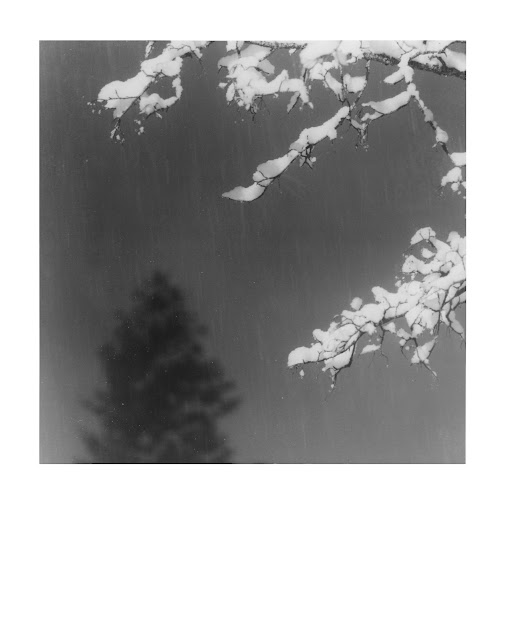
The second print I made was of some snow laden branches during a snowstorm at night. The scene is illuminated by a streetlight. The images capture the falling flakes and a douglas fir grounds the composition.
The next installment is here…