Most Complicated Way to Make a Table Top
A wood working project...
This last summer I got an idea for a tabletop for a patio table. Typically these ideas are never simple. I like new challenges and novel ways of making things when I undertake them. I have mediocre woodworking skills so I can eventually execute my ideas but they are not always the finest woodworking compared to many projects one might see online.

I started out with the idea of a butcher block table-top. The trouble is that what passes for butcher block often isn’t. True butcher block has the grain running vertically to the table-top, not along its length. I decided for true butcher block.
Next I selected my material to be some cheap cedar rounds I found on FB marketplace. They are off-cuts from utility poles that have been turned to the proper dimension. They are sold here in North Idaho as firewood. Fifty dollars buys a pickup truck load. I have a small truck with a cap on the bed and didn’t take that much so I got a slight discount.
I filled up with different lengths and diameters and headed home.
My first step was to take a short round of wood and use a froe to square it off roughly, so I had something like a loaf of bread (below).
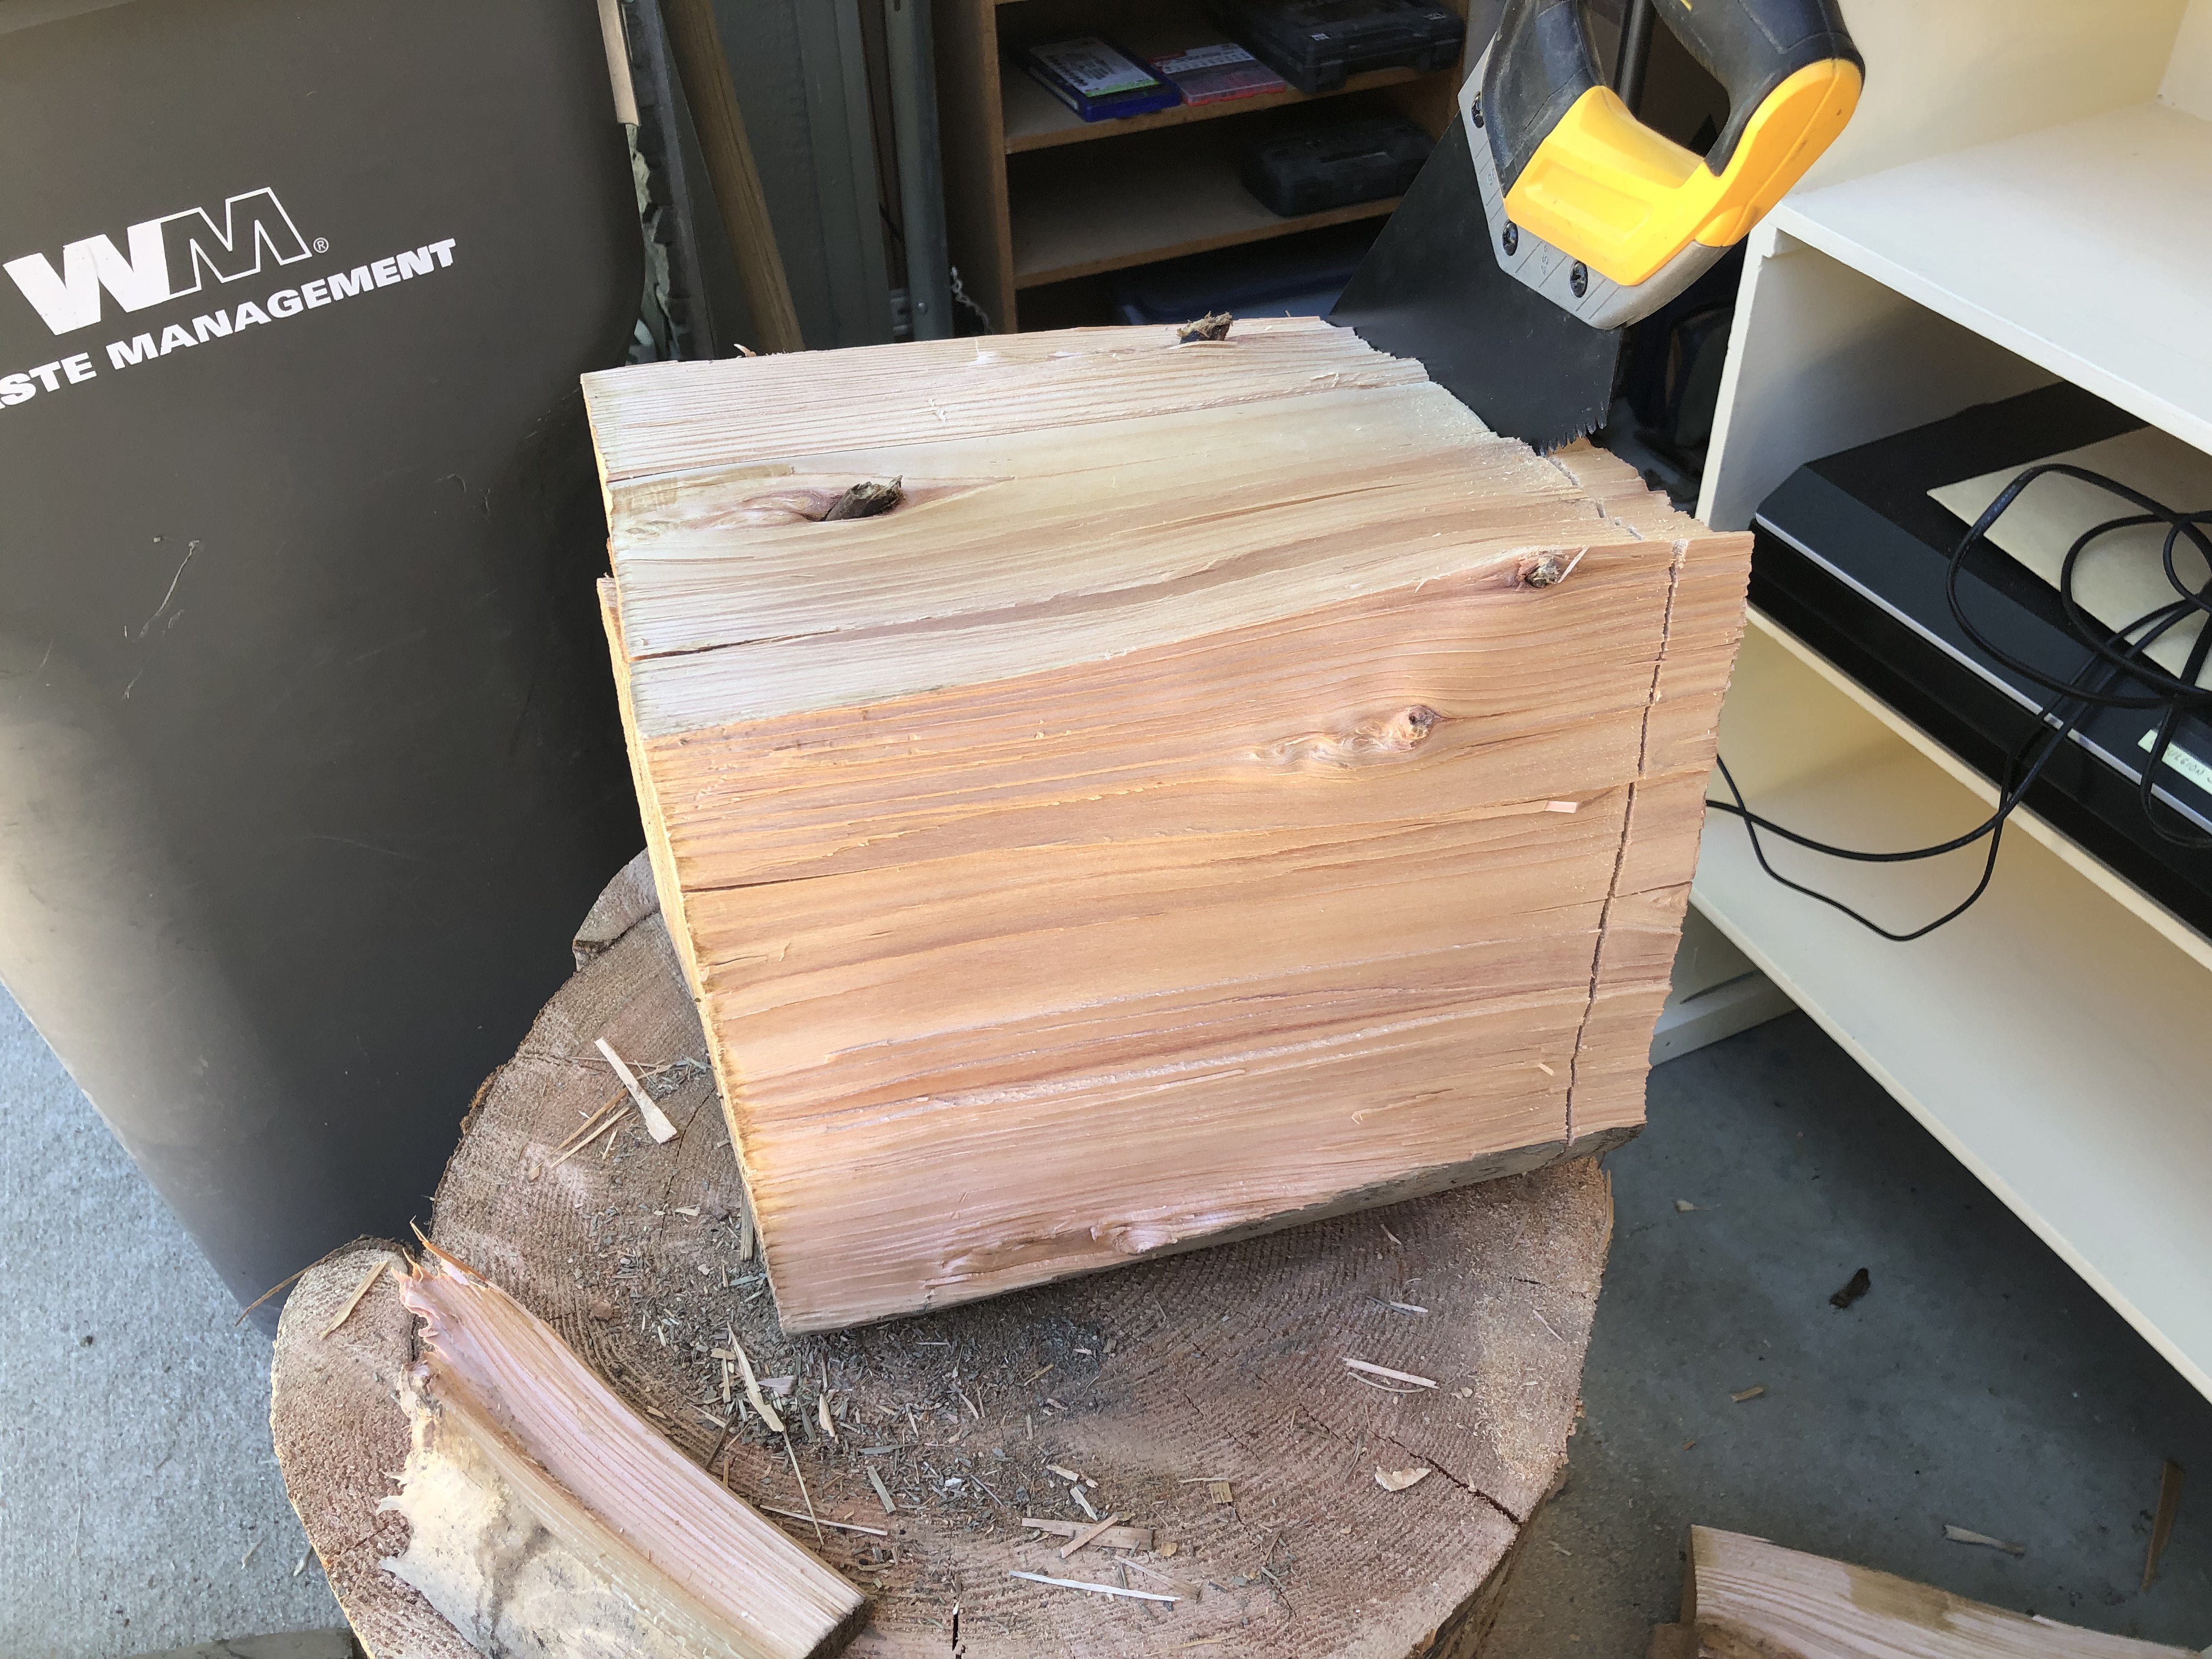
I used a circular saw to make a start on a two-inch slice off the ‘loaf’. I finished (with much physical effort) with a handsaw until I had finished a roughly square slice.
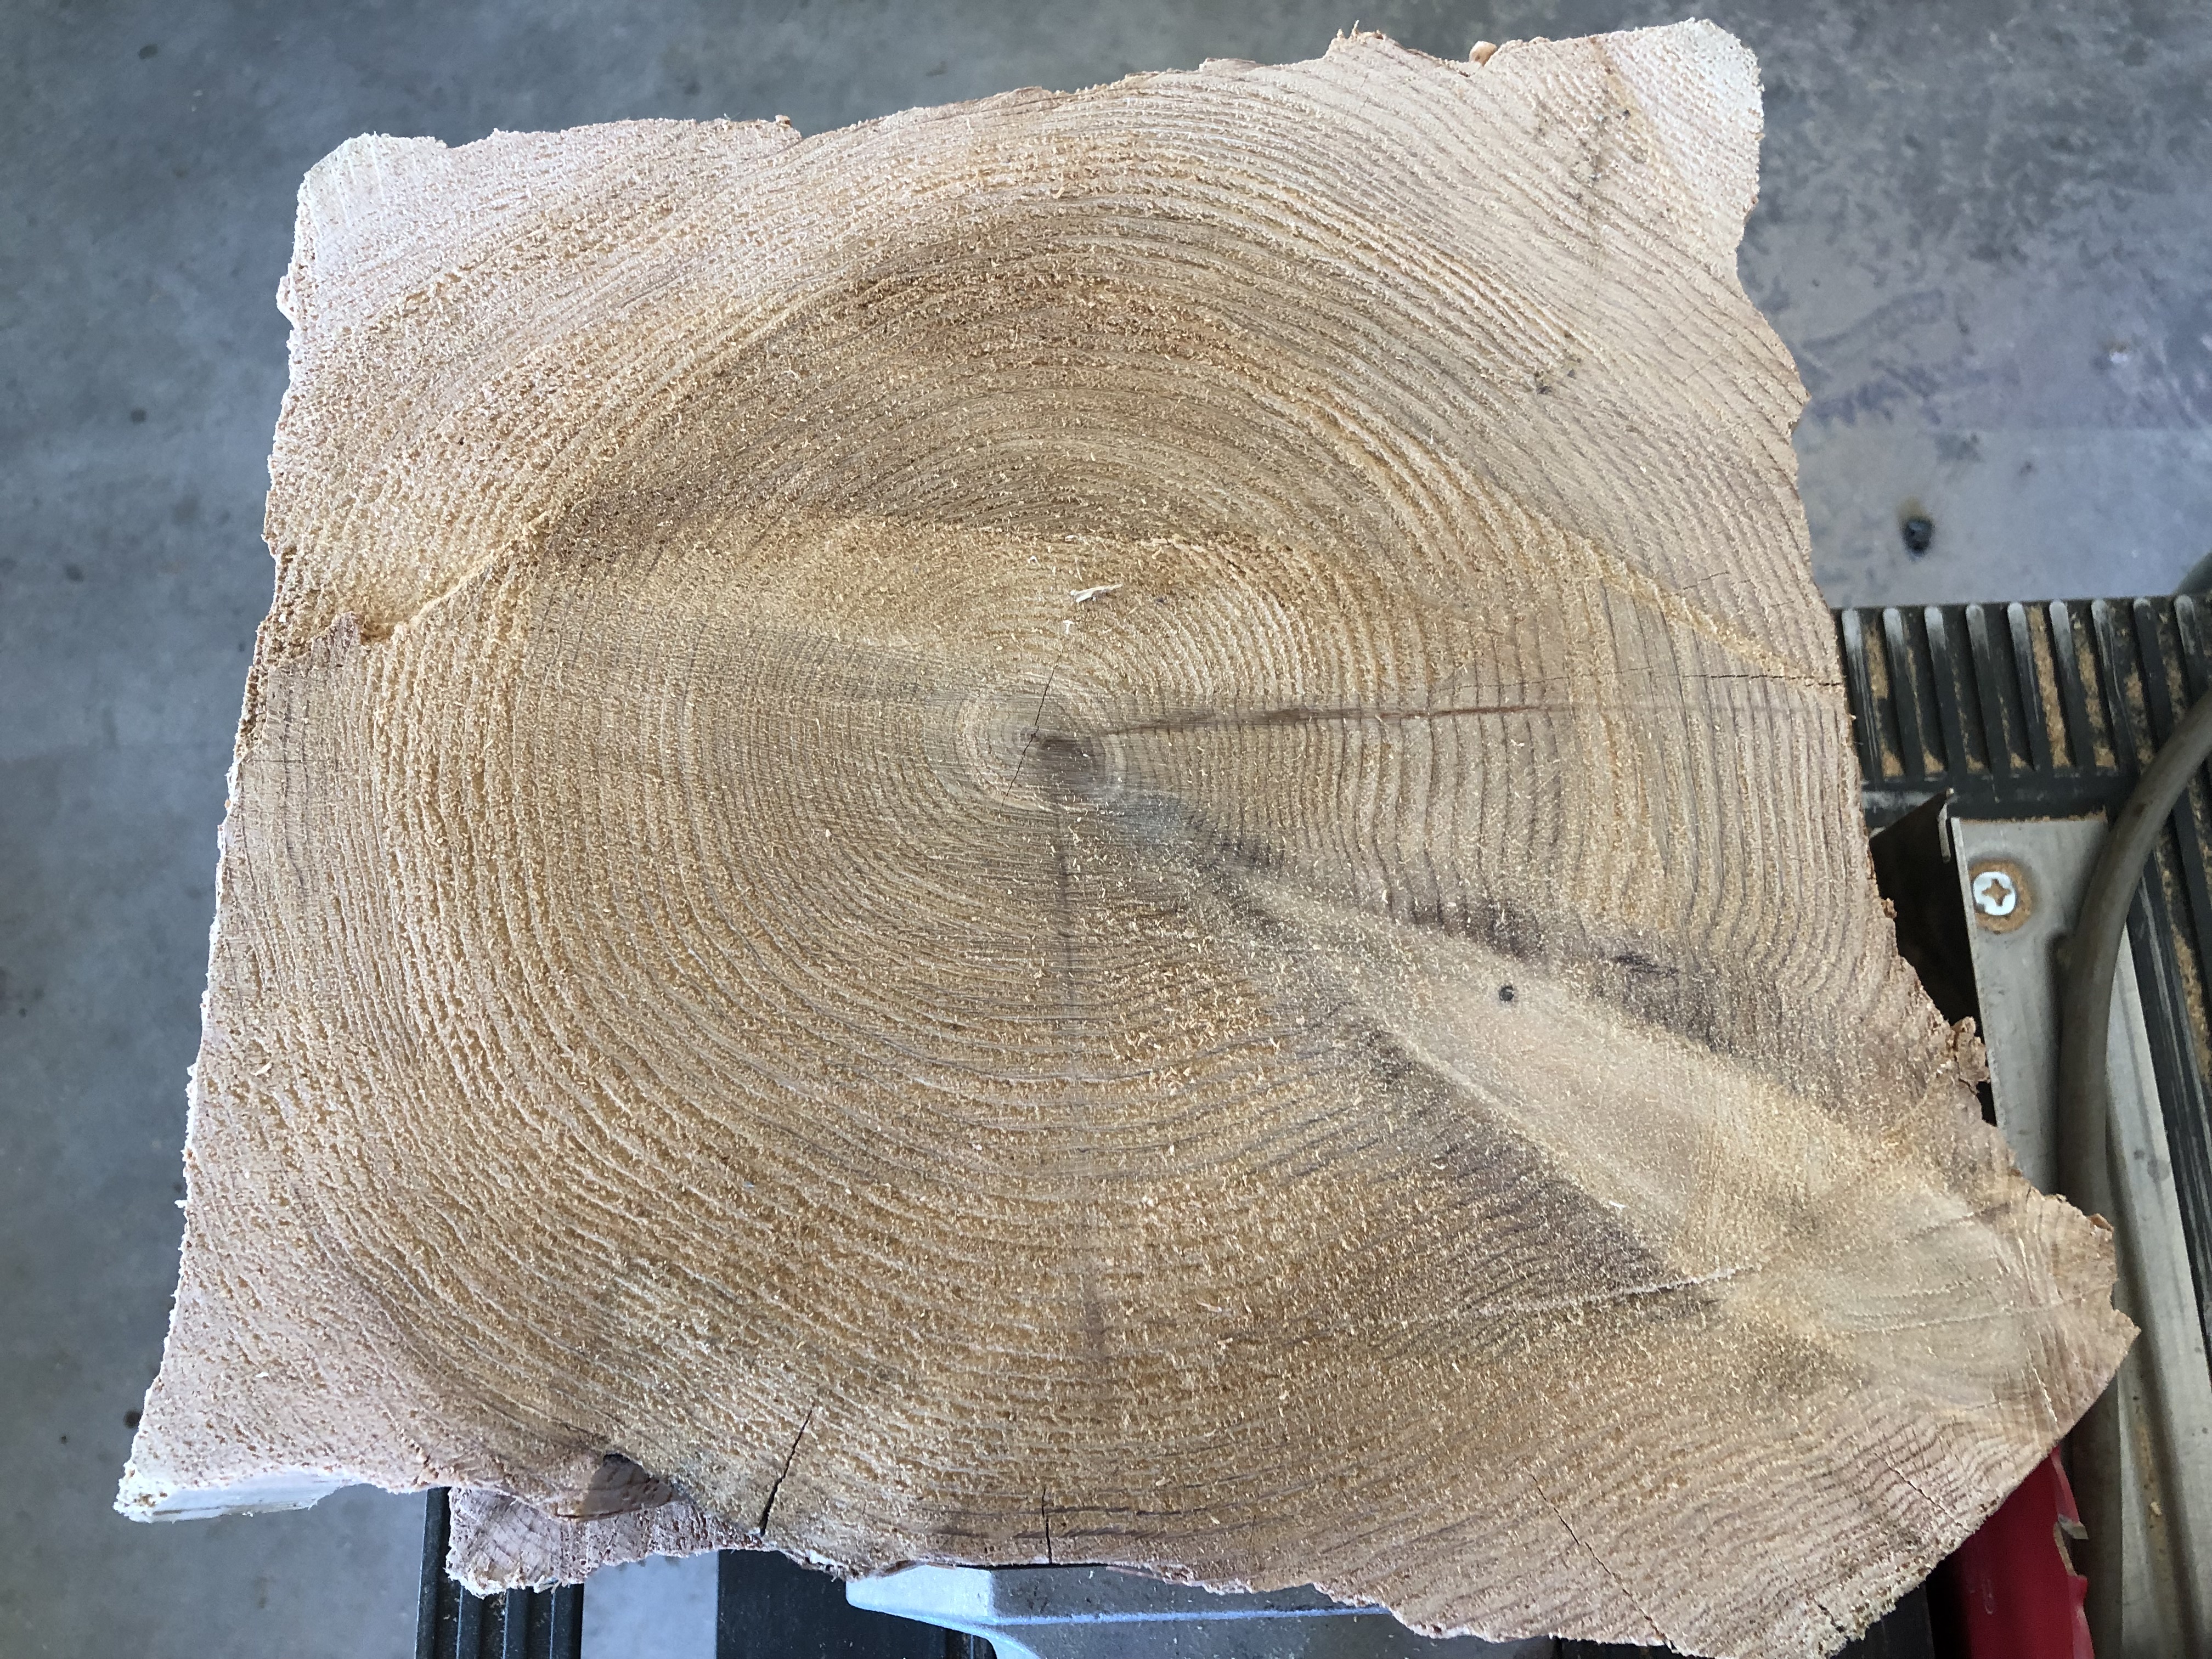
It took quite some time to make enough of these for the table-top.
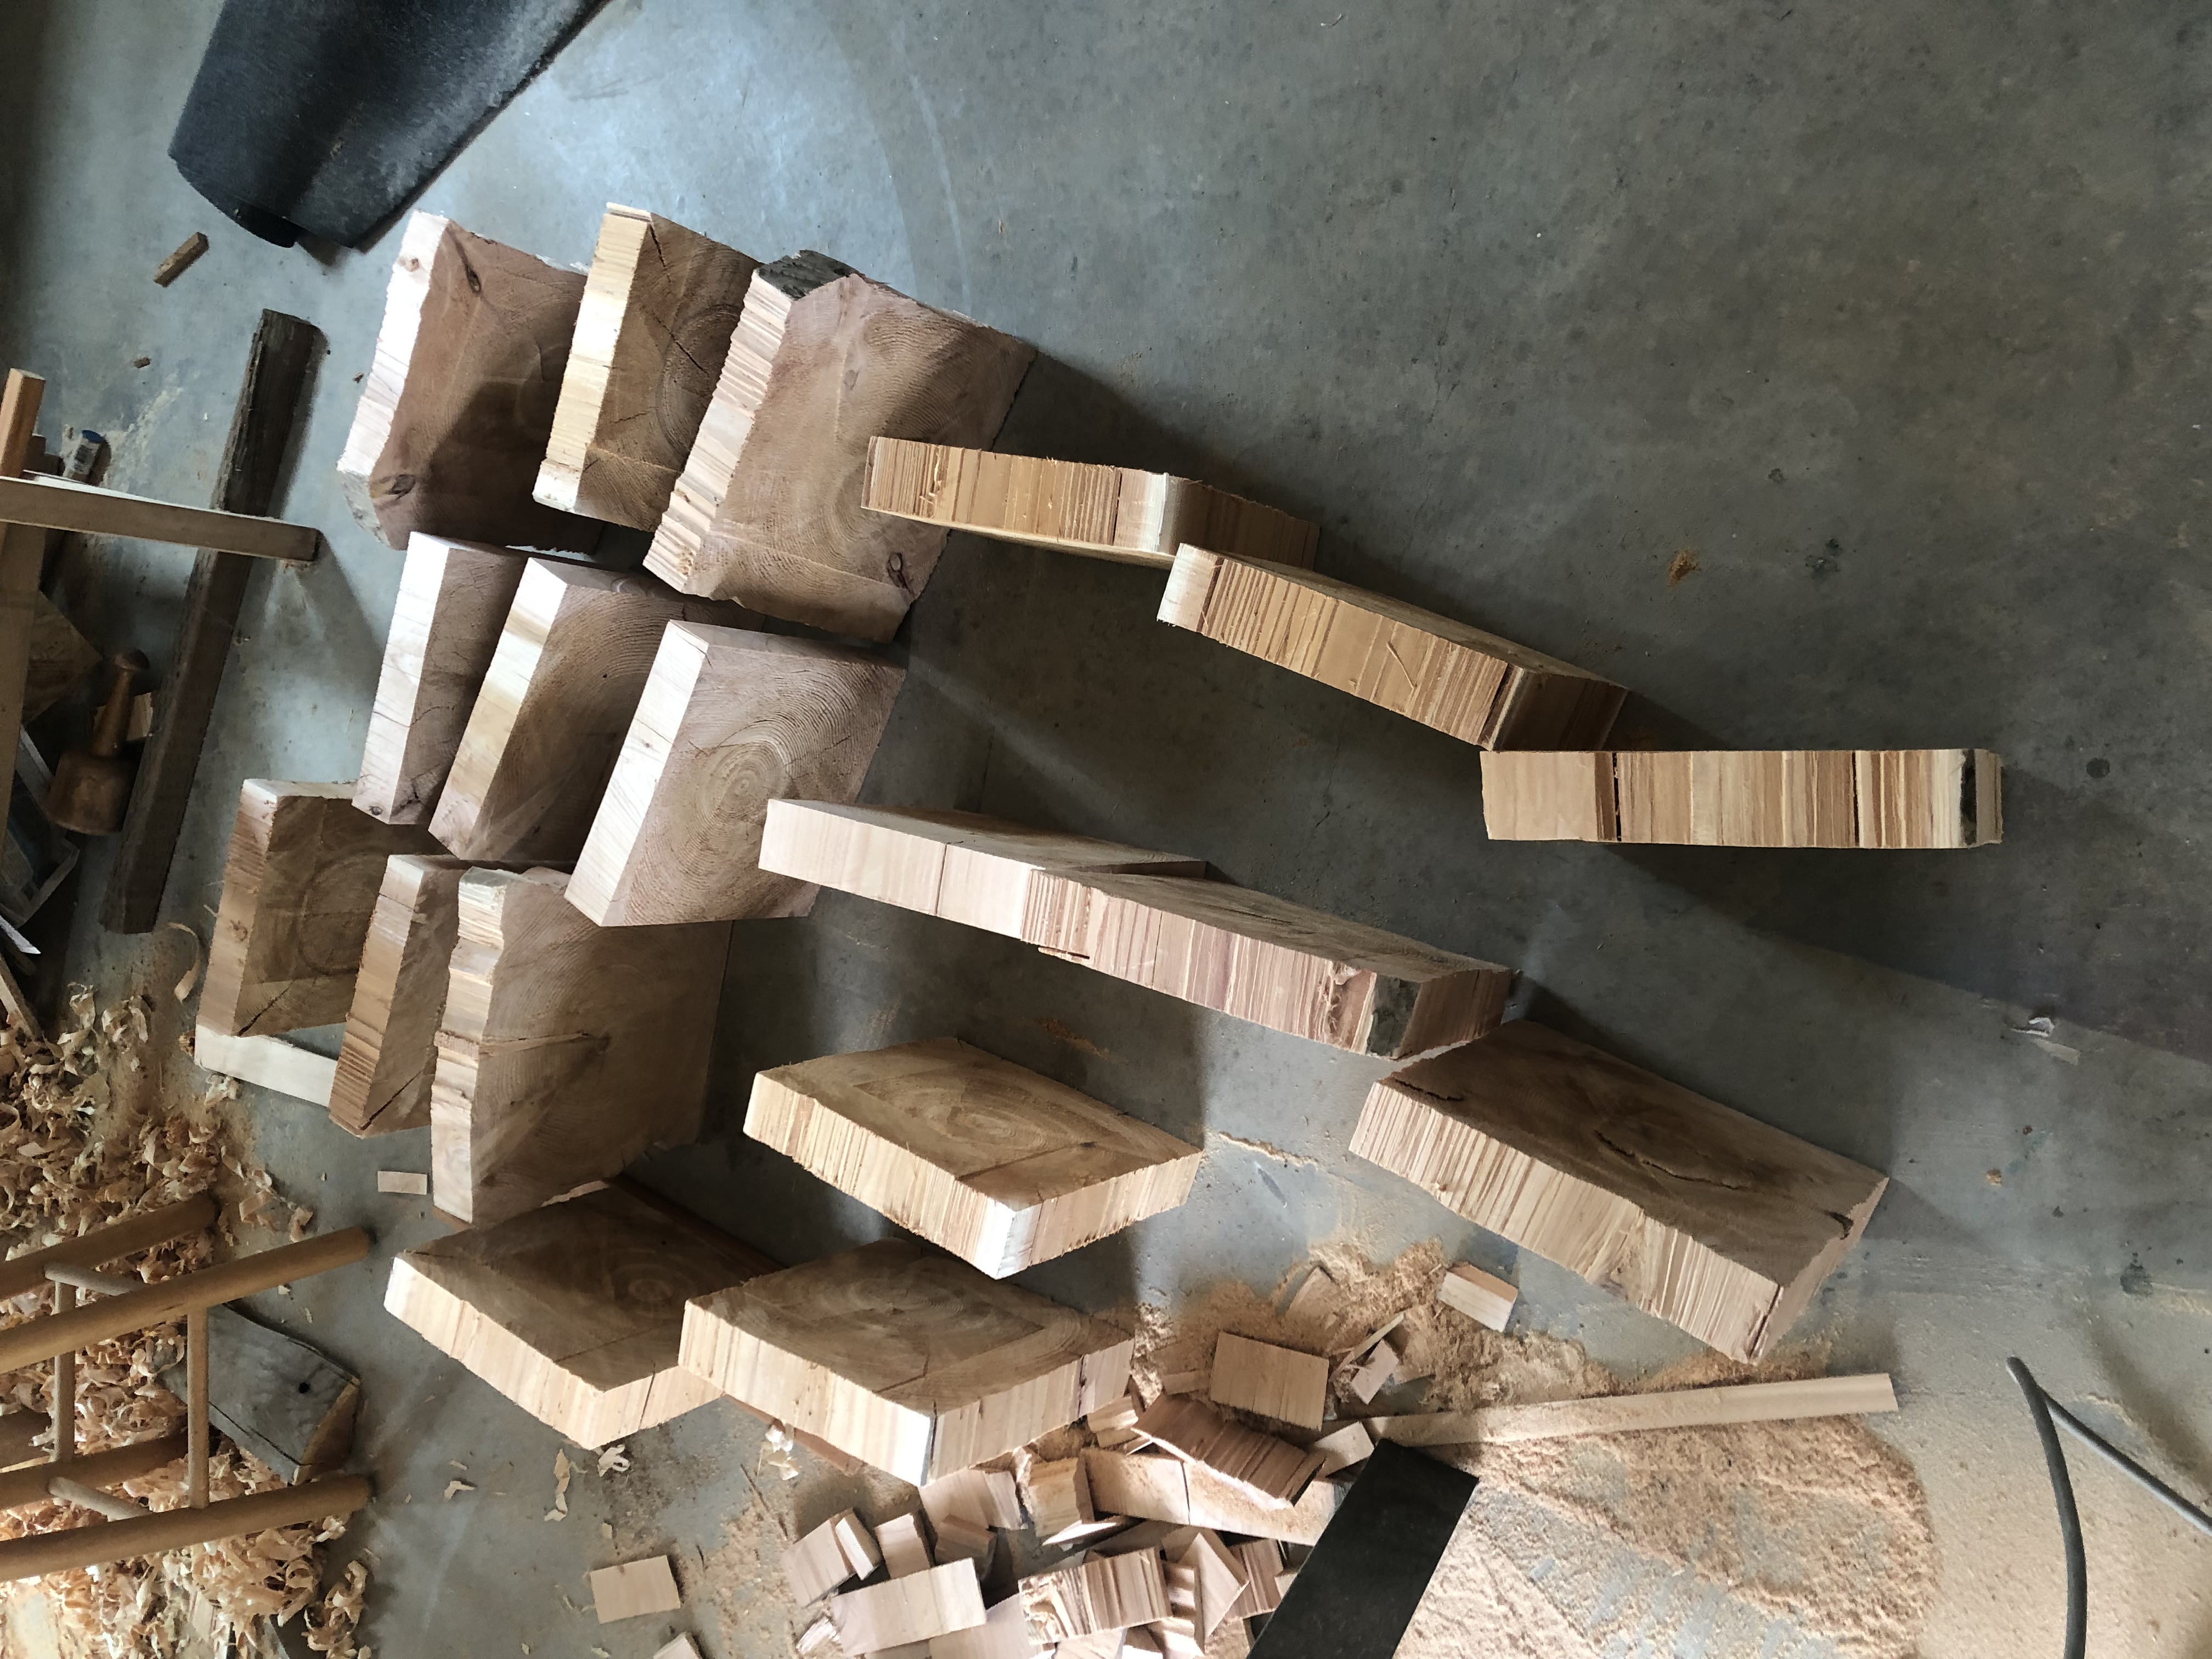
I squared-up the slices on the table saw using the straightest natural edge against the fence. This resulted in different sized slices. My first mistake was to try and use these different sizes like a kind of jigsaw puzzle. It would have been better to standardize on just one width.
I eventually did this later as the table-top progressed.
One additional challenge was that the wood, due to its thickness was not seasoned so each slice would develop radial cracks as they dried out. Most would have one large radial crack. I took to cutting this crack out as a perfect triangle and then gluing a piece of cedar trimmed to the same pizza-slice dimensions. This was very time-consuming as each one was cut to a different angle.
Glue-up
Gluing was the next problem. Because of the way the slices were cut they varied in thickness across the slice and from slice to slice despite my best efforts. Basically, because the edges were quite rough the circular saw cut each side at a slightly different angle. To combat this I glued the slices together face down on the garage floor in hopes this would create a relatively flat surface. I figured I could sand out the differences easily.
Finish
Once gluing was complete, I flipped the top over and saw the top varied in height by up to a quarter inch. I ended up having to use a Makita belt sander with 50 grit paper and many hours to get this reasonably (though not completely) flat. I followed with an orbital sander to make the surface smooth enough for a finish.
Next there were many small cracks left in the surface. These I might chisel a little straighter and then glue in small linear wedges into the cracks. This helped to fill any voids in the surface.
This was then sanded and then finished in water-based spar varnish. All sides were given two coats with the top getting about 6 coats. It was important to finish the back as well as the front to help prevent warping from differential humidity and drying.
Table-Top Frame
Next, I needed a frame for the top. Part of the problem with this style of butcher block especially in cedar, is it is very weak to any bending force perpendicular to the top. I wanted a frame that would help with providing extra strength.
I had a single piece of leftover 10ft 1x6 inch cedar decking that would just work if I made the two pieces for each end of the table from a piece ripped to half its width. The next challenge is to make sure the frame moves with the expected expansion and contraction of the table-top. This I solved by making sliding dovetail joints on the frame pieces where they attach to the table-top sides.
I routed dovetailed slots in the frame sides and then used a table saw to make the matching dovetail pieces out of scrap cedar pieces. These were attached to the table-top sides using dowels.
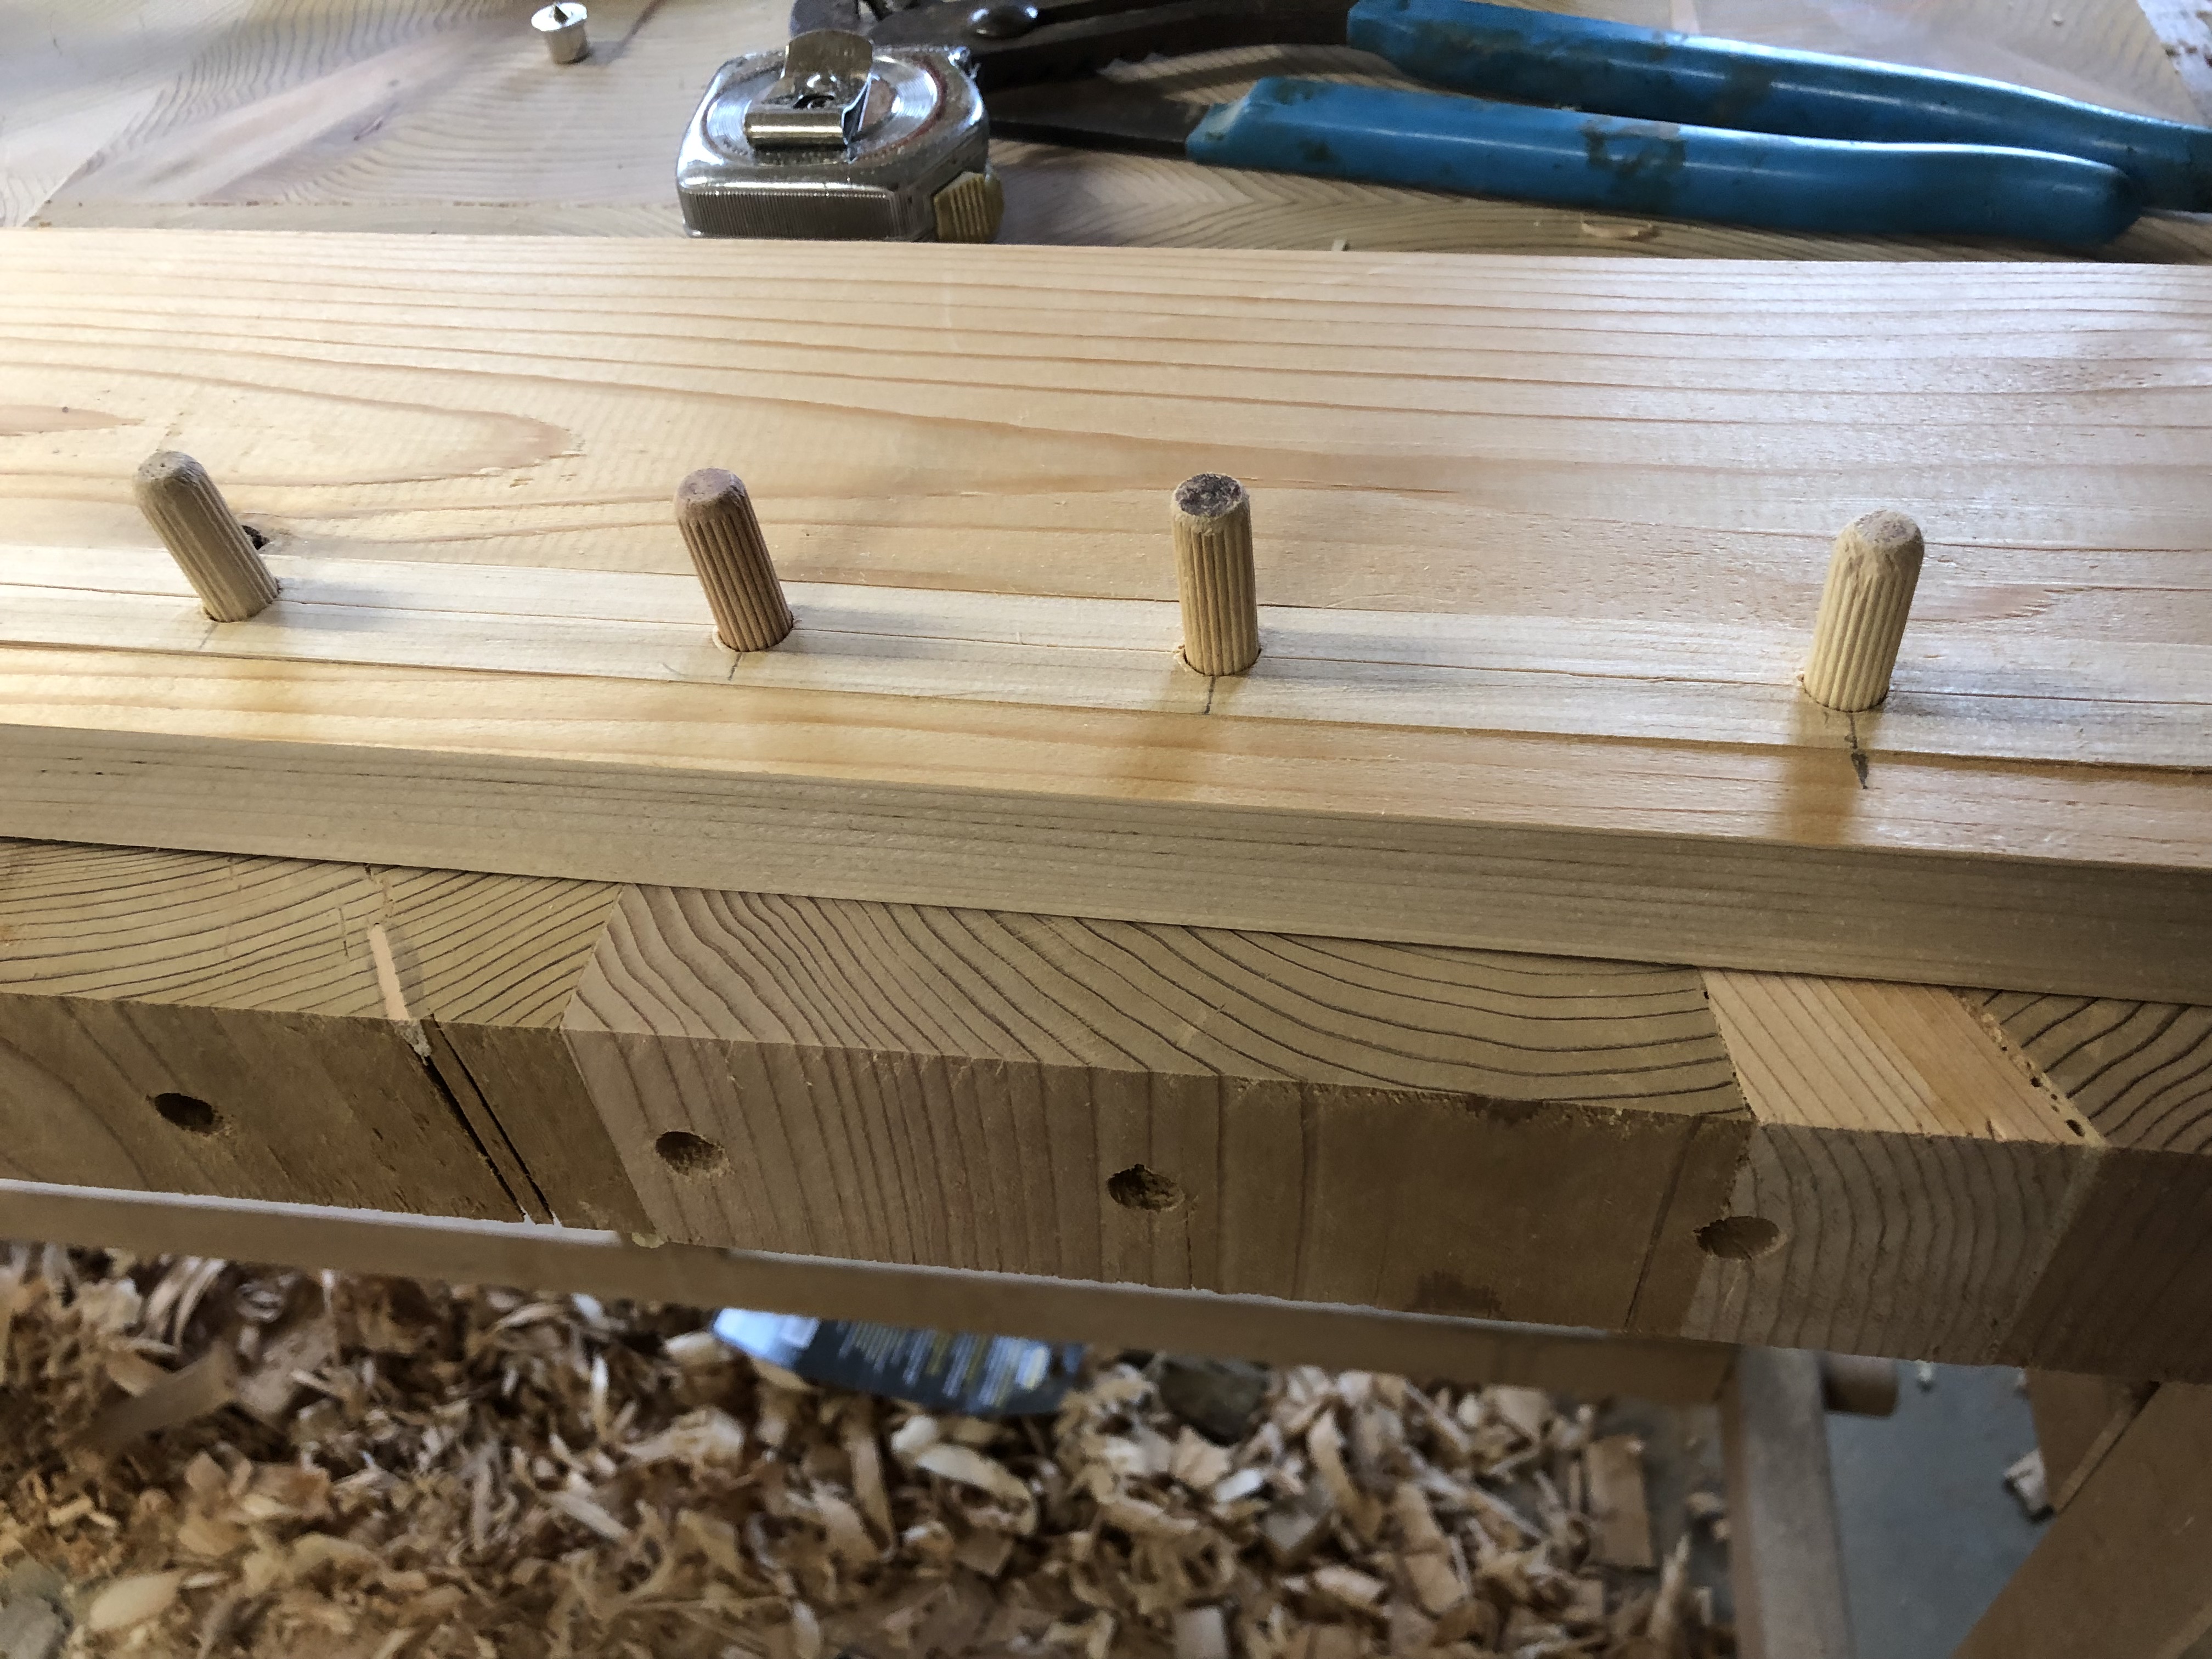
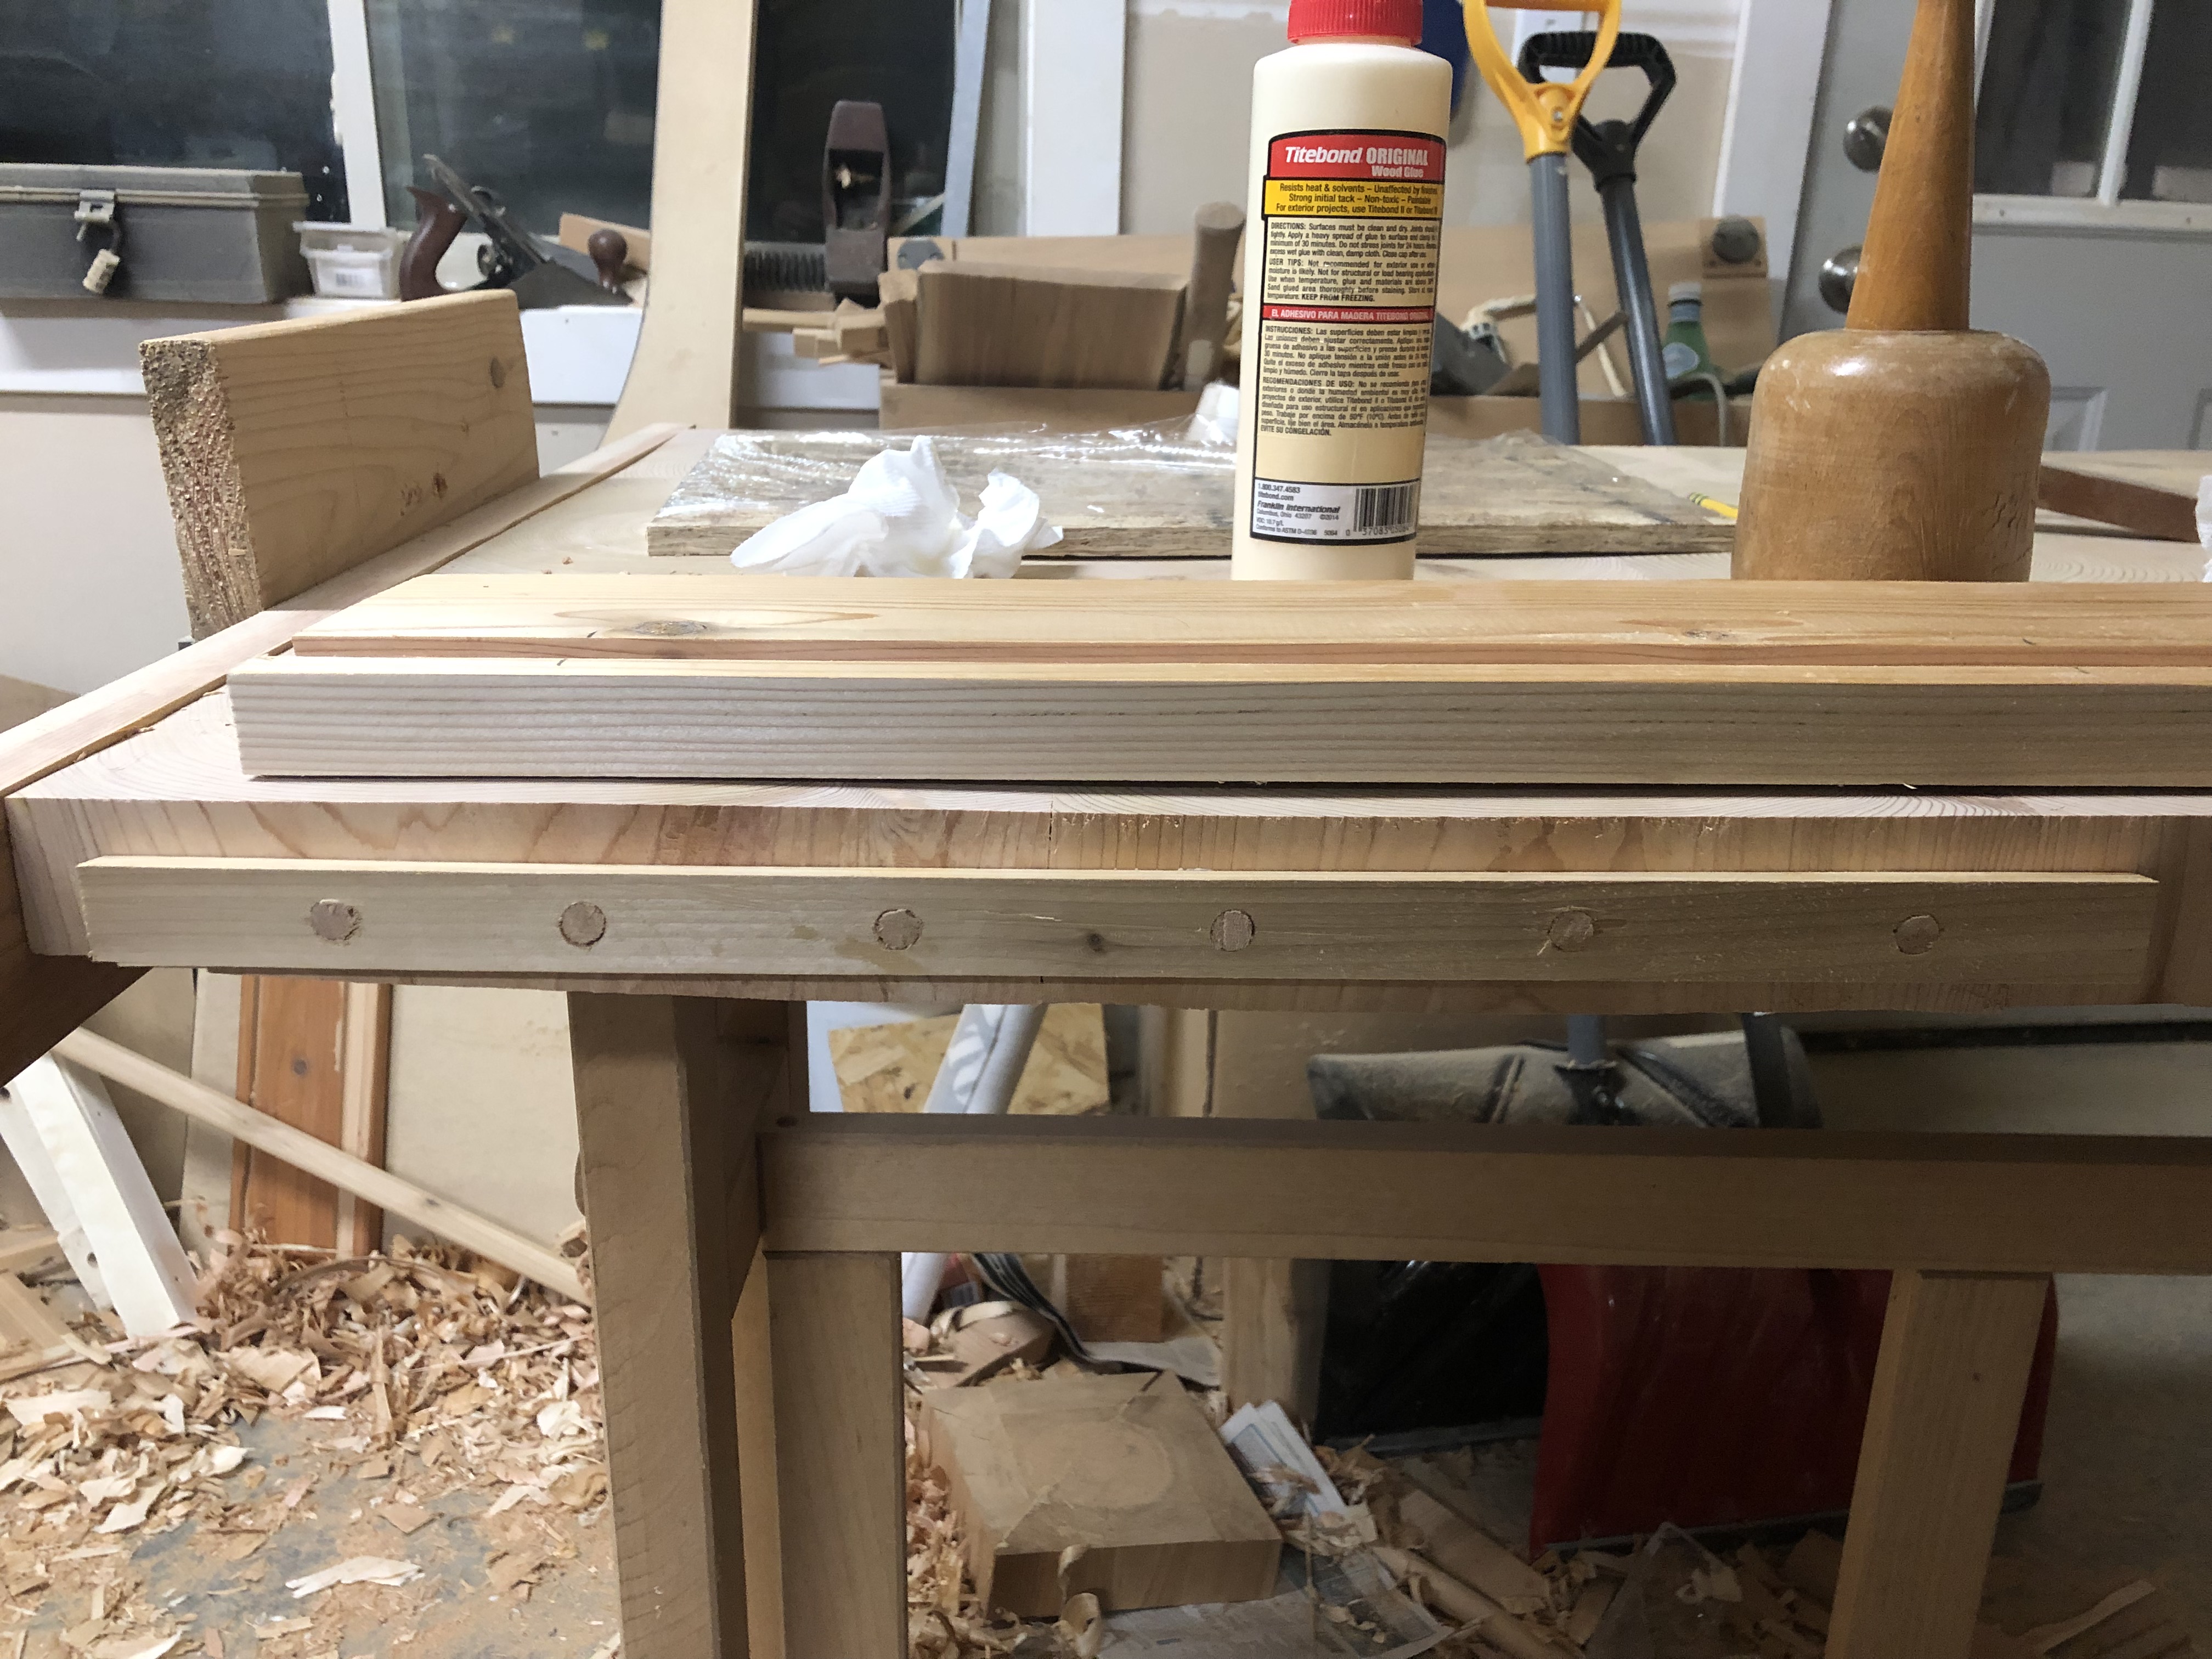
Once all these dovetail pieces are glued to the table-top the sides can be slid on. Then one can glue one end of the board. The rest of the frame pieces are left to float as the table-top expands and contracts. The dovetail slides are semi-blind on the frame pieces. One end does not show the dovetail groove and this is the end that is shown. The other butts to the corresponding frame piece in that corner.
Once assembled the excess is sawed off the ends.
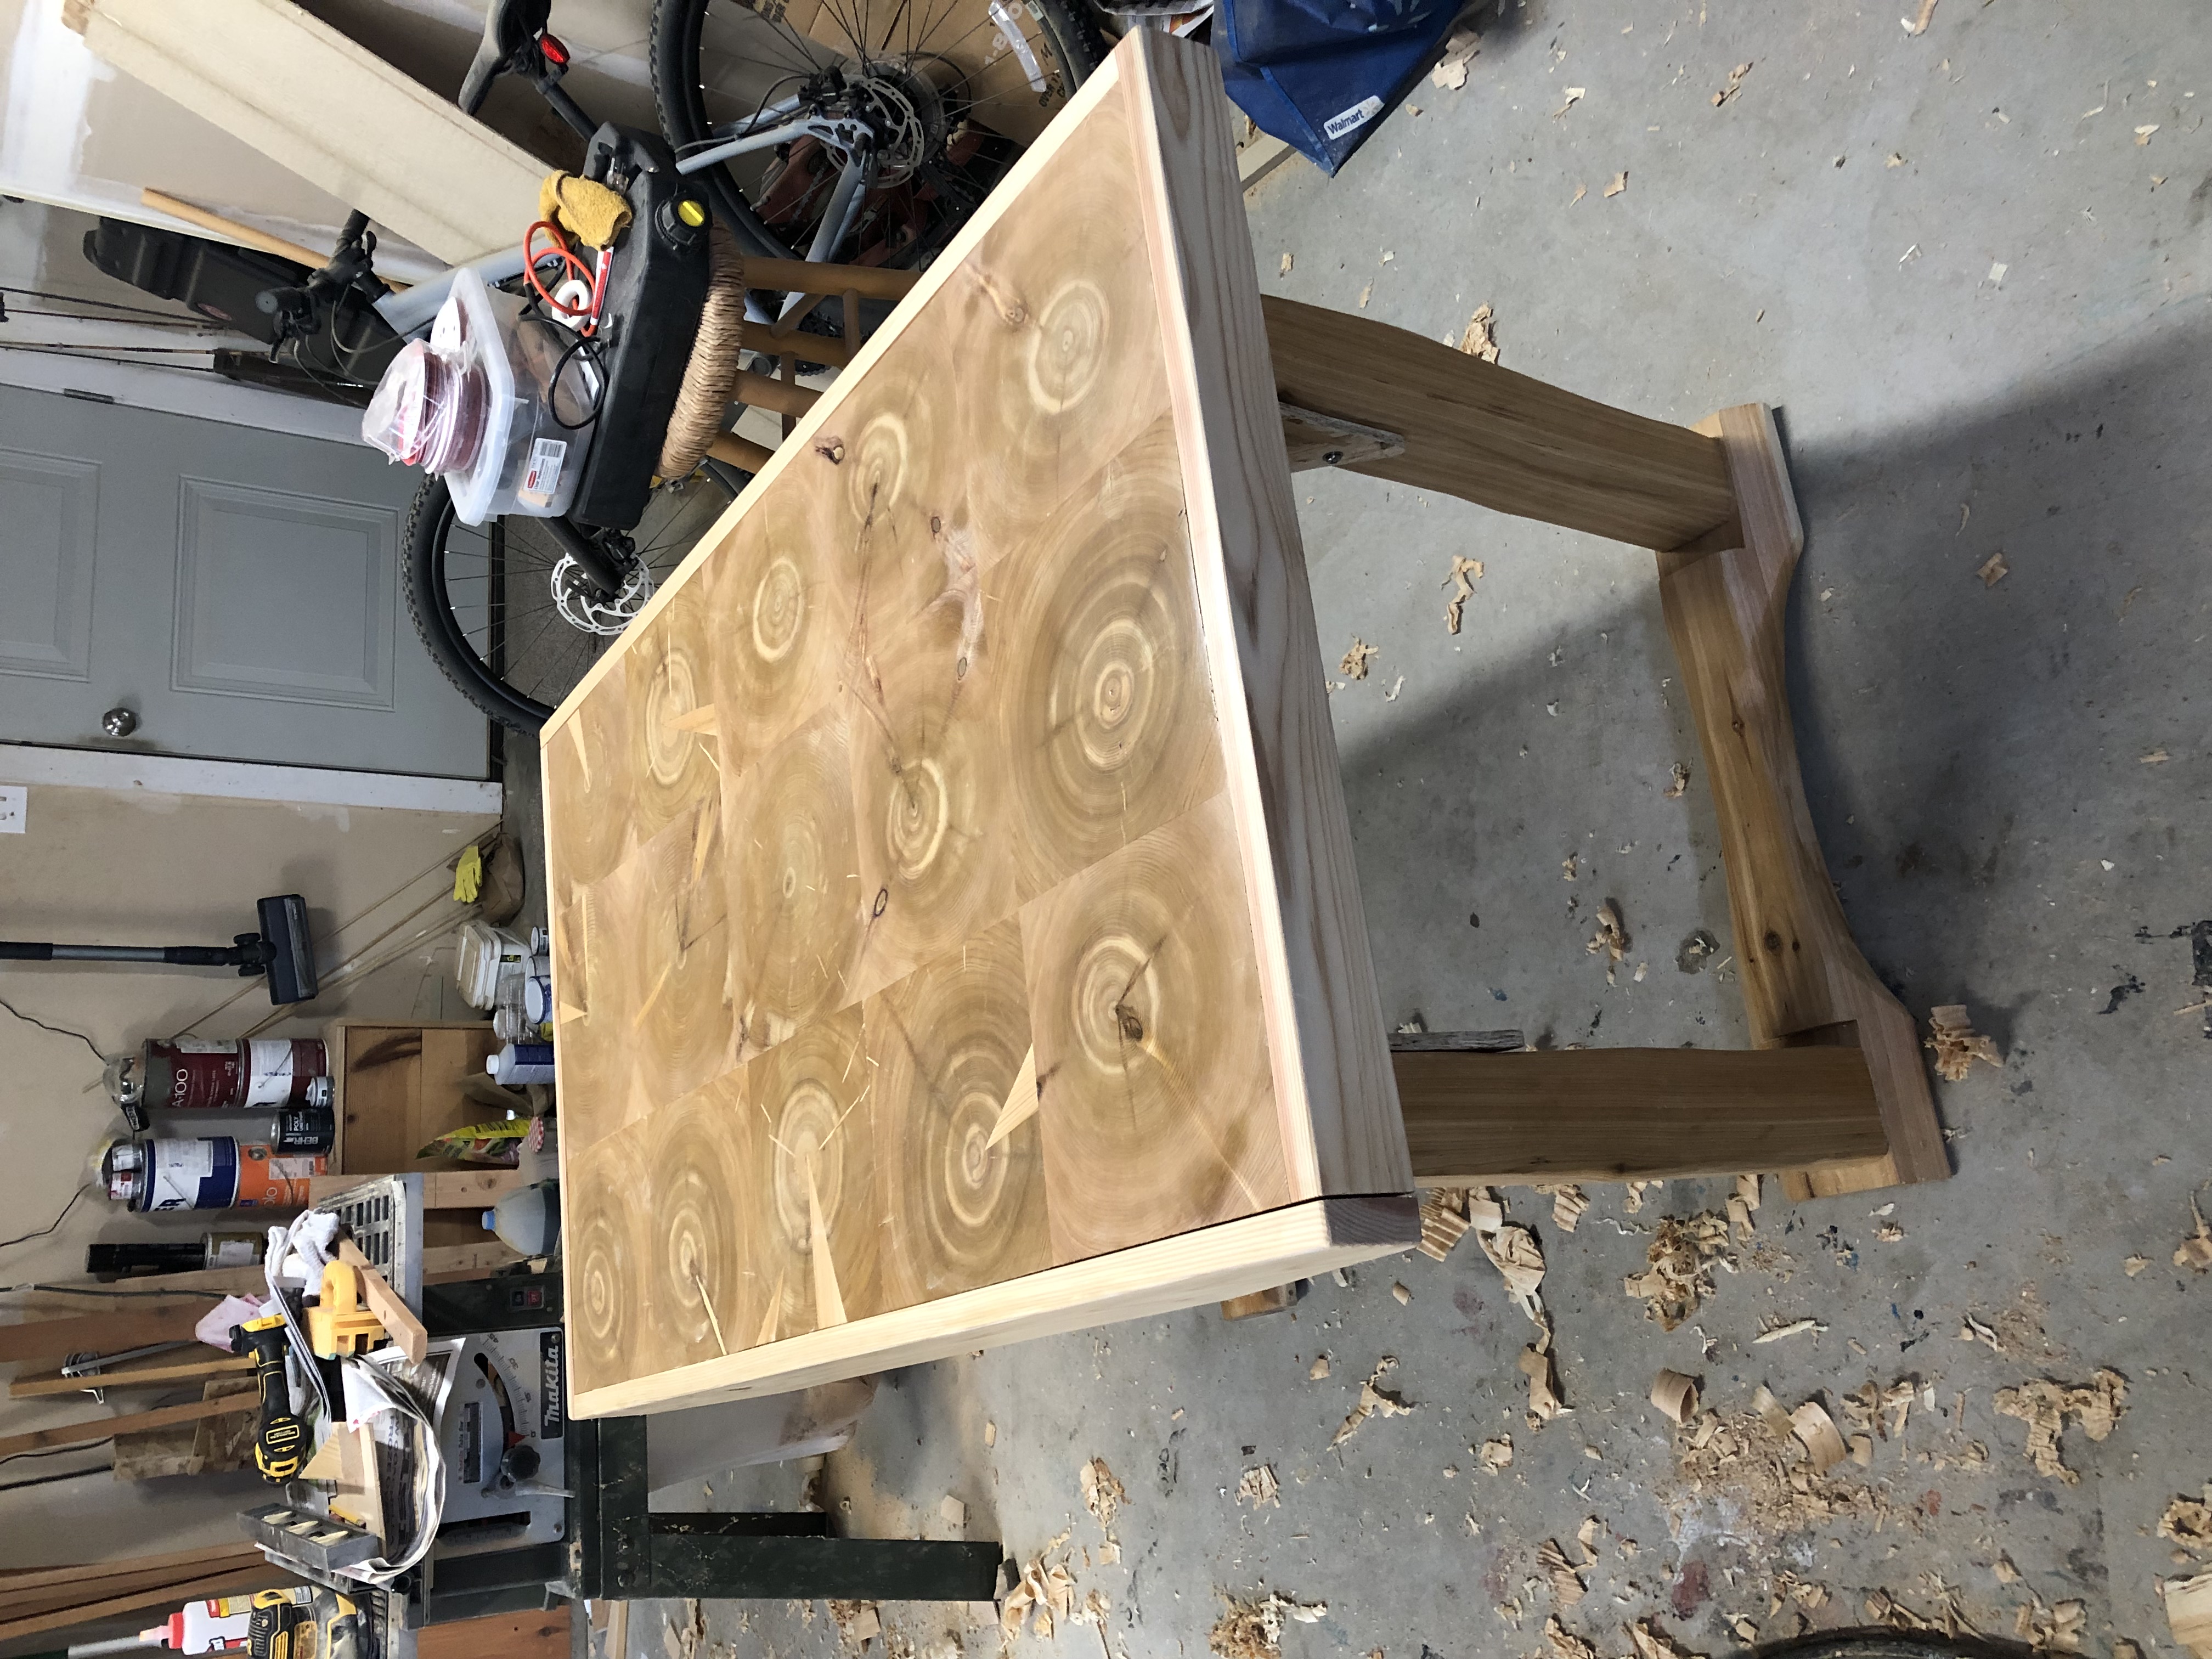
I ended up with the following table-top. The wedges are visible where I fixed the large splits. The smaller crack fixes are also visible and add to the interest. One can see the different tree’s patterns of rings and get some insight into their growing conditions.
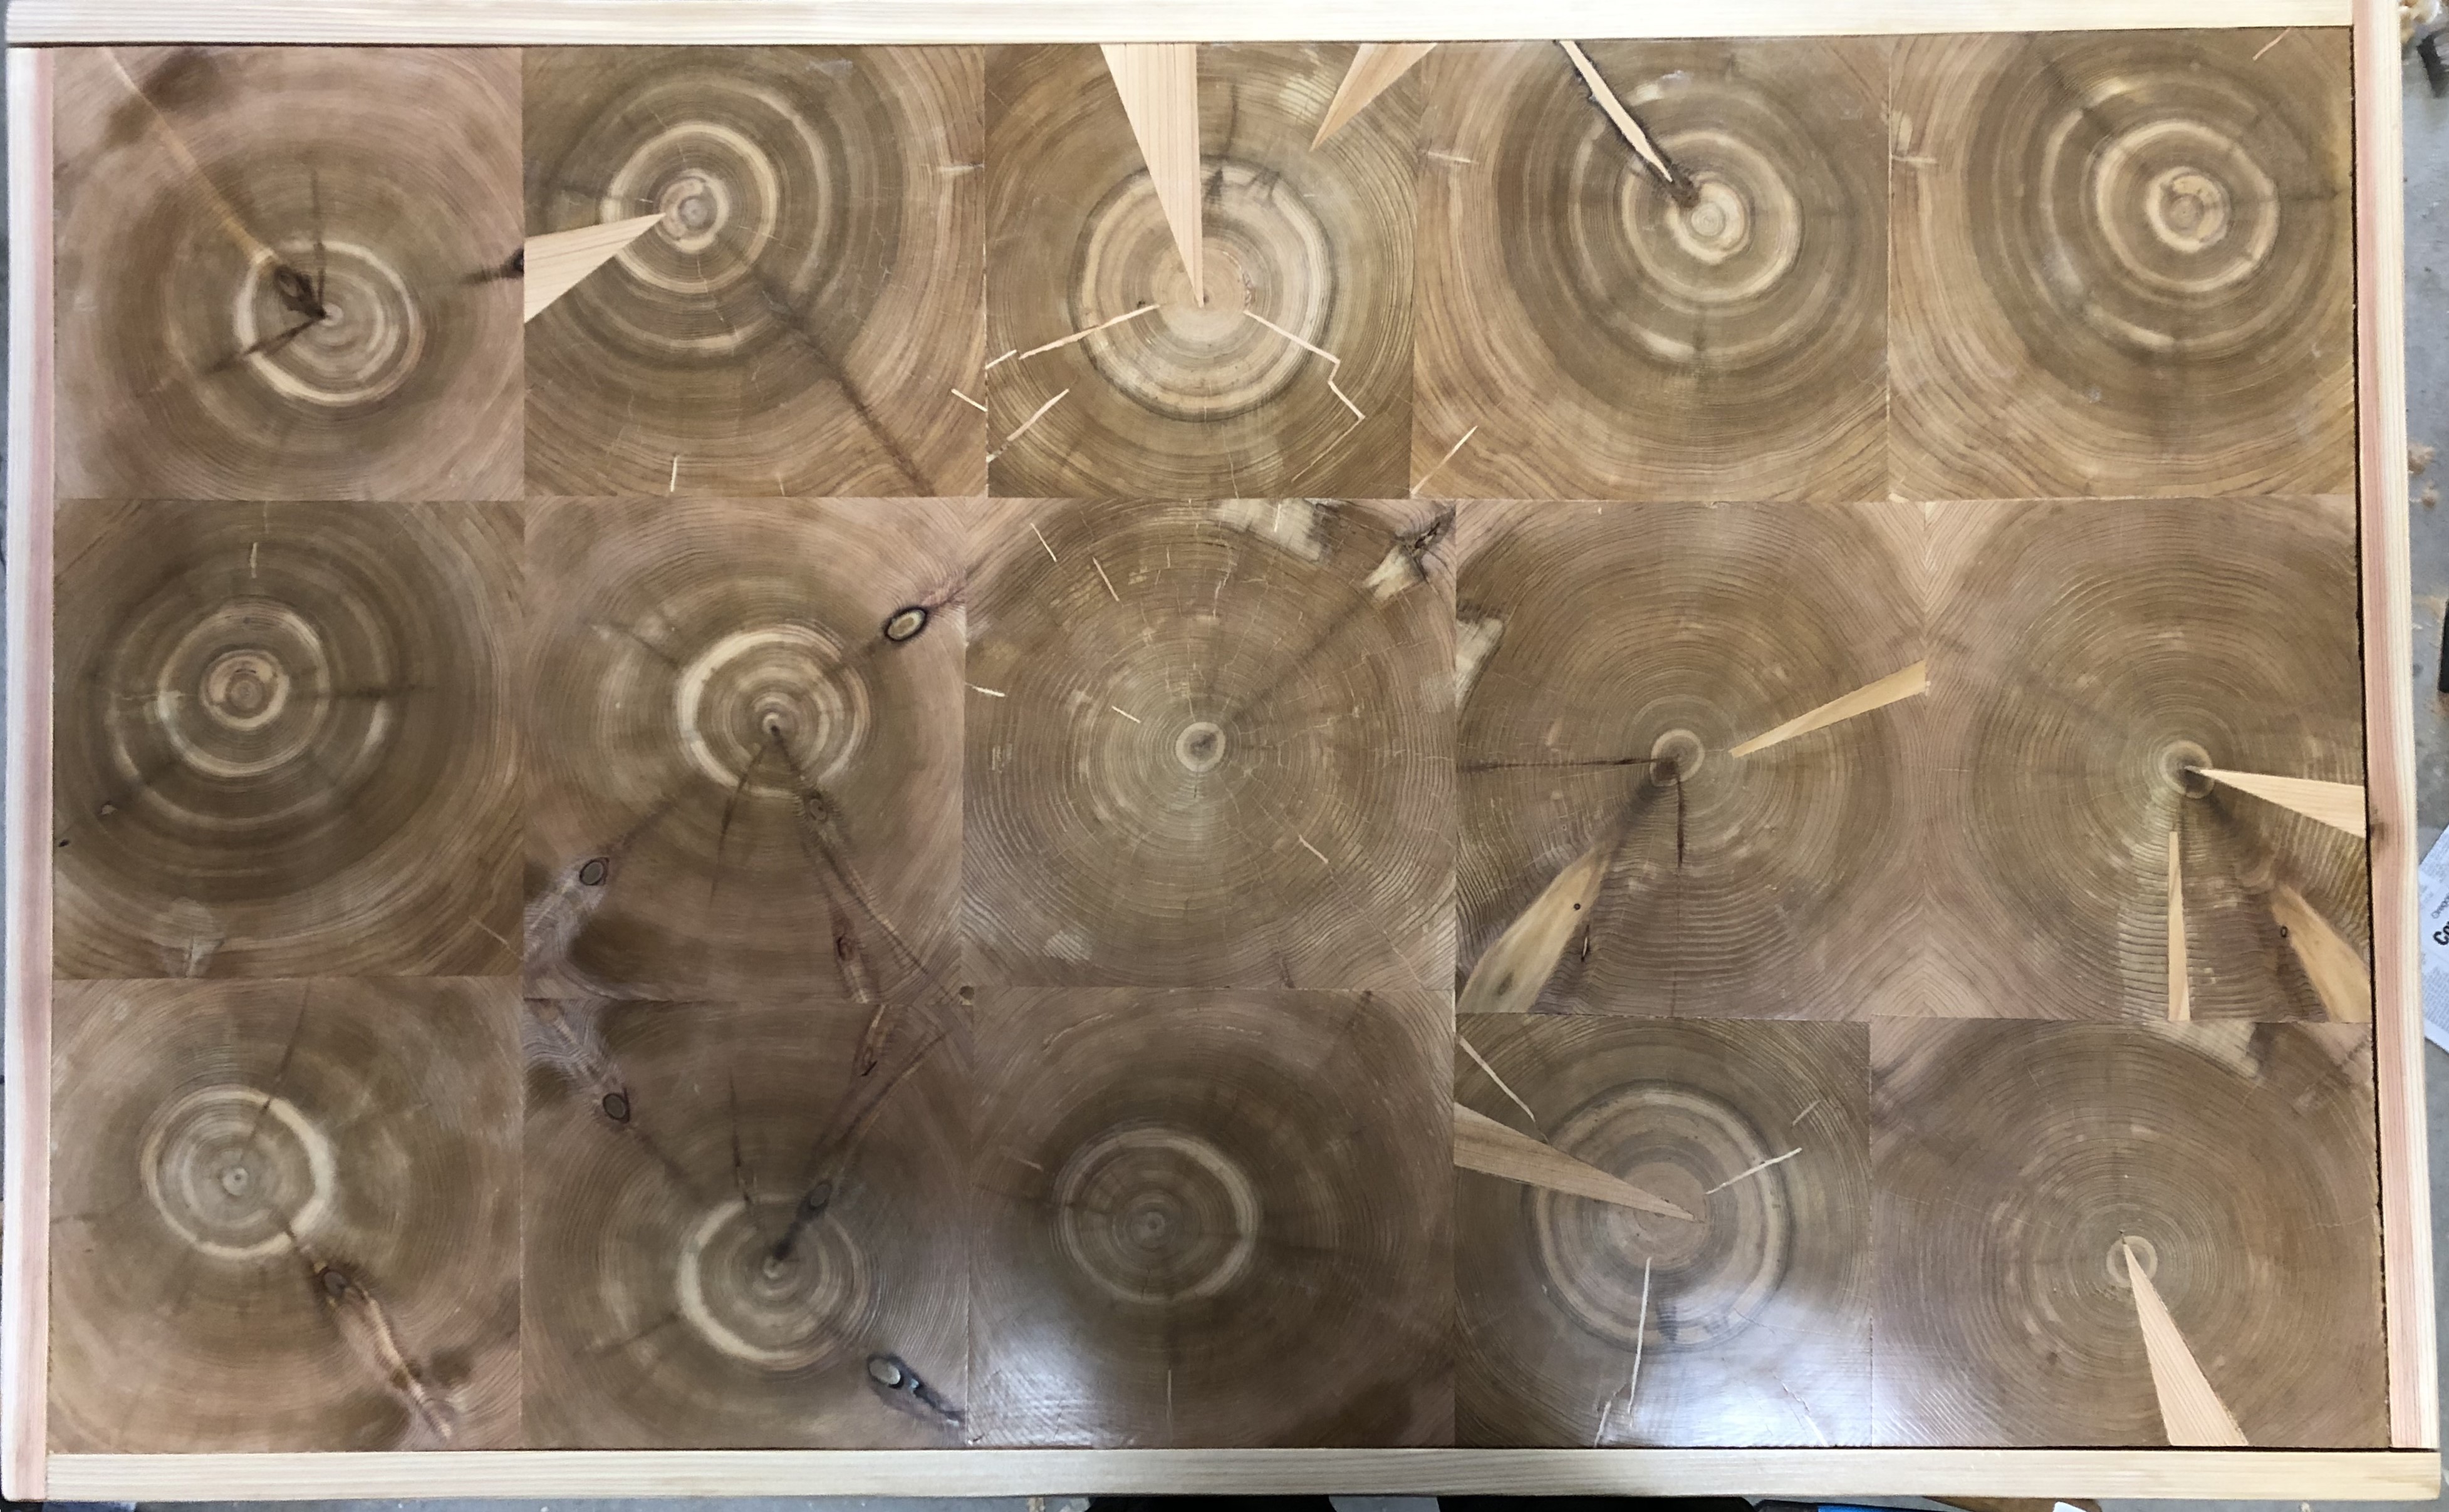
Table Legs
The table legs I made turned out a bit disappointing. I wanted to make these from hand hewn cedar from the same batch of firewood I bought.
I took the longer thinner logs and split them out into roughly square shapes. I used my froe and some handmade oak gluts to split the logs. I declined to saw them into regular square lumber which made the joinery a challenge.
Once split I used a draw knife, scrub plane, jack plane and chisel to shape and smooth them. I then hand cut mortises and tenons for the legs along with some (very rough) dovetails.
One impediment to the use of these hand tools is the presence of knots and I discovered that a power drill and Forstner bit (one inch and larger) worked wonders to put these below the working surface then the hand tools can work on the softer wood.
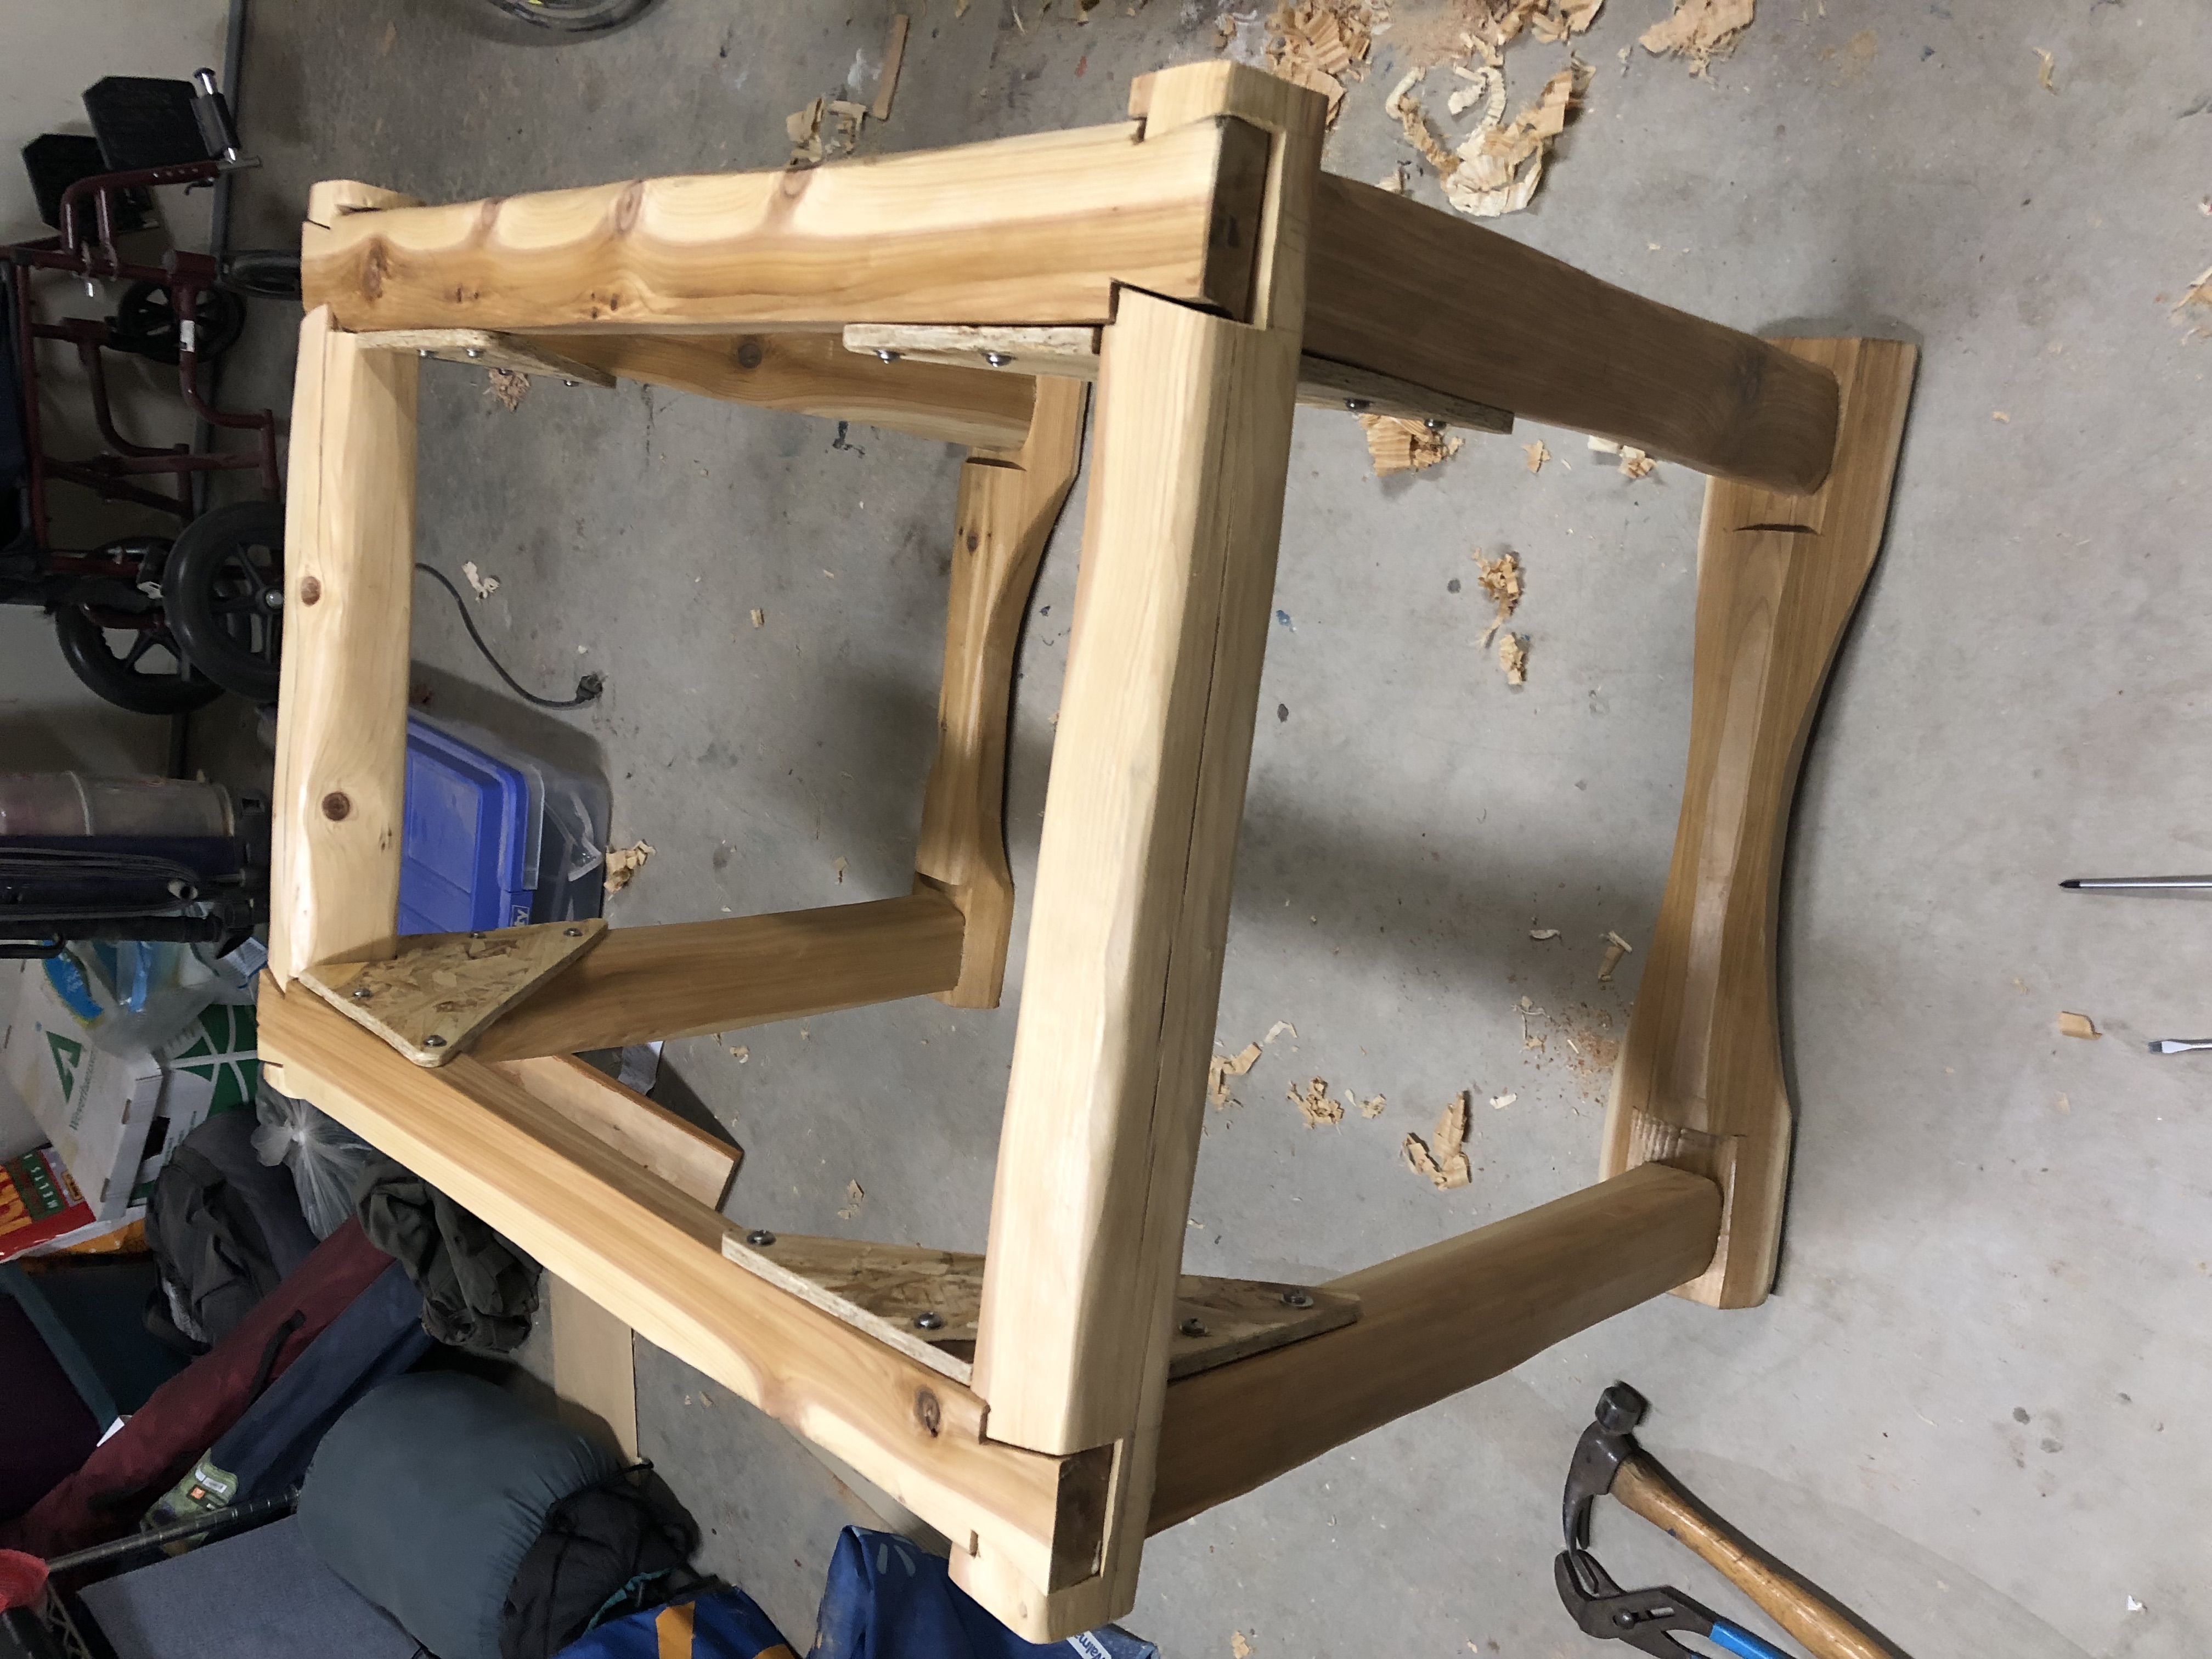
I made triangles of OSB screwed into the corners to create gussets to make the frame stiffer and stronger.
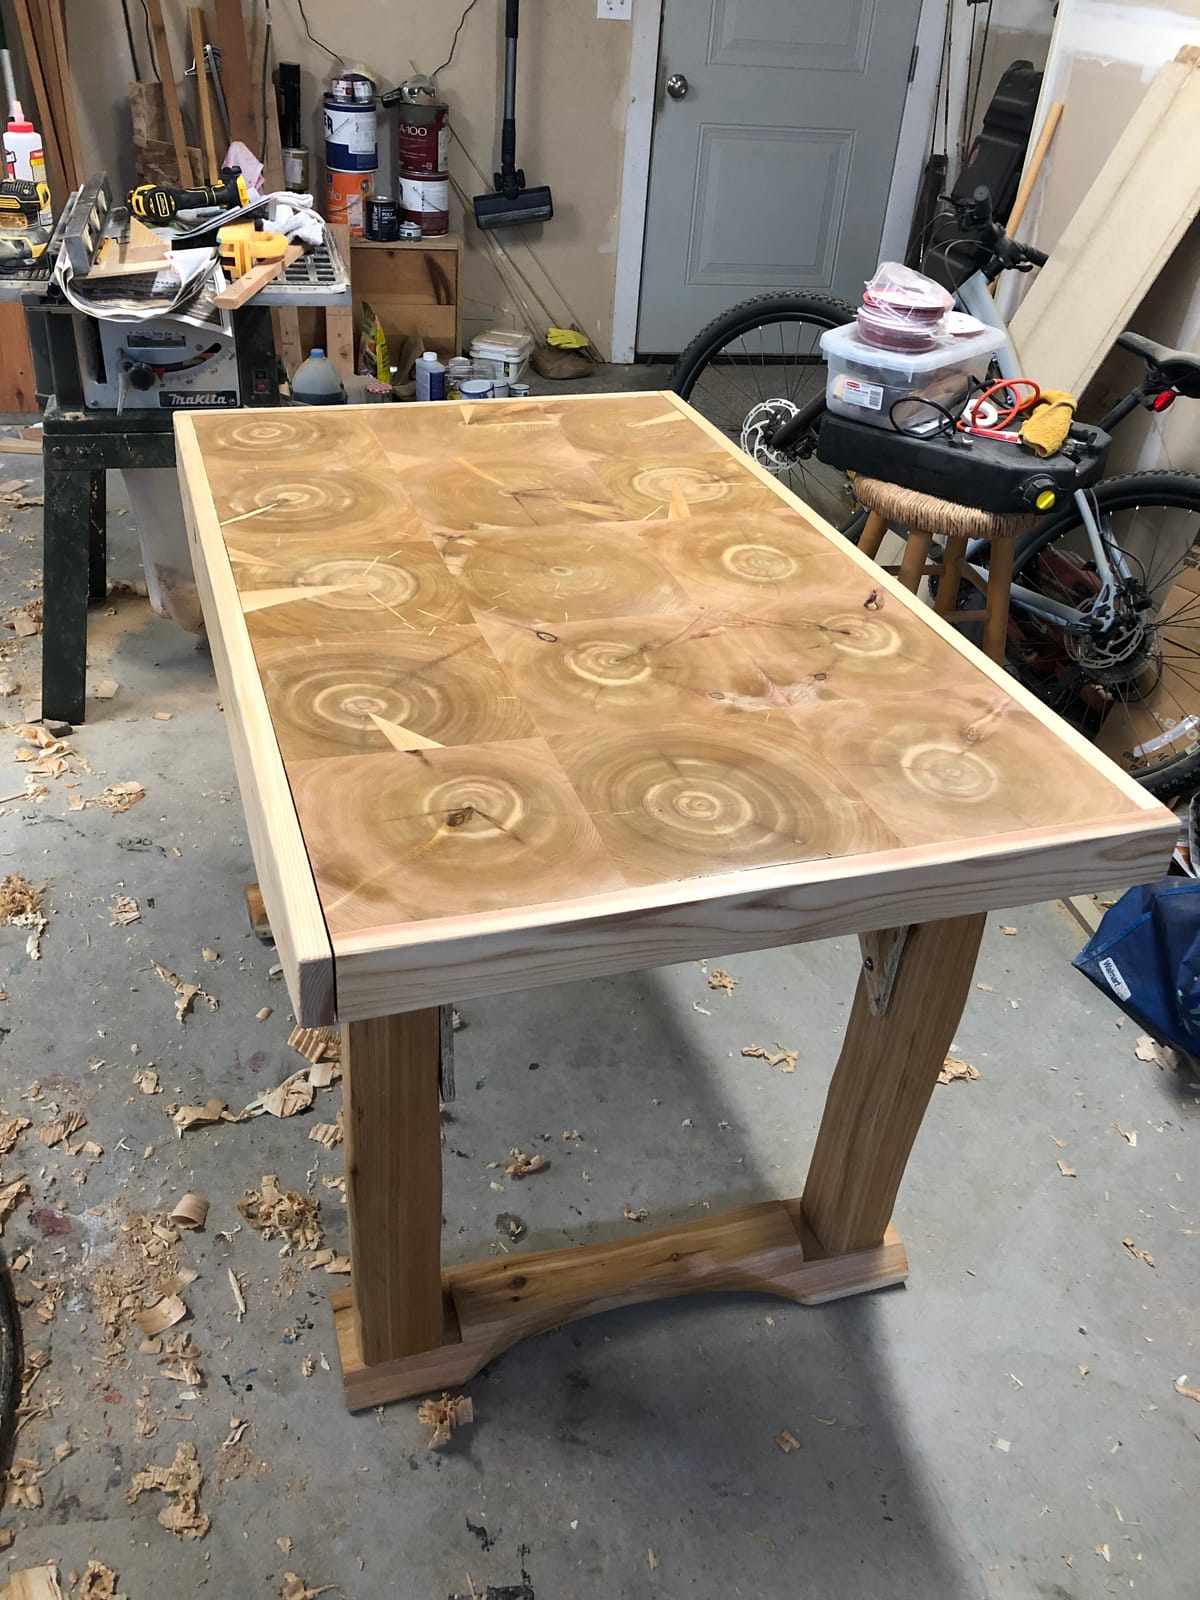
The frame ended up looking like this. Not pretty but the table-top covers the worst offences. I also made sure I could disassemble the legs for winter storage.
This resulted in this finished table.