Metering Negative Film
Chapter 6
Color negative film (also called C-41 as this is the name of the development process) is much more forgiving than slide film. It can have a tremendous amount of range and some types seem almost bullet-proof to overexposure. As a rule, color negative film is the opposite to slide film in terms of metering technique. This is because it tolerates overexposure well and does not do well with underexposure. Let us look at how this film stacks up in the zone system.
In the highlight zones VI to X it looks a lot like black and white negative film. In fact, some color negative film may keep delivering at least color if not texture beyond zone X. (This is the basis I believe behind assertions that some color negative (Kodak) film can exhibit 14 stops of dynamic range. Overexposure results in some color and not pure white like slide film.)
In general, color negative film will show washed-out color as it is overexposed. Some people prefer this look and so aim to overexpose the film intentionally. Keeping the highlights less exposed tends to result in more saturated colors. Thus, exposure can be used to manipulate the color palette of an image. On the shadow side color negative film is extremely limited. Underexposed color negative film can tend to look muddy and grainy with odd color shifts.
Consequently, the rule of thumb I use for color negative film is to meter for the shadows you want detail in and keep it in zone III or above. Then let the highlights lay where they will, knowing the film will handle overexposure gracefully. I still meter the highlights so I can visualize where they will be on the zone scale. Sometimes that lets me choose more exposure for the shadows and move them up a zone or two.

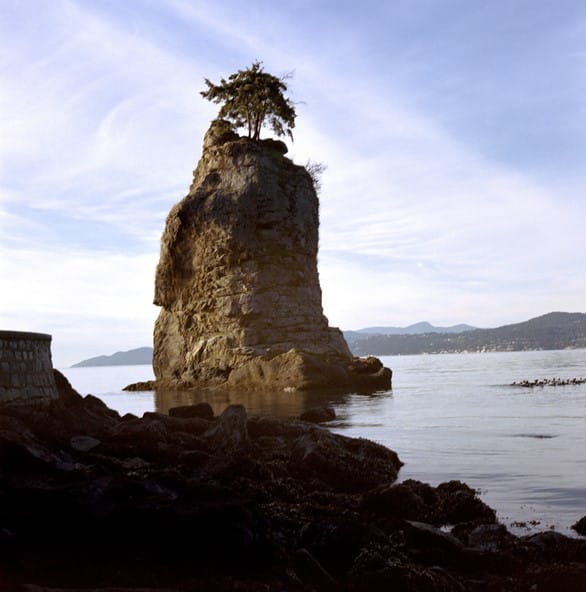
The photo here was taken in the winter in Vancouver BC on Kodak Portra 400. I was on a business trip and brought my Rolleiflex and my Sekonic average light meter due to its smaller size while traveling. I made an average meter reading and much of the detail of the rocks in the foreground is lost. There is room for more exposure in the highlights. If I had metered the rocks and placed them in zone IV or III there would be more detail there and the film would have handled the highlights just fine.
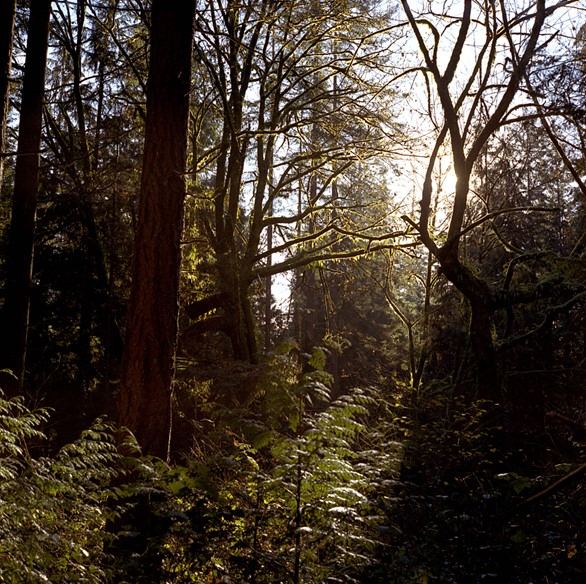
Here is another photo on the same trip with the same film, camera, and meter. In this case I was more careful and tried to get the meter to only ‘see’ the shadows. I then placed this in zone III by underexposing two stops. This was mostly successful. The tree trunk shows color and texture while the bright sun is clearly overexposed but in a nice way and the broader sky remains blue and the glow of the moss on the tree limbs holds color and detail. The shadow in the lower right still holds details as well.
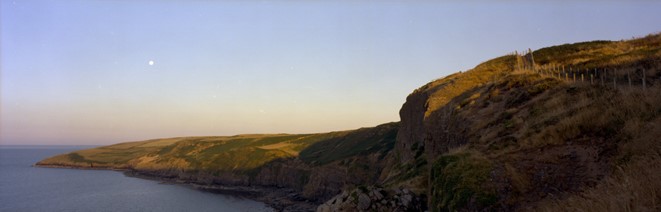
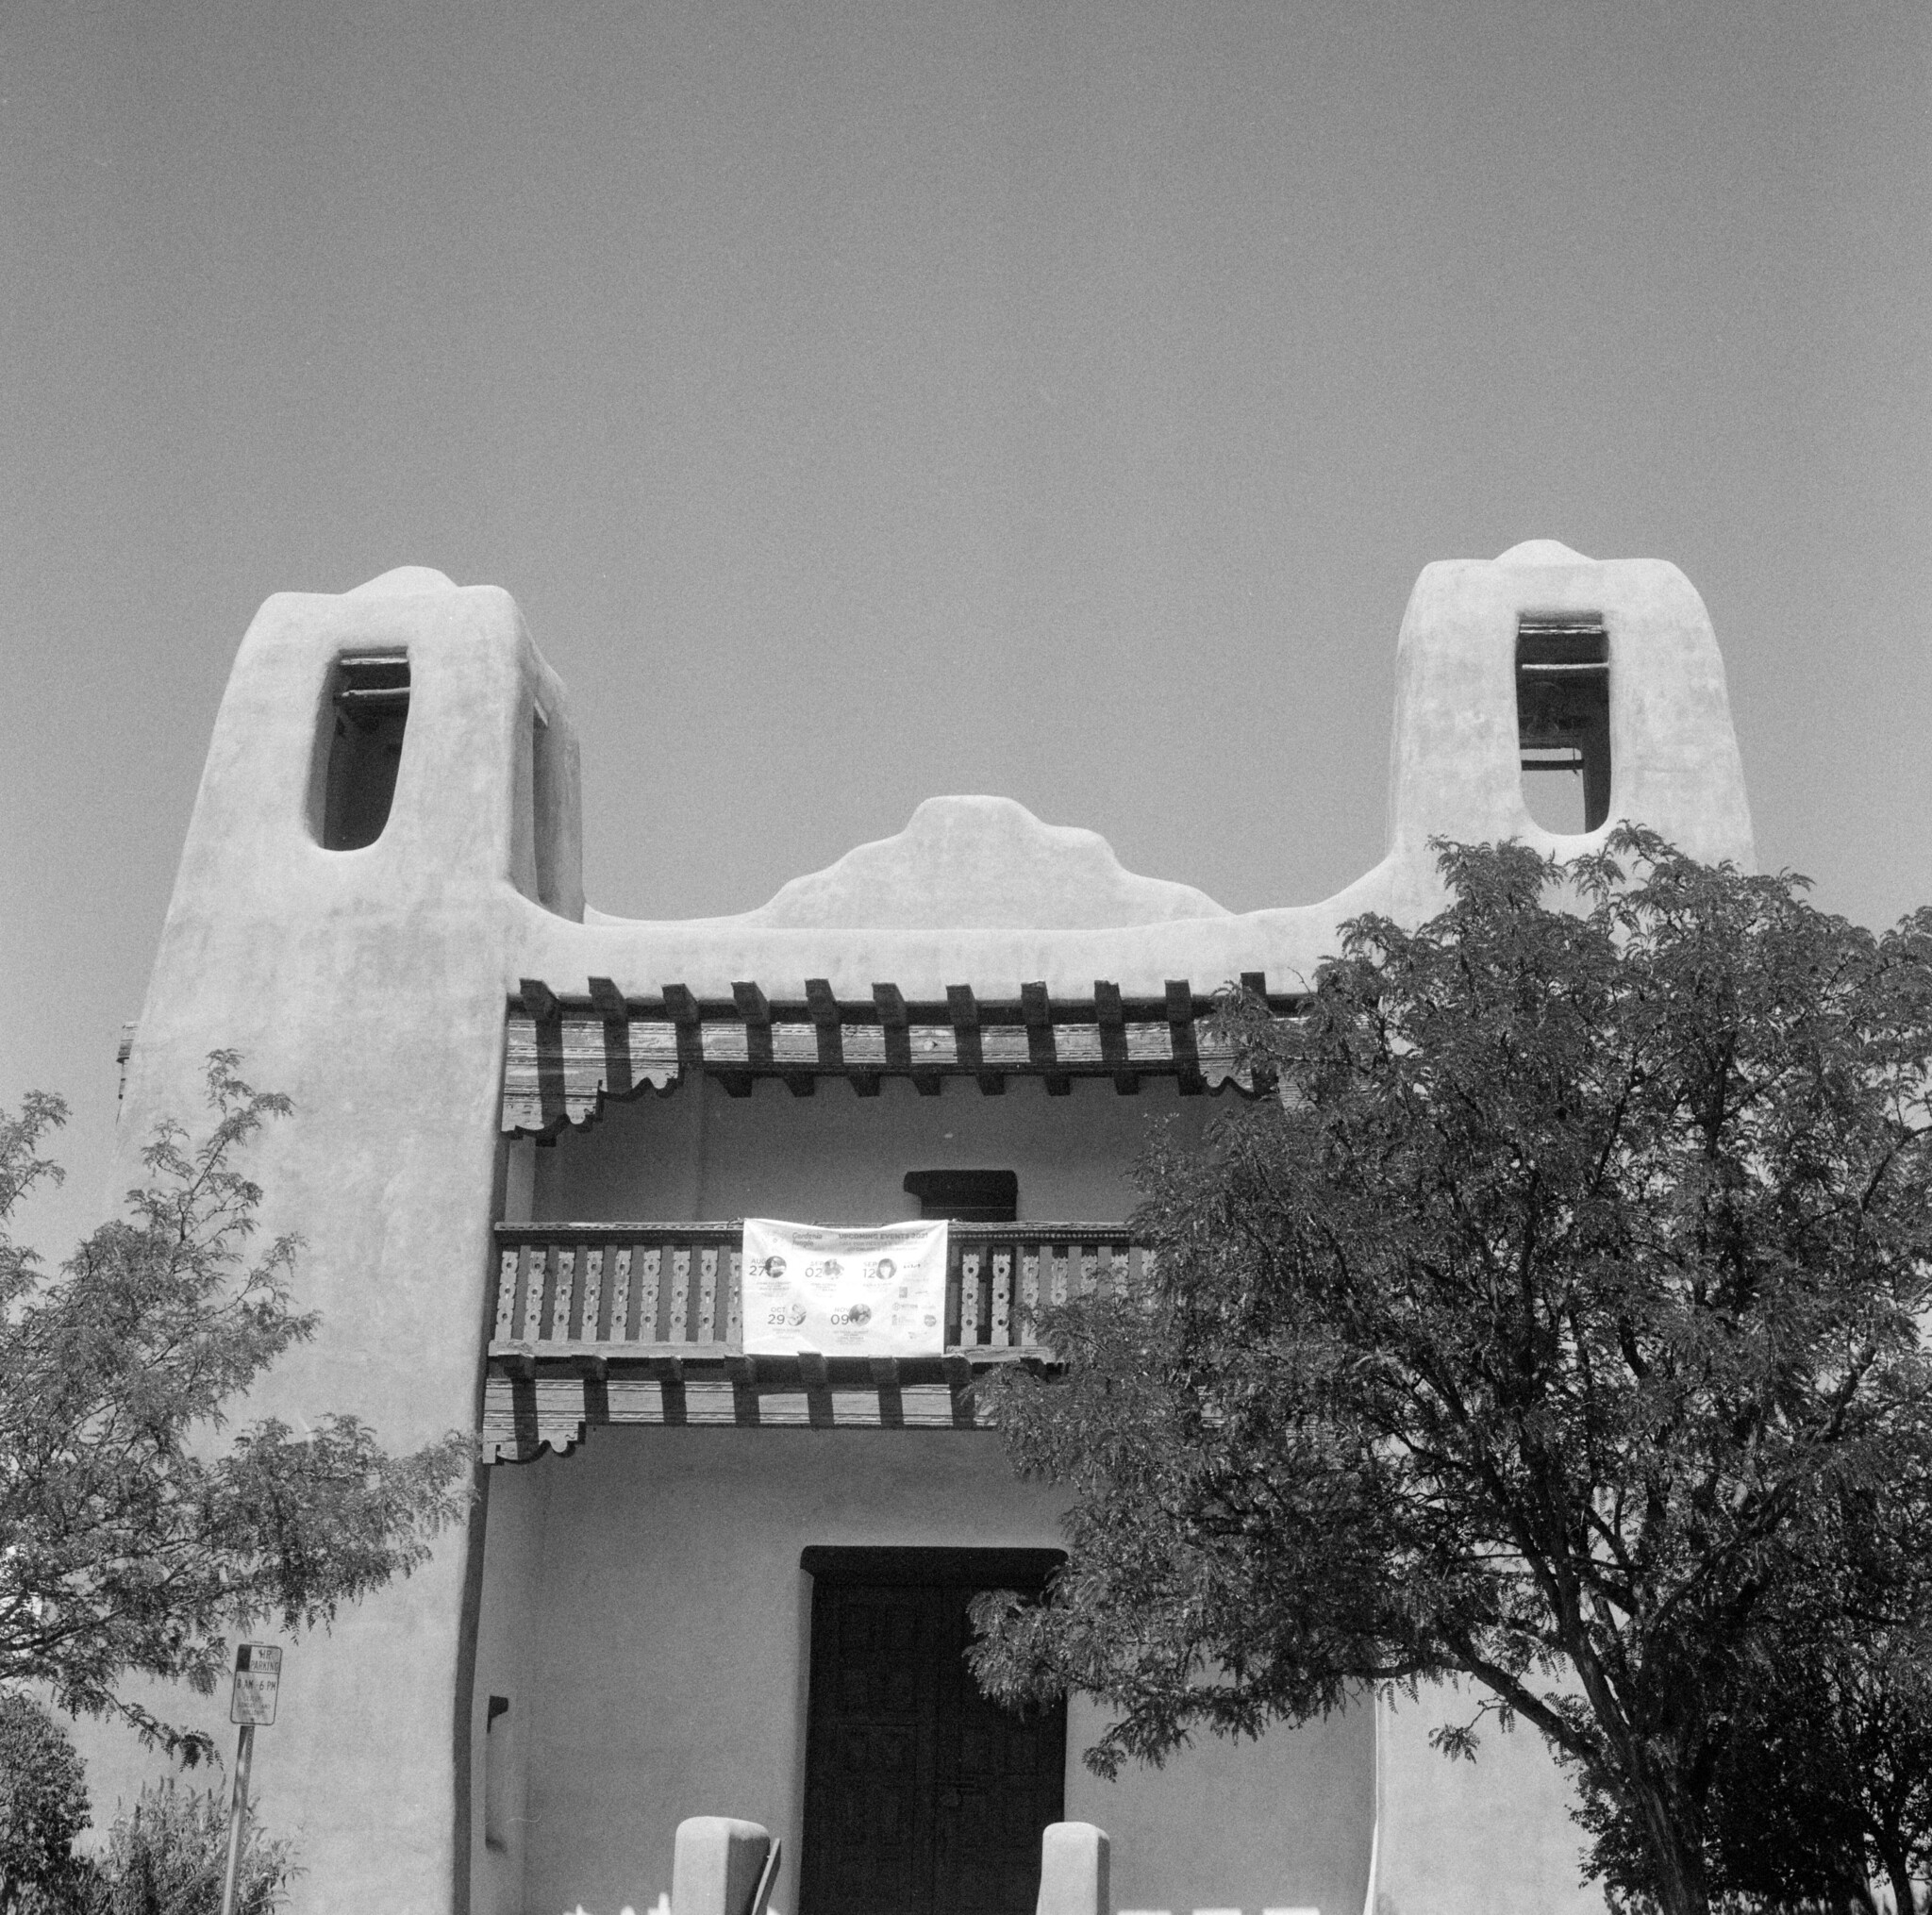
Next is a photo I took around sunrise on the Llyn Peninsula in Wales. This was one of the first photos I took using my newfound understanding of the zone system and my newly acquired spot meter. I metered the deep shadows at the base of the cliffs and placed that Ev at Zone III. It captures all the detail and has accurate color in the shadows. It was early morning, and the highlights did not challenge the upper end of the film’s range. (Kodak Porta 400, Fuji G617 camera)
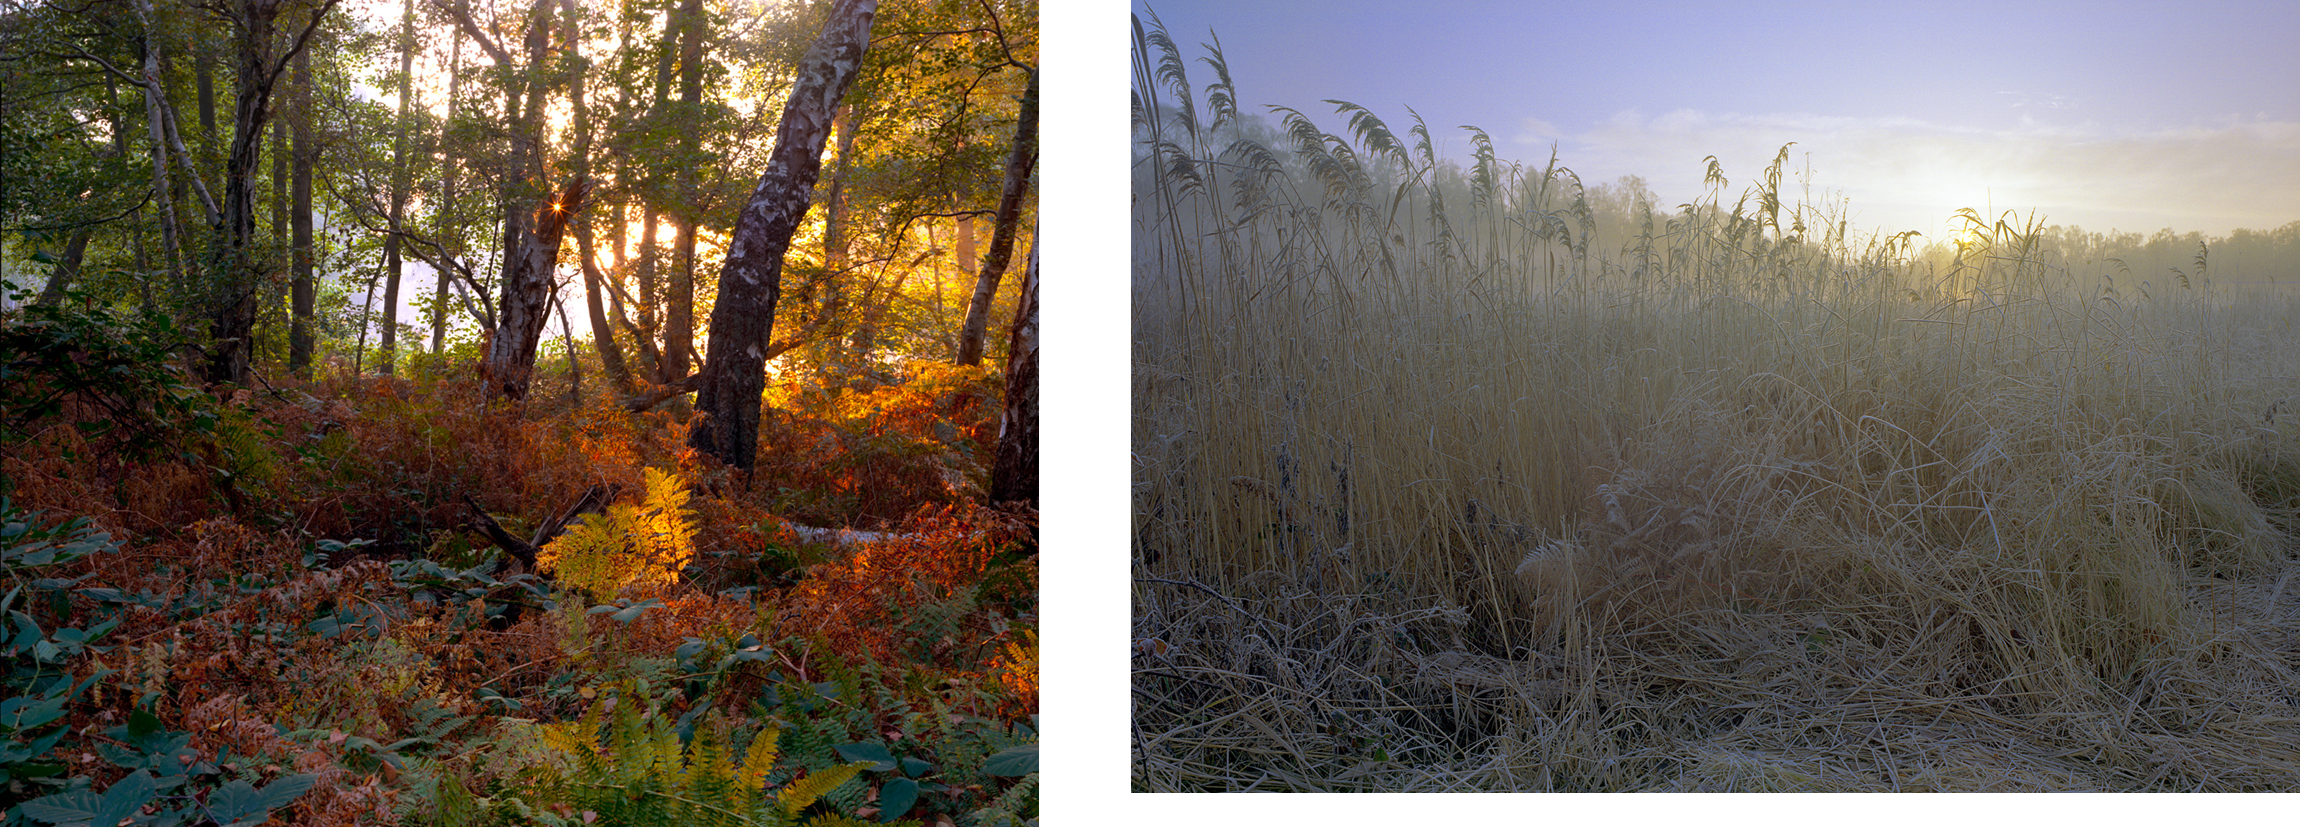
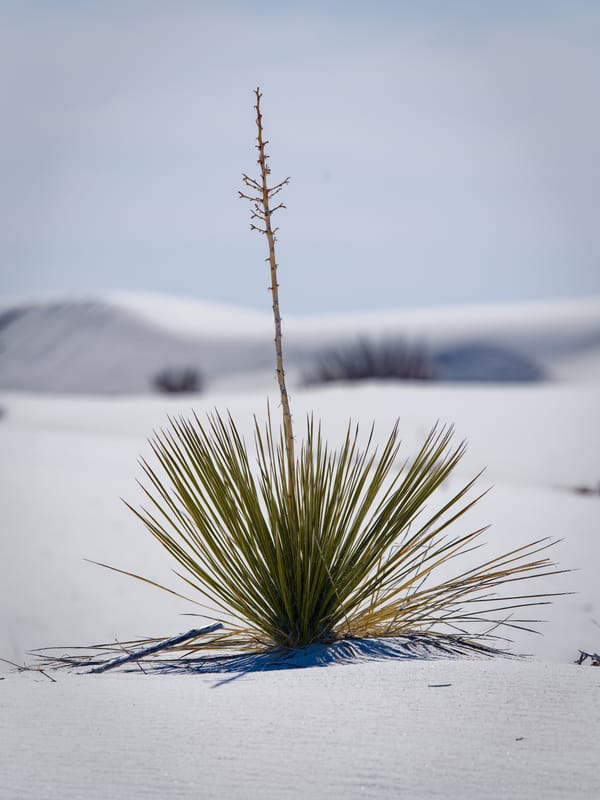
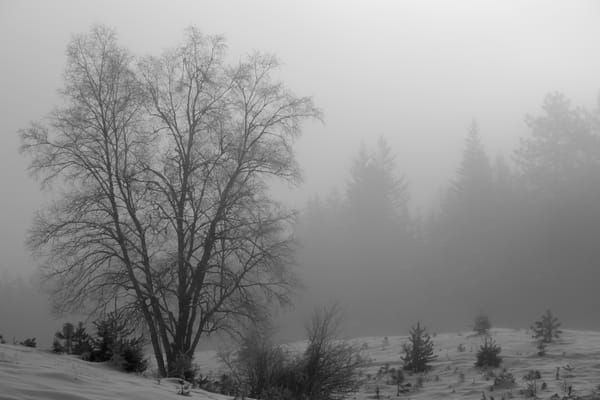
Finally, a fall and a winter image with bright sun showing the full range of color negative film. Both images were metered in the shadows in the foreground and adjusted to zone III or IV. The highlights were left to lay where they were. Again, the film holds texture and color in the highlights. In both cases the sun was rising and the conditions changing quickly so it helped I had film that I did not have to meter repeatedly like slide film to assure a good exposure. The fall image on the left is Kodak Ektar 4x5 large format while the winter frost scene was Kodak Portra 400 on a Fuji GSW 690 camera.
It may still be warranted to be aware of the highlights and a GND may be a good idea when it can be used to bring the highlights down. For particularly bright skies for instance this may help preserve more detail and assure more saturated color.
These are general rules of thumb for color negative film. Each film has its own characteristics. Fuji recently discontinued their Pro 400H film, but Kodak continues to have strong candidates like Portra 160, 400, and 800 and Ektar 100. Portra tends to have soft muted colors (though there are differences between the speeds) while Ektar is more saturated. They each have their own responses to over and underexposure.
Metering Black and White Film
When metering black and white film (none-C-41 type) we can fall back to the original Zone system as this is what it was made for. Meter for where we want the highlights and shadows depending on what parts of the image we want to preserve. Since conventional black and white film handles shadows more gracefully than color negative film we can look to underexpose the shadows more. This is very much dependent on how the film is exposed and developed, however.
EXPOSE FOR THE SHADOWS DEVELOP FOR THE HIGHLIGHTS
Outside the scope of this article is another aspect of technique for getting the most out of black and white film. Like metering, the film’s box speed is specified to get average results and in some cases make the film look ‘faster’ than it really is. Experienced photographers in black and white film photography advocate matching the development process to the film and the speed the film is shot at. For instance I shoot Ilford FP4+ a film with a box rated speed of ISO 125 at ISO 80 and develop it 20% less time than recommended in HC-110. I overexpose to make sure the shadows pick up detail and then ‘under-develop’ the film to keep the highlights intact. This is often determined by a series of controlled experiments. A good rule of thumb however is to halve the ISO and reduce development time by 20%. Some developers however are so-called full speed developers like Ilford’s DD-X and give good shadow detail without overexposing the film and so allow the film to be shot at box speed.
Alternatively we can treat black and white film just like color negative film as a simple rule of thumb. That is meter the shadows and place them in Zone III, or even Zone II if needed, and let the highlights fall where they will.
C-41 Black and White Film
C-41 black and white film is metered and exposed in exactly the same way as color negative film. C-41 black and white film (Ilford XP2 400 and Kodak T400 CN) is color negative film where the dyes have been selected to just express a monochrome palette. Kodak’s offering has the same orange mask as their color film as it is meant to be used to make prints using the RA-4 color print process. The results will be a black and white print. Ilford’s offering however looks like a normal black and white negative after development so it can be used to make prints with a conventional black and white photographic paper.
Summary
What are the takeaways for color negative film?
1. Color negative is almost bullet-proof to overexposure.
2. Color negative film does not perform well when underexposed.
3. Meter for the shadows and place them in zone IV or III.
4. If the shadows are metered properly you can choose to let the highlights take care of themselves as the film handles overexposure very well.
5. Color negative film is useful for rapidly changing light because it is not always necessary to meter and control the highlights.
6. Despite its tolerance to over exposure a GND still may be useful to compress the tonal range of the image. This can result in more saturated colors in the highlights.
7. For simplicity we can treat black and white film like color negative film
For the next section click below…
 Doug Morse