Film from Digital: Road Trip Images
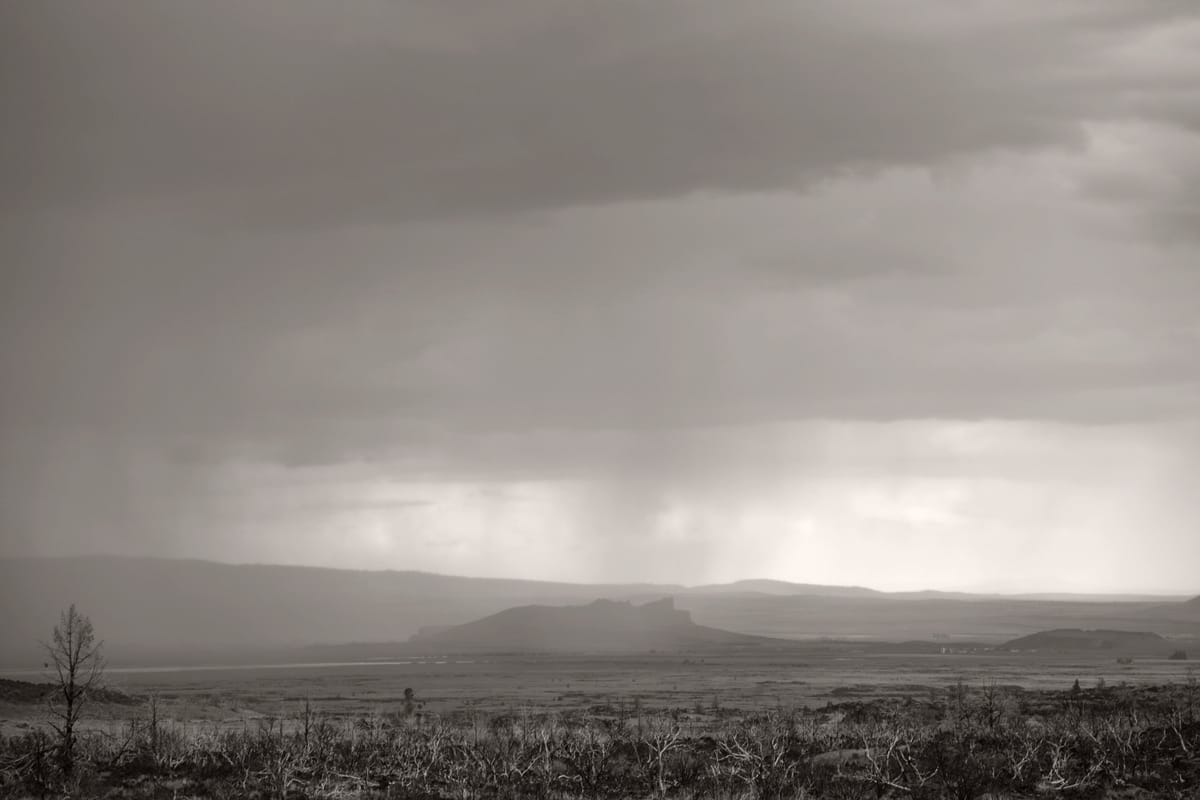
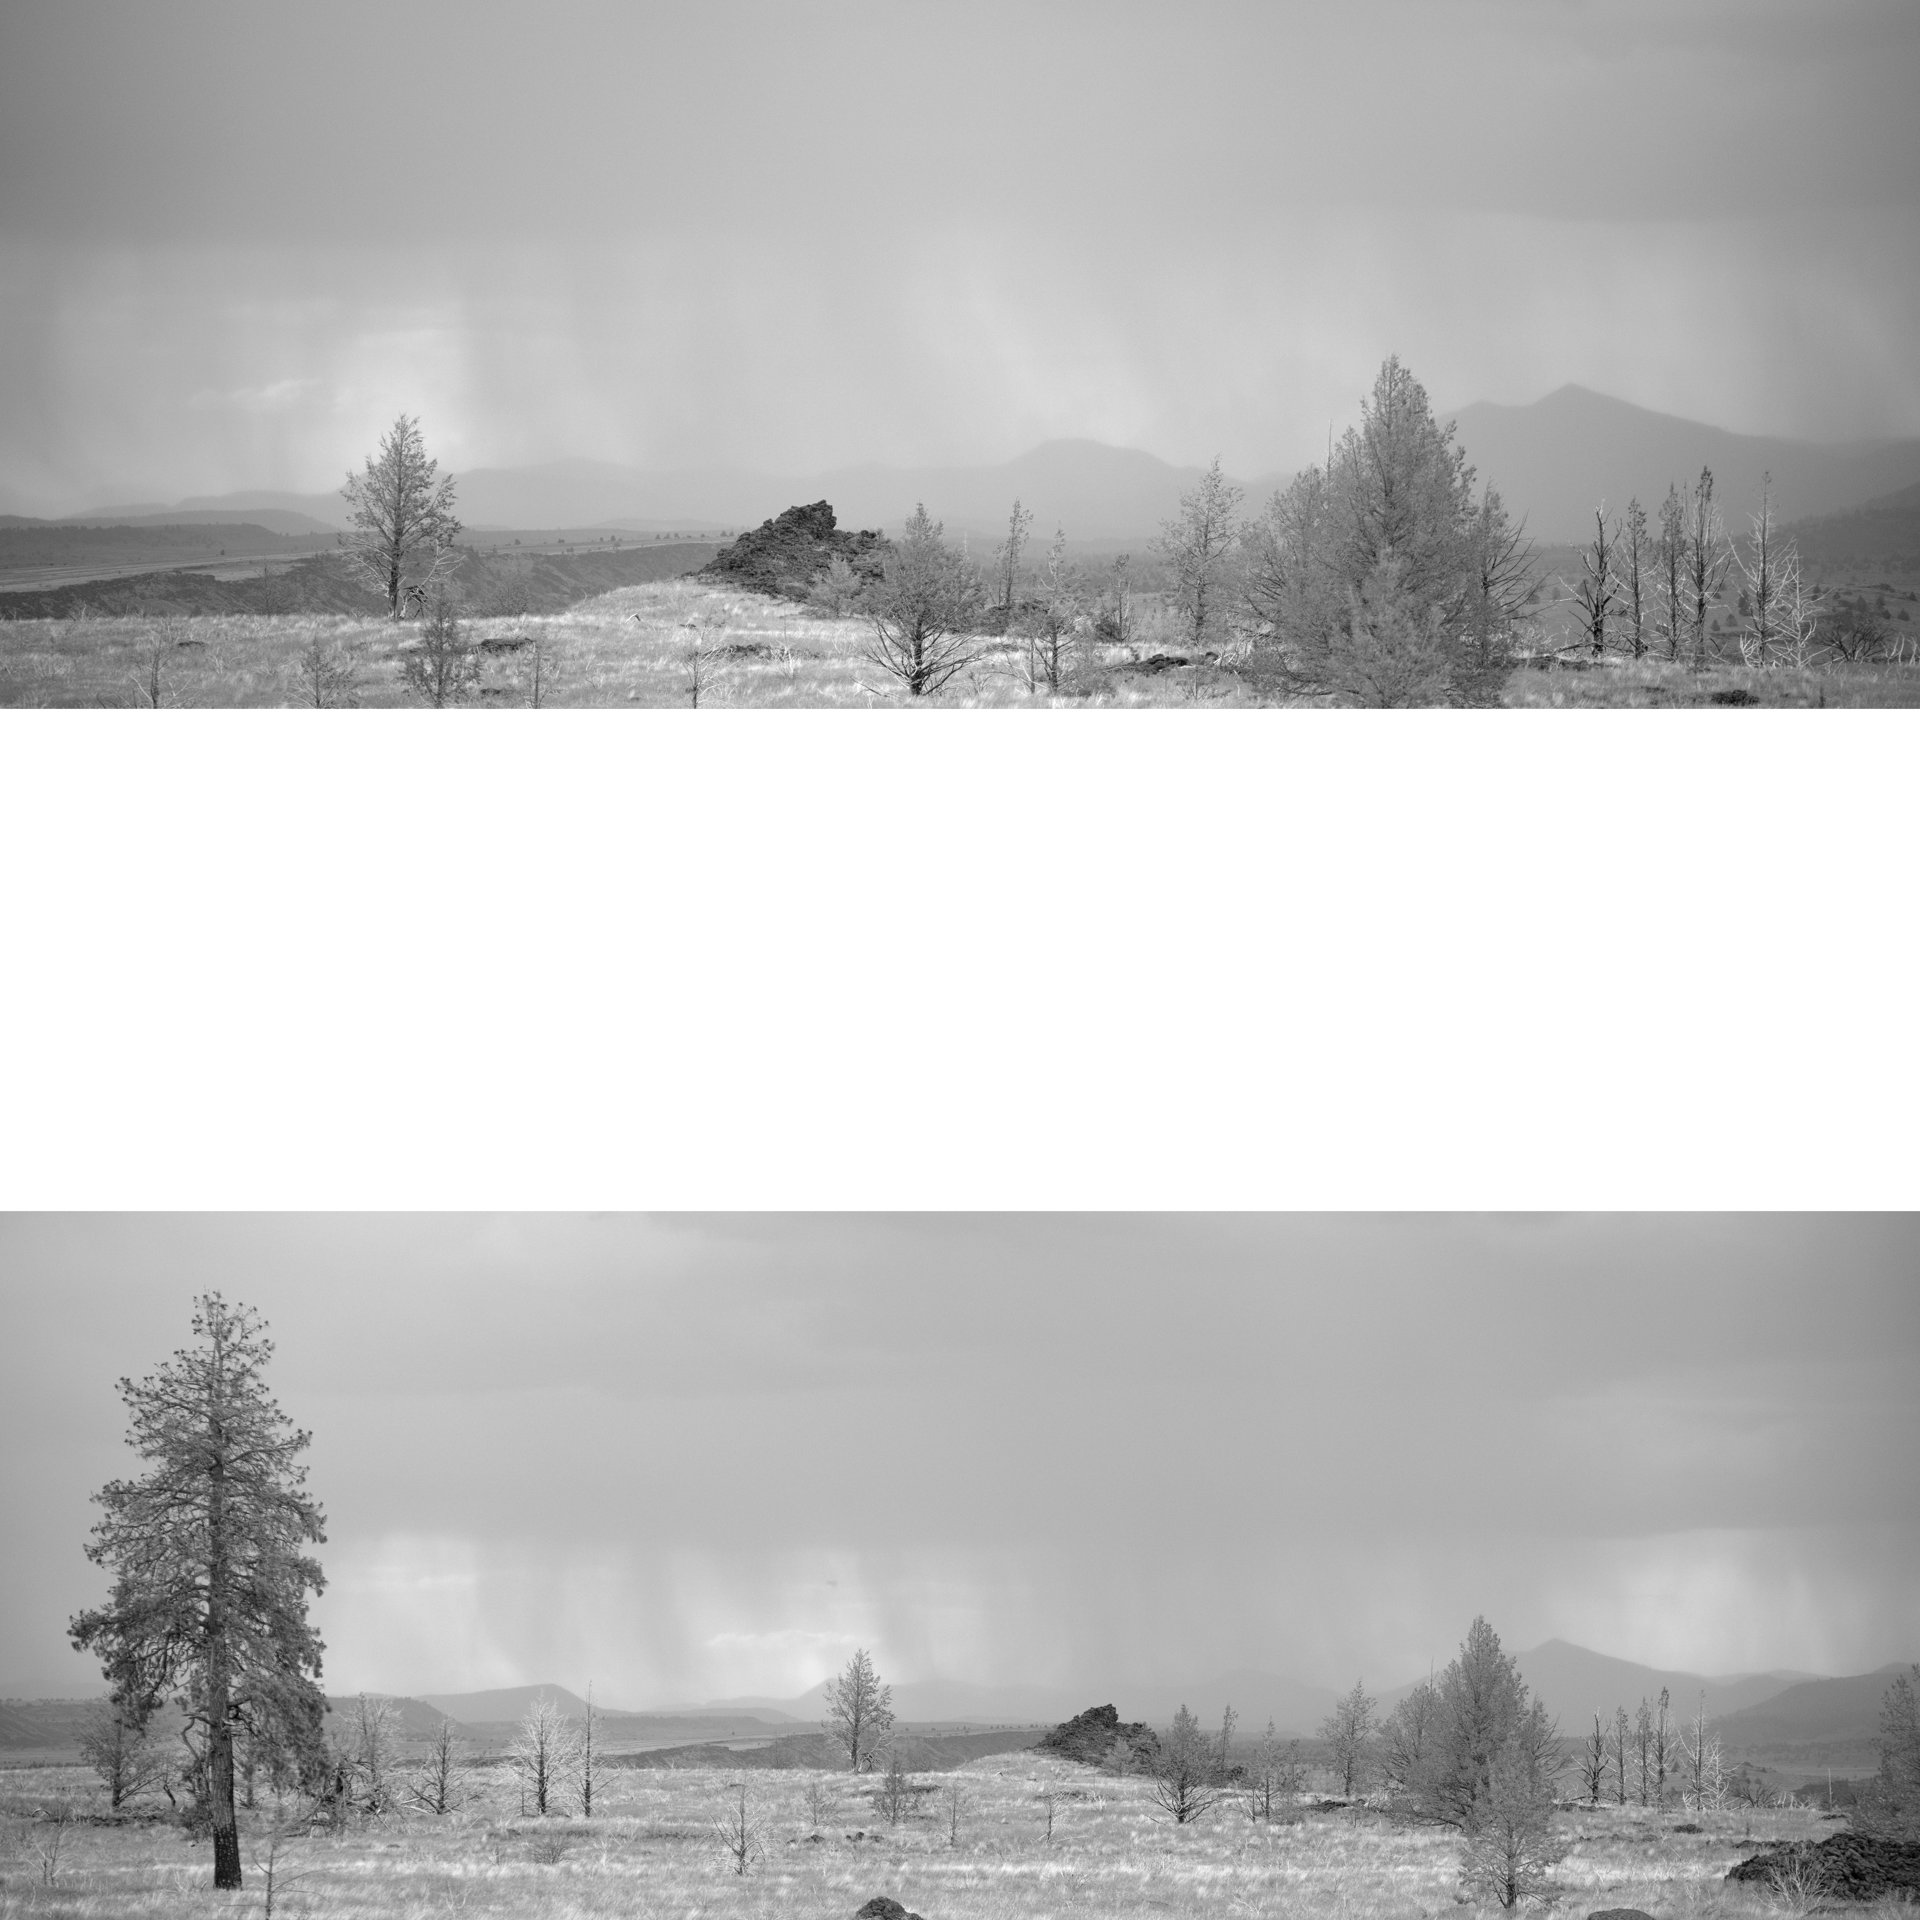
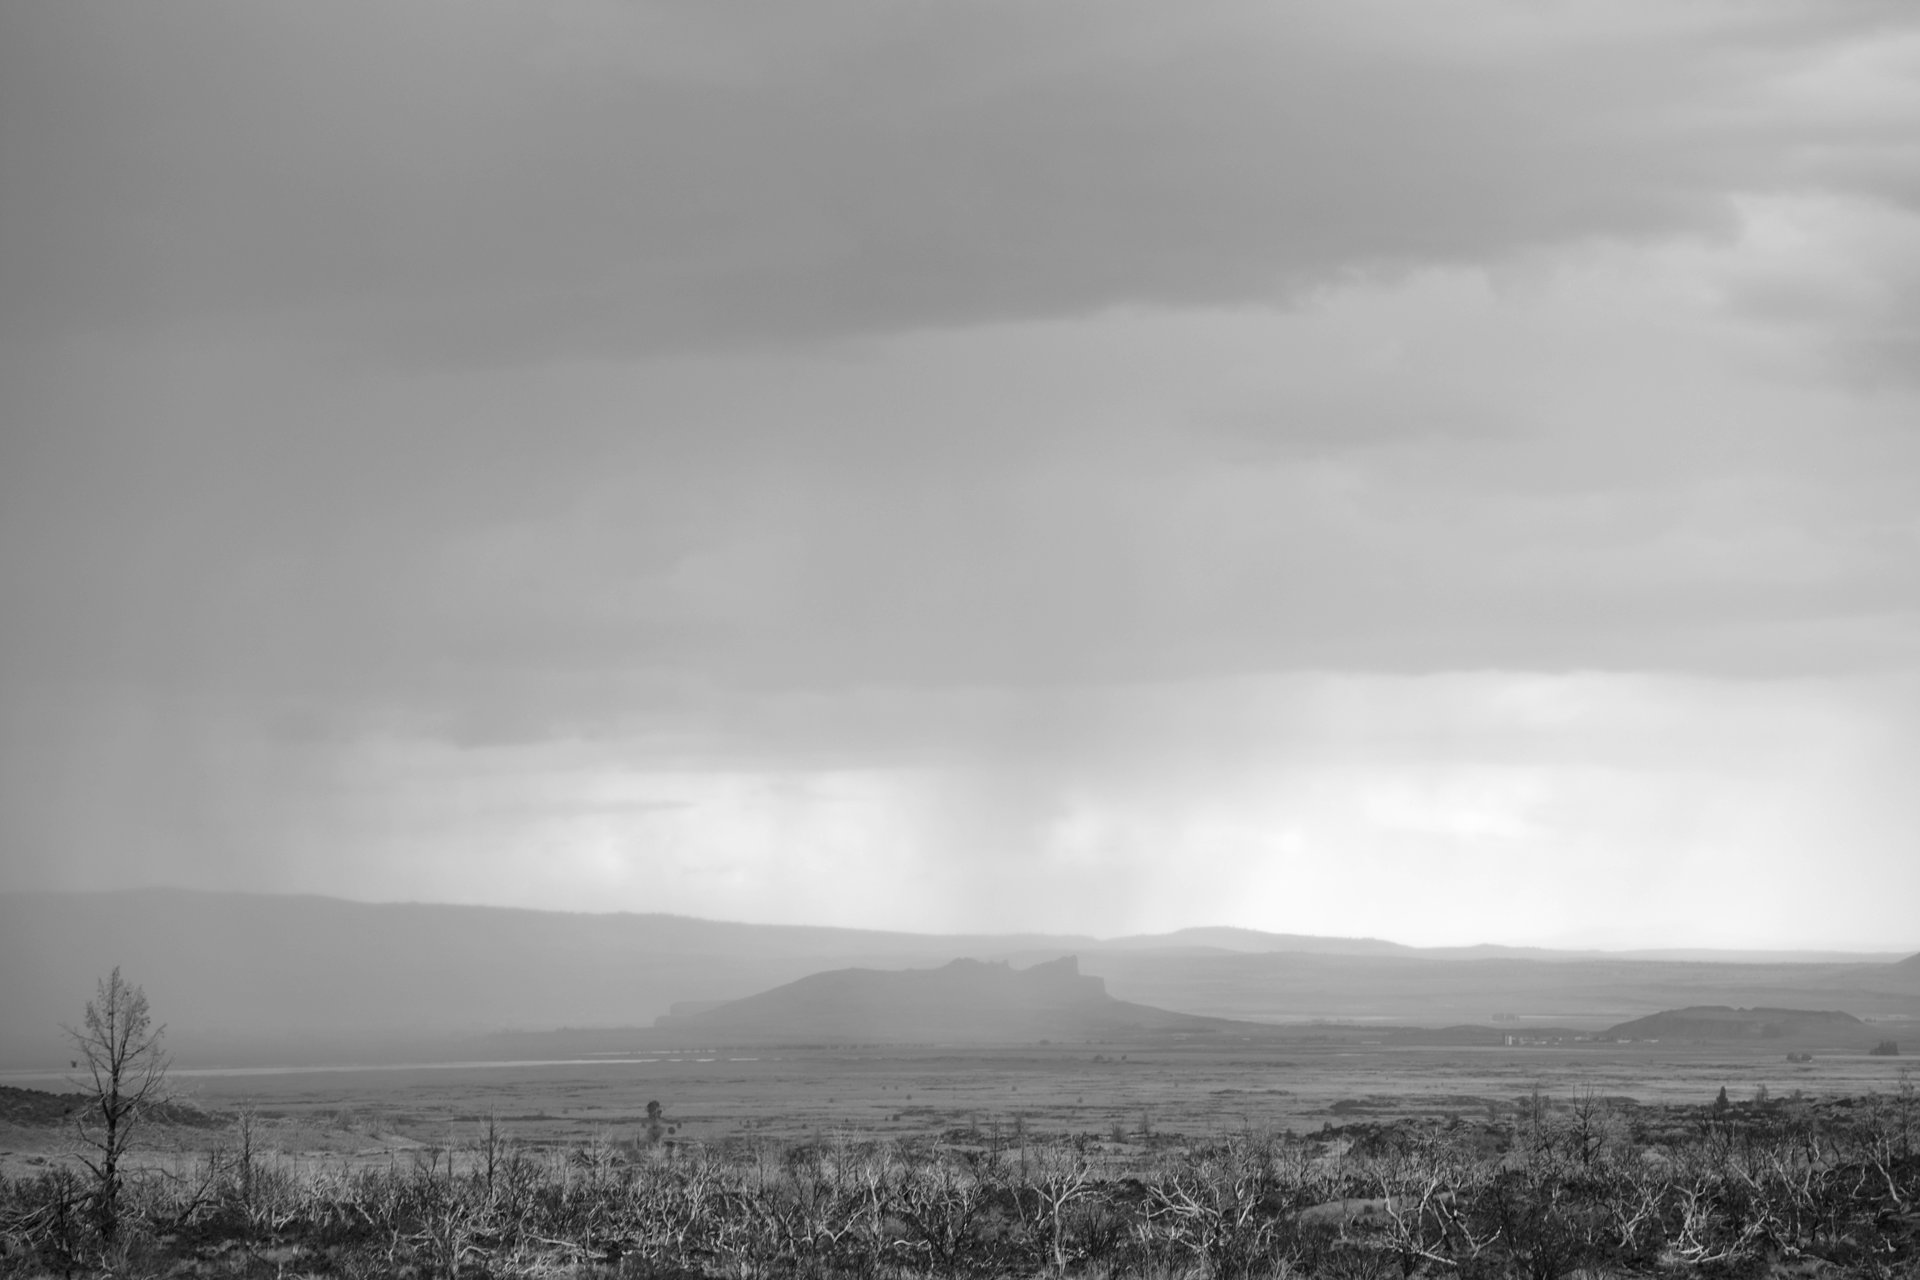
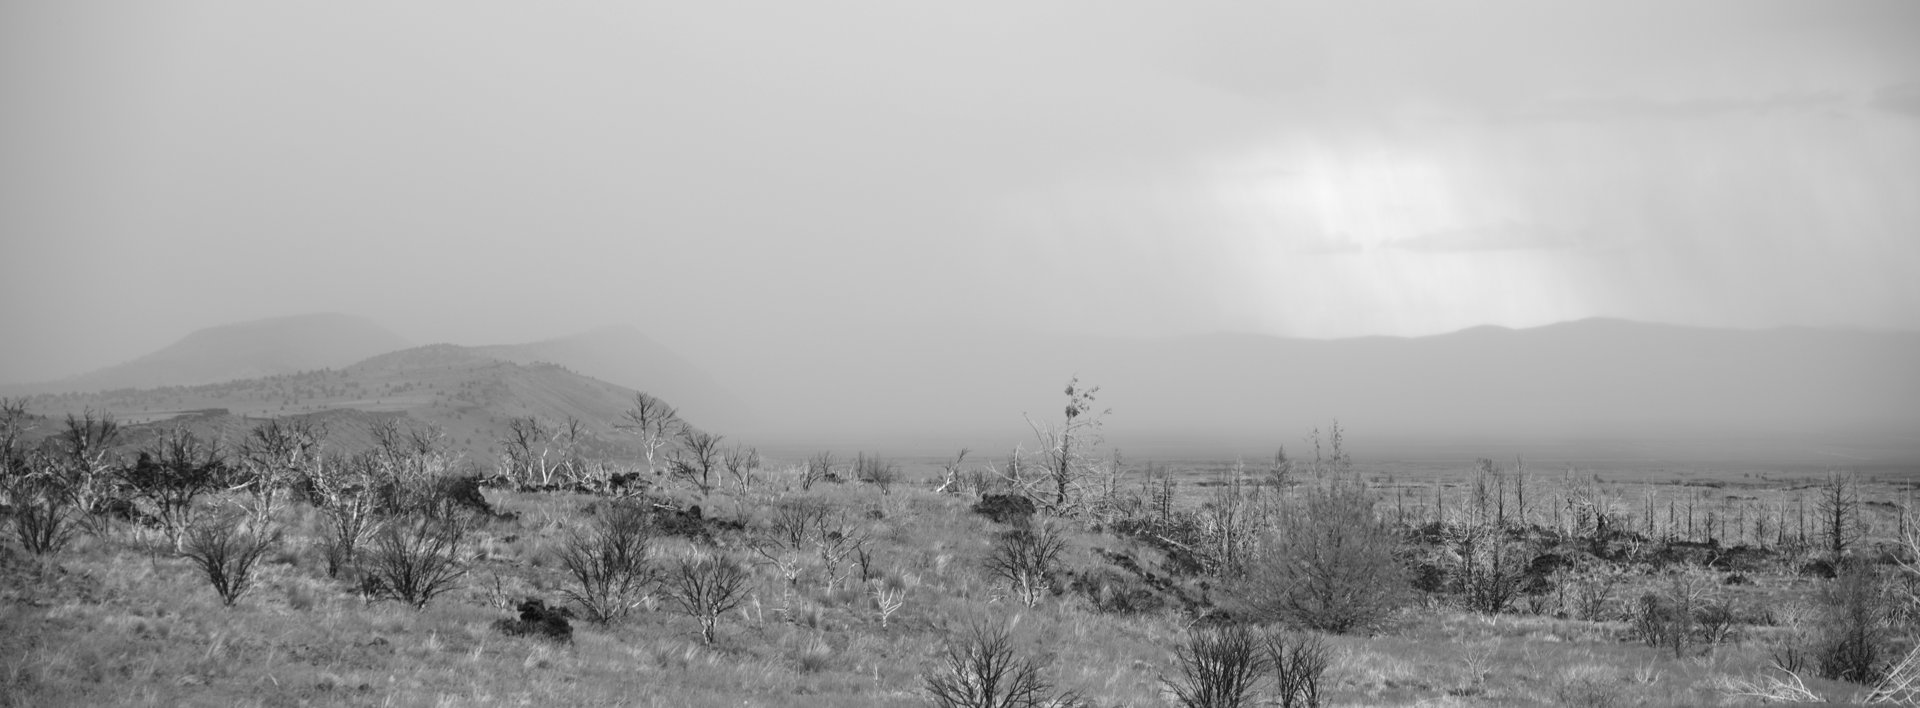
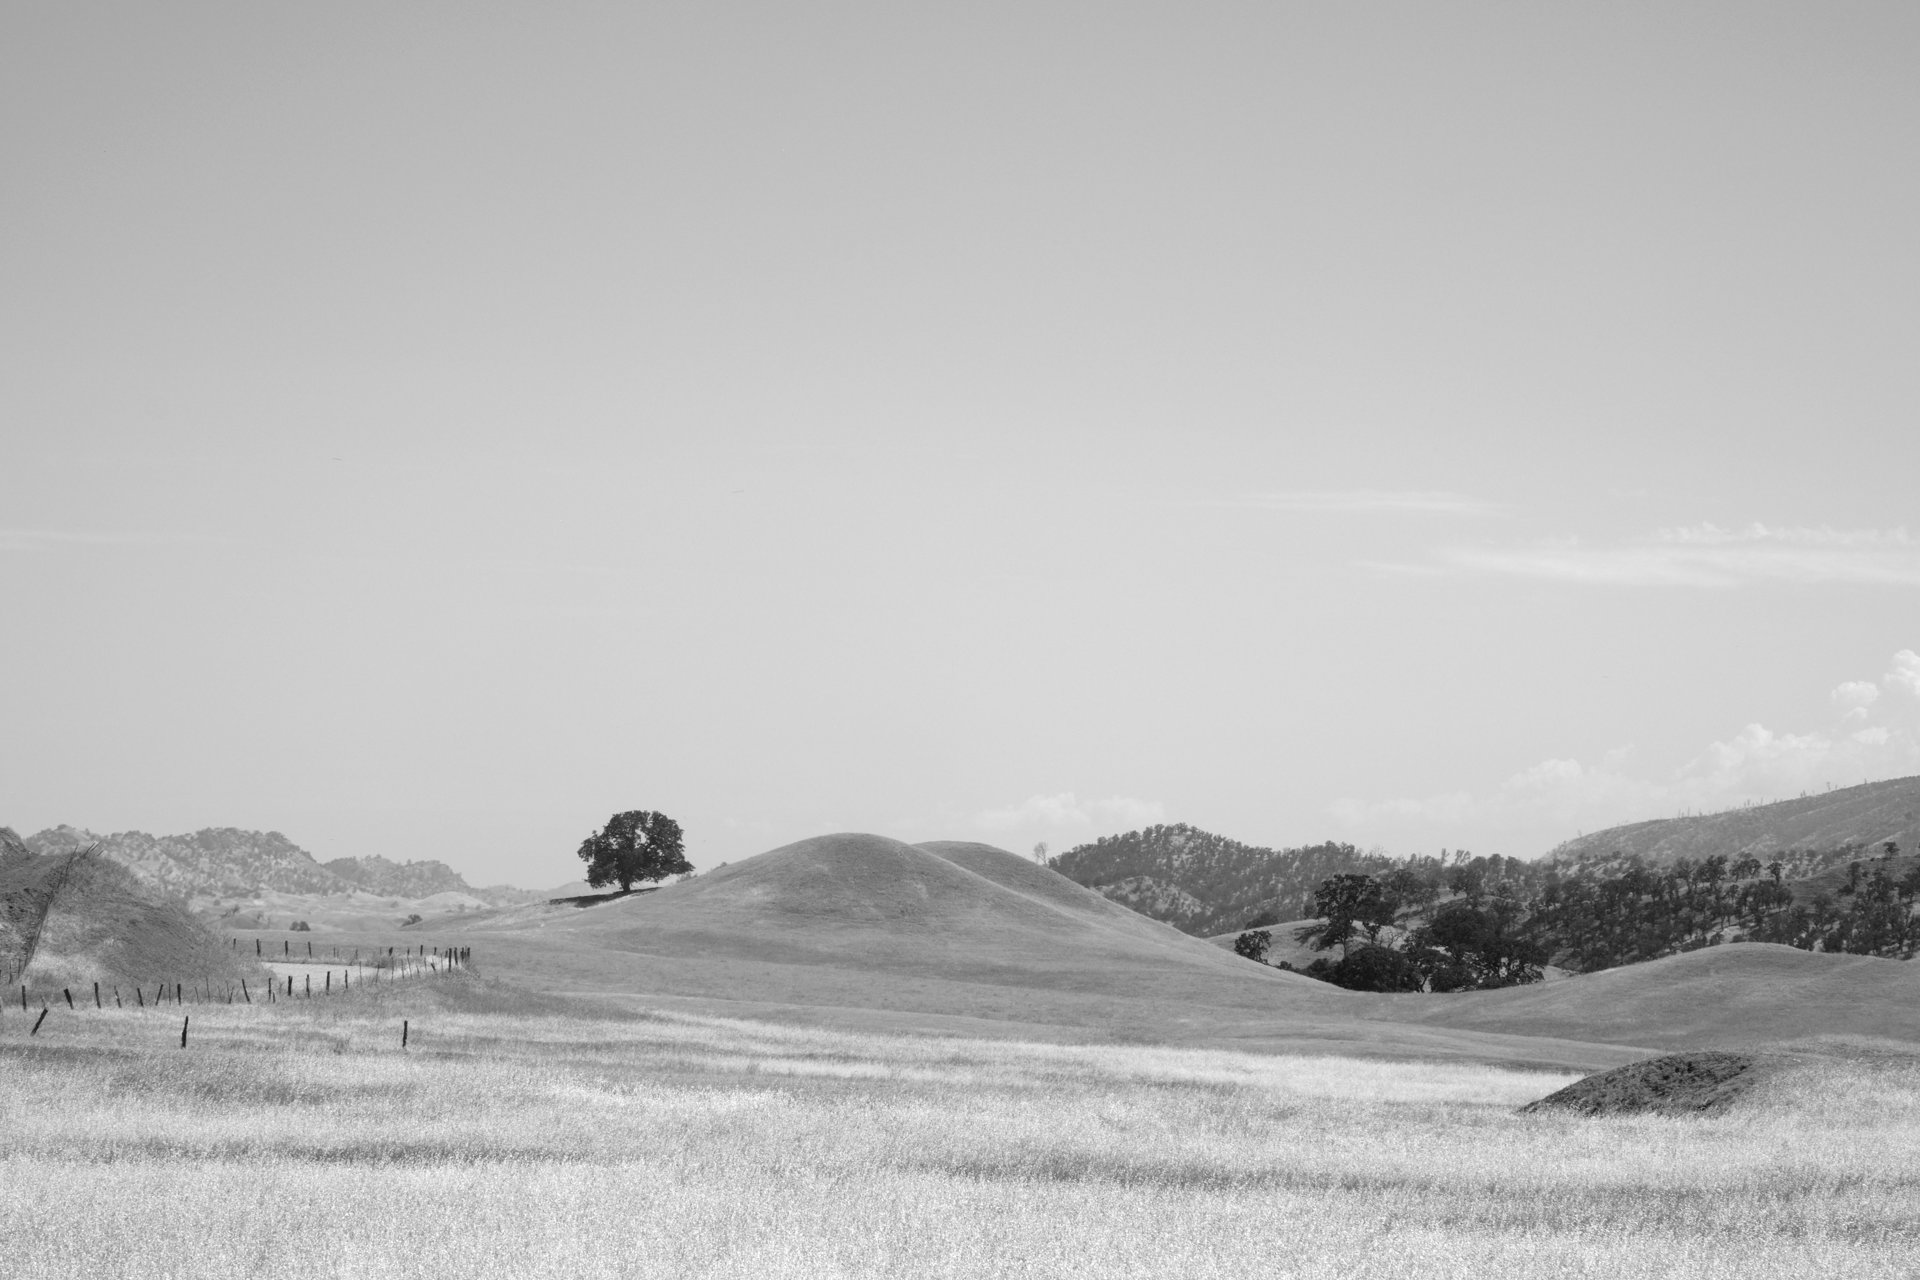
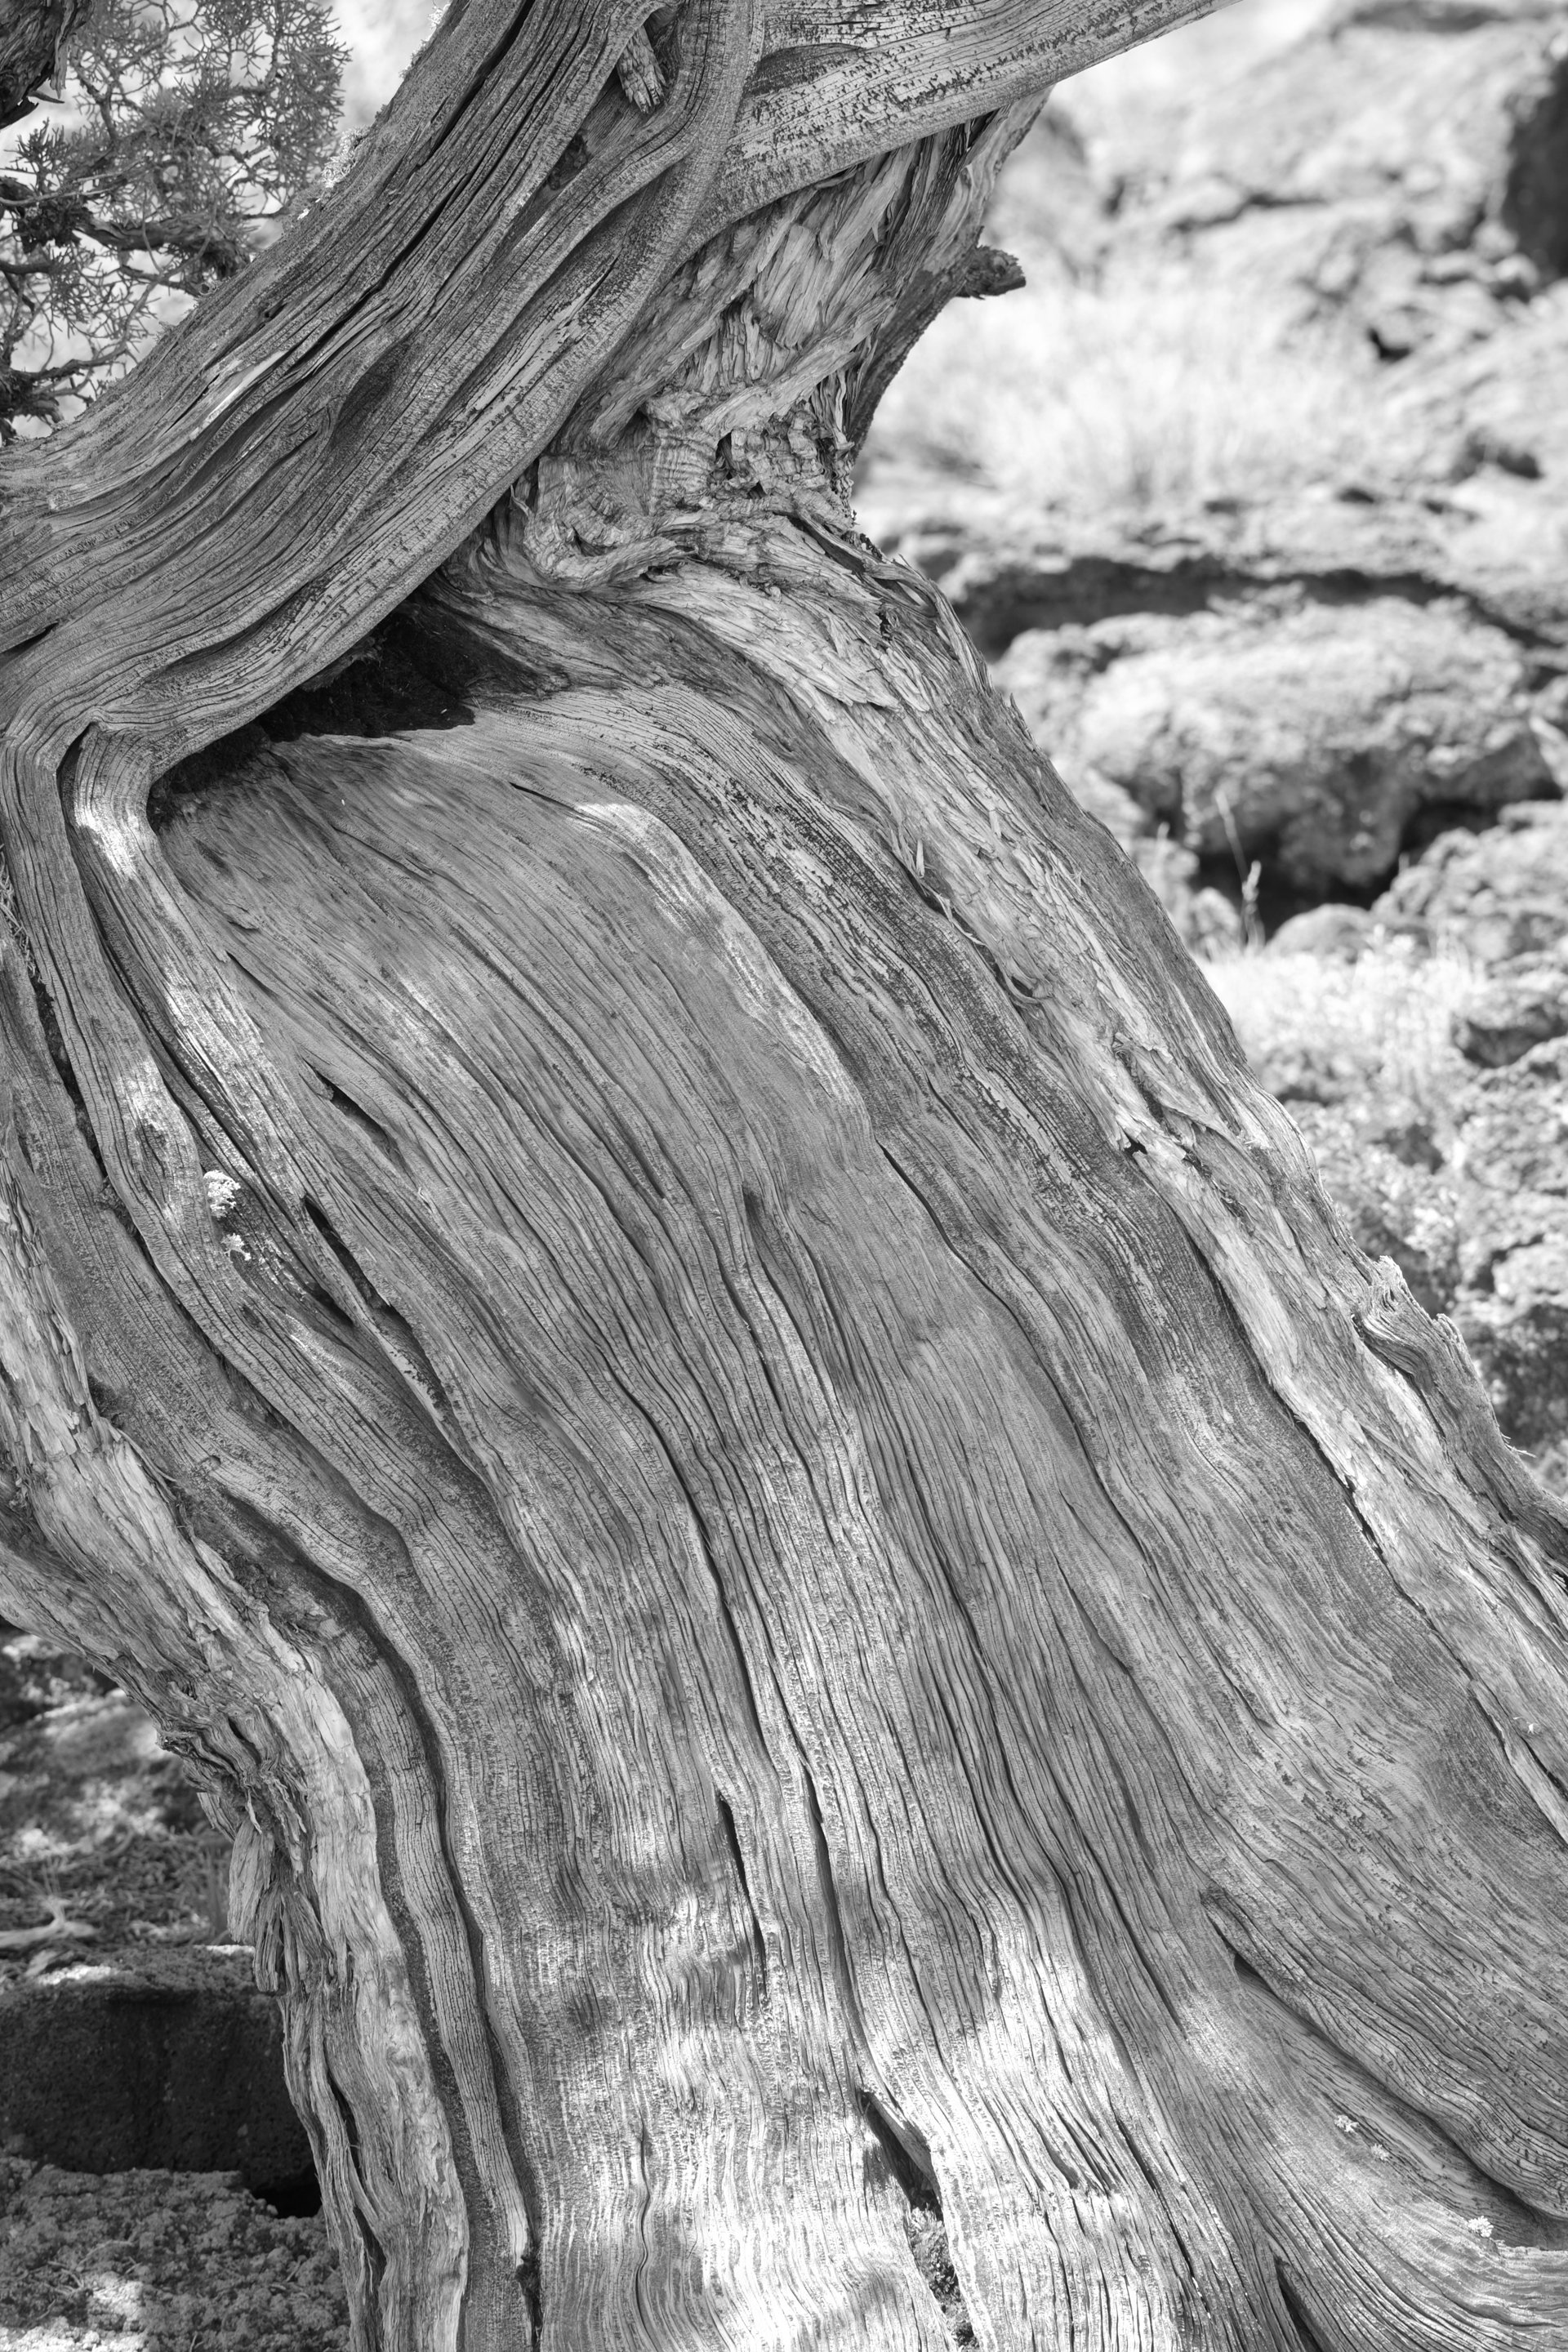
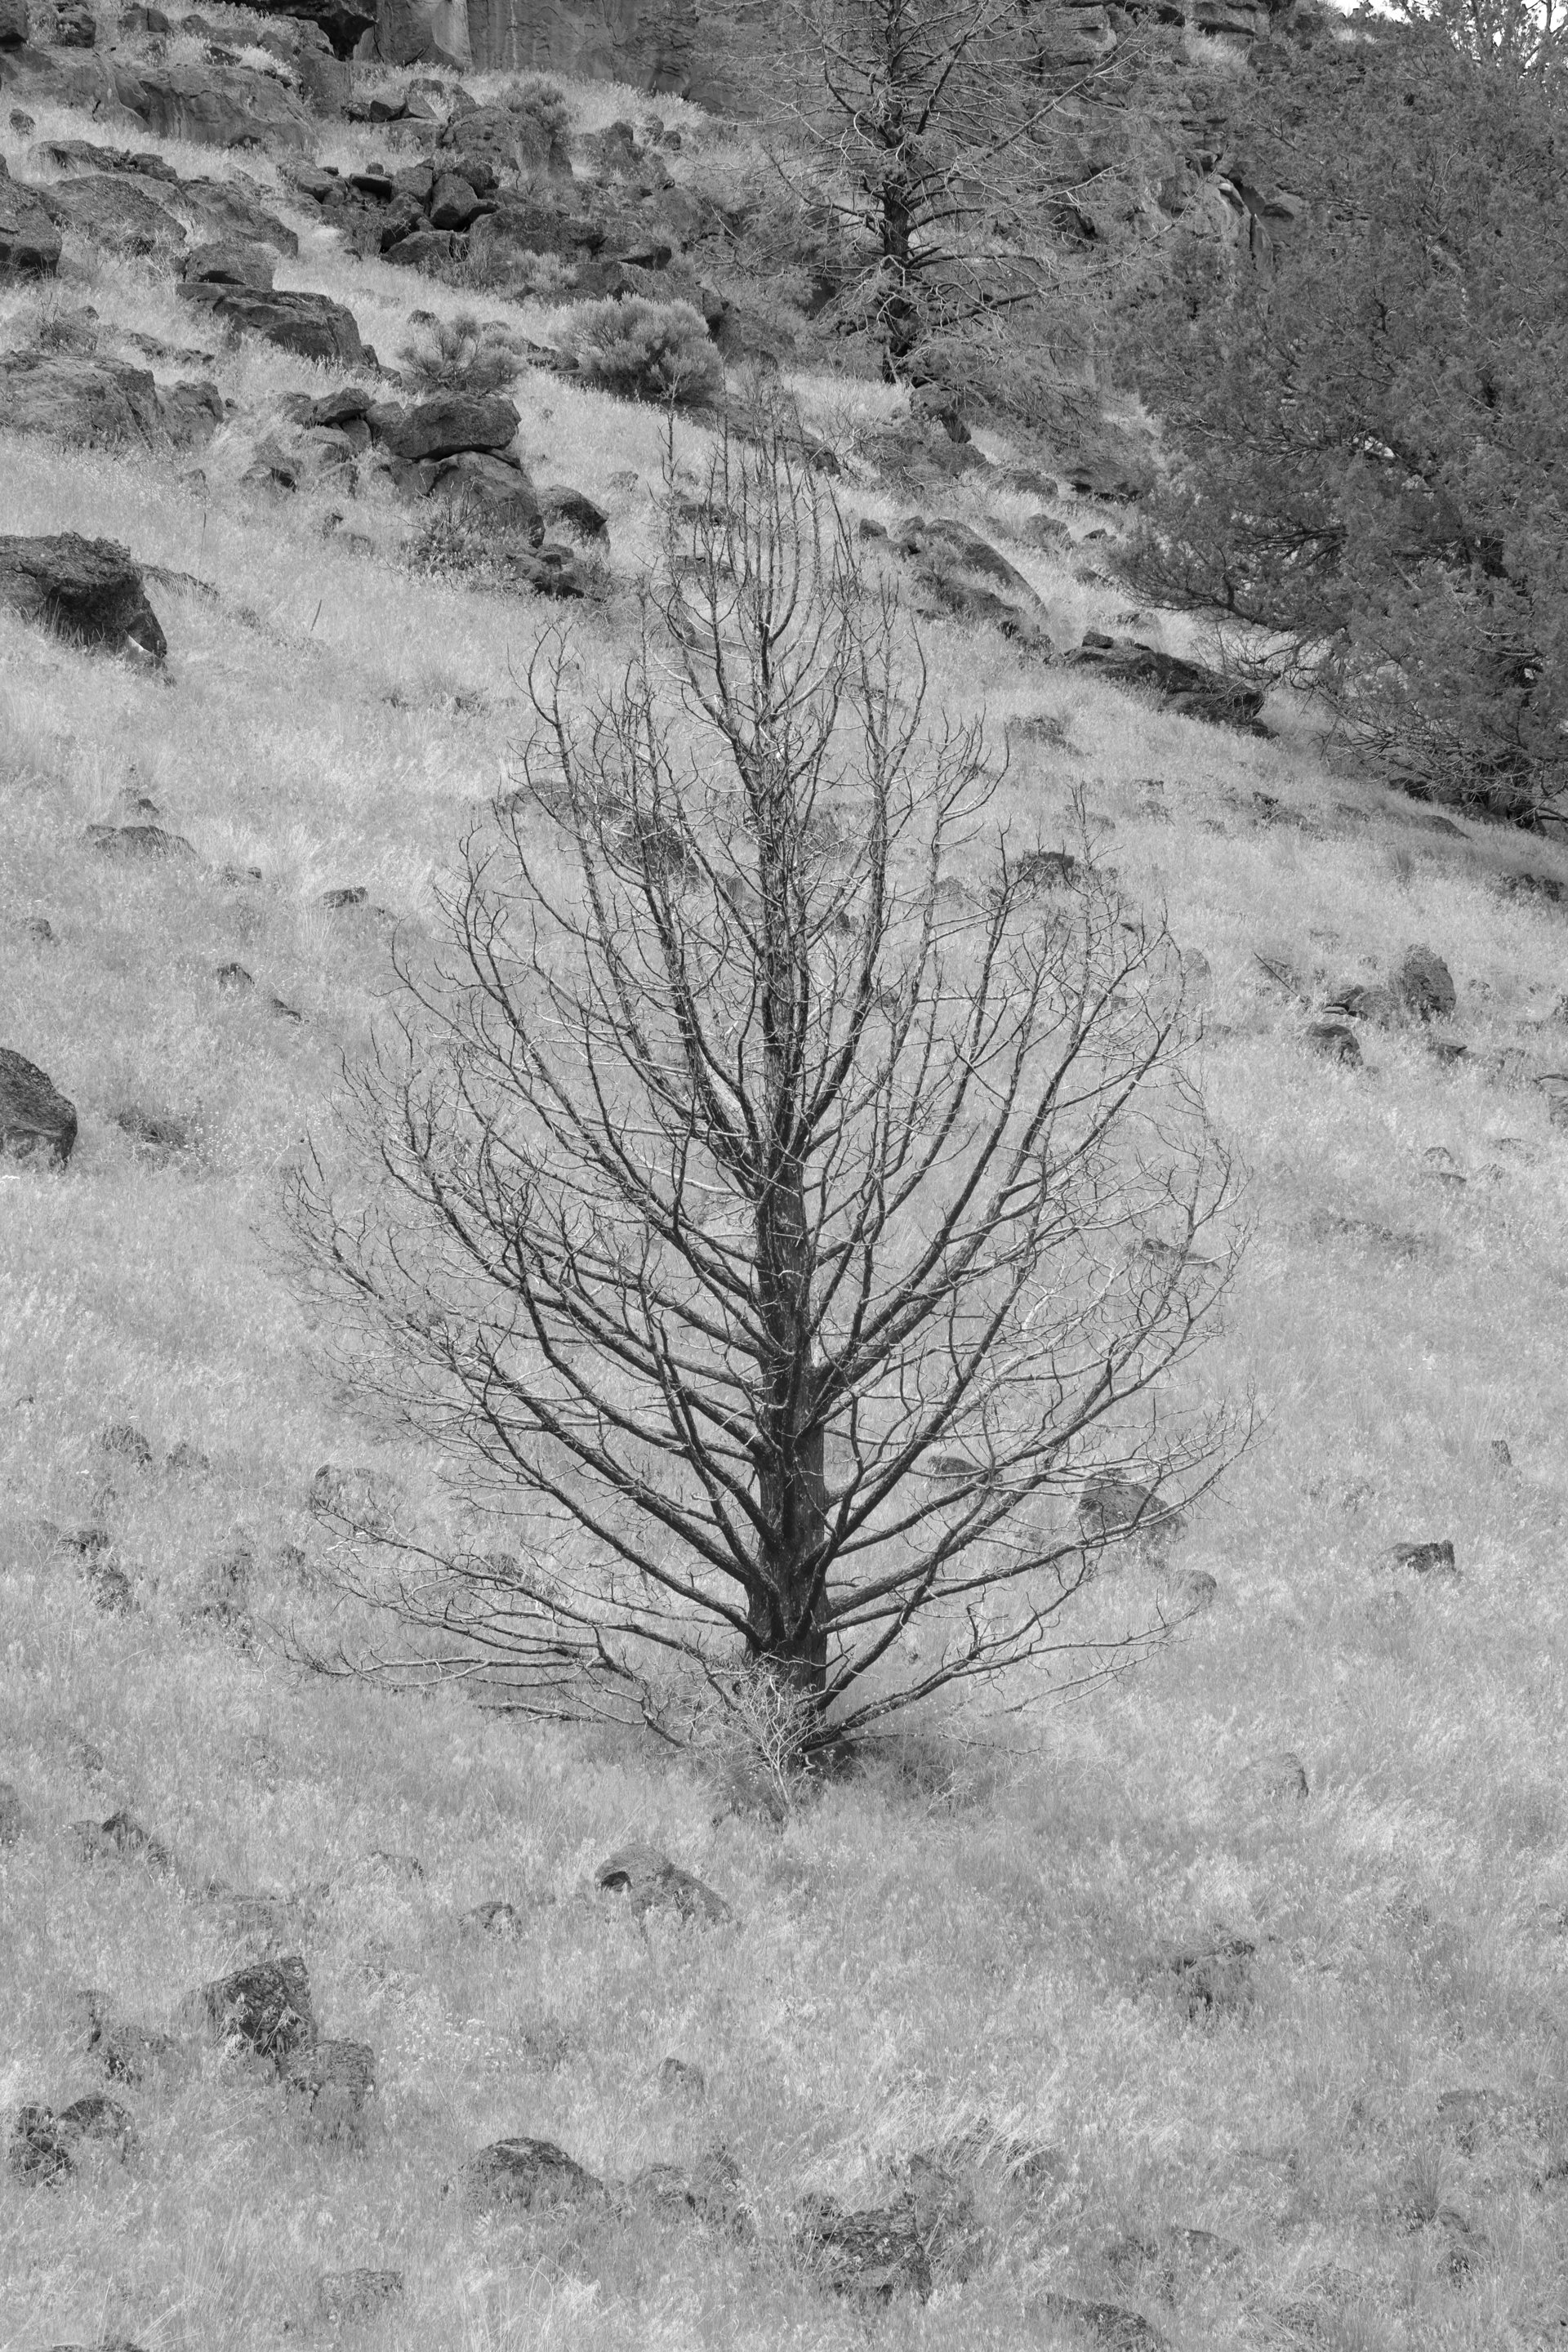
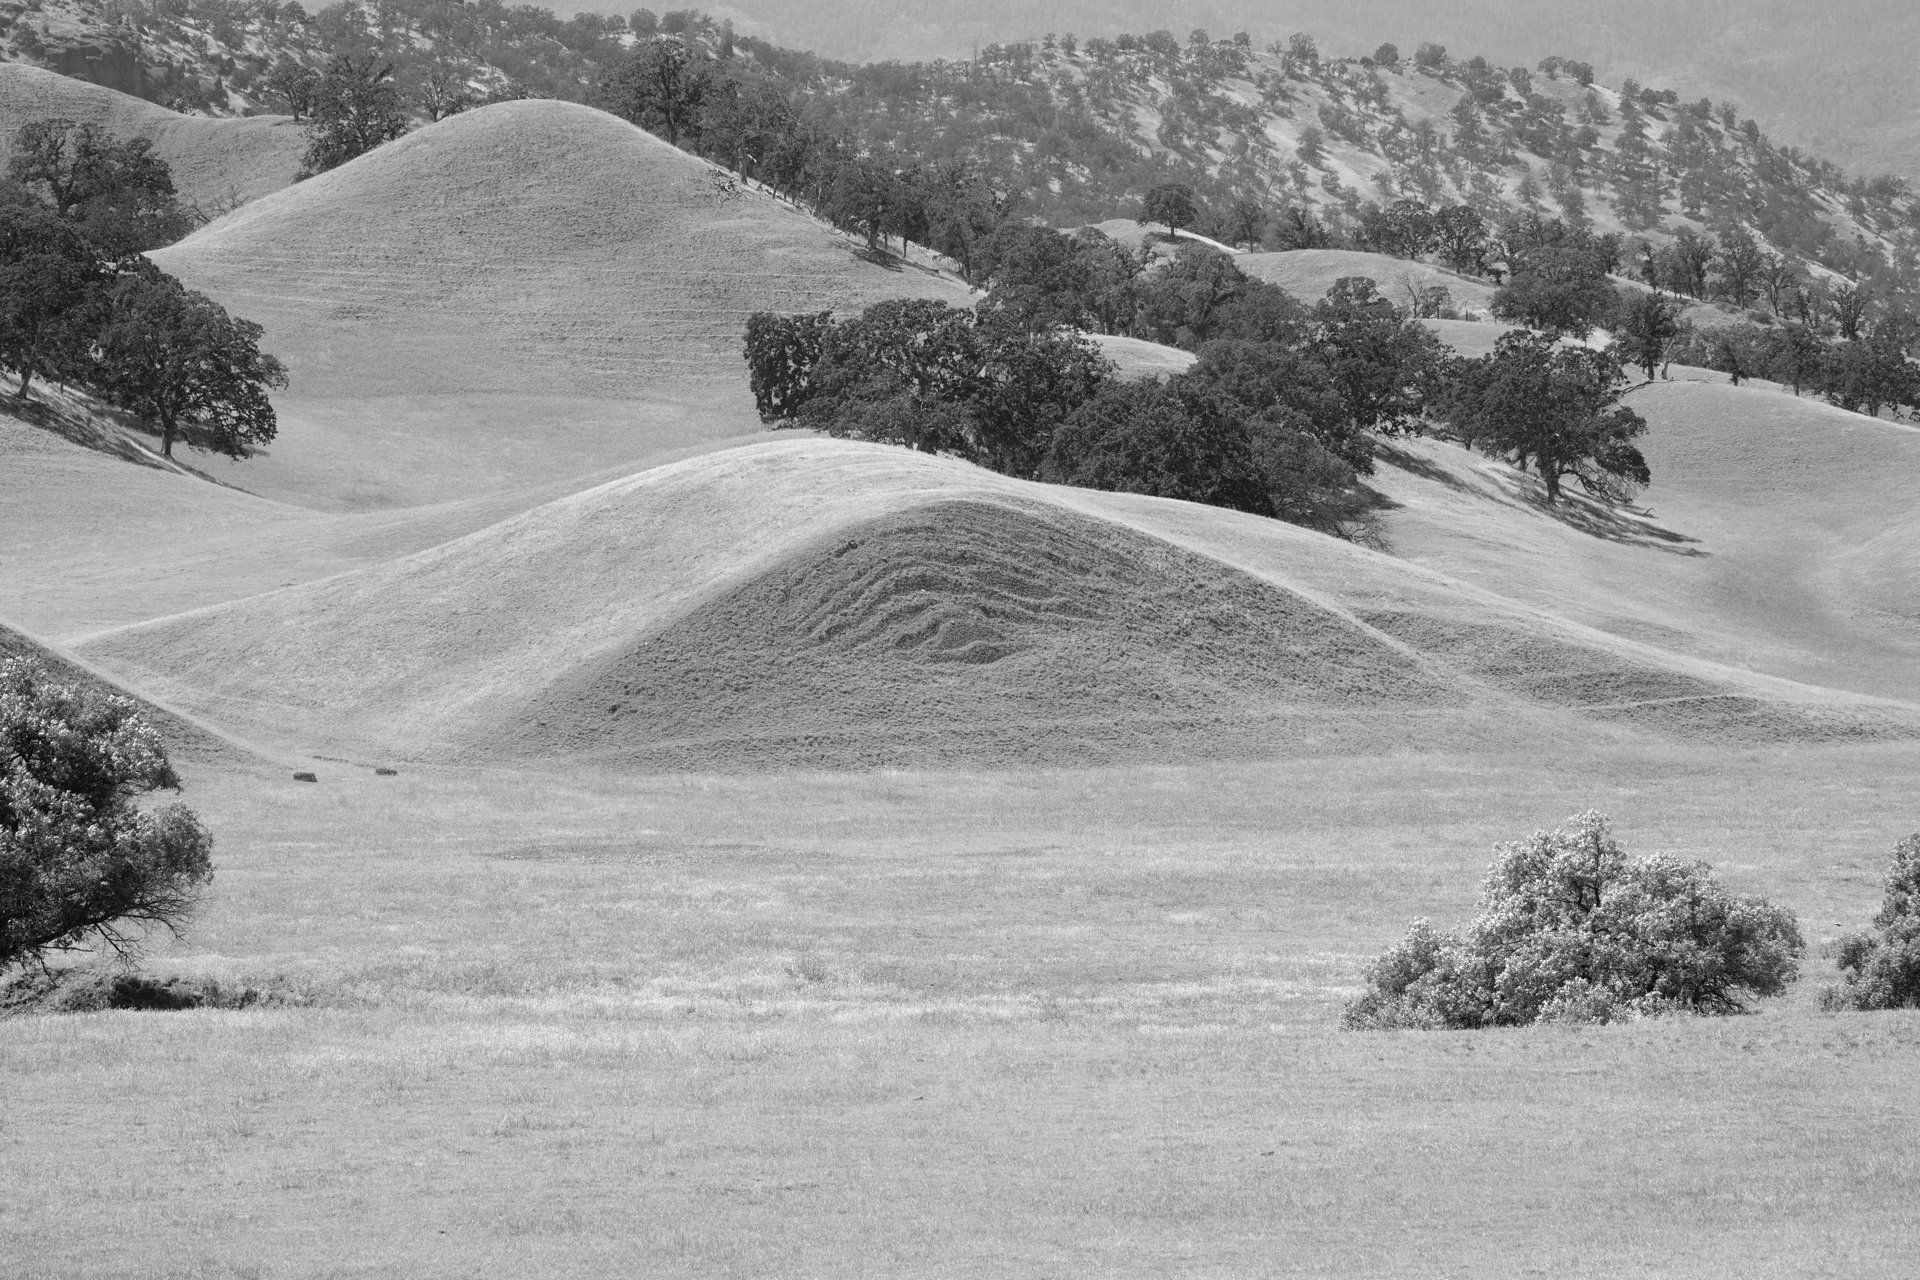
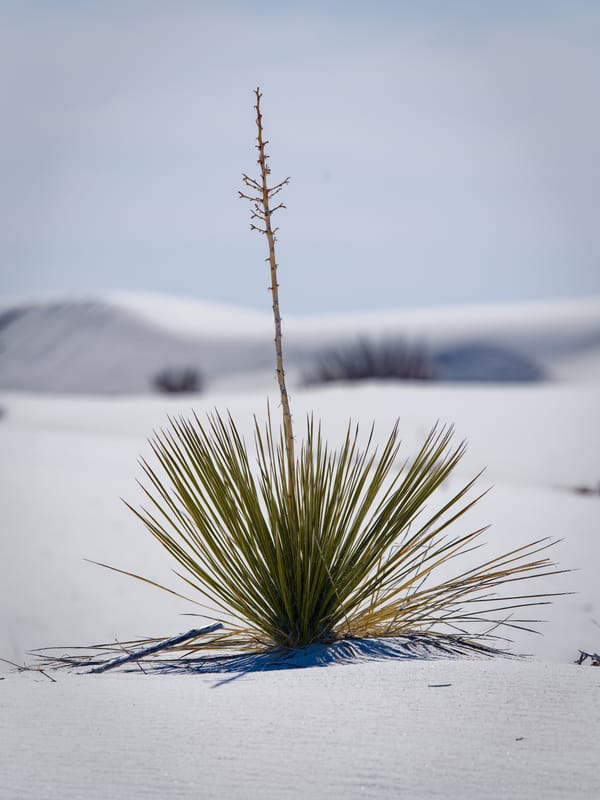
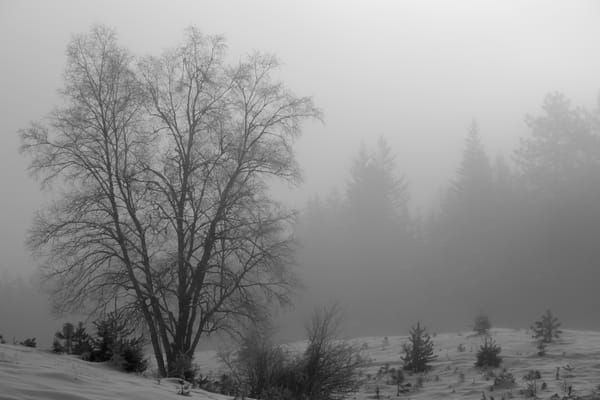
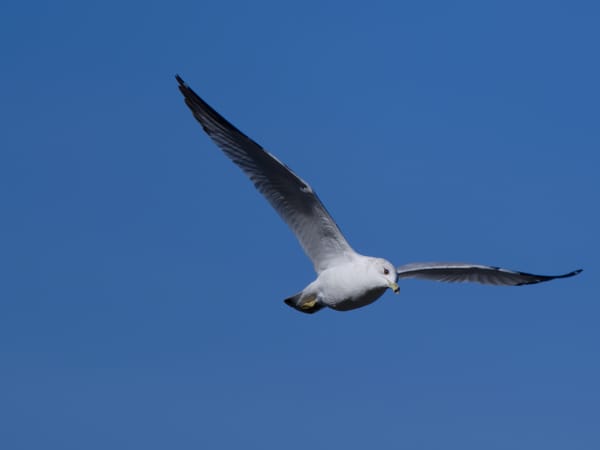
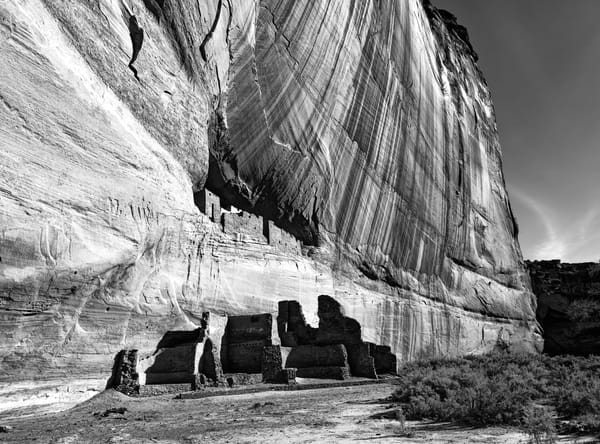
These last few weeks I have been on a road trip and it has yielded what I hope are some nice black and white images. In many ways this was surprising, it being springtime after unusually heavy rains this year the area was alive with green grass and an abundance of wildflowers.
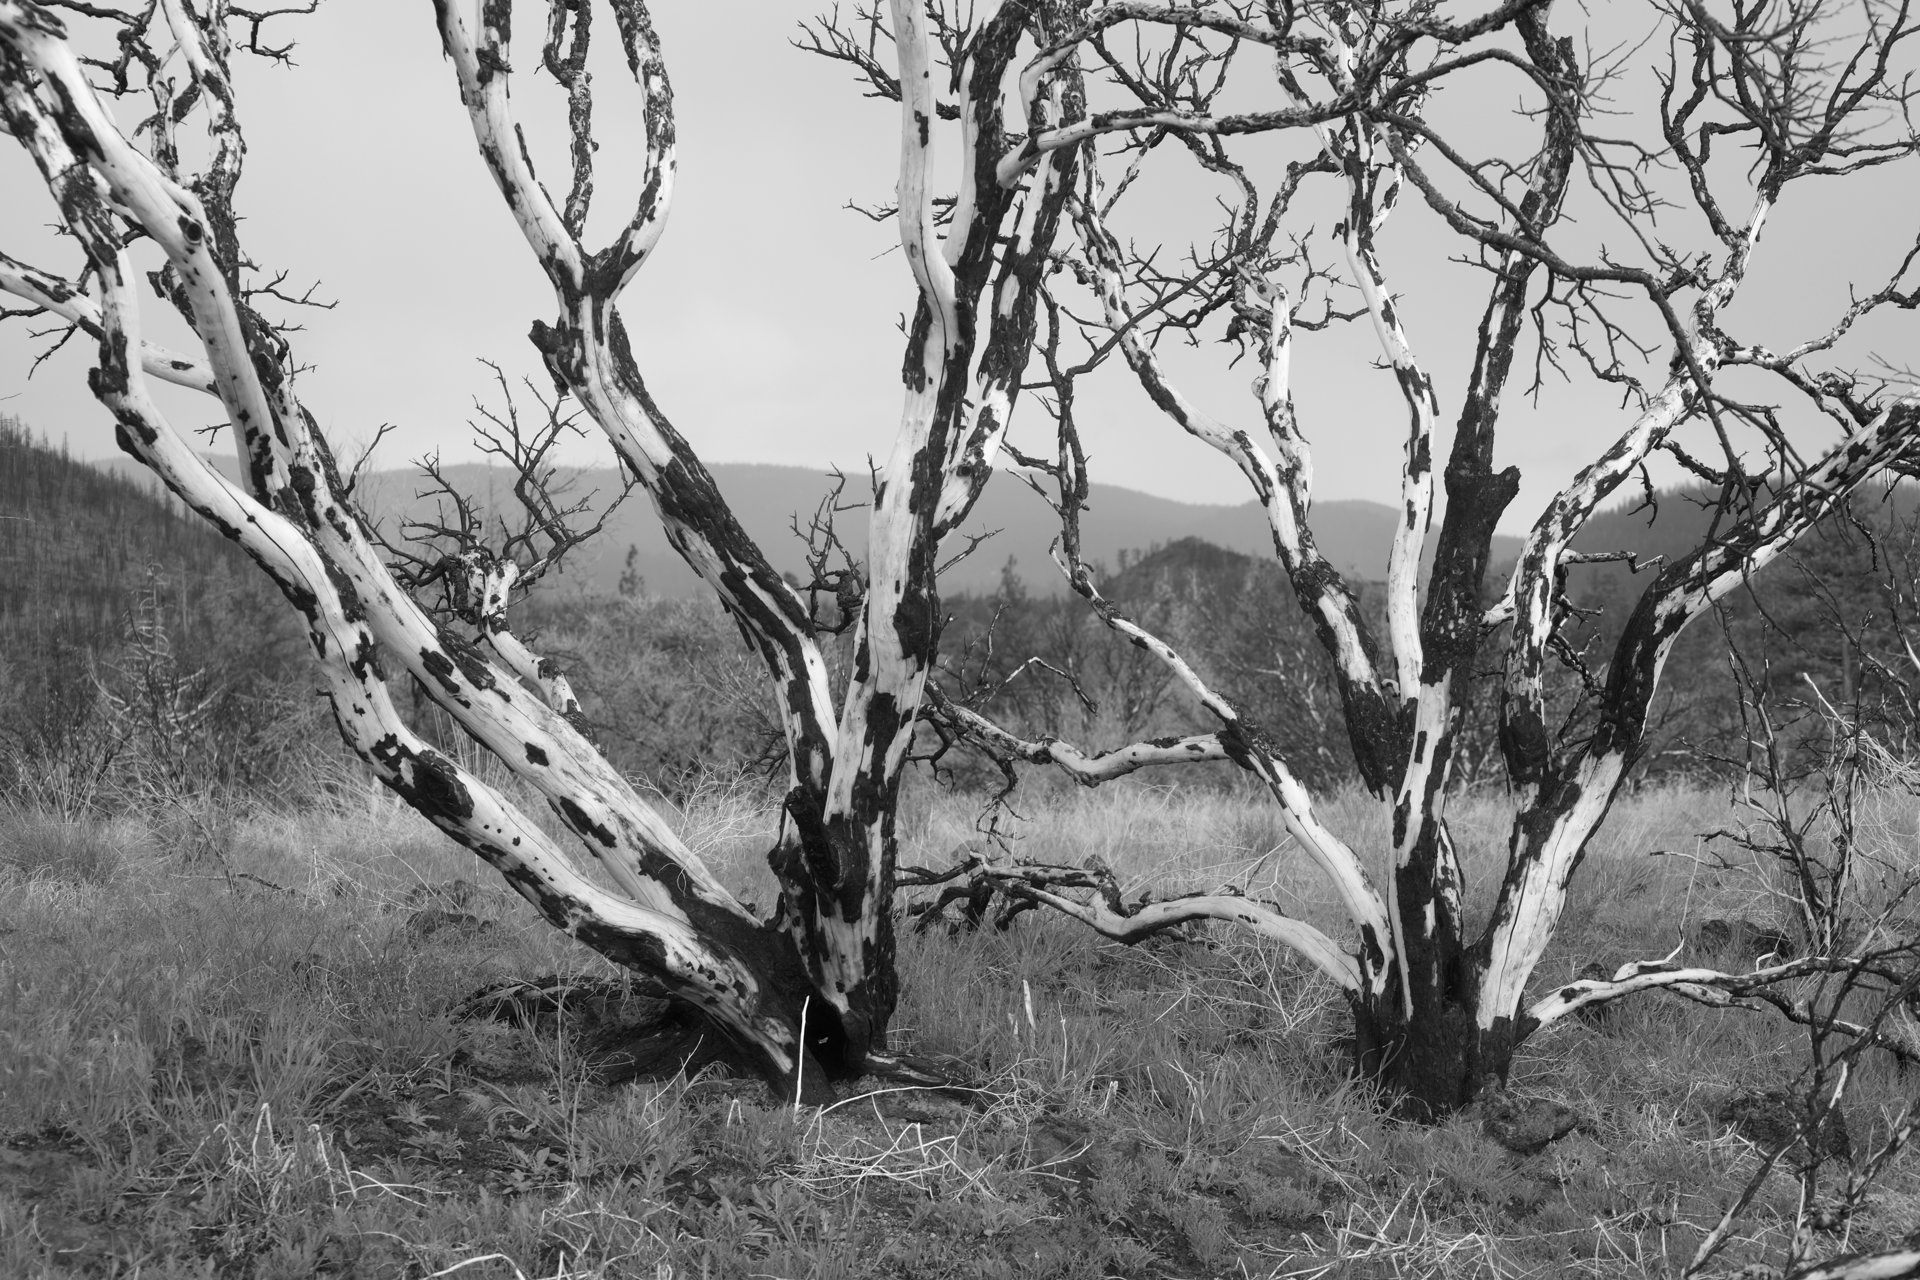
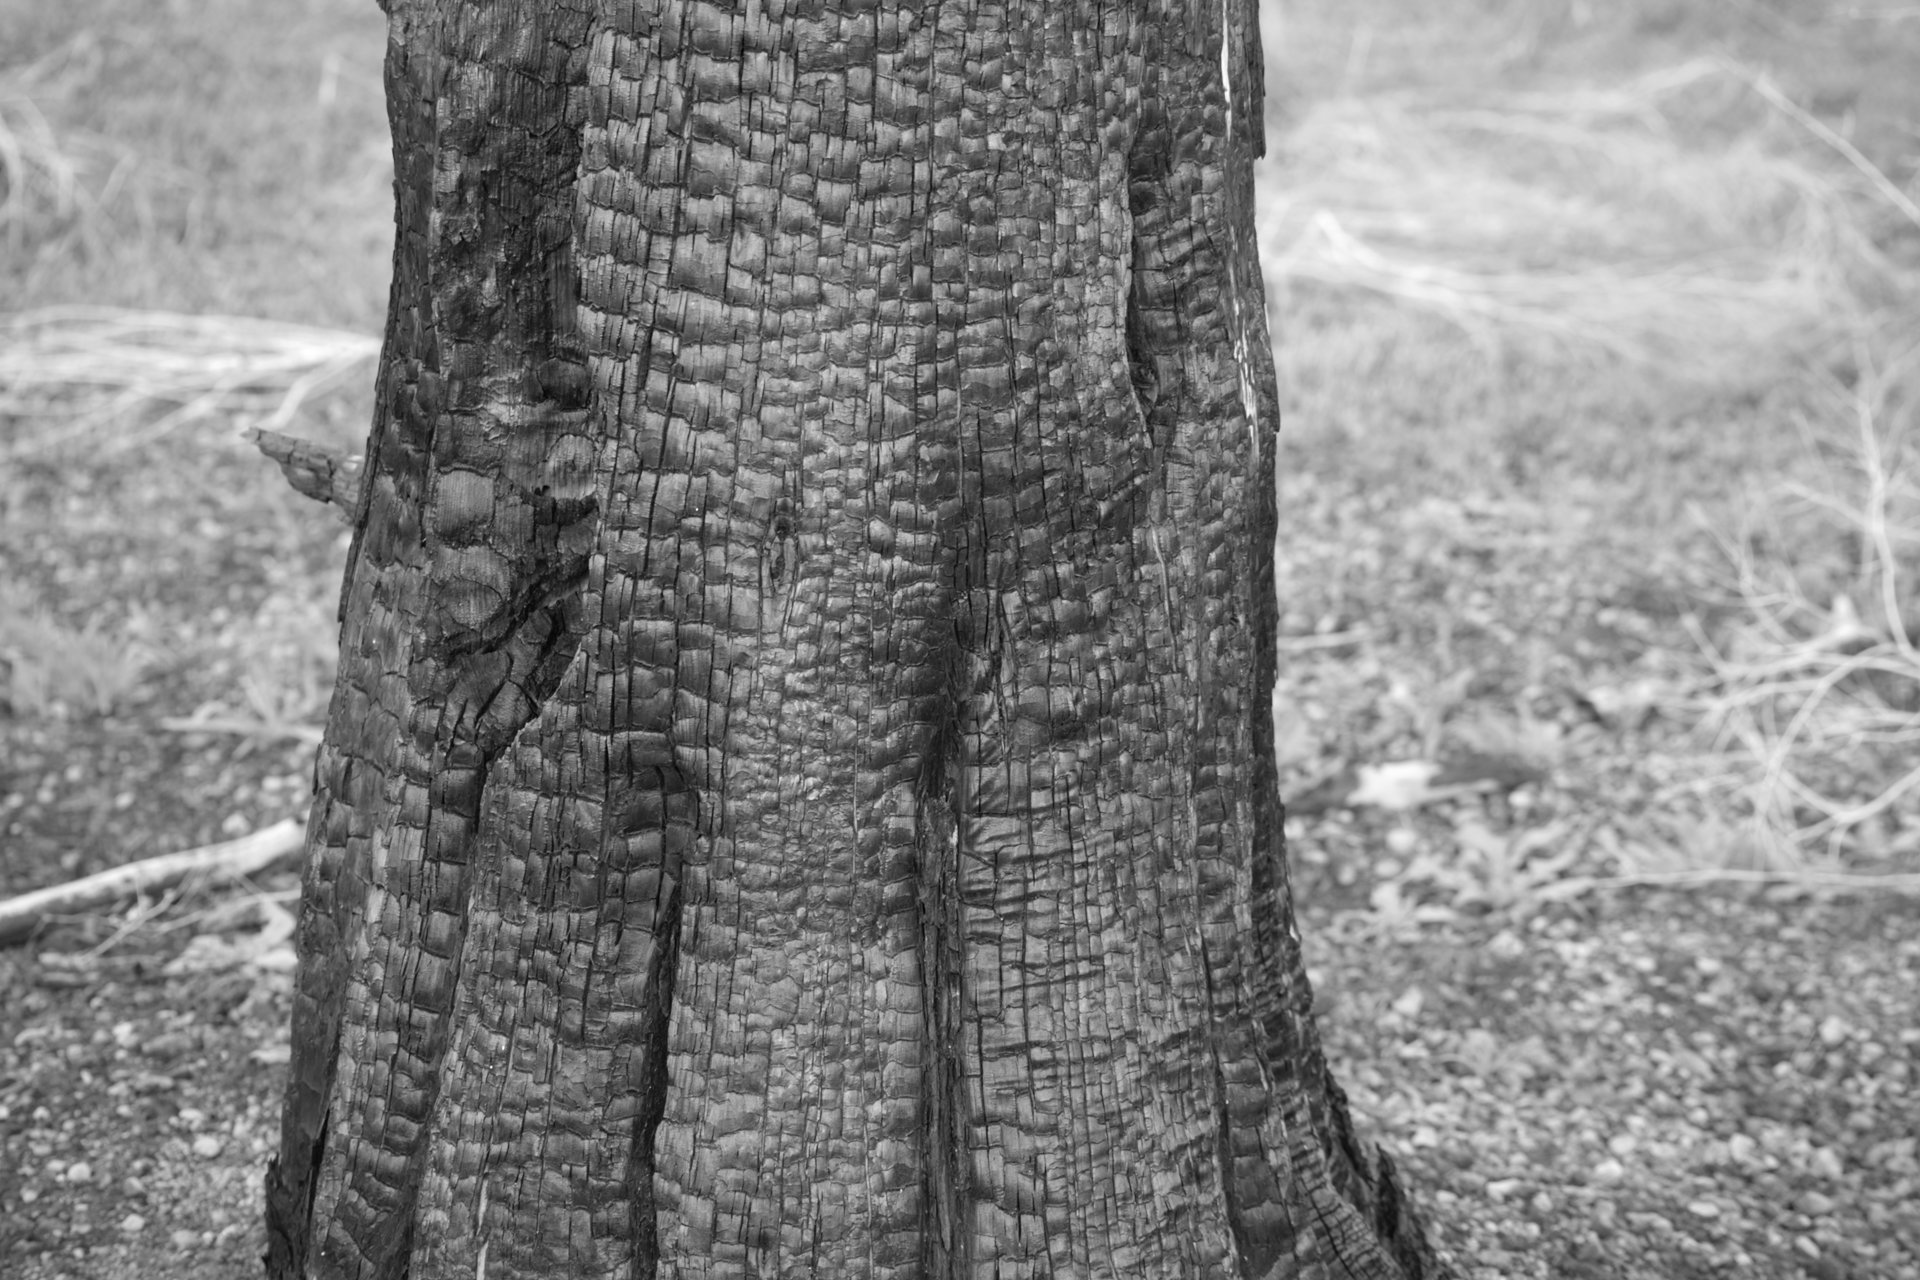
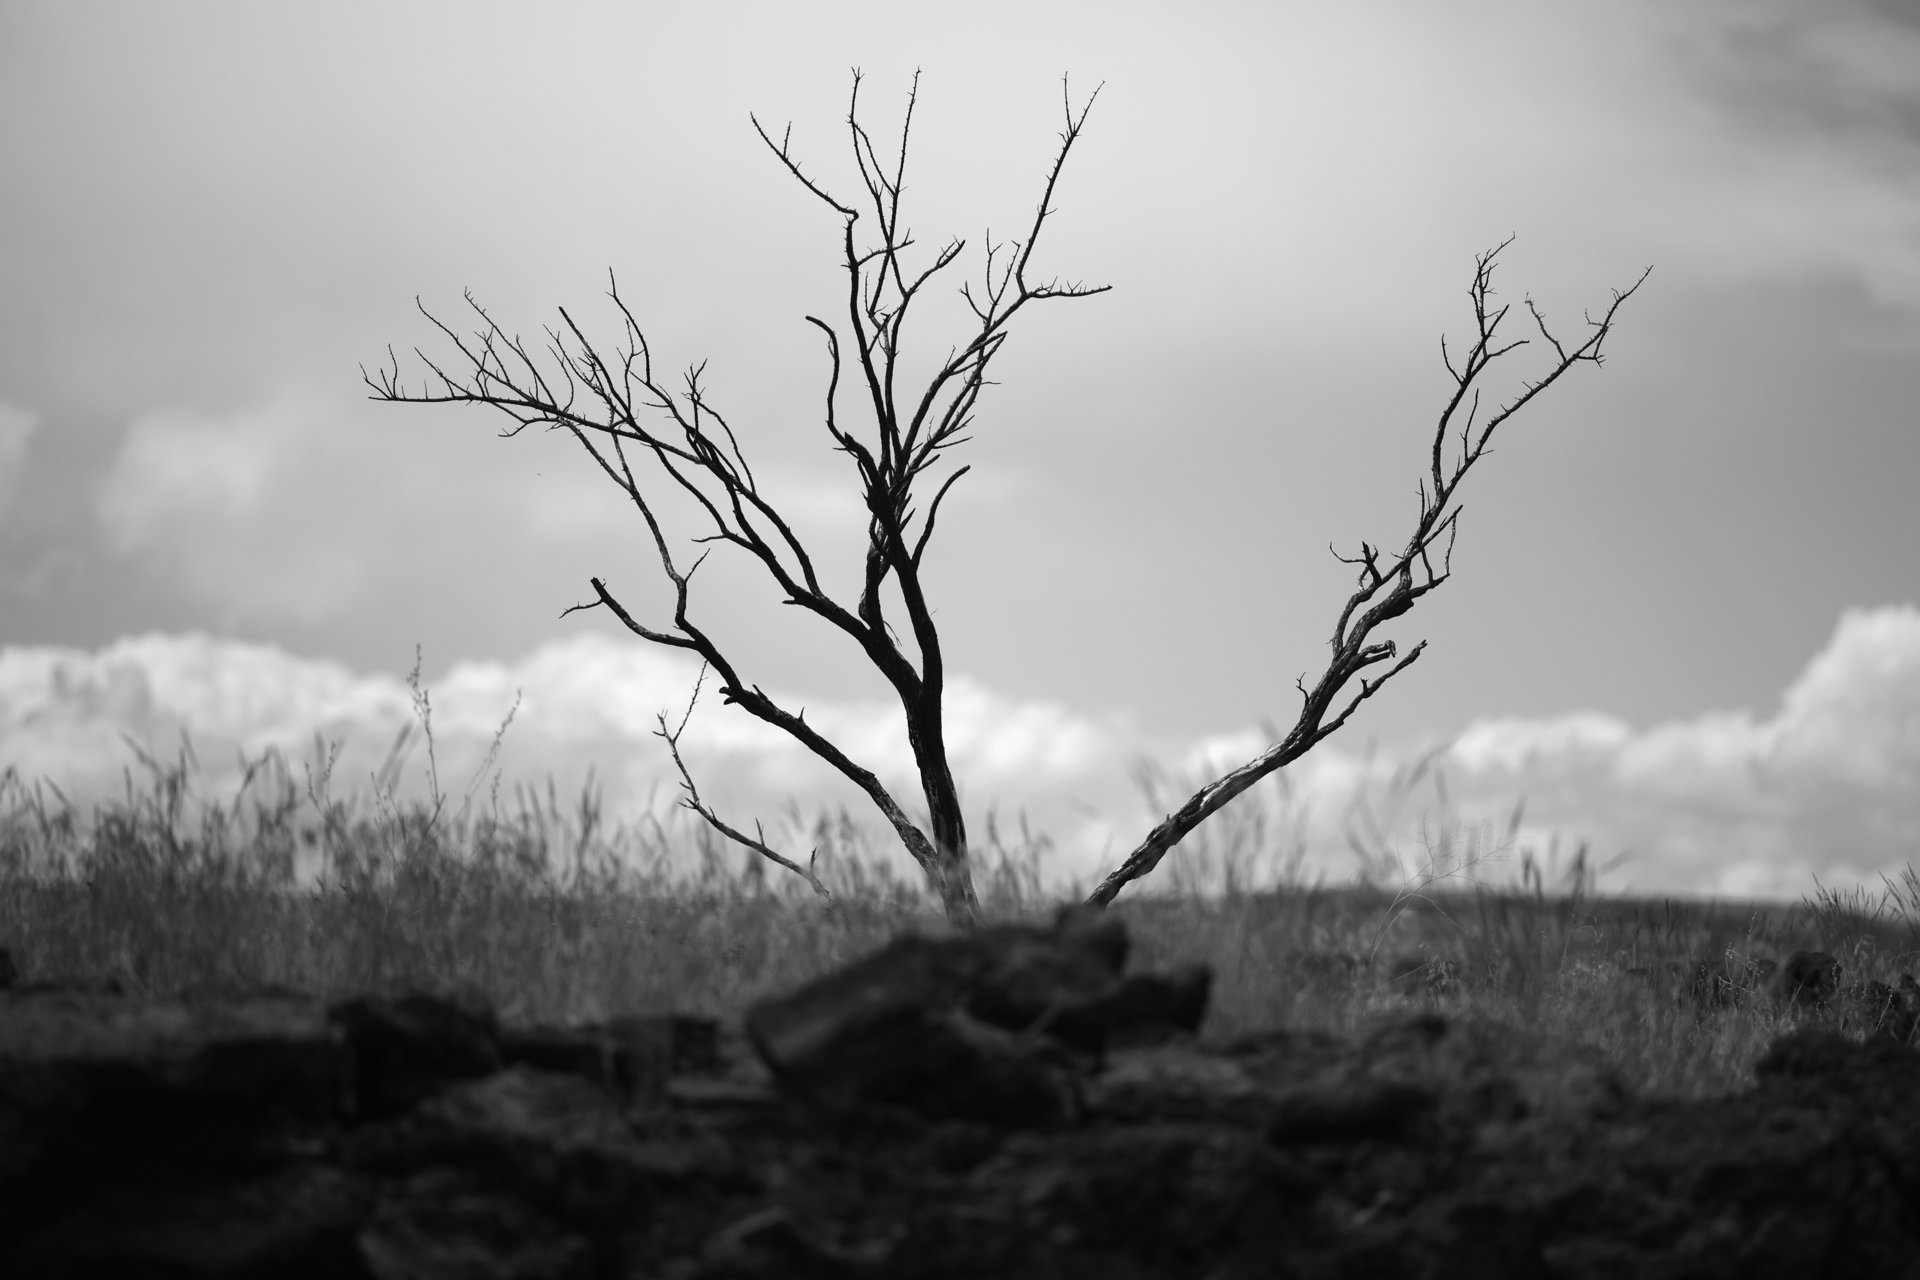
I also traveled through many areas that had been subject to forest fires. But I explain in the Burned series of posts this became some motivation for my photography, and a source for a lot of black and white images.
Again I find myself desiring to make conventional silver gelatin black and white prints from these images. Many would benefit from the process and I also find that holding a large print in-hand so much more satisfying than viewing it on a screen (of any size).
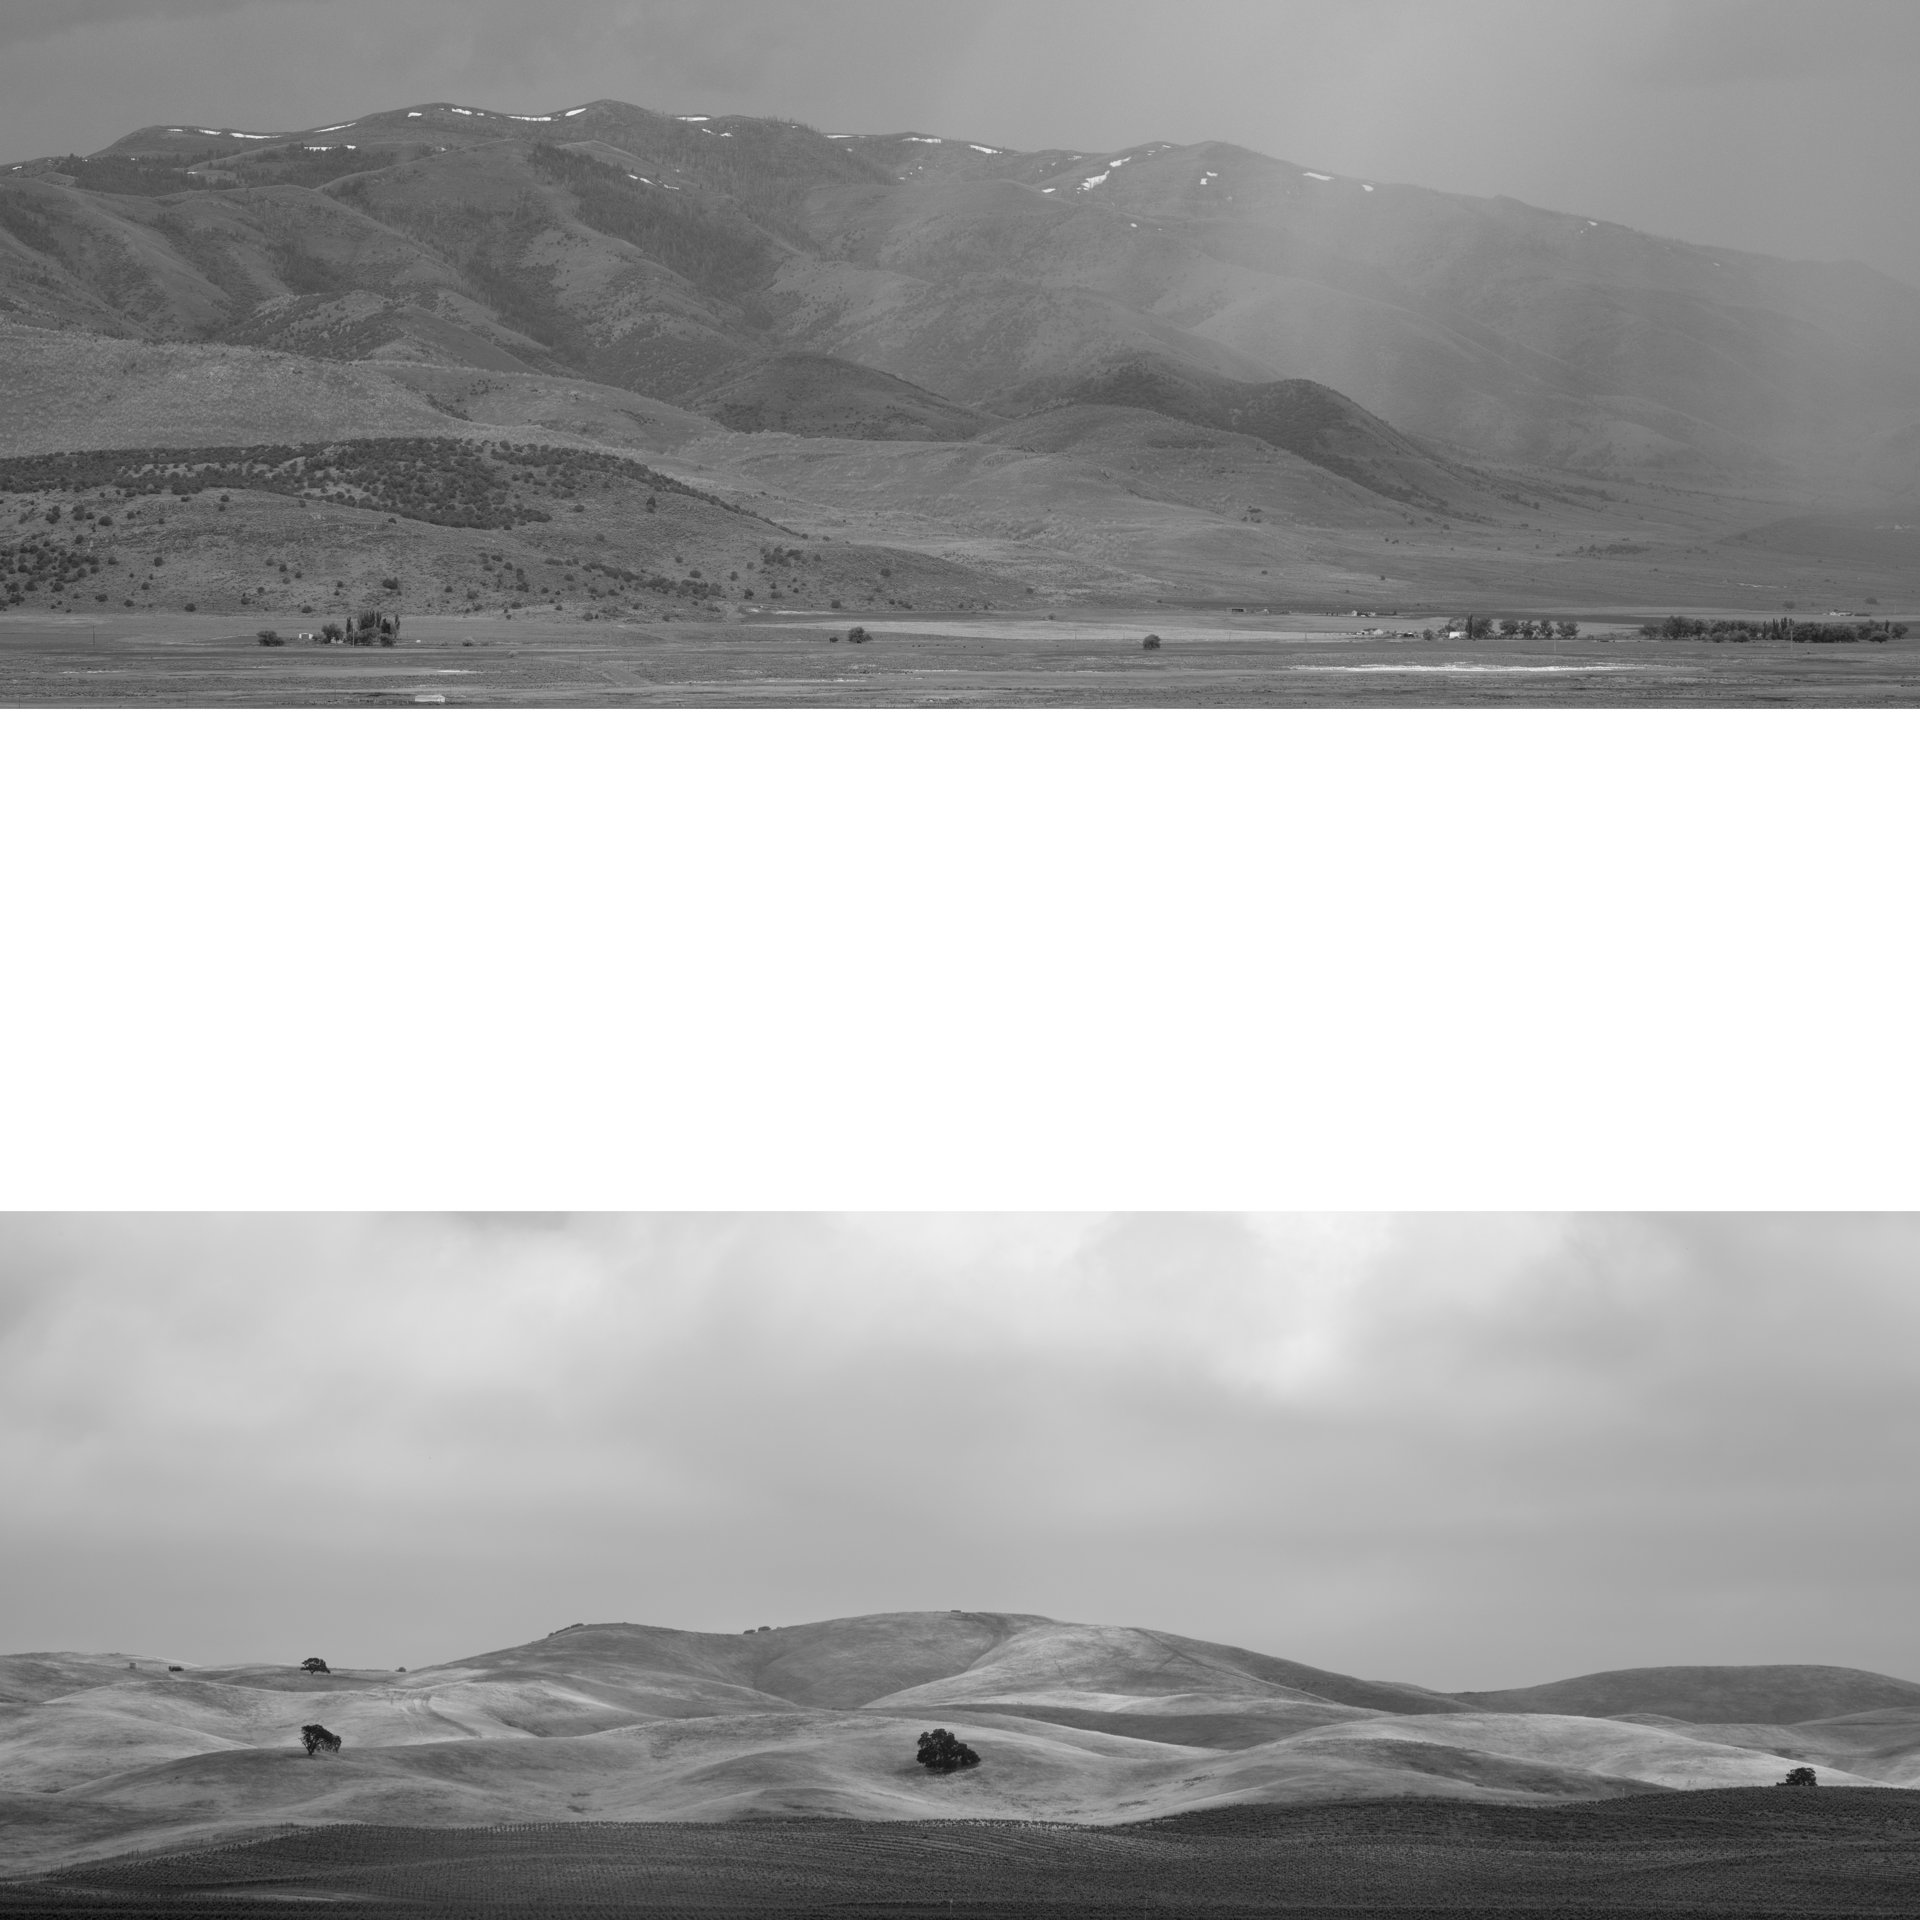
So I find myself gain engaging with Charlie Dodge at Gammatech to make some black and white negatives. In each of these cases I decided to make 6x6 medium format images. Part of the reason is expense, as I selected almost thirty candidate images and could only whittle it down to thirteen finalists. (I hope this is a measure of the quality of the images and not my indecisiveness!) Each image is $10 each. It is also easier to print as I can use my 6x6 enlarger which sits in the same room as my wet lab and is simpler to set up. When I have 65:24 Xpan-style images I can stack two on a single 6x6 image. Medium format negatives in this style lose only some resolution from my GFX 50s ii sensor if I use the whole sensor and virtually none when I shoot 35mm lenses cropped to 35mm full frame.
In any case any image that would make better prints at higher resolution I can reprint on 4x5 large format film (at $20 each) and print on my 4x5 enlarger.
Questions
I am still uncertain about how to process the digital images before submitting them to Charlie. In prior correspondence he assures me he does not pre-process before submitting them to the machine that exposes them onto film. I do not, however, know if the machine itself makes any adjustments. I am unsure if I should expand the dynamic range of the image so it will use all of the film’s range or if I should be contracting the range to make it fit the range of paper better.
In these versions I expanded the range of the images by setting black and white points very near the limits of the image. Also I noted that some past negatives seemed a little thin so I set the gamma to .9 to brighten them up a bit.
There are also contrast limits on multigrade paper to consider. Some past images took a lot of work to print the way I wanted. They may have benefitted from more contrasty negatives.
It should also be possible, if one could anticipate this, to eliminate a lot of burning and dodging by processing the images before having them made into negatives. I don’t see an easy way to anticipate this as these things turn up for me in the darkroom. Once I have it worked out it seems like unnecessary trouble to reprint the negative to eliminate or minimize these steps. This would become an option if I found a negative I could not print to my satisfaction. It may be worth reprinting a manipulated image into a new negative to make it more printable. This seems particularly the case with inherently low contrast images as I discuss here…
I can see a series of experiments where I take a single image and make different versions and then look to see how the results turn out in the darkroom.
In any case I have been very satisfied with this reverse hybrid workflow and look forward to making these prints when I return to the UK.
The images I chose are below… Below the images are the series of posts for these images.