Editing Black and White with DxO Photolab

In my previous post I discussed my decision to try a new photo editing software package called DxO Photolab. Here I thought I would cover what I learned about how to use masks as I applied it to a black and white image, I was processing.
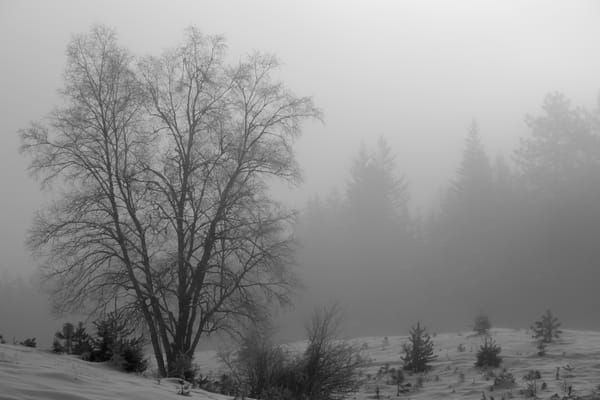
The original image I took on a backpacking trip in Colorado last August. We were blessed with lots of rain which led to some good atmospherics in terms of cloud and mist but lacked in good color or light.
The photo was shot with a Fuji GFX 100s ii using an adapted Tamron Olympus mount 70-210mm f4.5 lens in 35mm crop format for a total to 60Mpixels. The exposure was made at ISO 400 and since the lens is manual I do not know the f-stops or focal length used. I tend to shoot about 2/3 underexposed to protect highlights and keep colors more saturated.
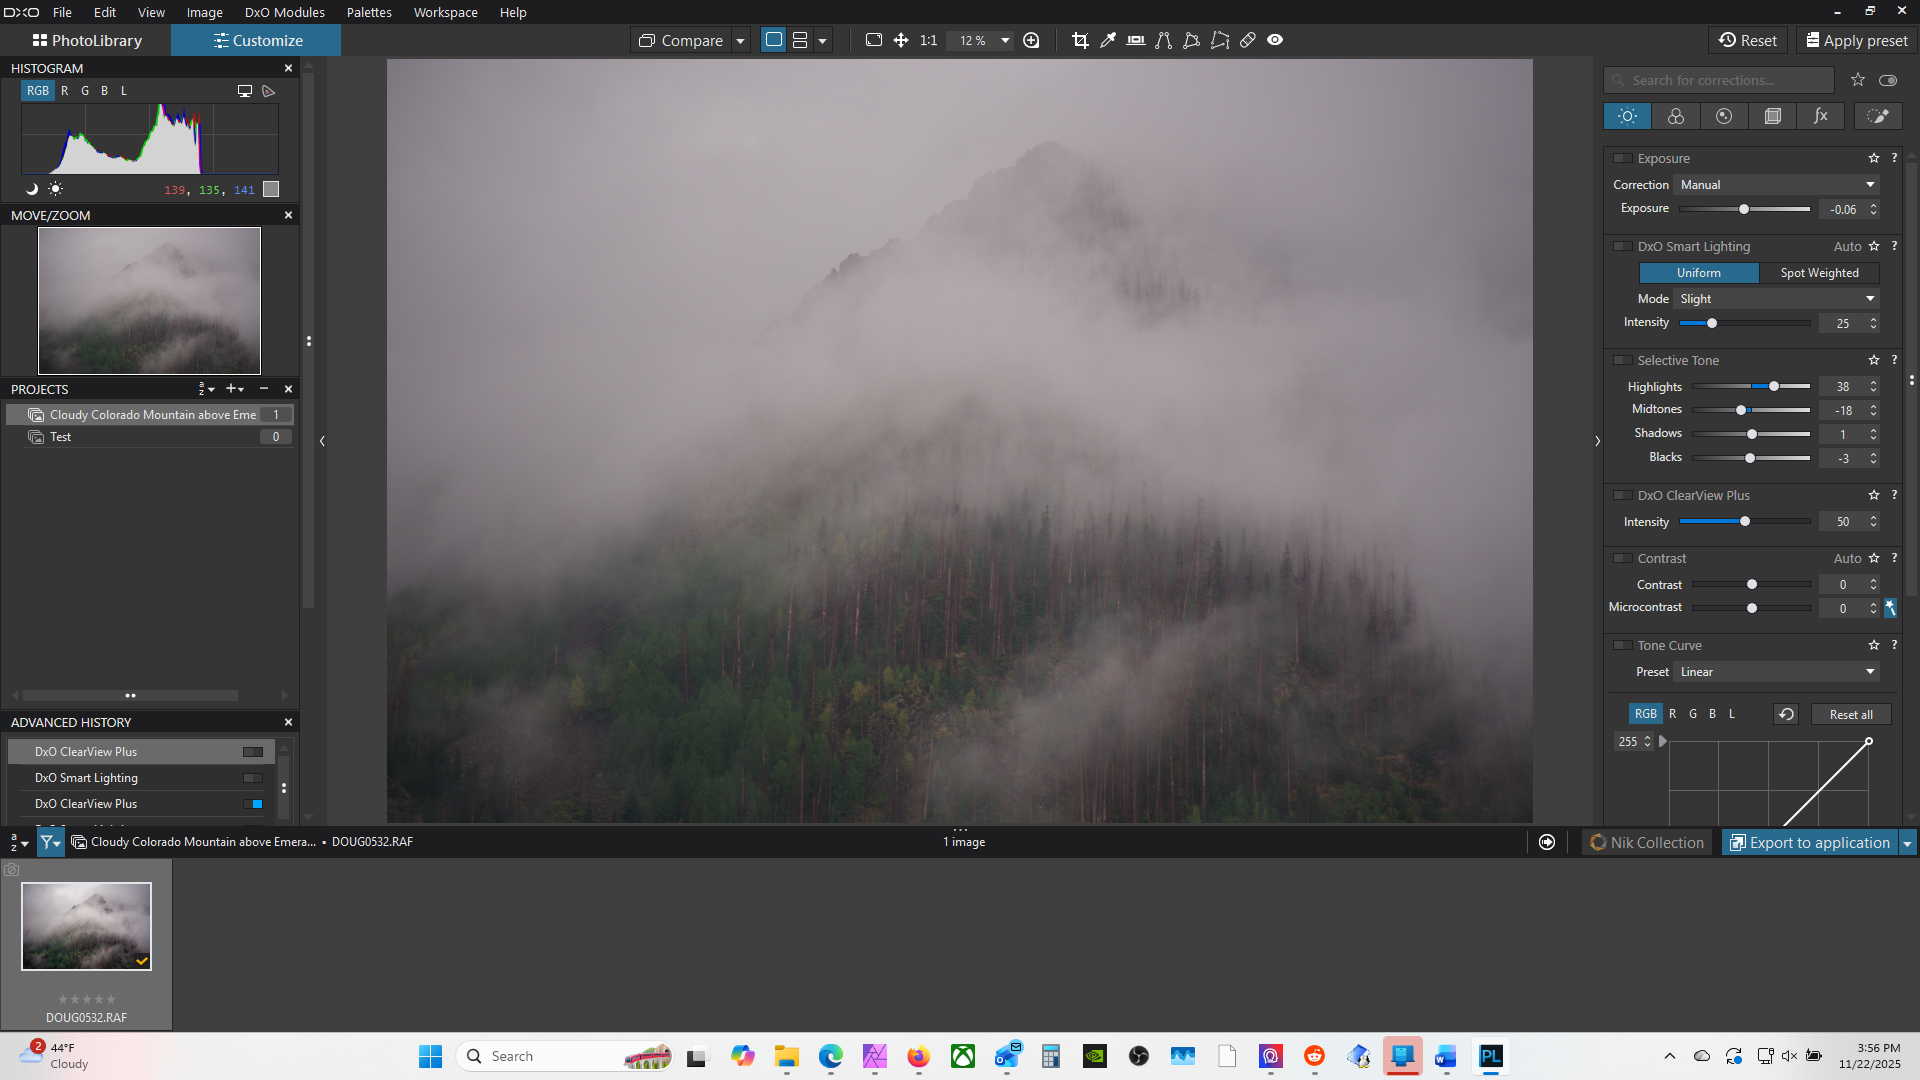
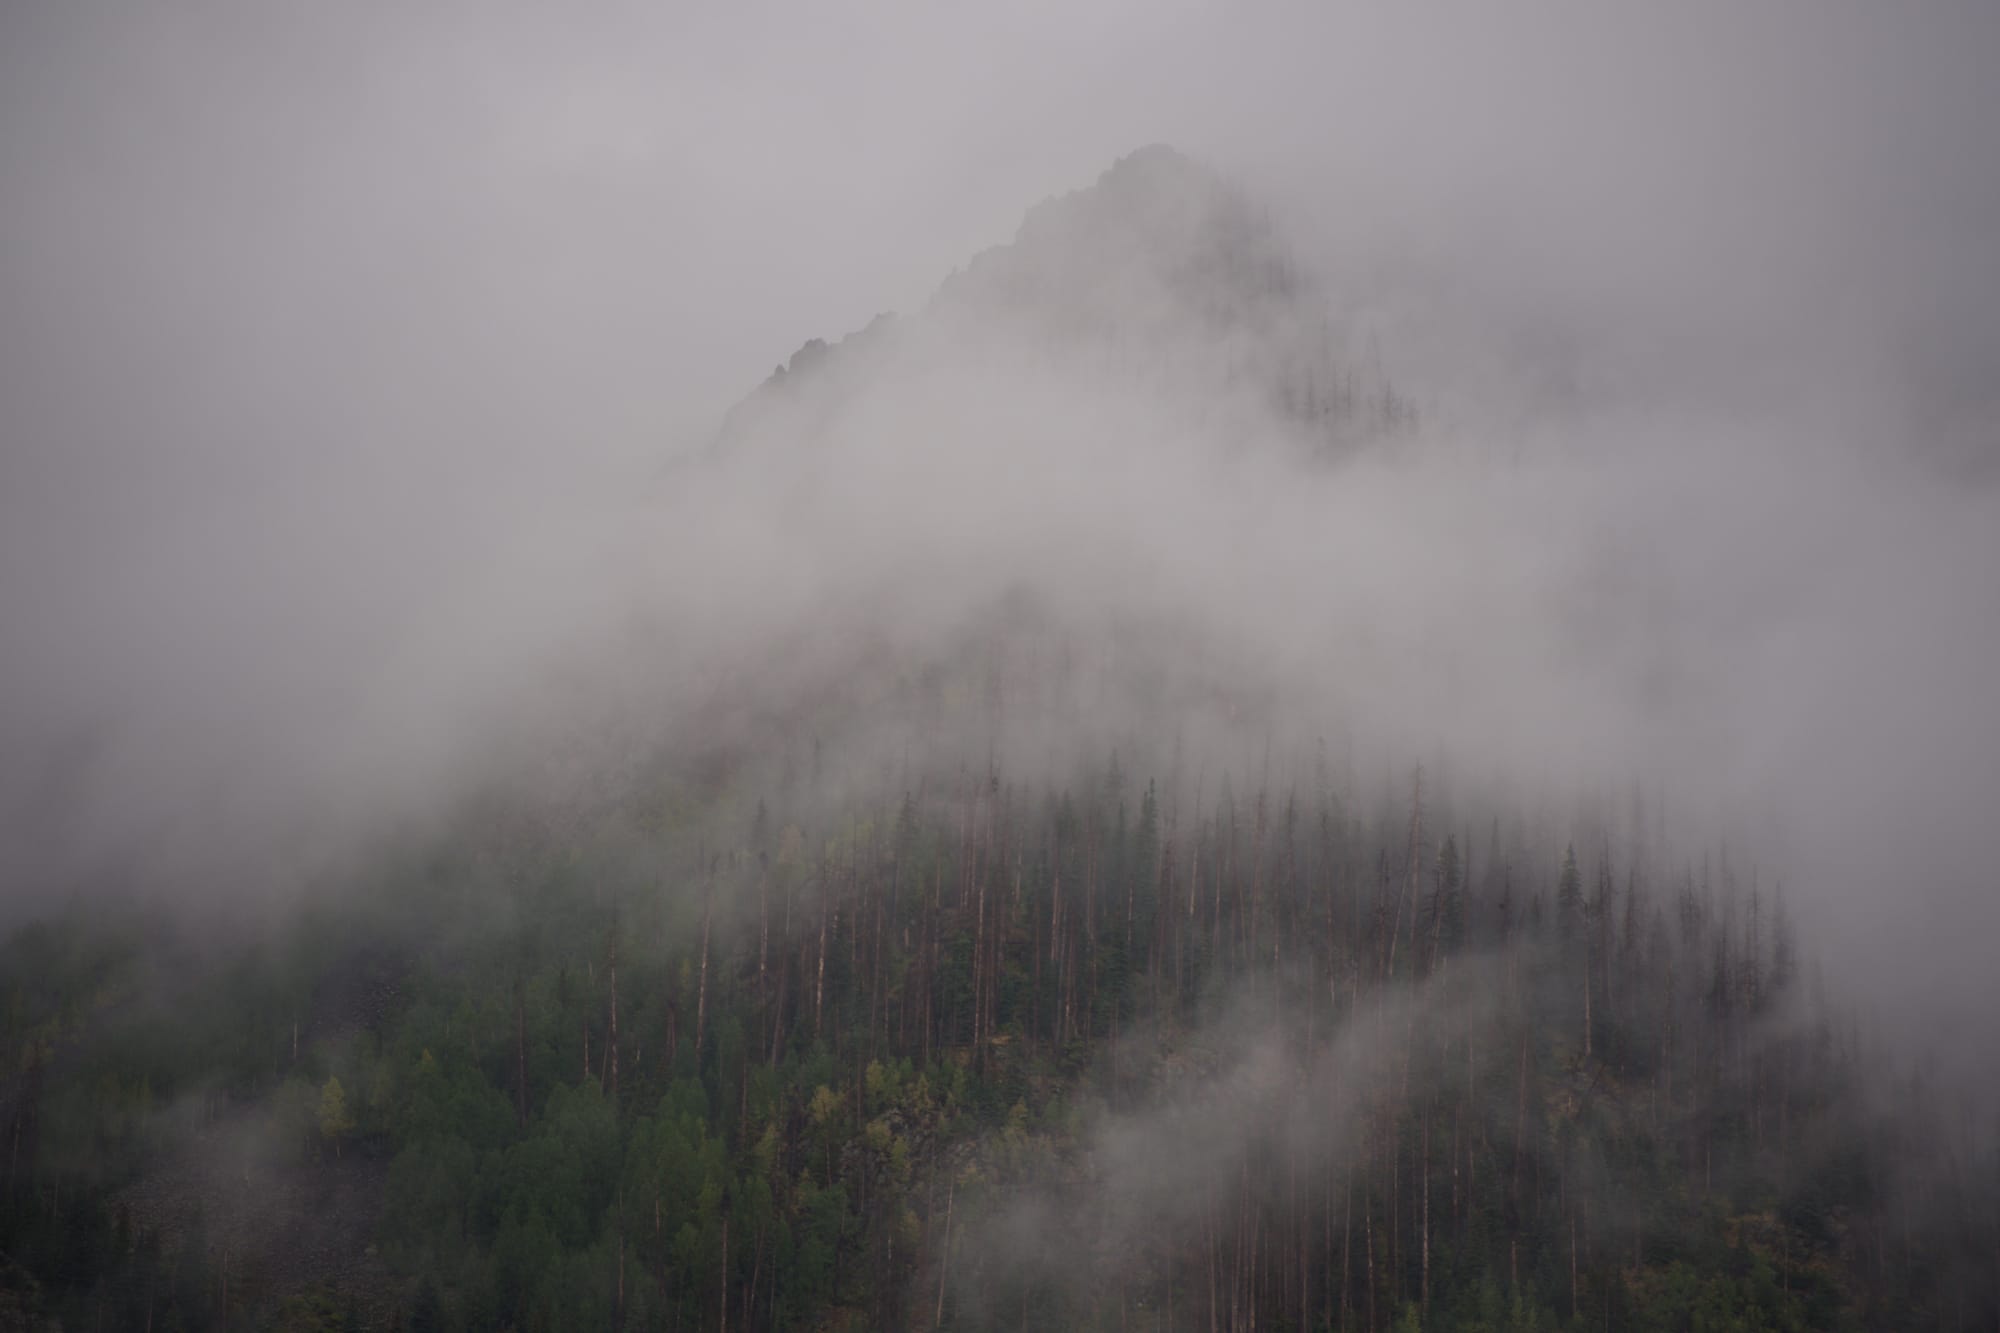
Here is the image as it comes out of the camera in RAW format.

The lack of light and fog conspire to give it an already desaturated tone. This became the inspiration to process it as a black and white. It also lacks contrast and visual interest. The lower part of the image is darker than the rest and the deep shadow in the lower left seems lost and distracting.
The first step is to take the image and apply some of the automatic exposure tools found in DxO Photolab.
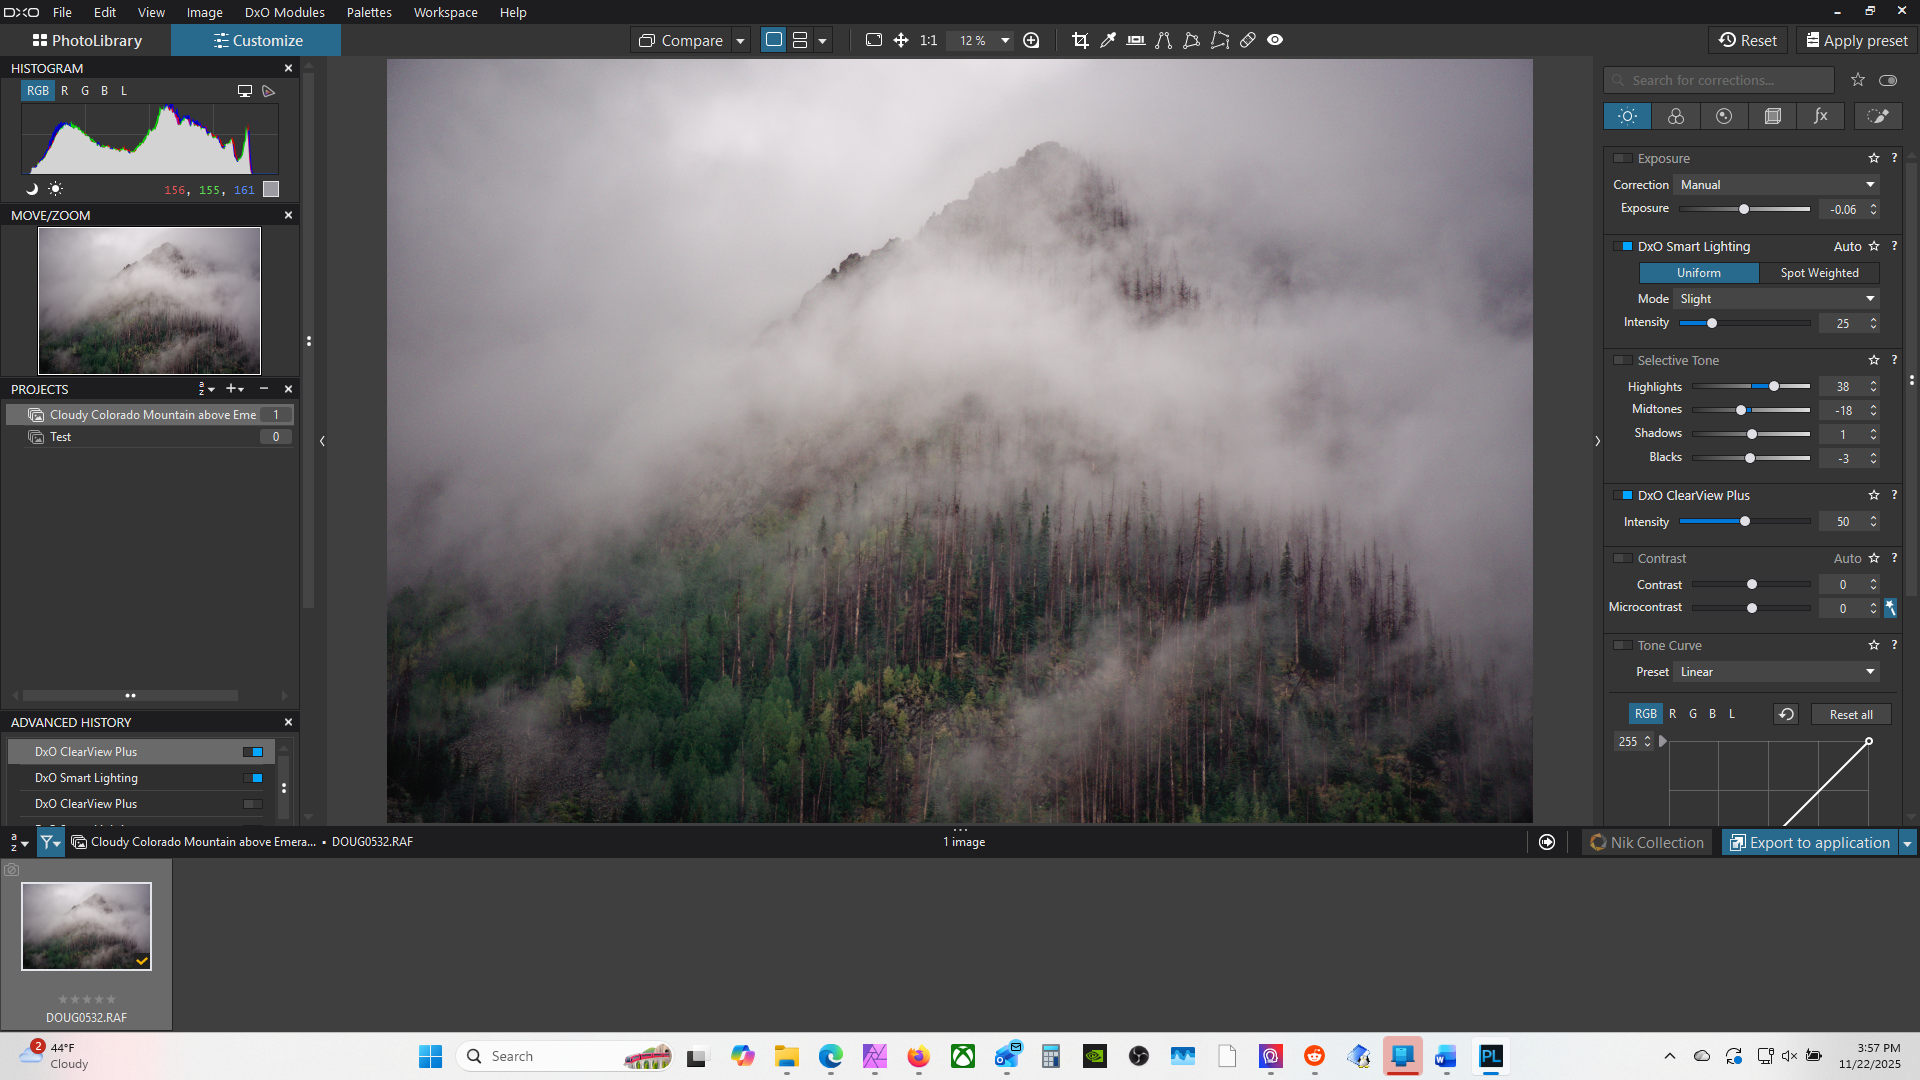
Original image left, DxO Smart Lighting and ClearView Plus applied right
DxO Smart Lighting and Clearview Plus are applied first (above) and this improves the contrast and range of the shadows and light areas. ClearView Plus can be a little strong on some images leaving a bad 'HDR-look'. In this case it works well.
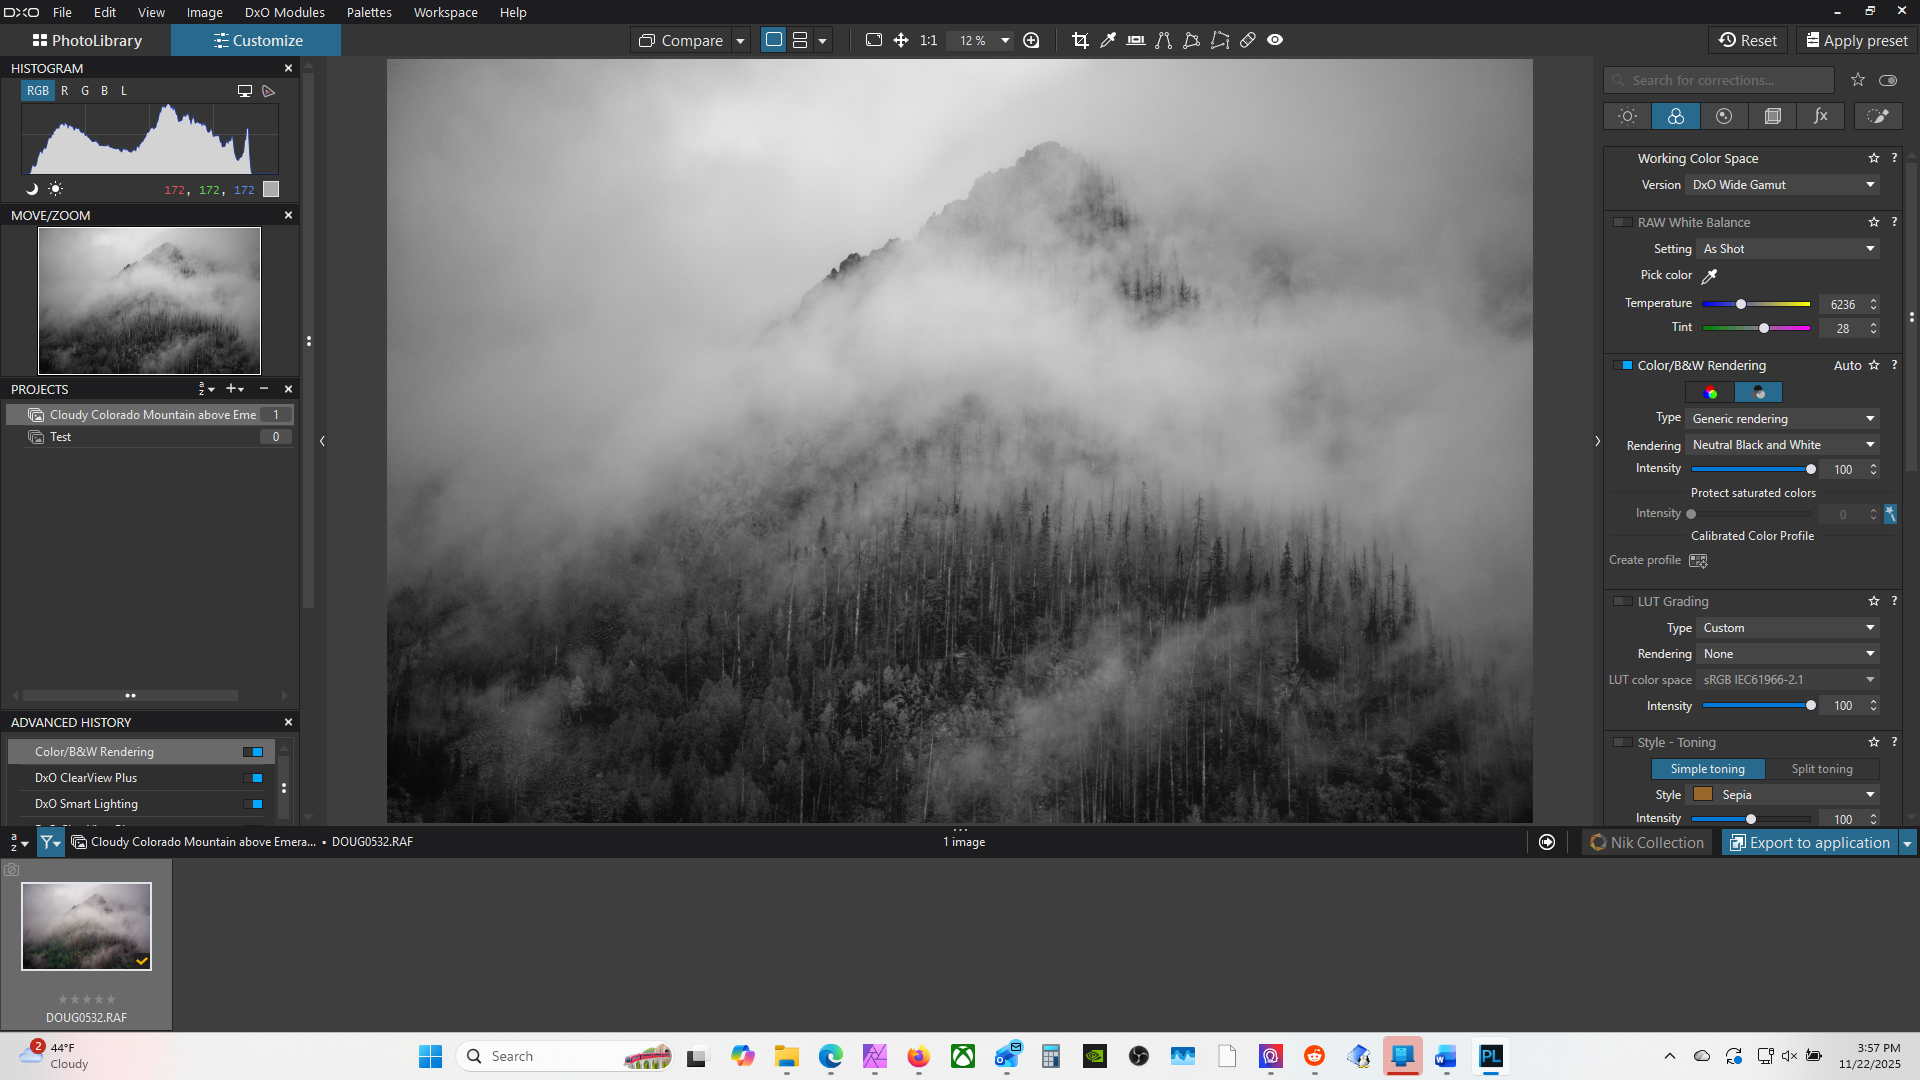
Above I then converted to Black and White using the Rendering tool in the Color tab. Now I can see the image's luminosity which is useful even if I did not intend a Black and White image.
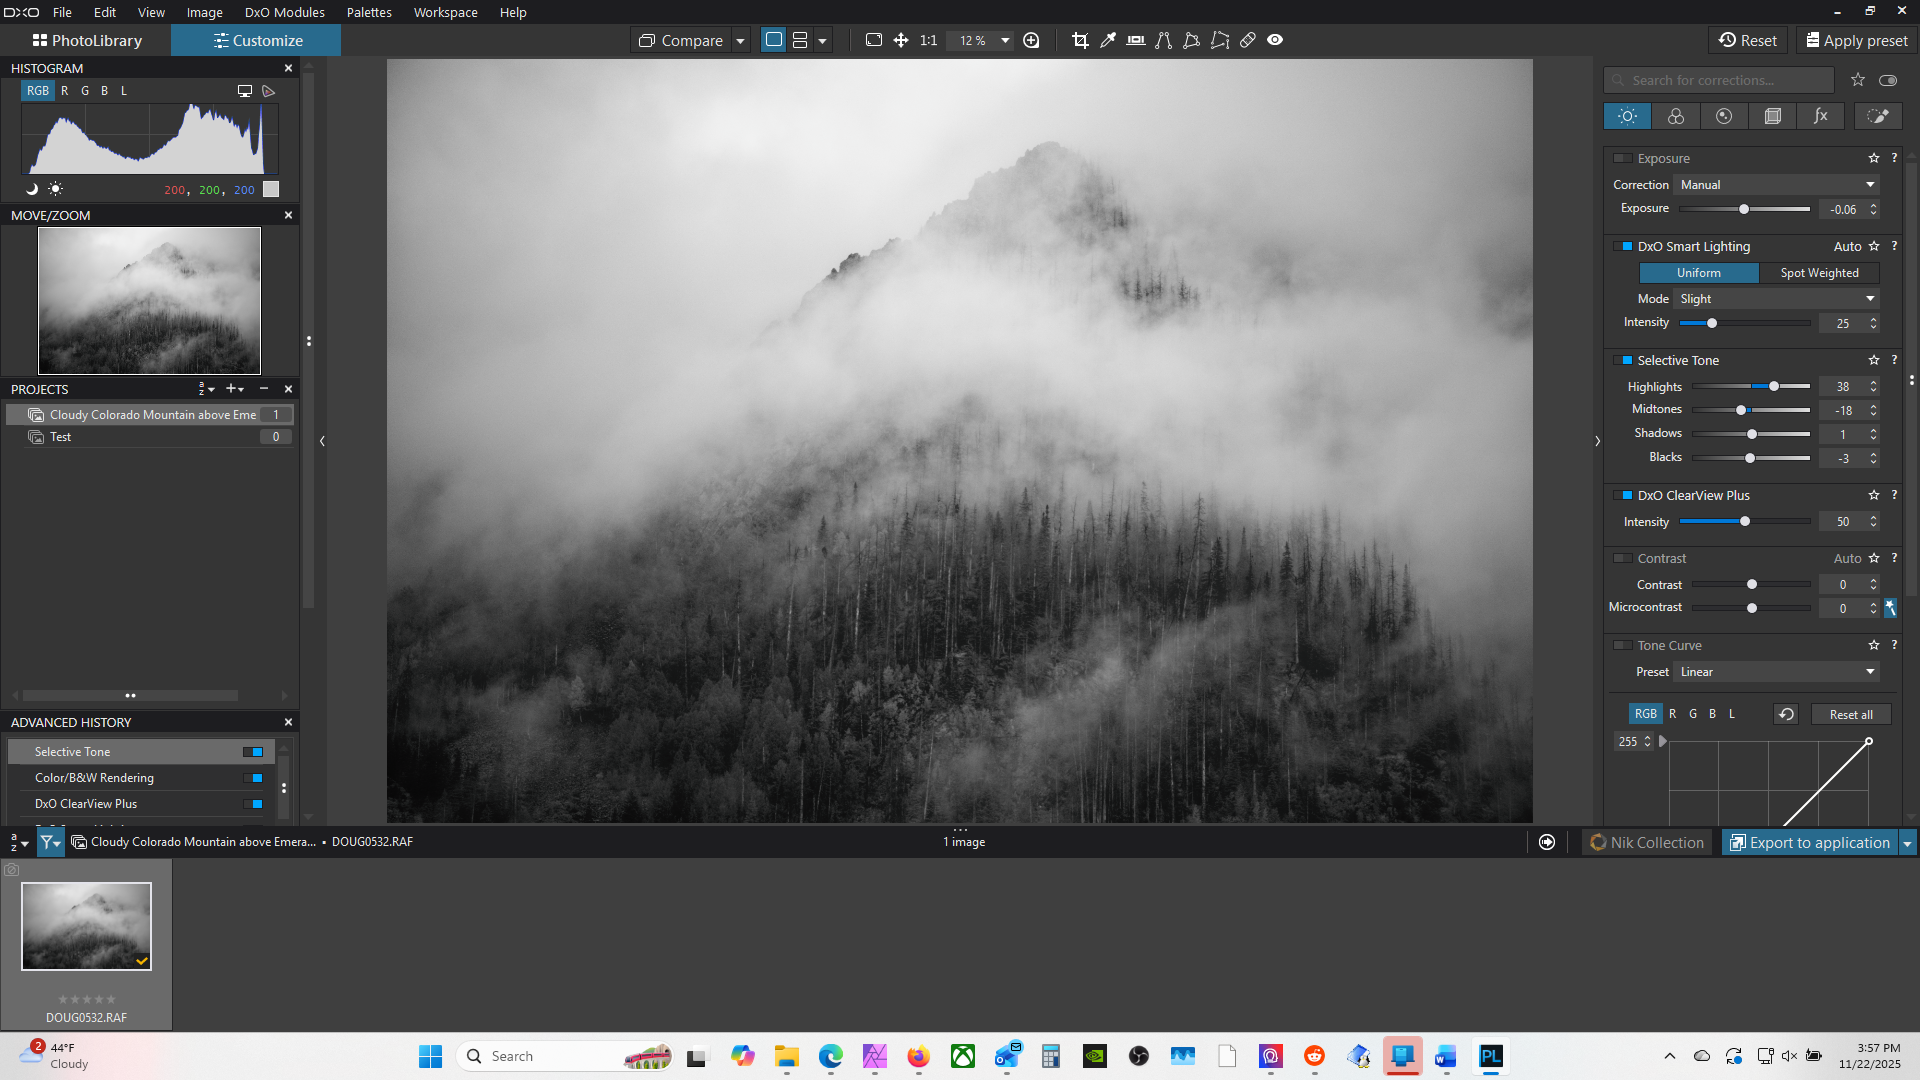
Next, above, I go back to the 'Light' tab and play with exposure settings for highlights, midtones, shadows, and blacks. These settings are nice because you have a little more control than just highlights and shadows typically available. I could have also availed myself of the full curves feature here instead. I boosted the highlights here and slightly lowered the midtones.
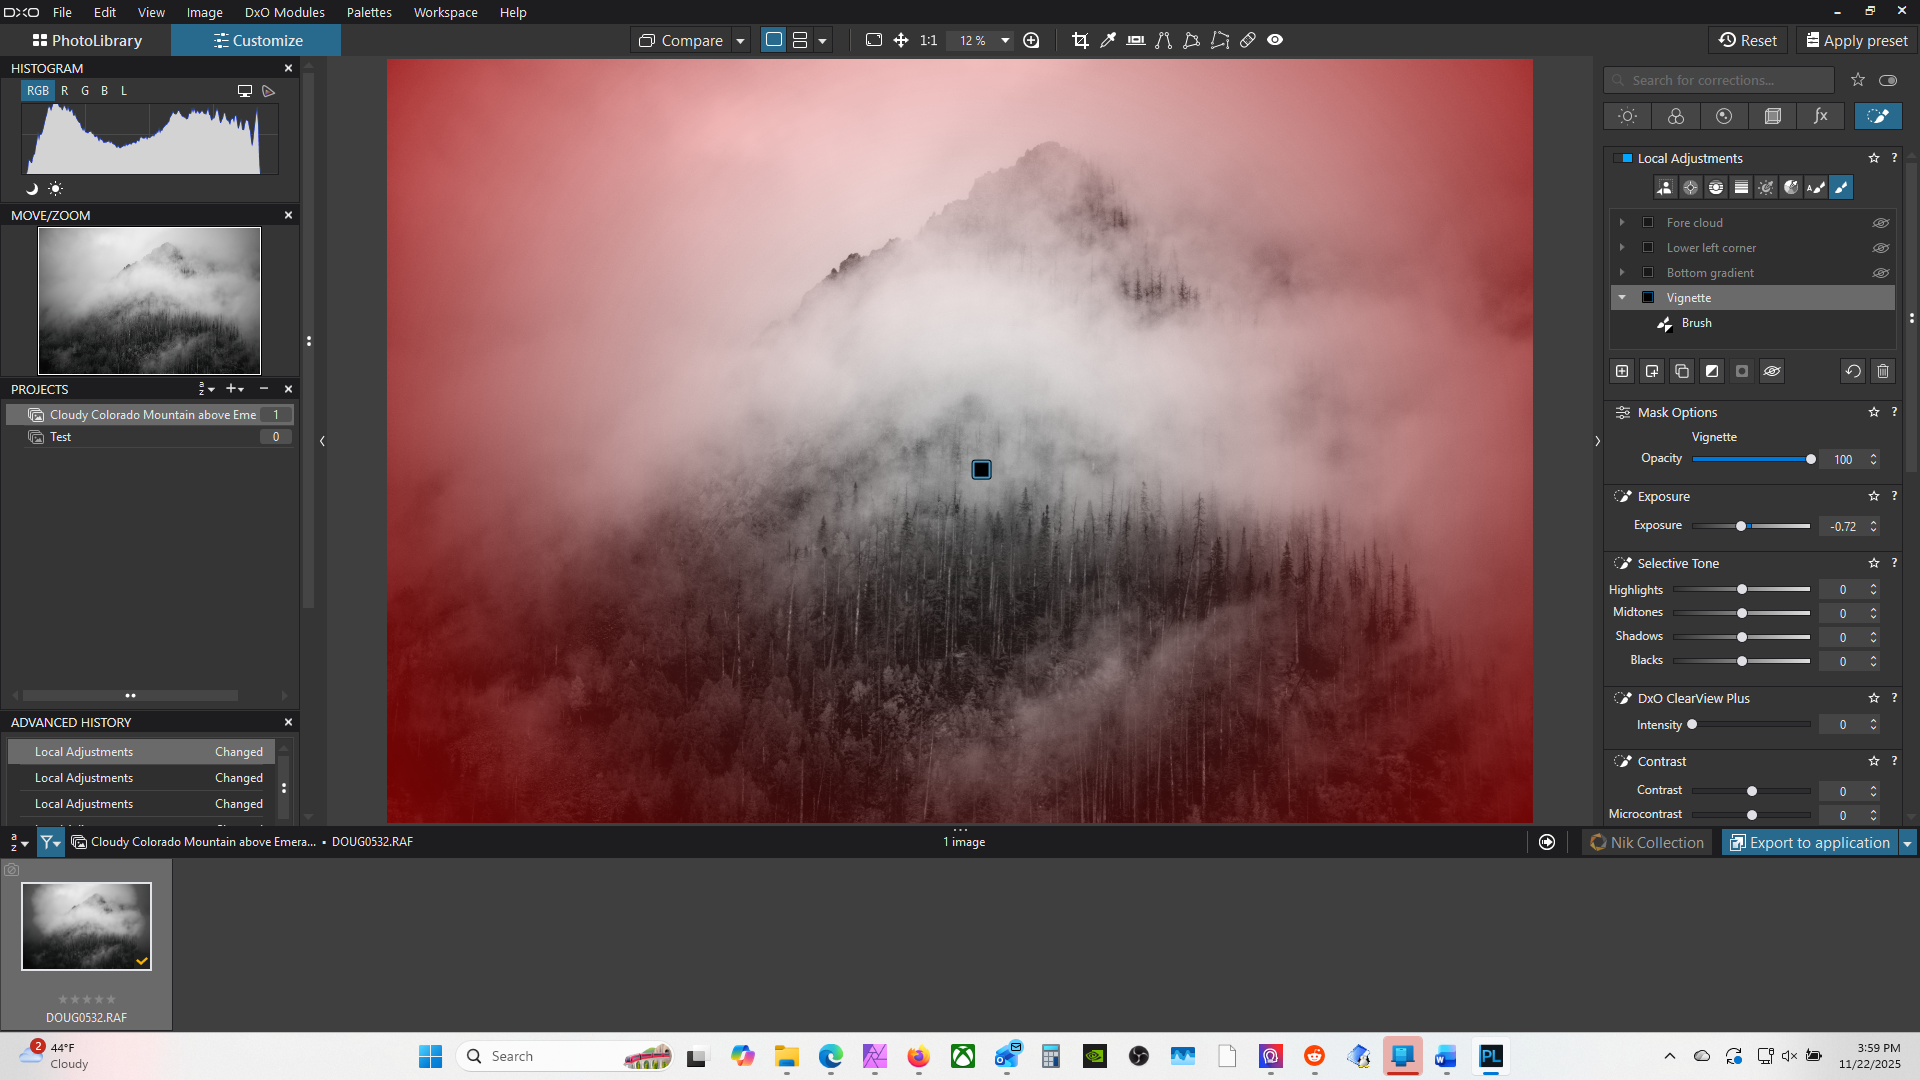
The masking is done in the Local Adjustments tab. My first mask was to use the 'Control Point' mask which is essentially a radial gradient. I inverted this so I could create a vignette to help balance the darkness on the bottom of the frame and draw attention to the center of the image. I adjusted the exposure slightly dark at -0.72. The red areas are where the mask applies the new settings in proportion to the amount of red.

The next mask is a linear gradient form the bottom to the top. This I will use to balance the brightness of the top of the image with the bottom and also to bring up the detail that is present there. Here I raise the exposure by 0.6. This exhibits the power of the masks as each one can have a full range of independent adjustments for exposure and color.
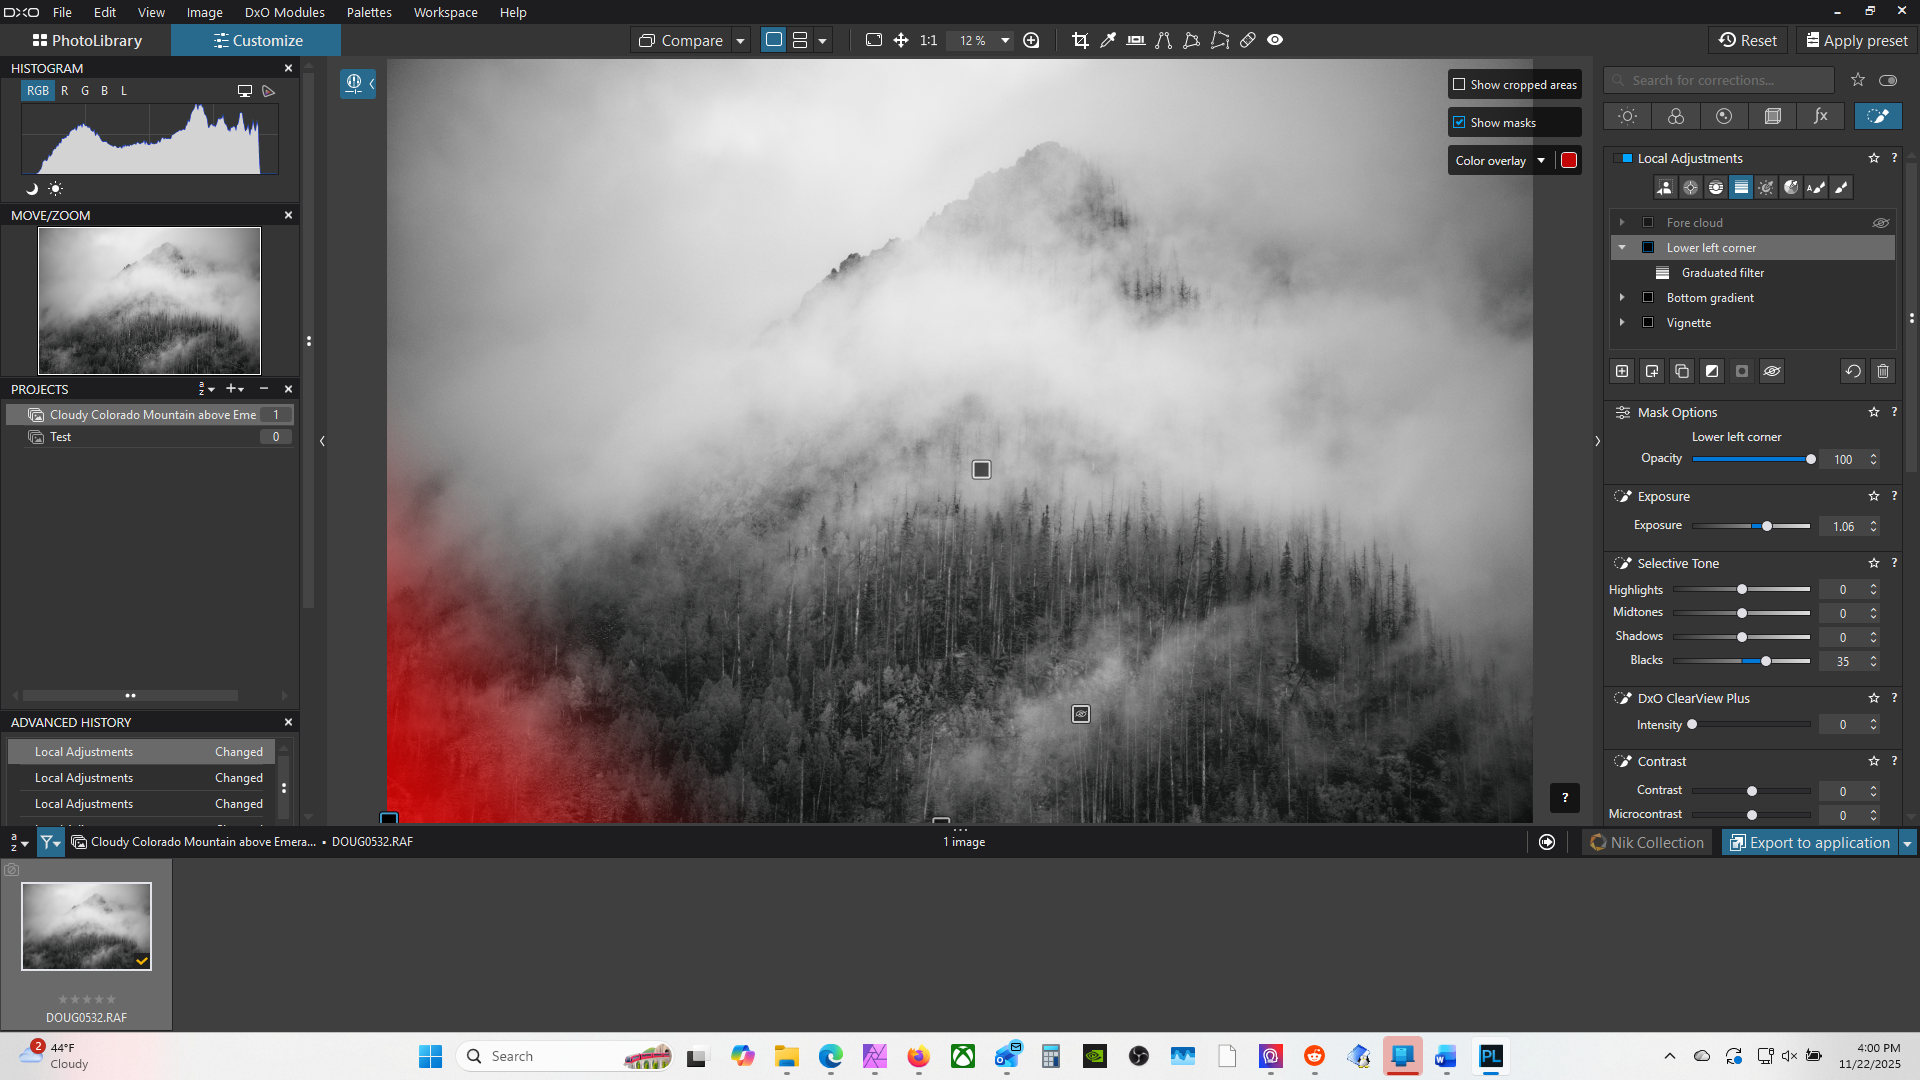
Next, I want to fix that very dark corner in the lower left. I select the linear gradient again and drag it up from the lower left corner. Again, I use the exposure tool to raise the brightness by 1.06.
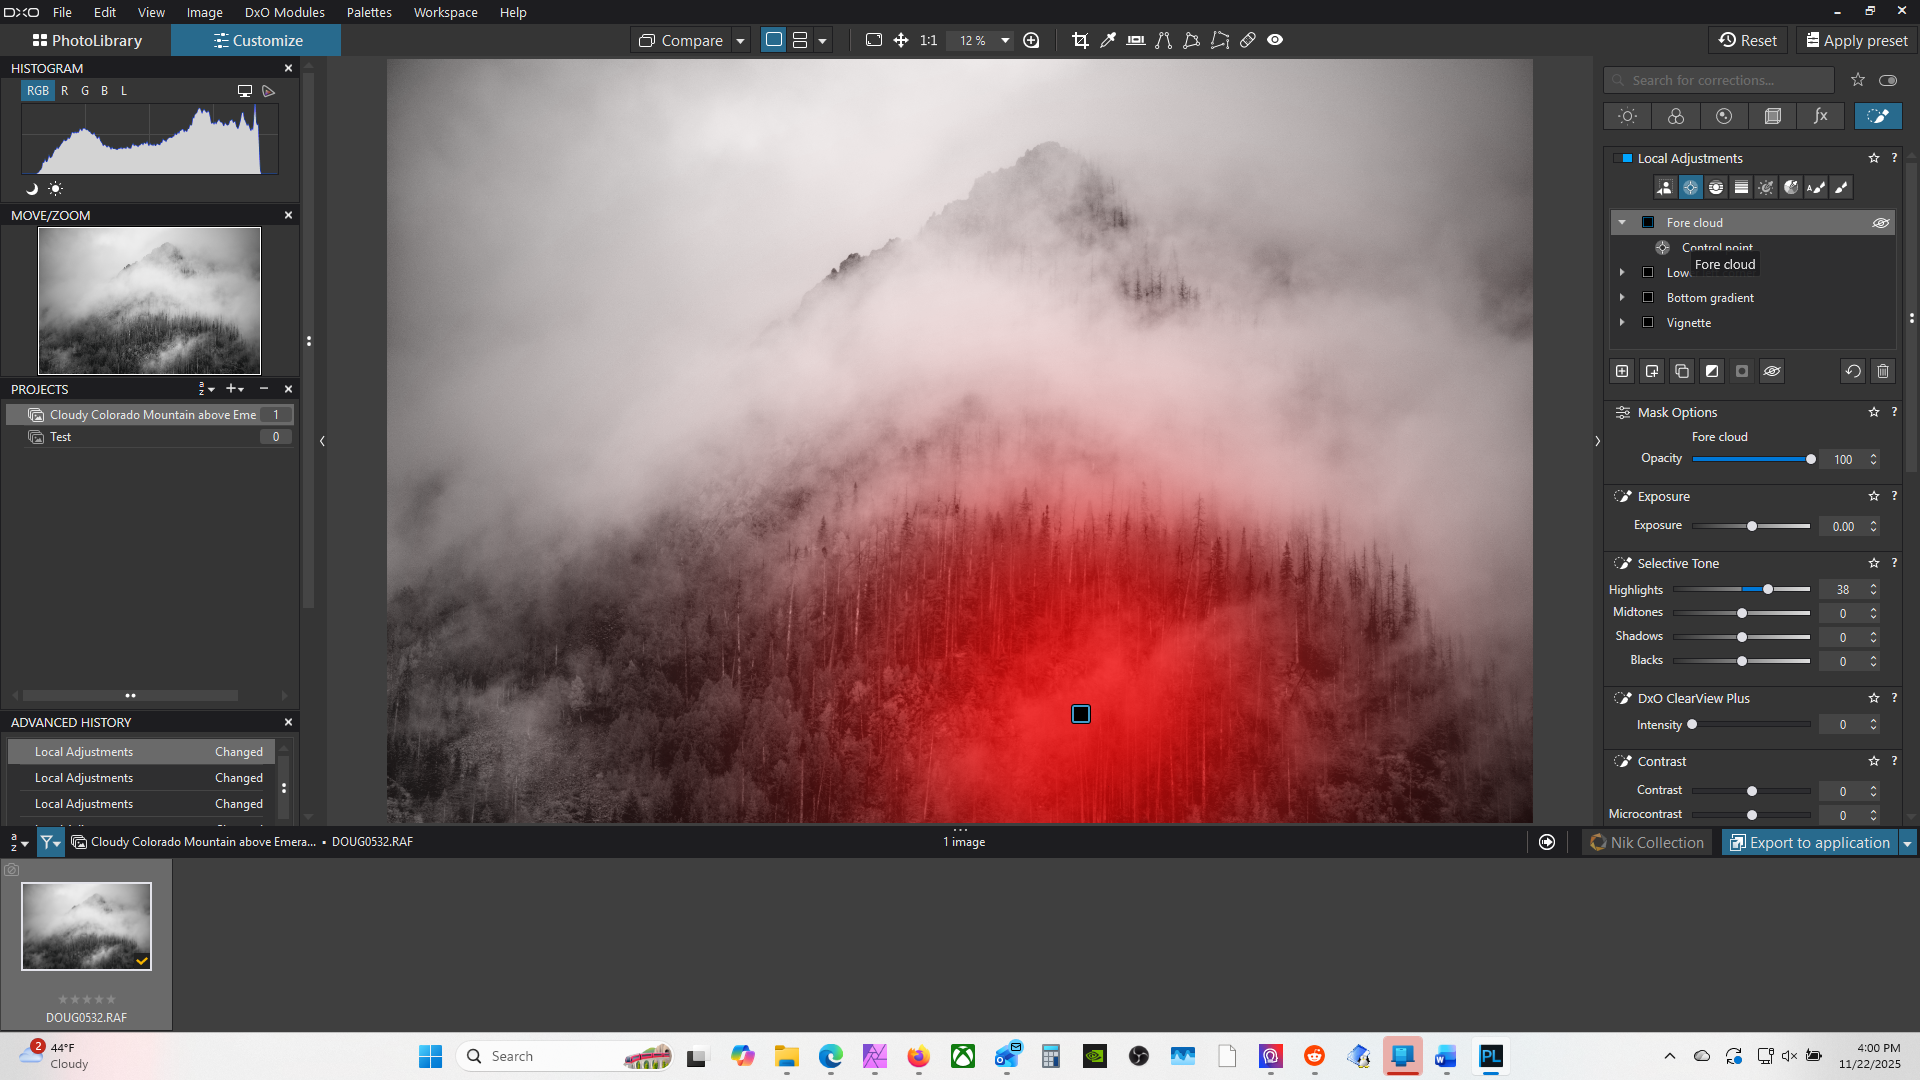
By this point the image is much improved. Now you can see other improvements once the big problems are out of the way. The patch of cloud hovering over the lower part of the image could use some extra brightness to match the drama of the other clouds. Again, I use Control Point gradient centered over this small cloud. This time I opt for the Highlight adjustment as I don't want to raise the brightness of the area evenly as it would look unnatural.
Below is a comparison of the starting image and the final result. The finished result has a much better feeling for the scene and the day.
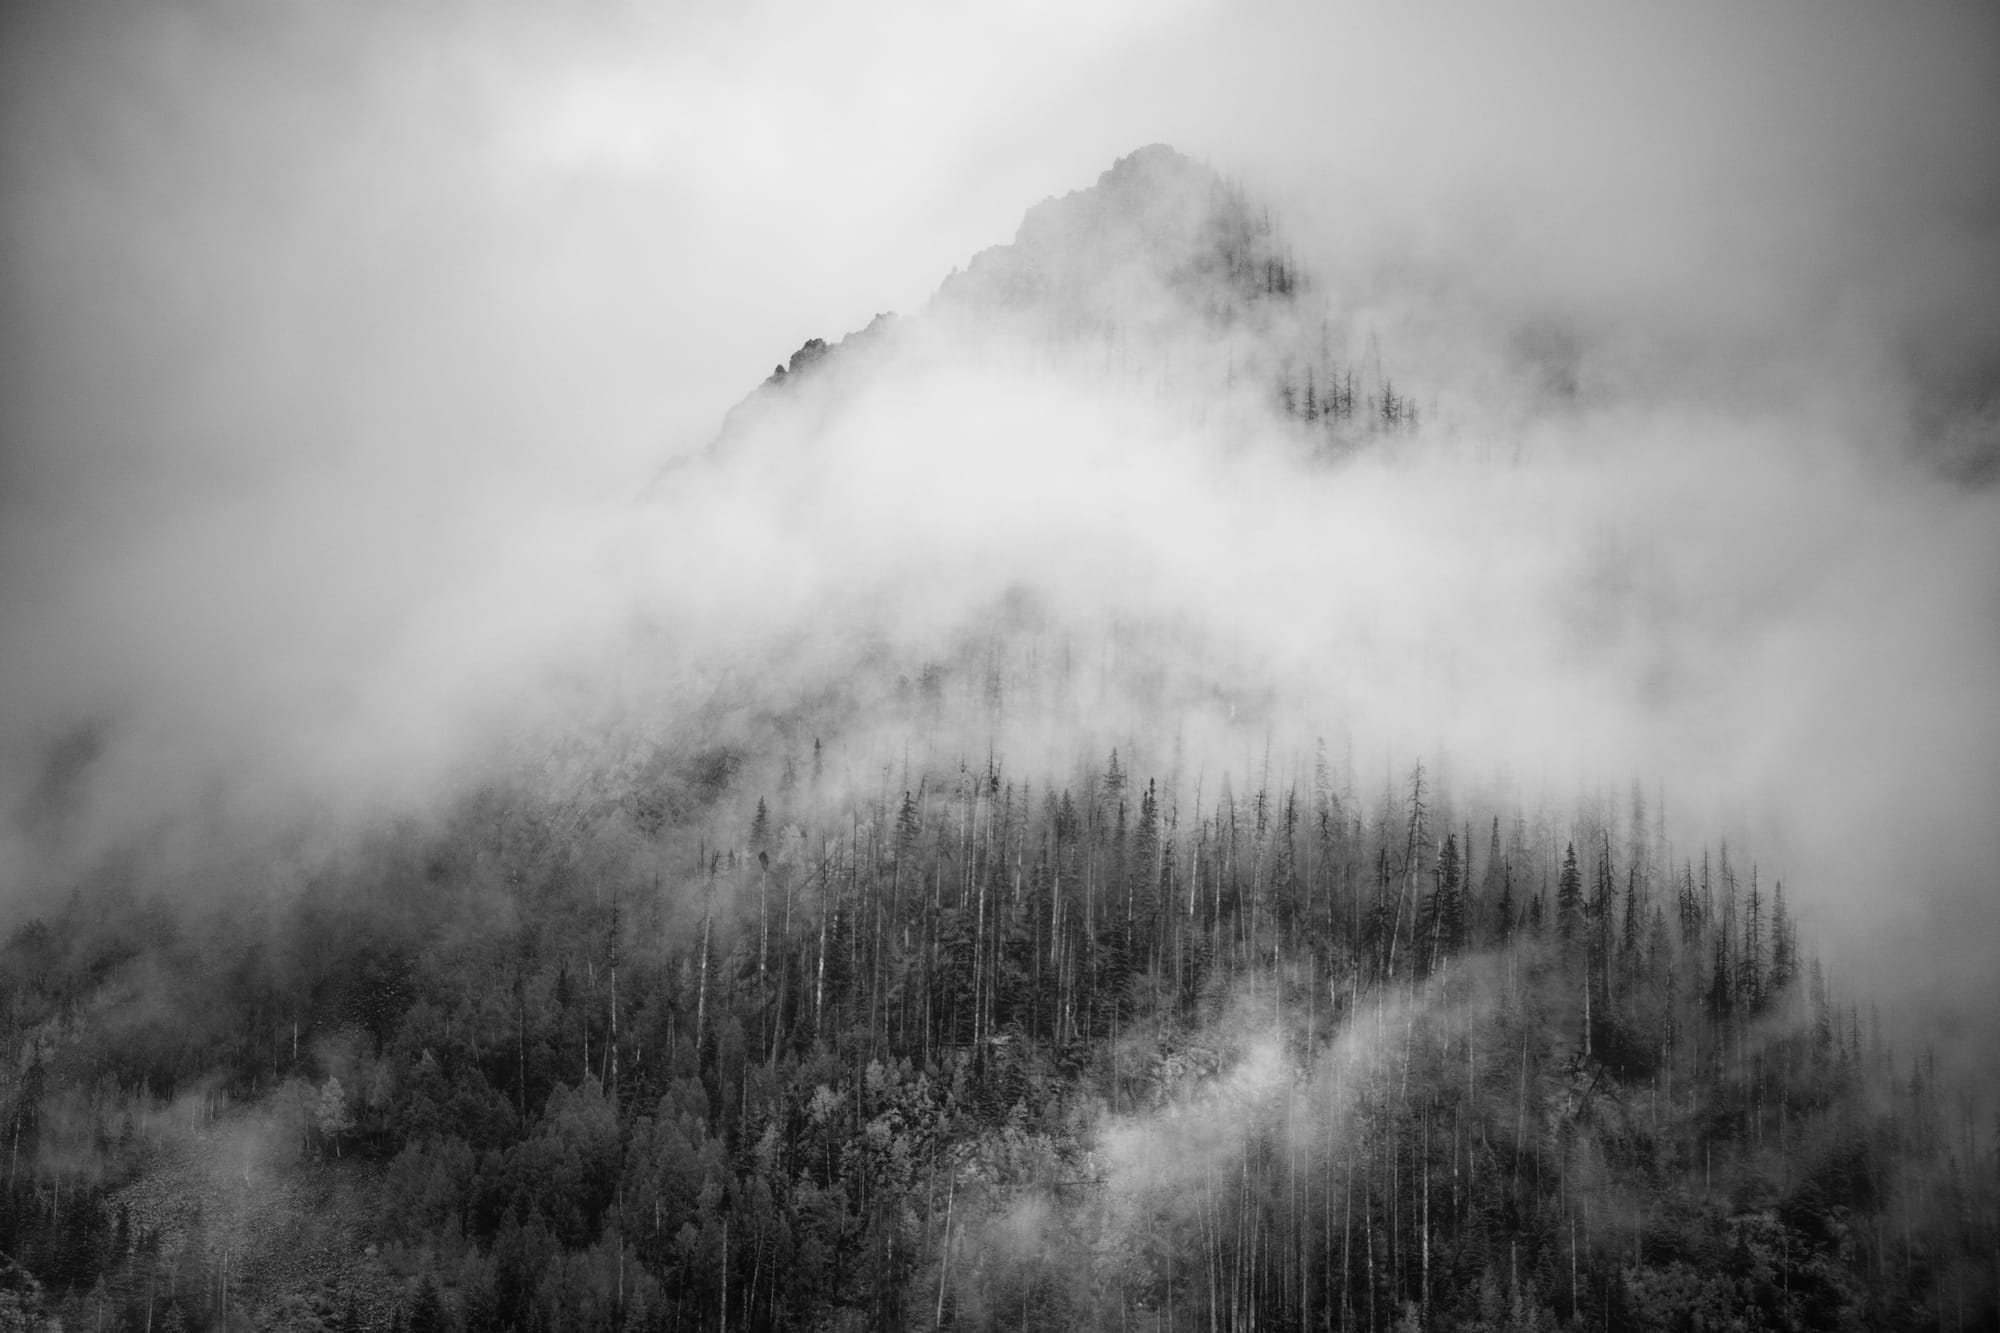
Before and After