Darkroom Shed: Furnishings
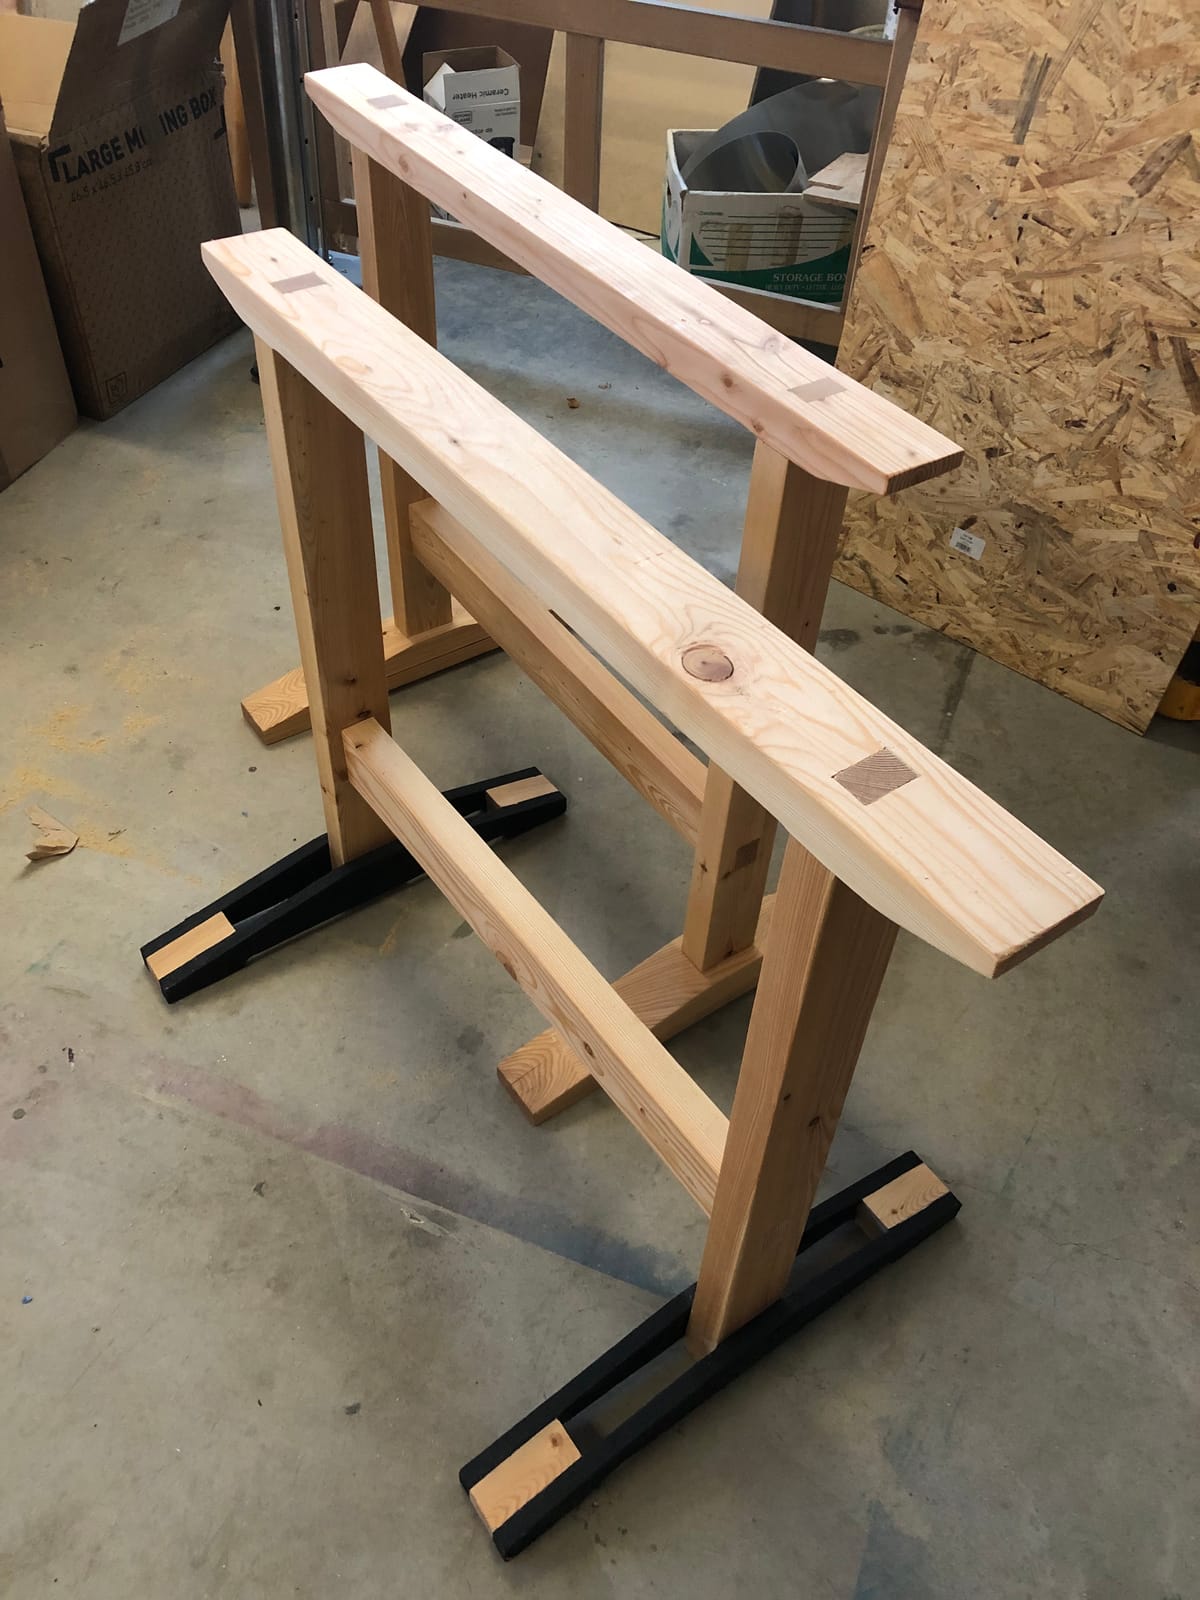
The next phase of the darkroom project was to start planning the furniture and fixtures. I did not really want to build-in the counter top and after some thought opted to build some trestle-like sawhorses for the work top. The dimensions were a bit fraught as the enlarger still had not arrived from the UK and I did not know its height.
I found a design for the trestles I liked on the Fine Woodworking website but modified it from 4x4 lumber to 2x4 lumber. I found it I cut 1/4 inch off of the 4” dimension on each side I got rid of the radius edge and had nice 1-1/2 x 3” board to work from. (2x4 lumber is dimensionally 1 1/2” x 3 1/2”.)
I used some simple mortise and tenon joints. I resurrected an old Makita 2708 contractors table-saw from my dad by adding a new blade and riving knife. I then made a tenon sled for this to help with the joinery. Another sled helped cut the tapers in the feet.
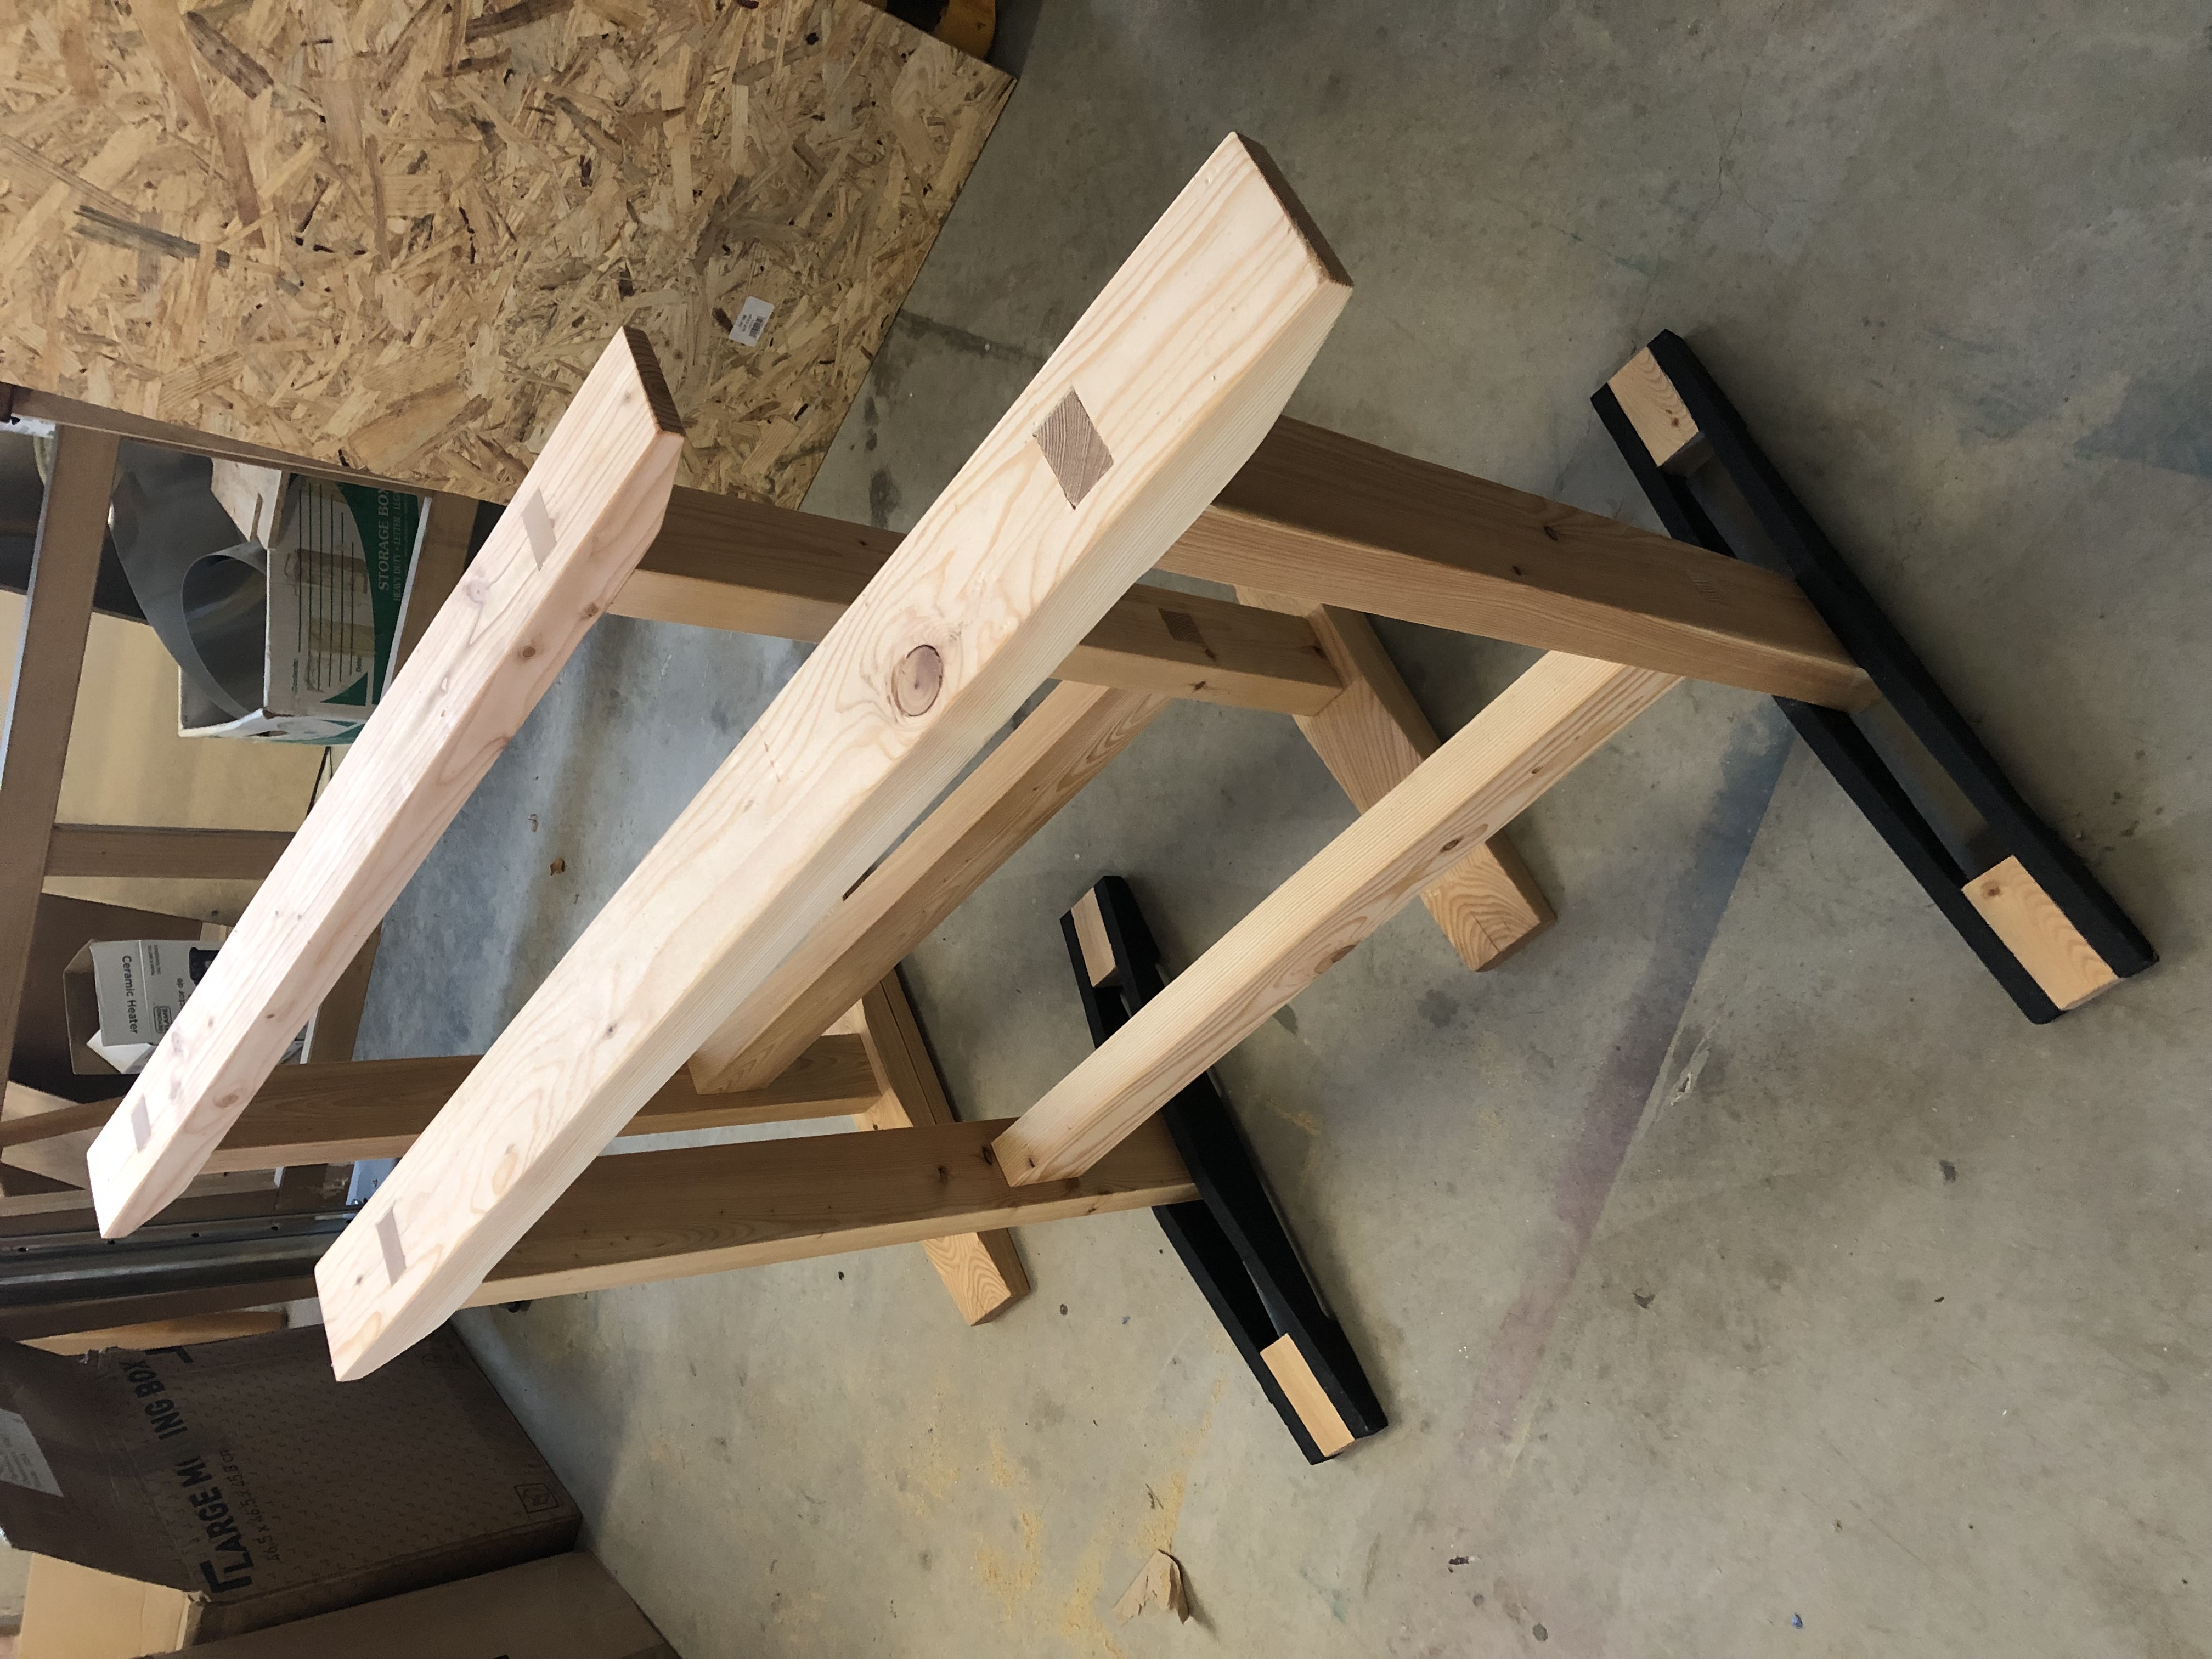
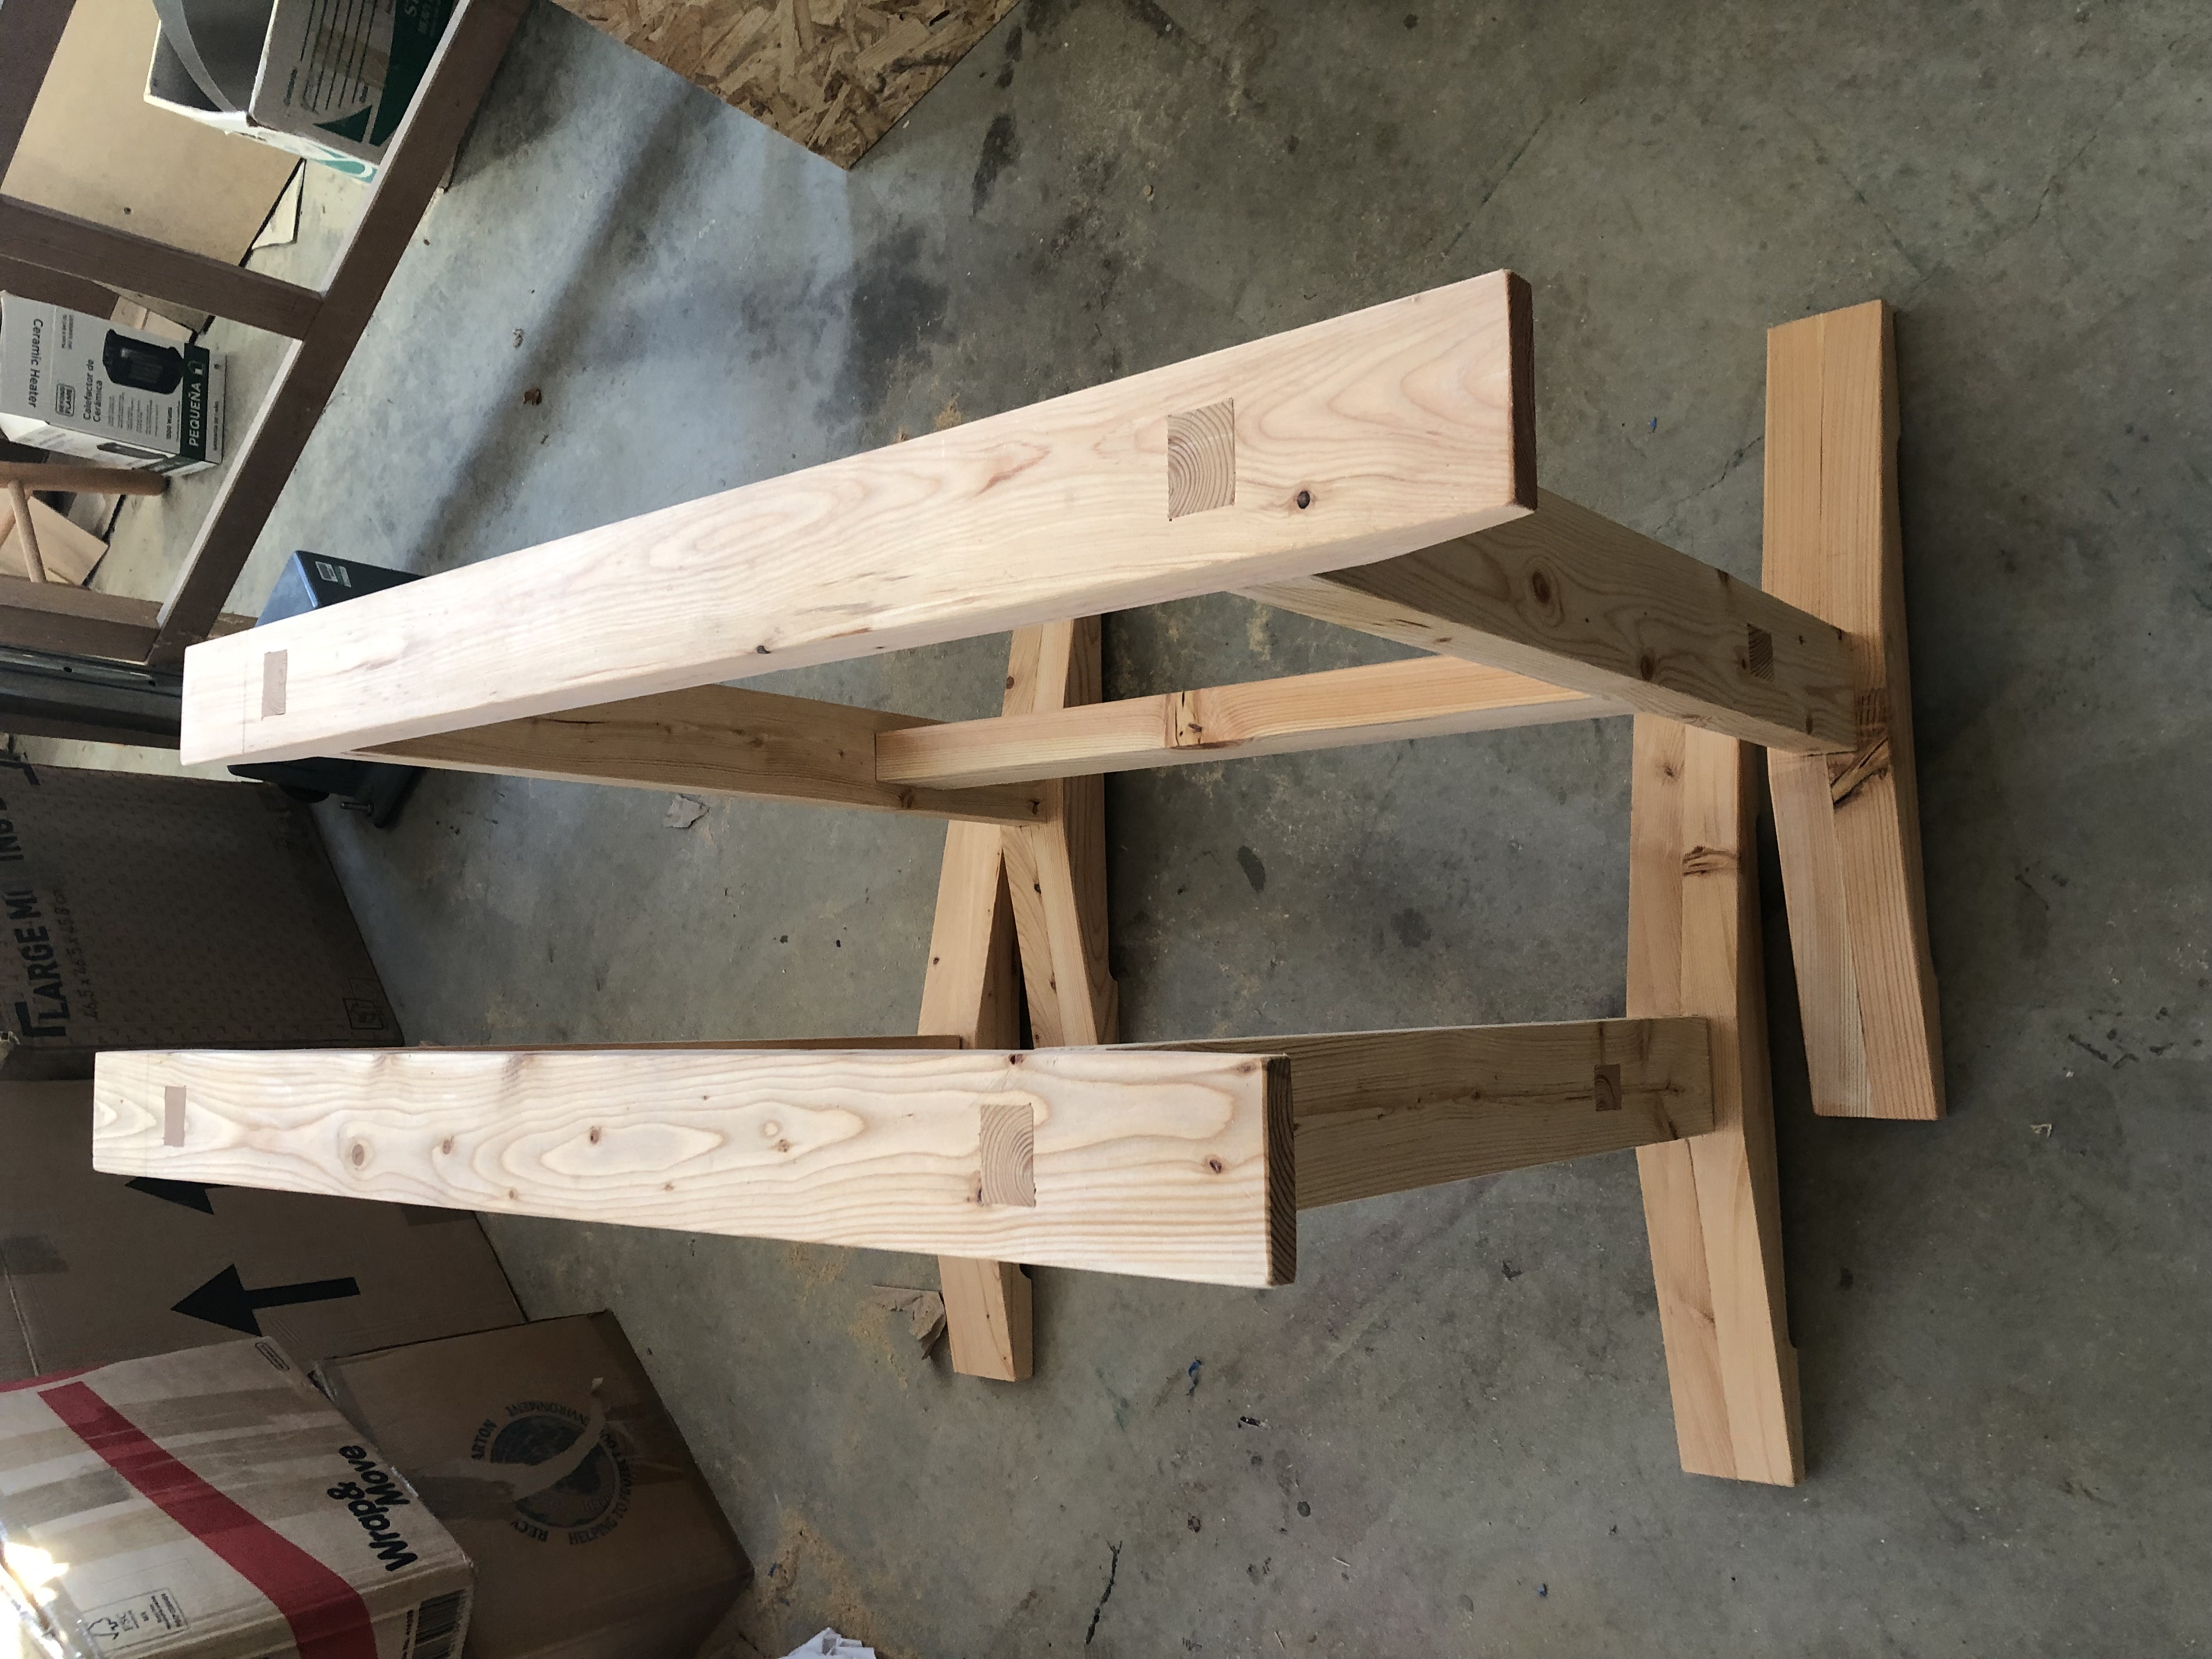
I experimented with the foot design and made different versions before settling on this last set. The first design of the foot (back sawhorse in photo above) was to stack two 1 1/2x3” boards on top of each other and glue them. I then cut the tapers on my taper sled and clamped the bottoms together to drill a one inch hole in two places for the relief shown in the photo below. I then chiselled the space between the holes. This helps the foot sit flatter on an uneven surface and makes it look a bit nicer as well.

The leg is joined to the foot with a blind mortise and tenon joint. This whole process, while effective, was time-consuming. I then looked at a different foot design using some scrap (you guessed it) OSB. I cut the same profile in 19/32” OSB left over from the shed floor. (See black feet in the two photos above.) I then used some scrap wood to bond the toes of the feet and passed the legs through the gap to the floor. In many ways this was simpler to build. I opted for black paint on the OSB and left the wood as brightwork. This worked so it was added to the growing collection.
I then thought that a better way to make the 2x4 feet was to join them vertically as below. I could cut the mortise for the leg on the table saw as repeated passes to mill a slot in each half that would become the mortise when glued together. This was successful enough in terms of ease and aesthetics that I made the remaining two trestles this way.
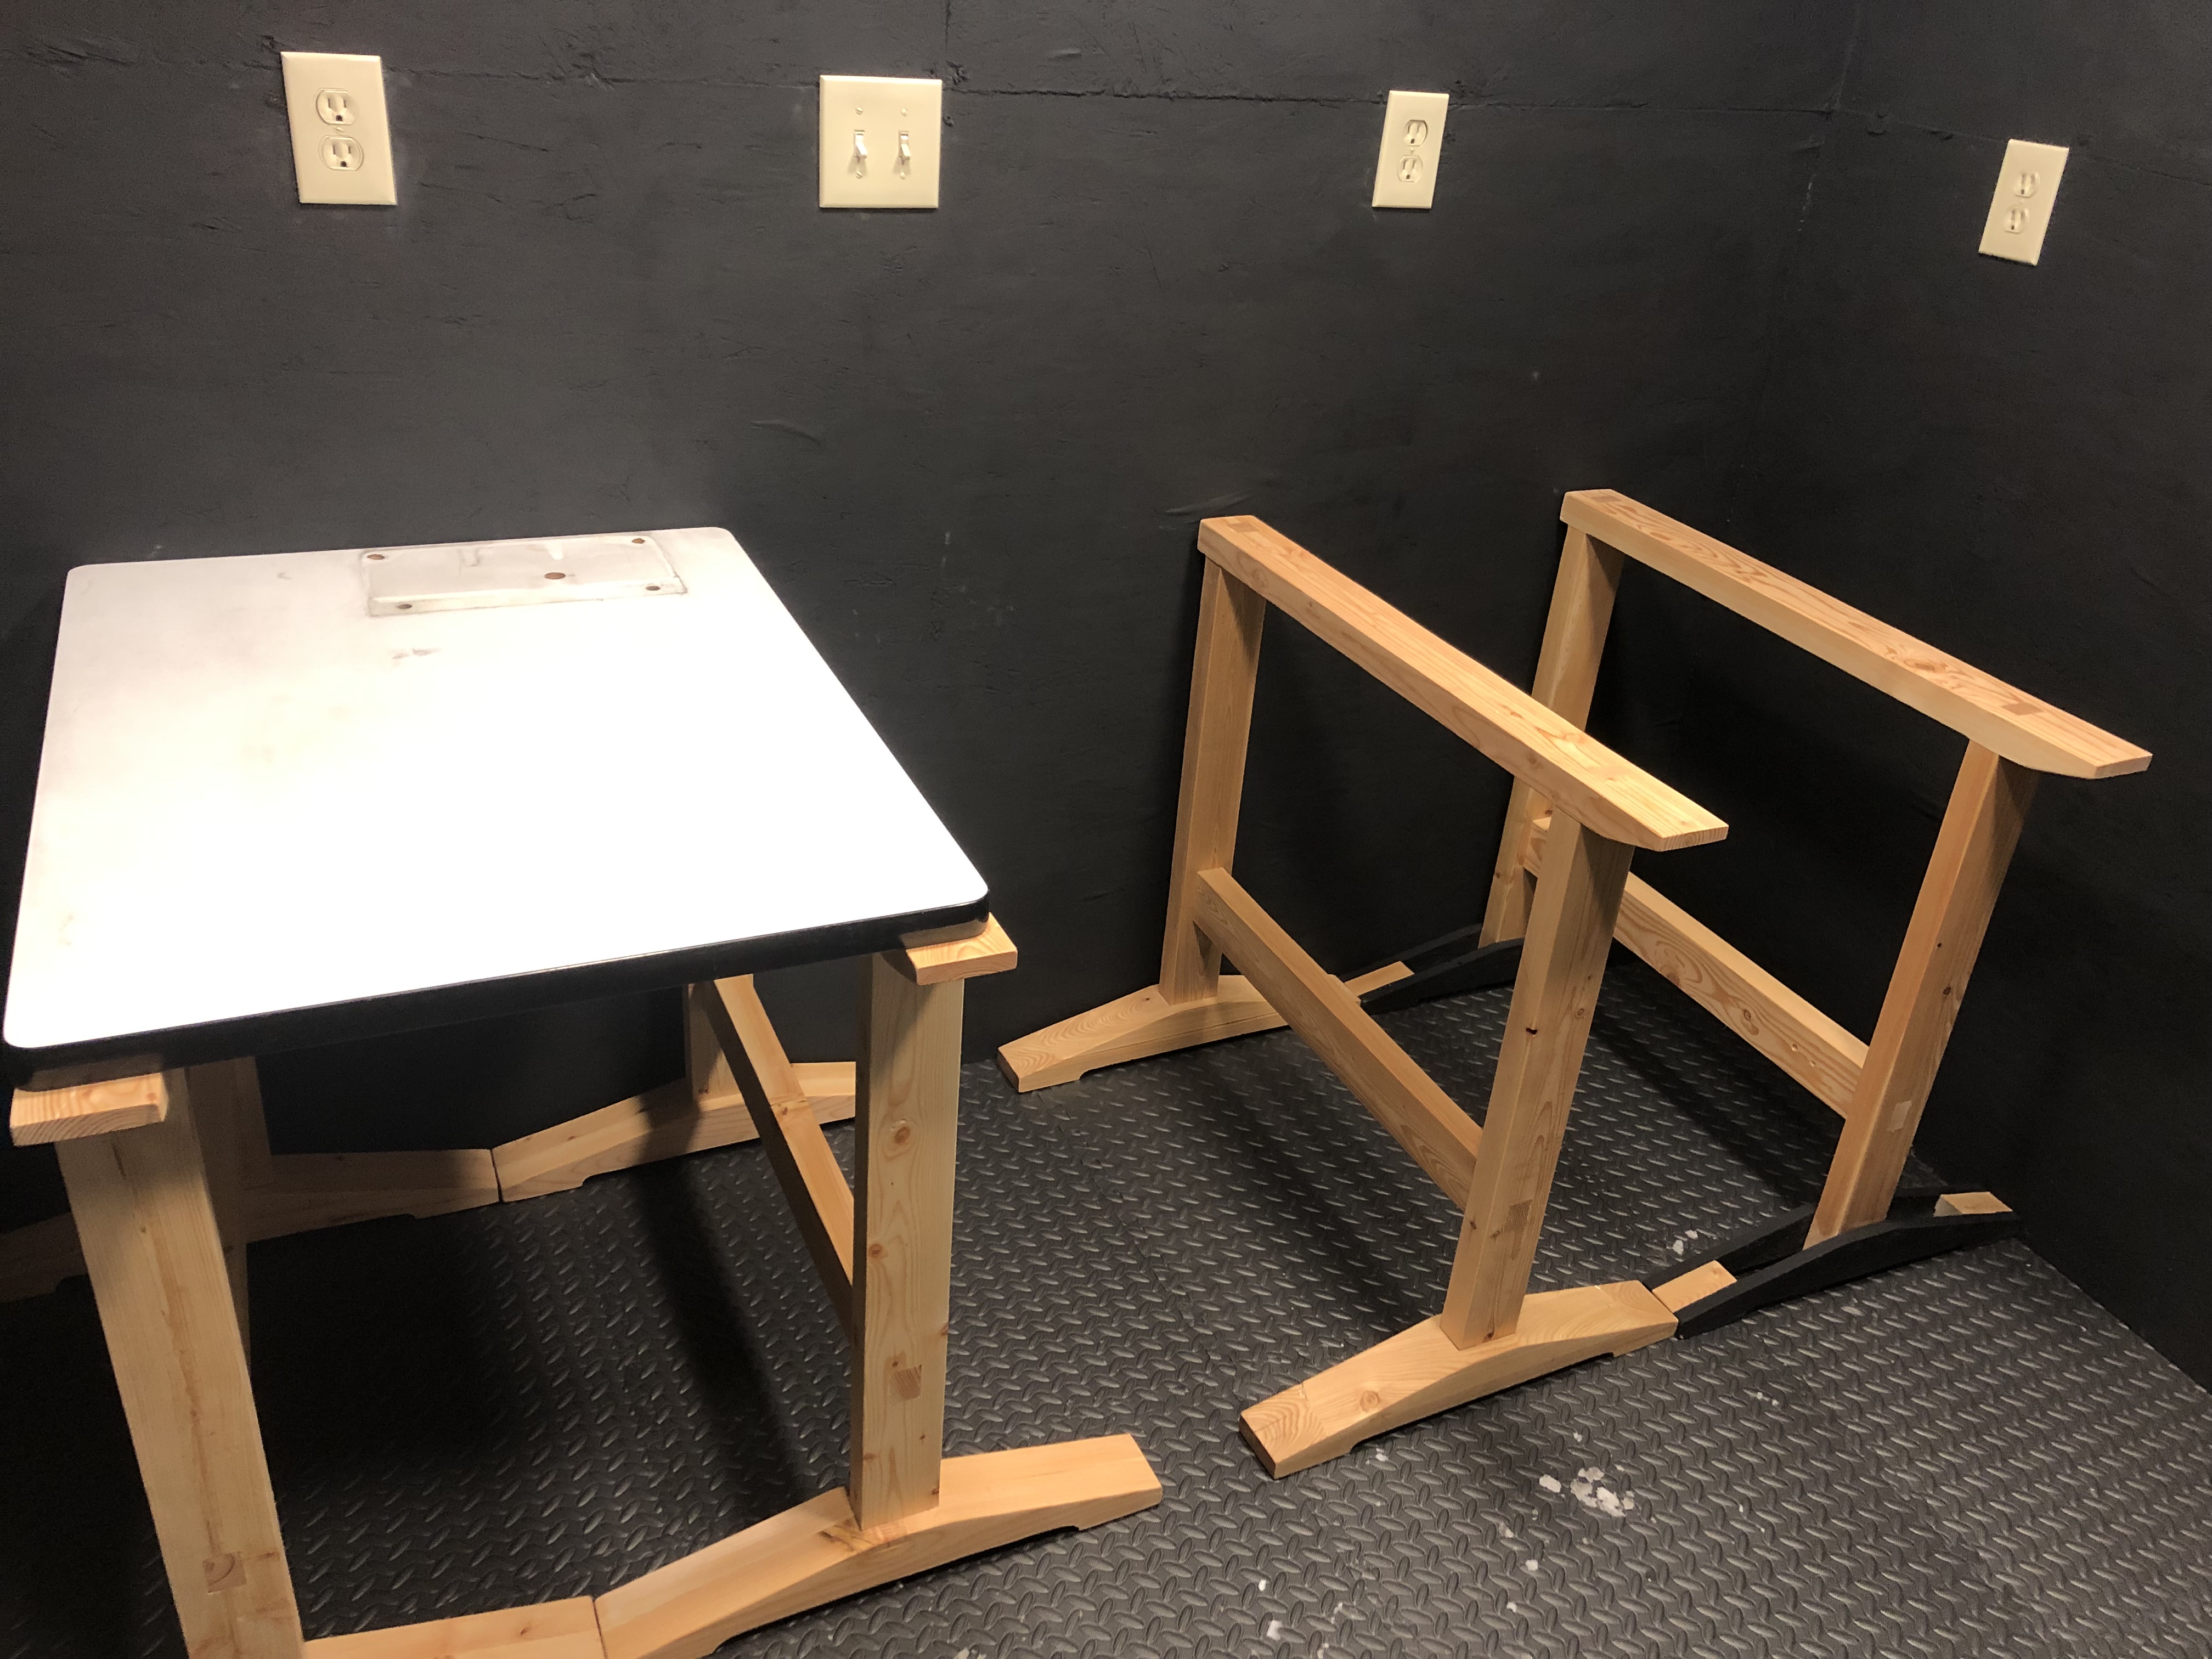
I finished them with tung oil and they look nice. The span is 35 inches but this seemed too wide so I cut the back end off of the top section which allows me to fit a 33 inch wide OSB bench top across the back wall.
By now my enlarger had arrived so I could proceed more confidently. The baseboard is a thick laminated particle board with two 2” thick feet underneath. These feet had to go to fit in the limited height and I replaced them with 1/2” thick feet to clear the mounting screws for the enlarger column.
I coated the OSB countertop with five coats of polyurethane for water resistance as the trays would set on them. This is a dry darkroom so it has no sink.
For flooring I used these two foot square foam tiles with interlocking edges. They are commonly used in gyms. They provide a more comfortable surface for the feet, are waterproof (except the seams) and are slip proof if I track in snow and water.
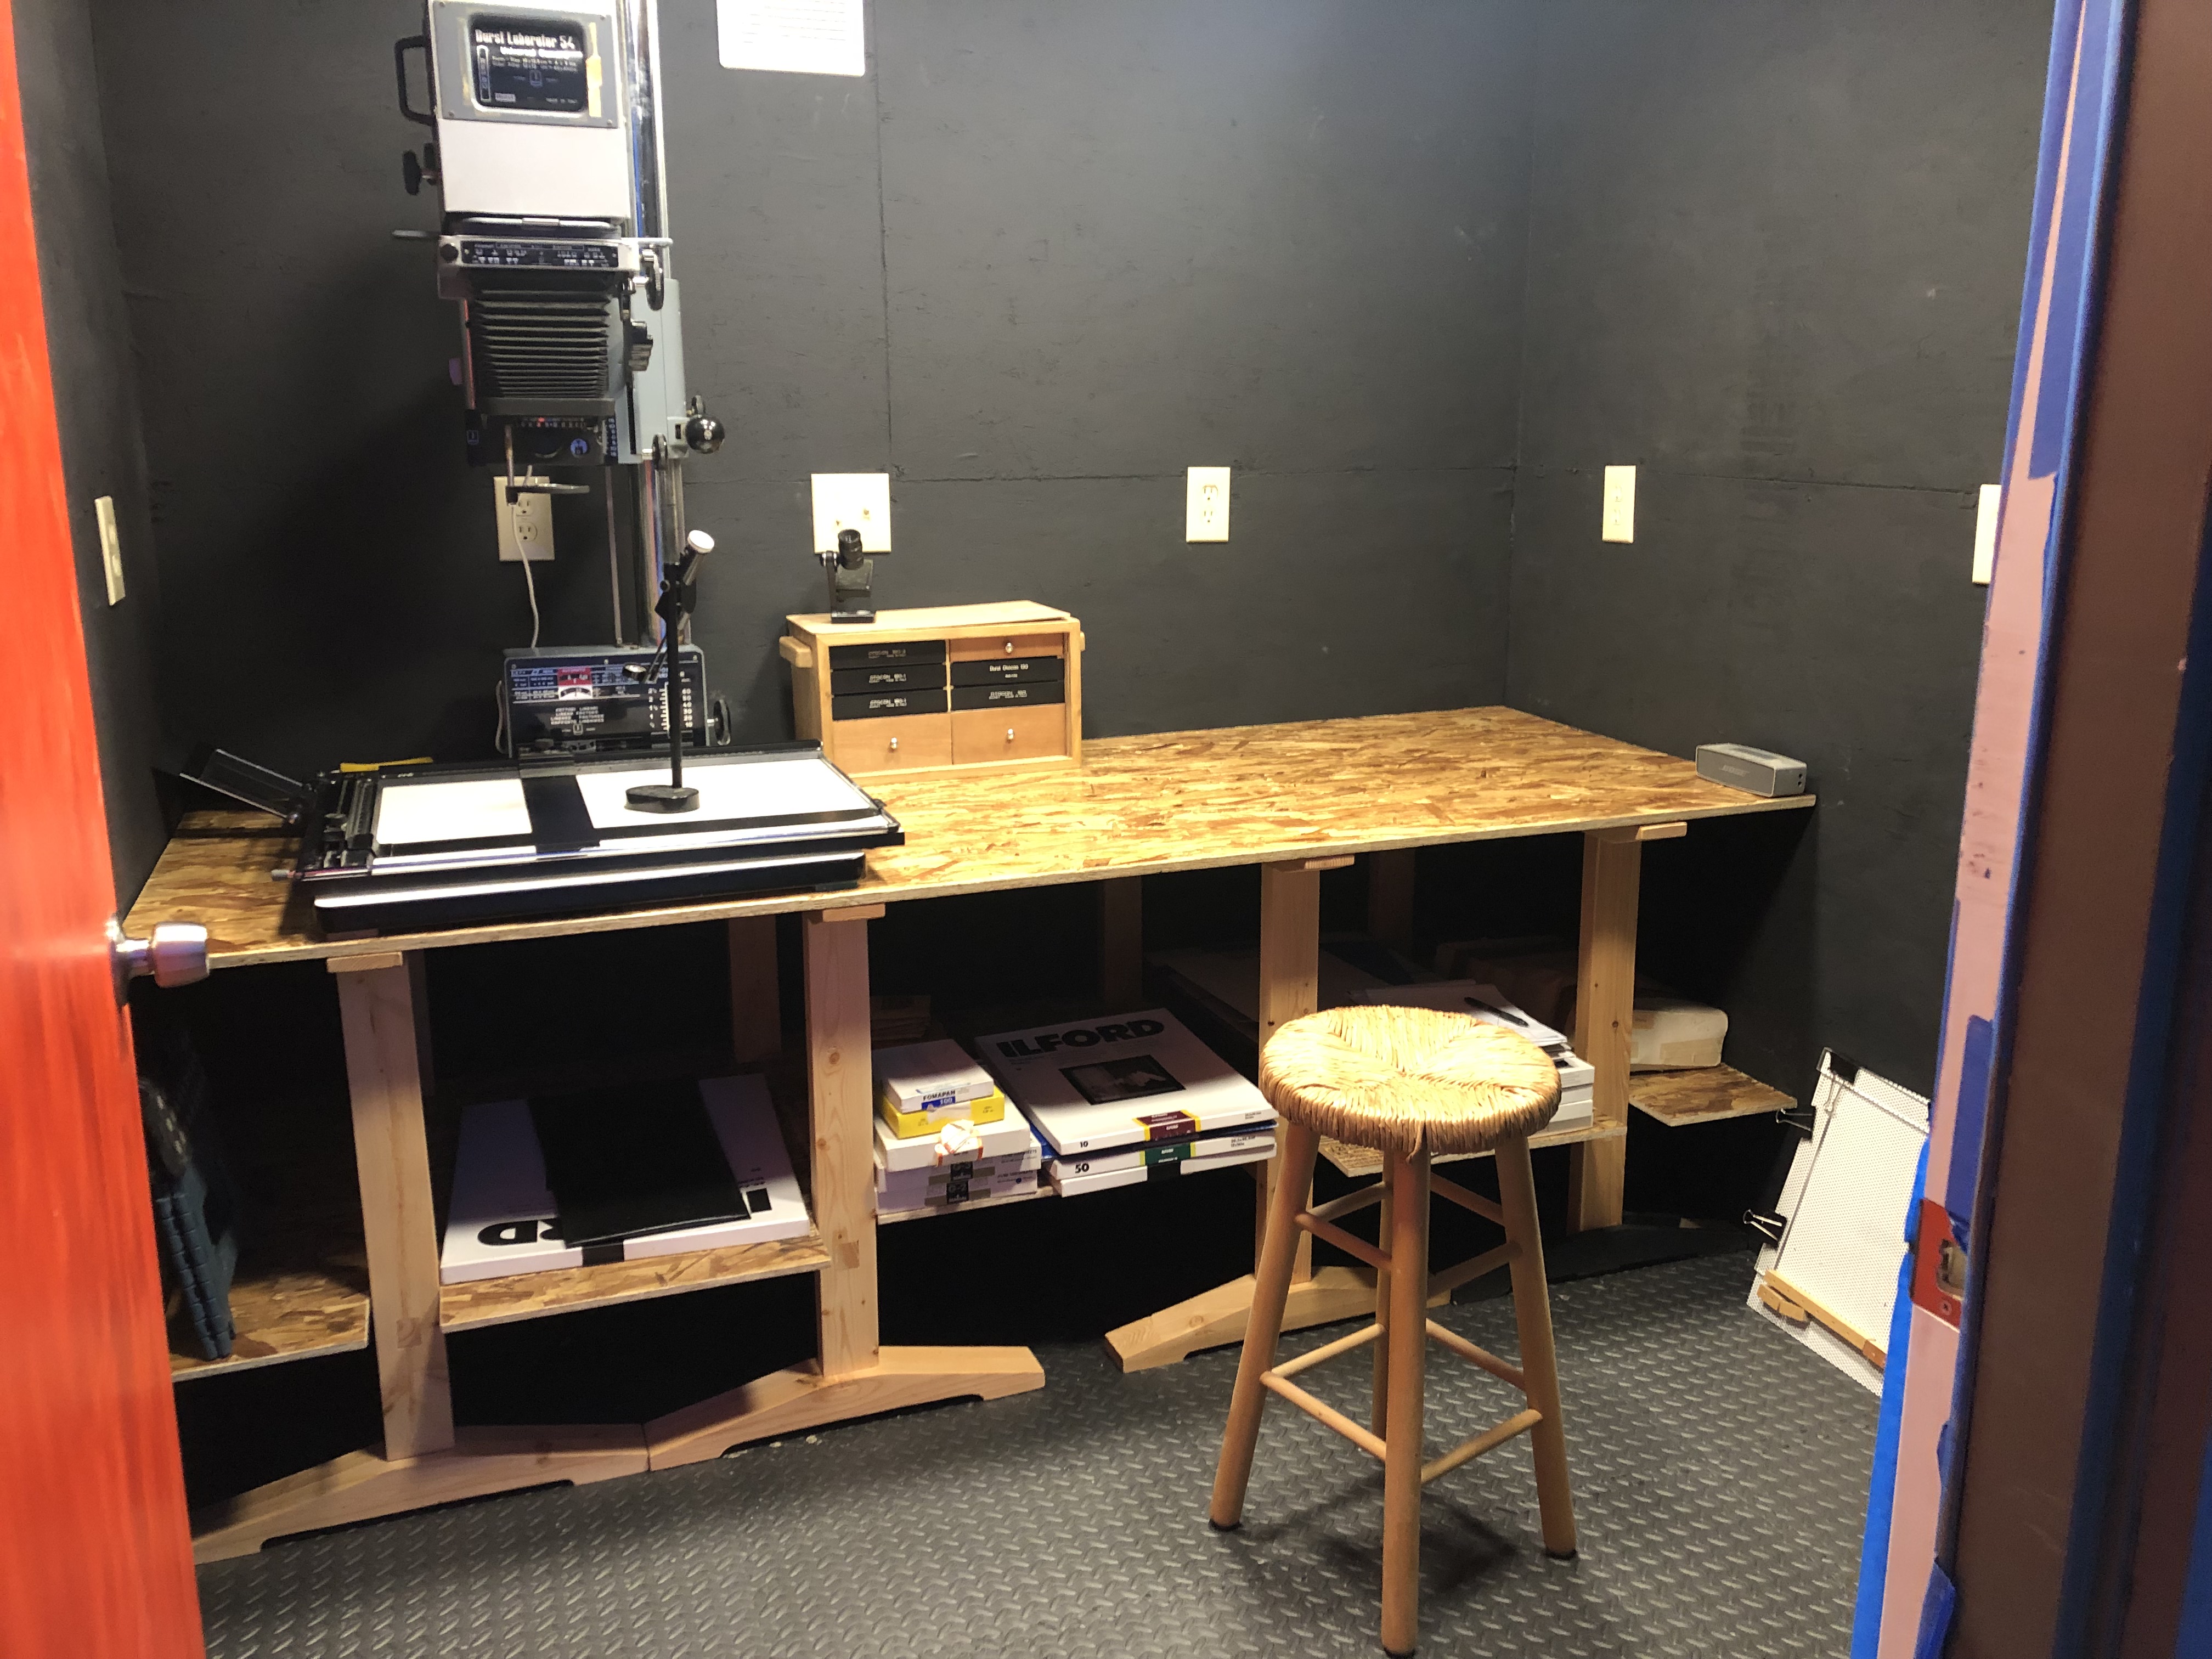
I used stretchers on the trestles to support shelving under the countertop. The shelving is made in segments so I can pass each piece between the trestle legs. The enlarger fit with a small compromise of removing one of the safe lights that is directly above the enlarger and interferes with the maximum height extension.
The photo above shows the current setup. The condensers and lenses are stored in the small box I built to the right which I wrote up here…
Next I am building simple cabinets to mount on the wall. In such a small space storage is key.
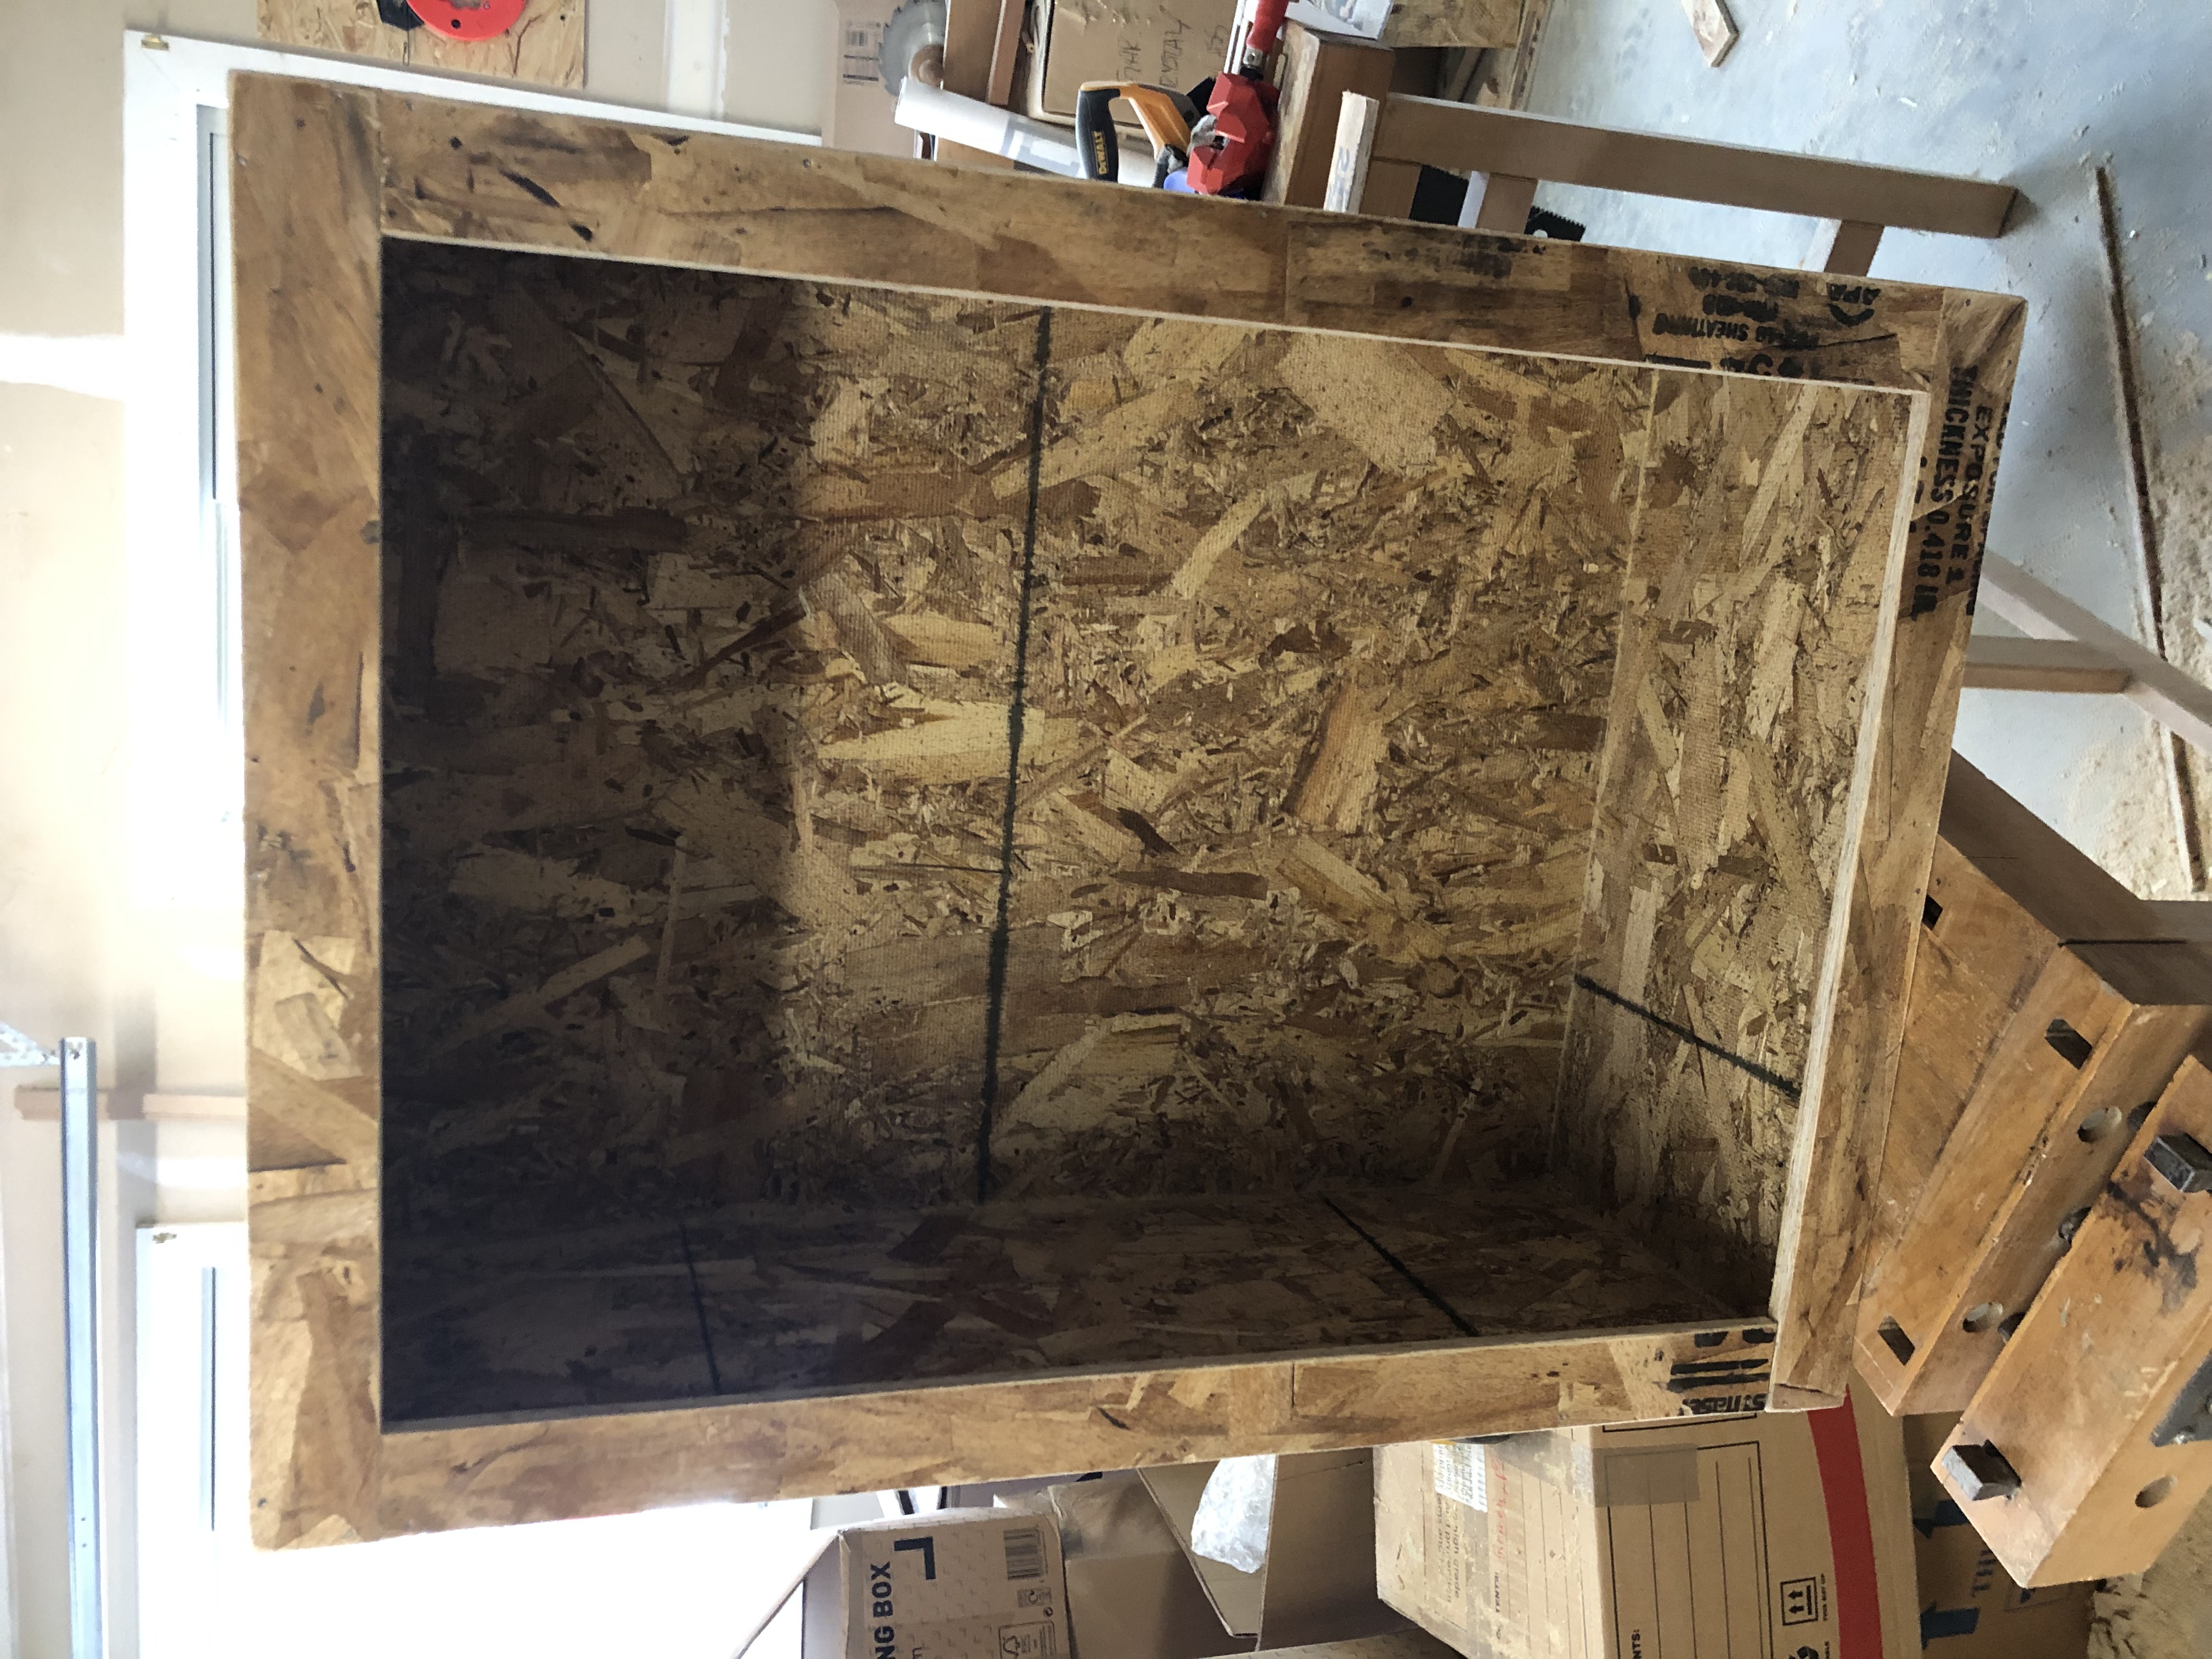
These cabinets are again made with OSB. Some of it is scraps left over which helps with cost. I determined that on the back wall I have room for two 23” wide by 32 inch tall cabinets. They are about 11 inches deep.
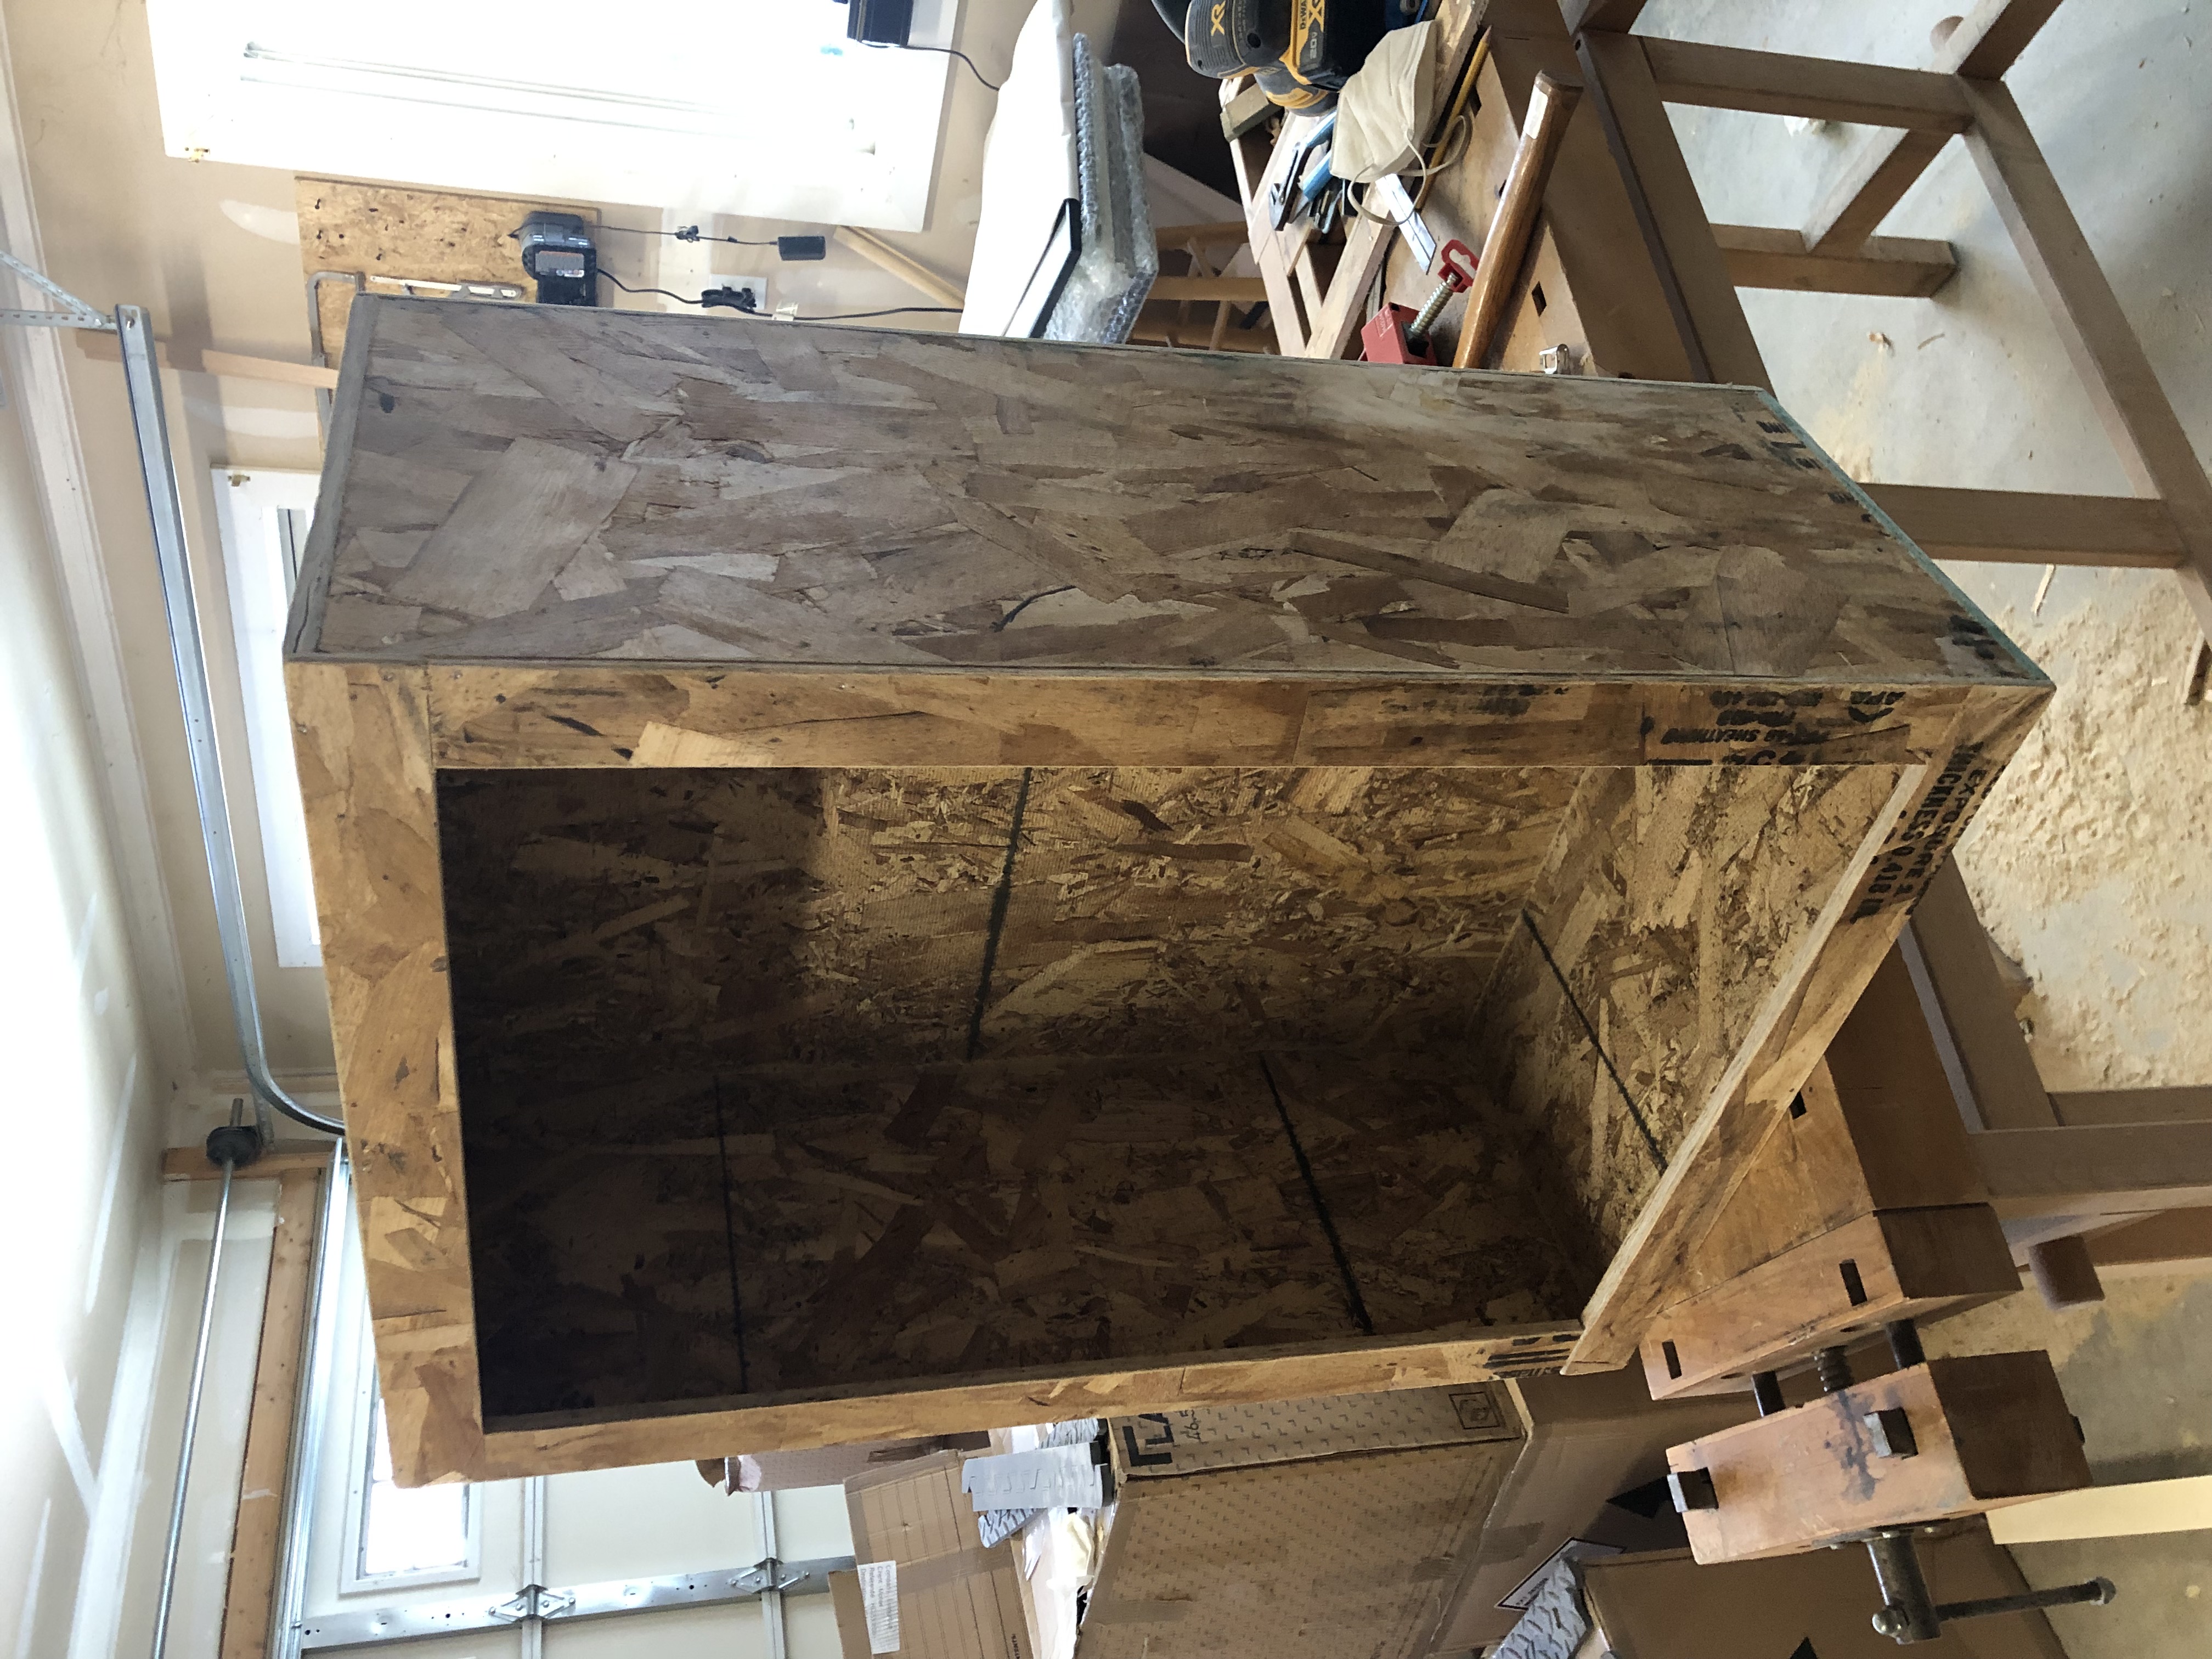
I have made the ‘face-frame’ style. The backs are rebated 1/2” OSB and the sides, top and bottom are glued into these rebates. The face frame is 2” wide and likewise rebated and glued to the front of the cabinets. I will fit simple shelves and cleats inside. A single sheet of OSB mounted in hinges will become the door.
The face frames I may paint black but for now I intend to leave the rest of the carcase as ‘brightwork’. This is a good start but I may need another pair mounted on the right side or front wall.
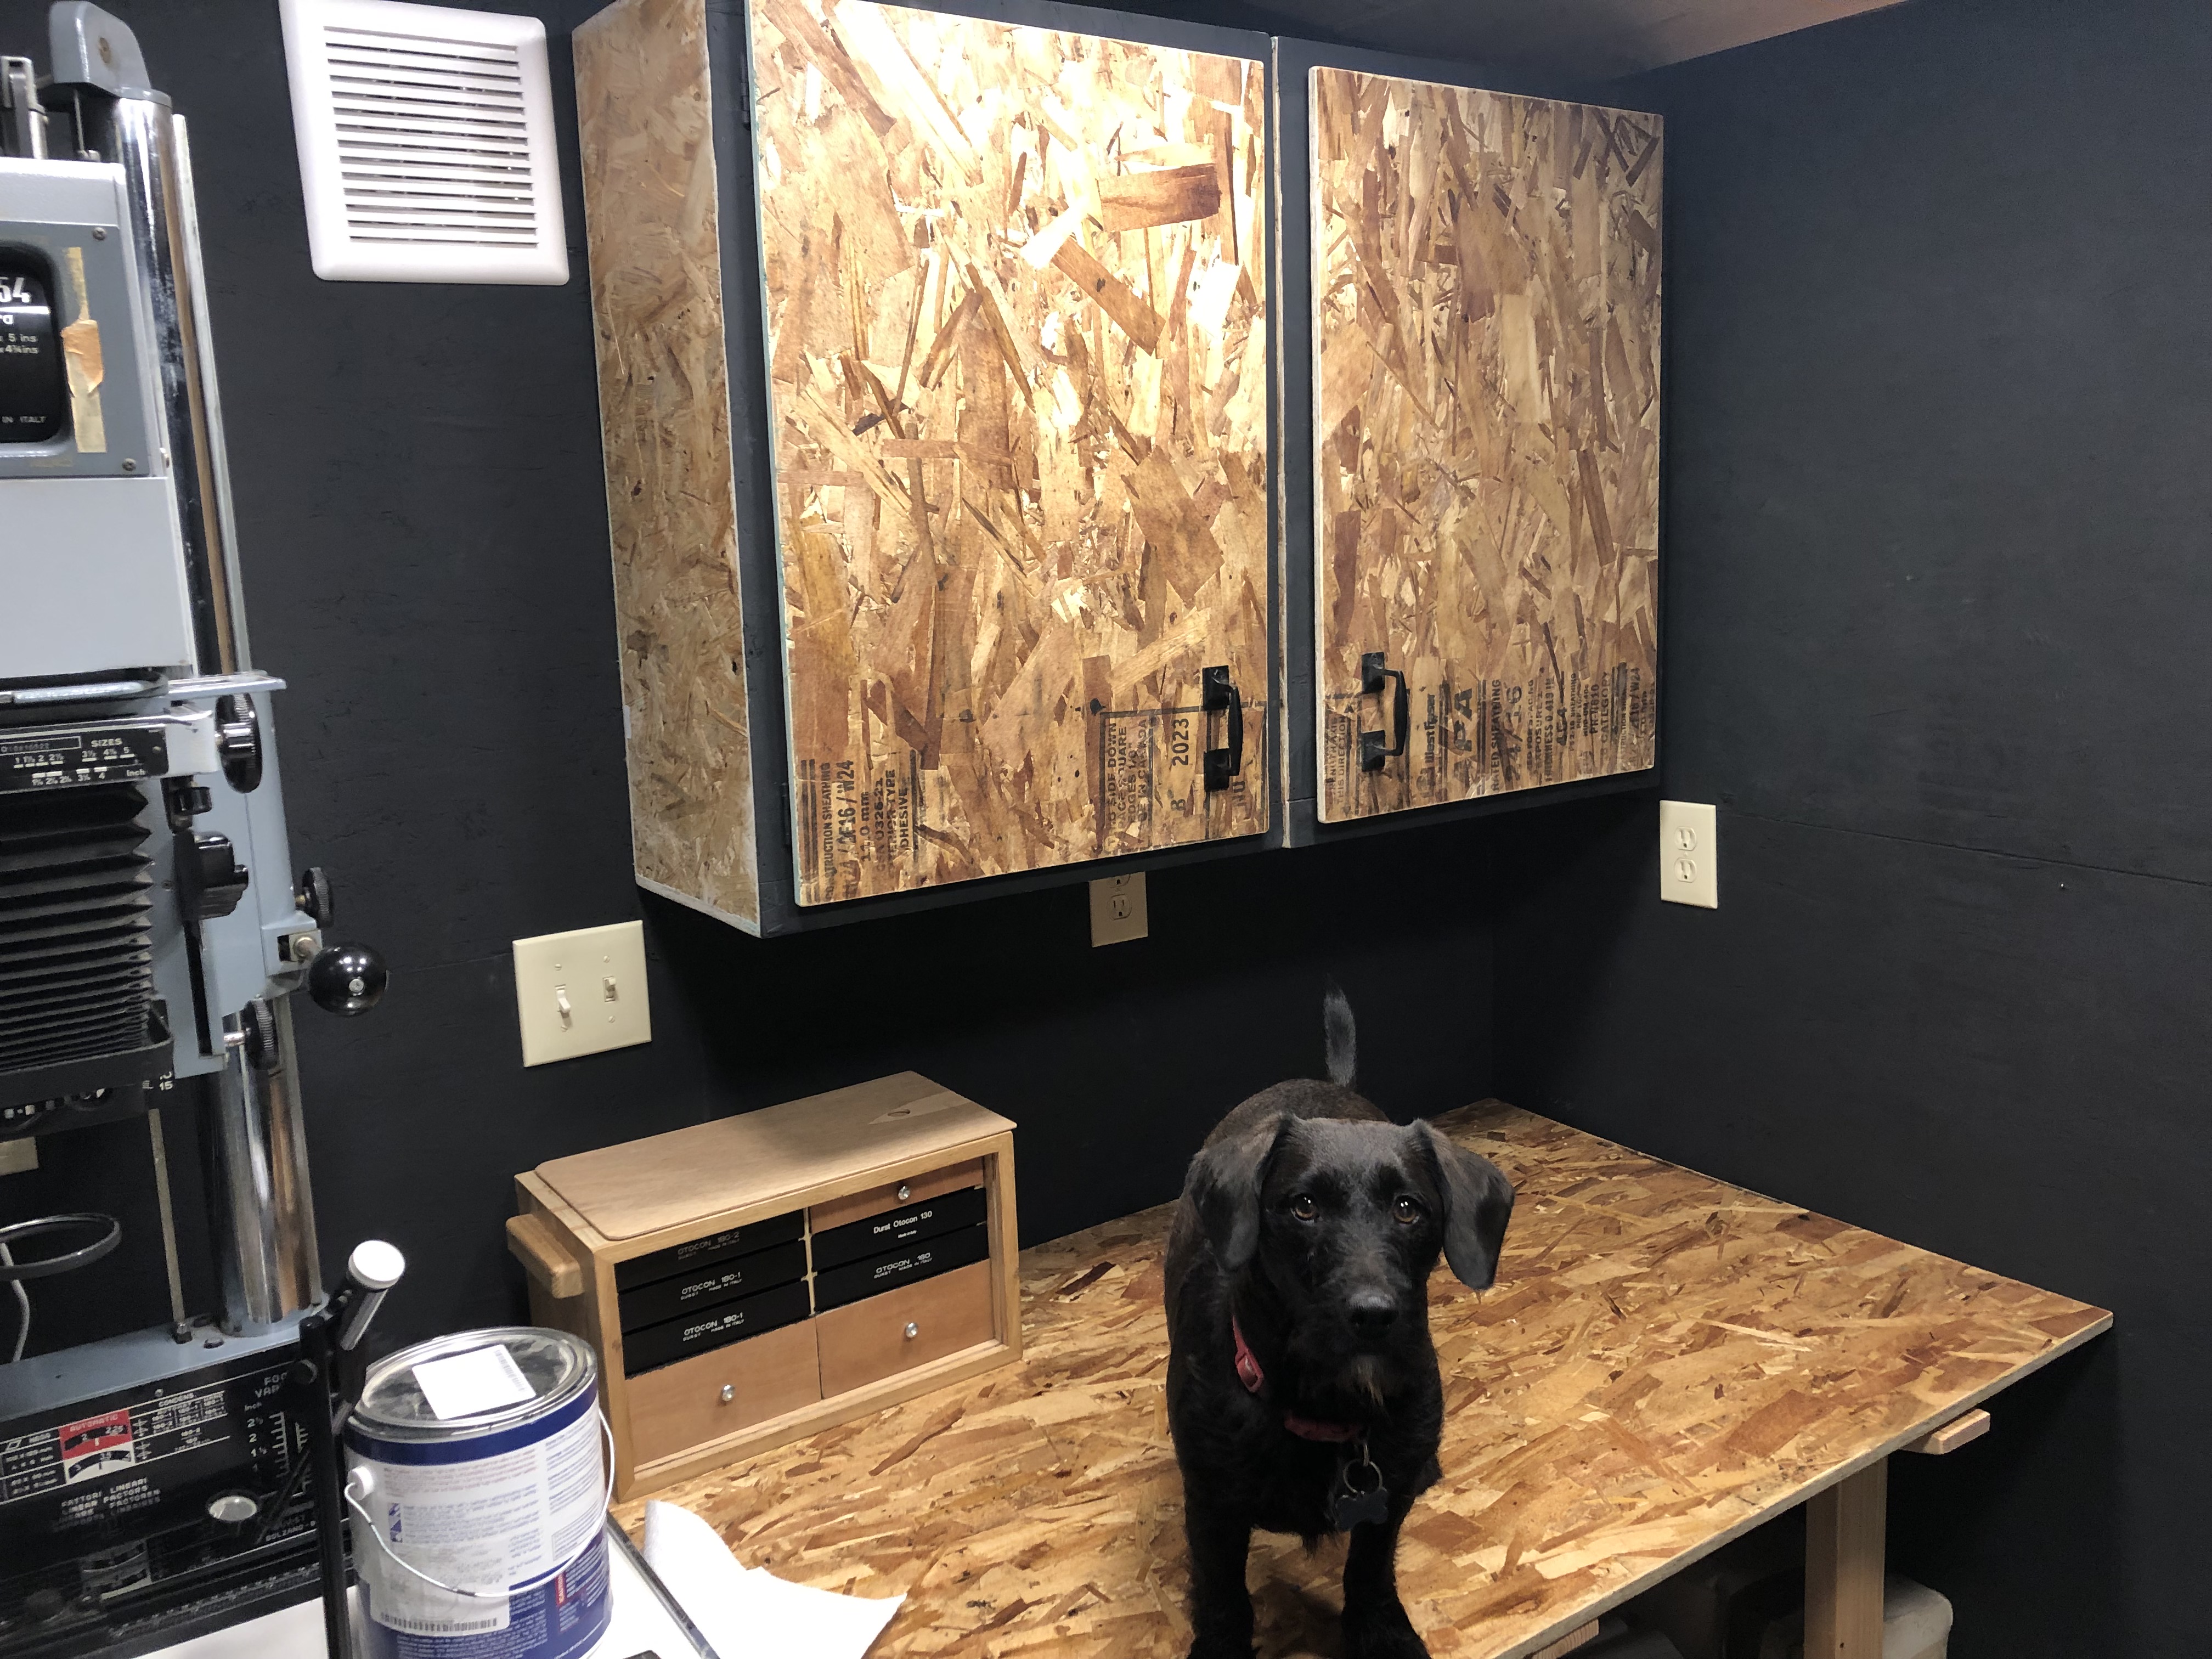
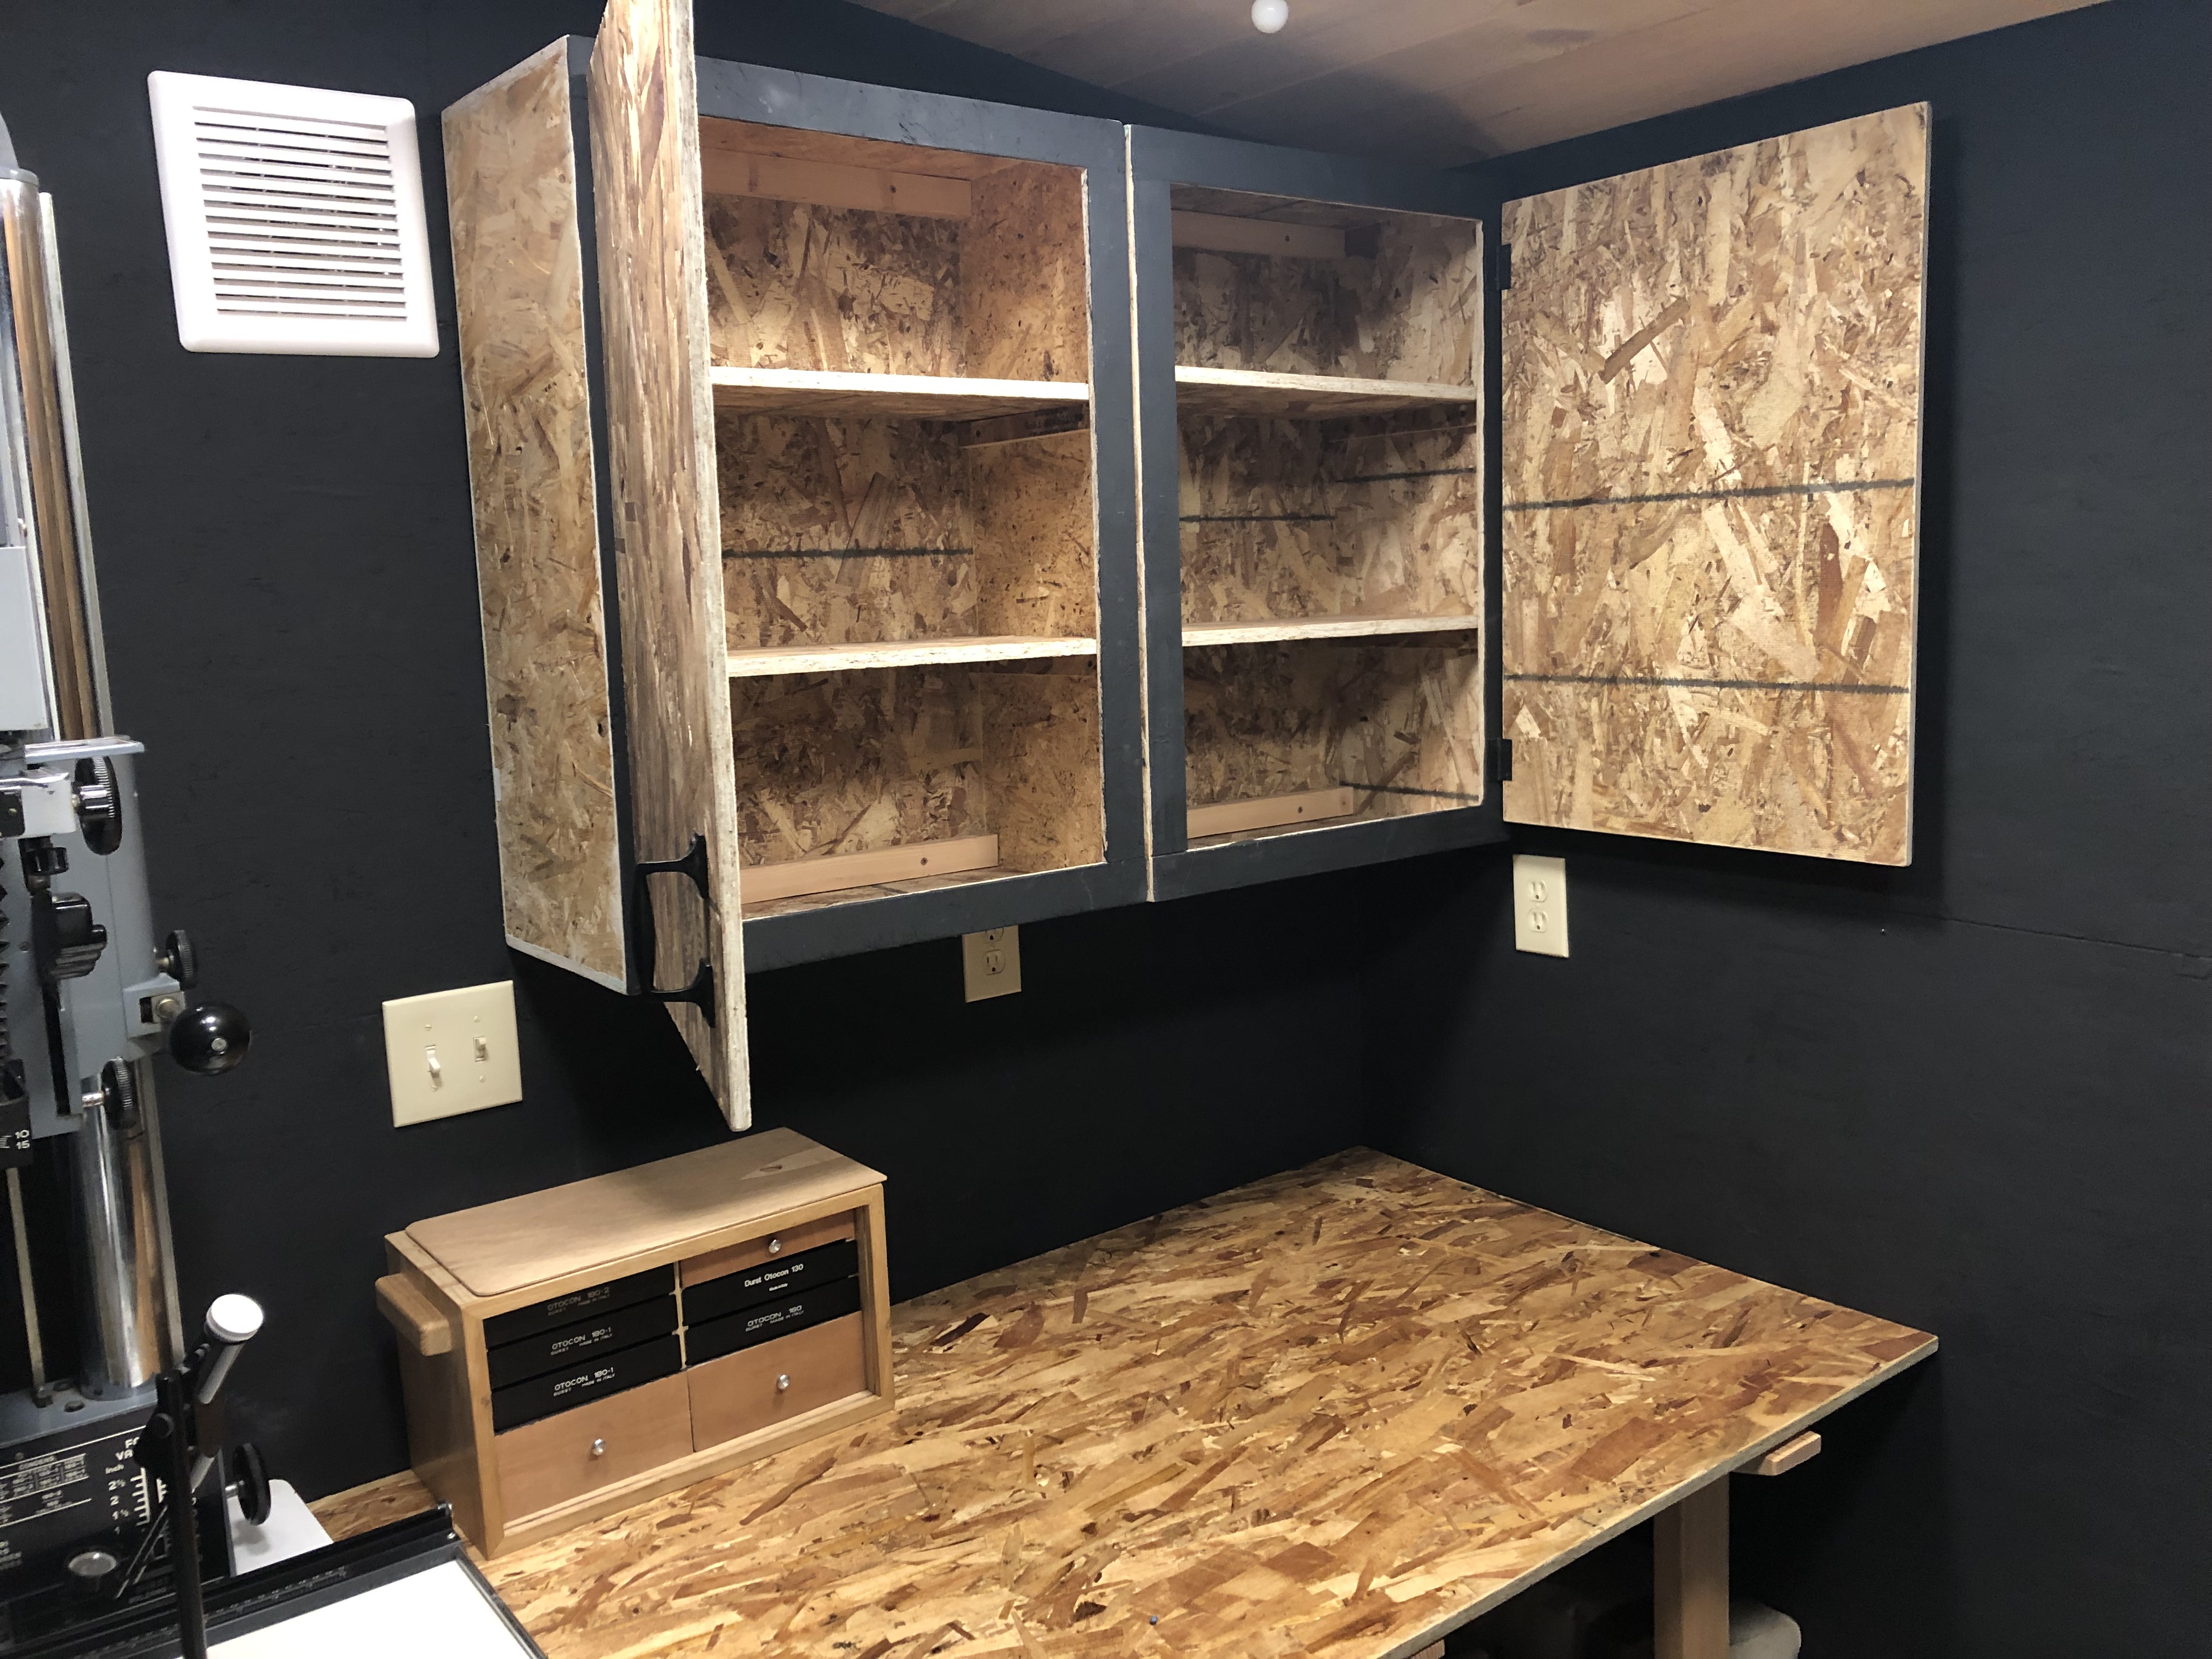
This helps enormously as I unpack more boxes. I have also ordered those things I decided not to bring. 16x20 trays, and new stocks of developer and fixer. I may rethink the opening of the right hand cupboard. The wall the door opens onto is limited in use.
Next I need to build some shelves for the wall on the right. A fold down desk on that wall is looking increasingly likely as well. Hang some photos in the unusable spaces.