A Small Printer

The very small cadre of followers may know that I like to take my photographs out into the real world on occasion. I have a darkroom where I make black and white prints from my film negatives. I get some of my digital images made into film negatives and then print them in my darkroom as well.
I also self-publish photobooks in different formats and sizes. There is an A5 format (roughly 6x8 inches) that I am fond of for short subjects and it does not take too long to assemble. An example is discussed below.
 Doug Morse
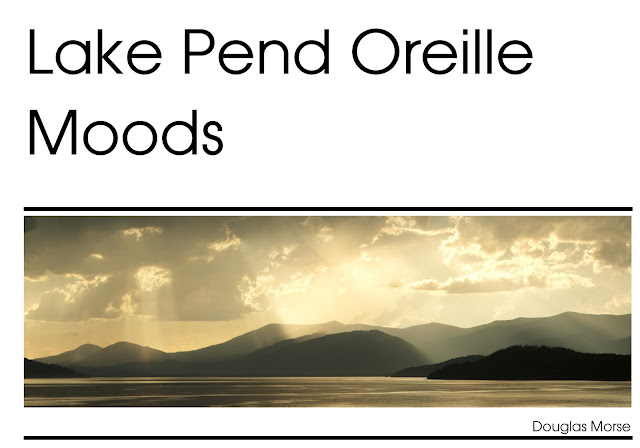
I have also used the same publisher (Mixam US and UK) to make some poster-size prints. These I frame and hang on the wall.
I have shied away from getting a printer up until now. I played with a cheap Epson printer many years ago. It could do a passable job but the inks were expensive and inkjet printers get temperamental if they are not used regularly. The heads clog and the head or printer is ruined. I was tempted recently to get a larger professional grade unit and found that they too suffer from the same problem. This means you must run maintenance cycles regularly and that wastes ink.
I am a peripatetic printer so until this problem is solved it seems like a waste of money. It is cheaper to send the work off to be printed professionally though the time lapse and lack of quality control can be frustrating. (You would be surprised the degree to which color will change between printing vendors despite using the same file, same paper, and same chemistry from the same vendor.)
I like large prints but there is a limit to wall space in my house. I built a print cabinet to store my better ones. But that too has limits.
I ran across a rather serious review for what I assumed to be an unserious printer. The Canon Selphy CP-1500. The name gives it away, it is the printer for Tik Tokers, people who want hard copy from social media. It is popular with scrap-bookers, journalers, and other crafters.
I did a little digging. First it is not nearly as expensive as ink-jet printers at about $140 US. It makes only small prints, the largest of which is 4x6 inch postcard size. (You can make smaller prints and stickers with an adapter.)
The printer is a dye sublimation printer which means the dyes are held on a ribbon the width of the paper and it uses heat to apply the dye on successive passes of the paper. First Yellow, then Magenta, then Cyan. A final pass applies a coating to protect the print.
The dye can be applied in density ranges from 0-255. (In other words eight bits of dynamic range.) Since each pixel can be varied it only needs to have 300 dpi of resolution compared to inkjet printers which have to have much mor because they use dither patterns to create the variation in brightness of the tone.
The dyes are archival and waterproof.
I also learned that the color rendition according to some reviewers is surprisingly good. One website that has measured the output says the color gamut (the range of color a printer can express) is as good as most inkjets. He will also supply a calibrated ICC table for a cost if desired.
The prints are reasonably priced. You purchase paper and ink in packs and the bulk pack of 108 prints is about $0.33 US each.
I have in the past enjoyed making small darkroom prints, framing, and hanging them in the house.

The printer should enable me to resume the practice with an added dimension of color.
First Experiences
I won’t bore you with setup and unboxing. YouTube has no shortage of those videos.
The setup was simple and they supply 5 sheets of paper and enough ink in the cartridge to print those 5 images. I bought the 108 print pack with the printer which I recommend anyone else does as it is the cheapest on a per print basis.
Putting in the ink cartridge and paper is simple enough especially if you watch one of the aforementioned videos. I connected it first with the phone app and printed one image right away. I then printed from my PC using the USB port. That worked flawlessly. Then I connected the printer to my Wi-Fi access point using the WPS encryption protocol and that went flawlessly too.
The Results
The results are very pleasing. From my phone I printed an image I had on there and it was very faithful.
I printed from Affinity editing software and found their default color management ICC file worked best. I tried the one from Zygomatic (website linked above) but found the color rendition in the flowers was poor while the default ICC file worked much better.
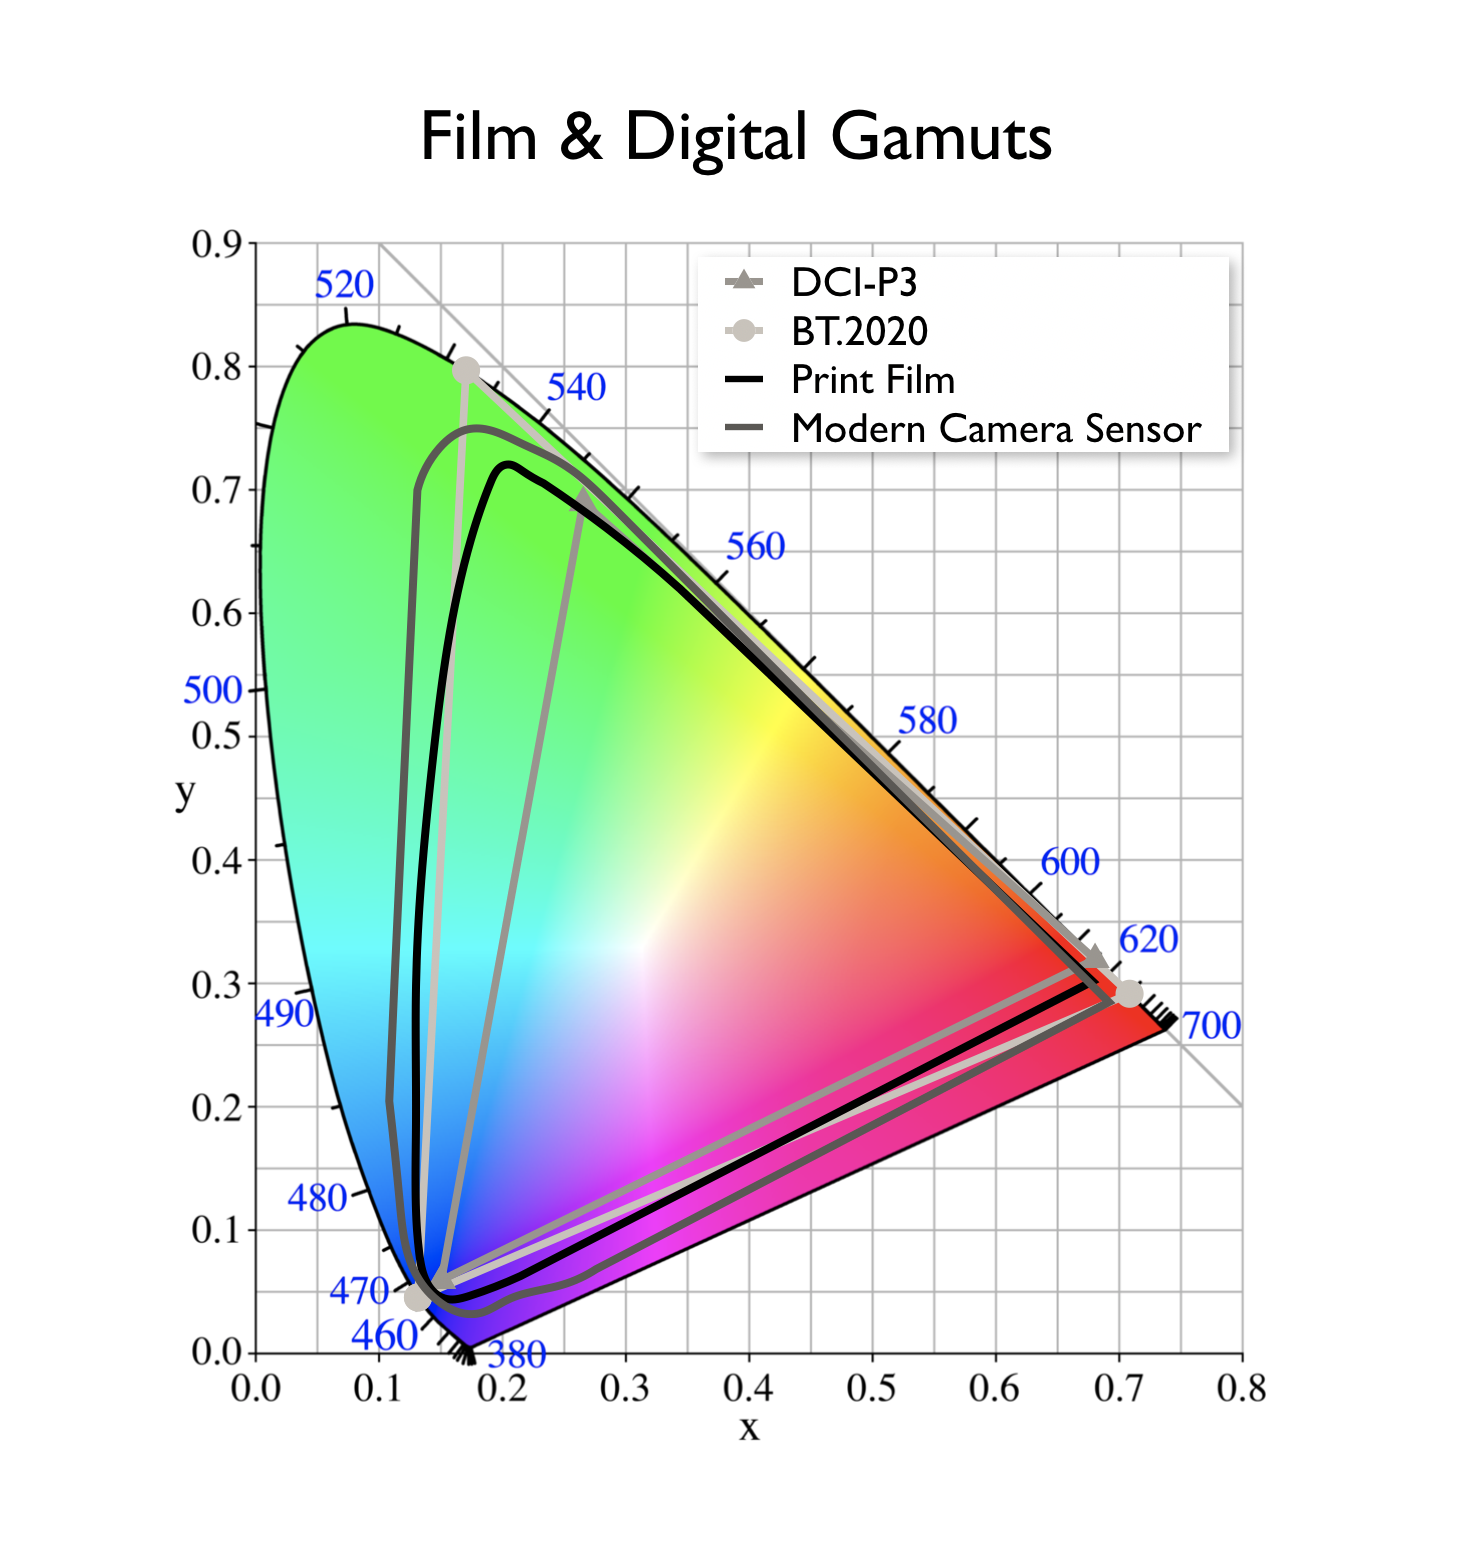
As a preface it is necessary to understand that printing technology has not kept pace with more recent developments in camera and monitors in terms of the range of colors they are able to reproduce. It should also be understood that none are as good as the human eye.
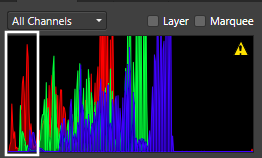
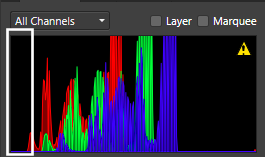
Below are a couple of CIE xy chromaticity diagrams. This is how the color space of the human visual ability is plotted. The colored triangle-looking blob defines the ability of the human eye to discern colors. The triangles drawn inside are various technology’s capabilities. For instance photographic film has a bigger triangle than a camera sensor.
The second image is the plotted output from the CP-1500 printer. The area is smaller for the printer than the camera or most modern monitors. This means the color space of the image must be fit inside the printer’s area. The CP-1500 is similar to inkjet printers in this regard.
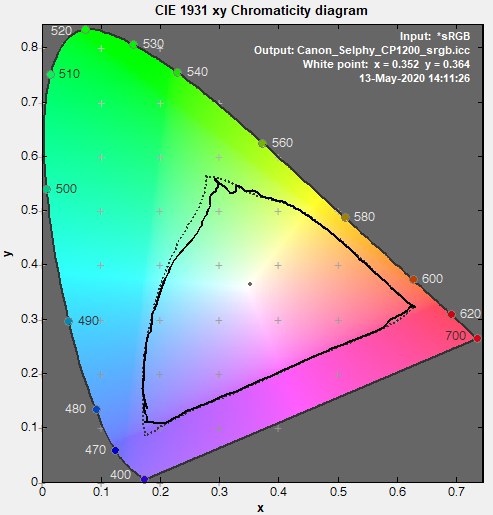
This is where printing becomes frustrating. You get colors that do not match, shadows get blocked because of reduced dynamic range.
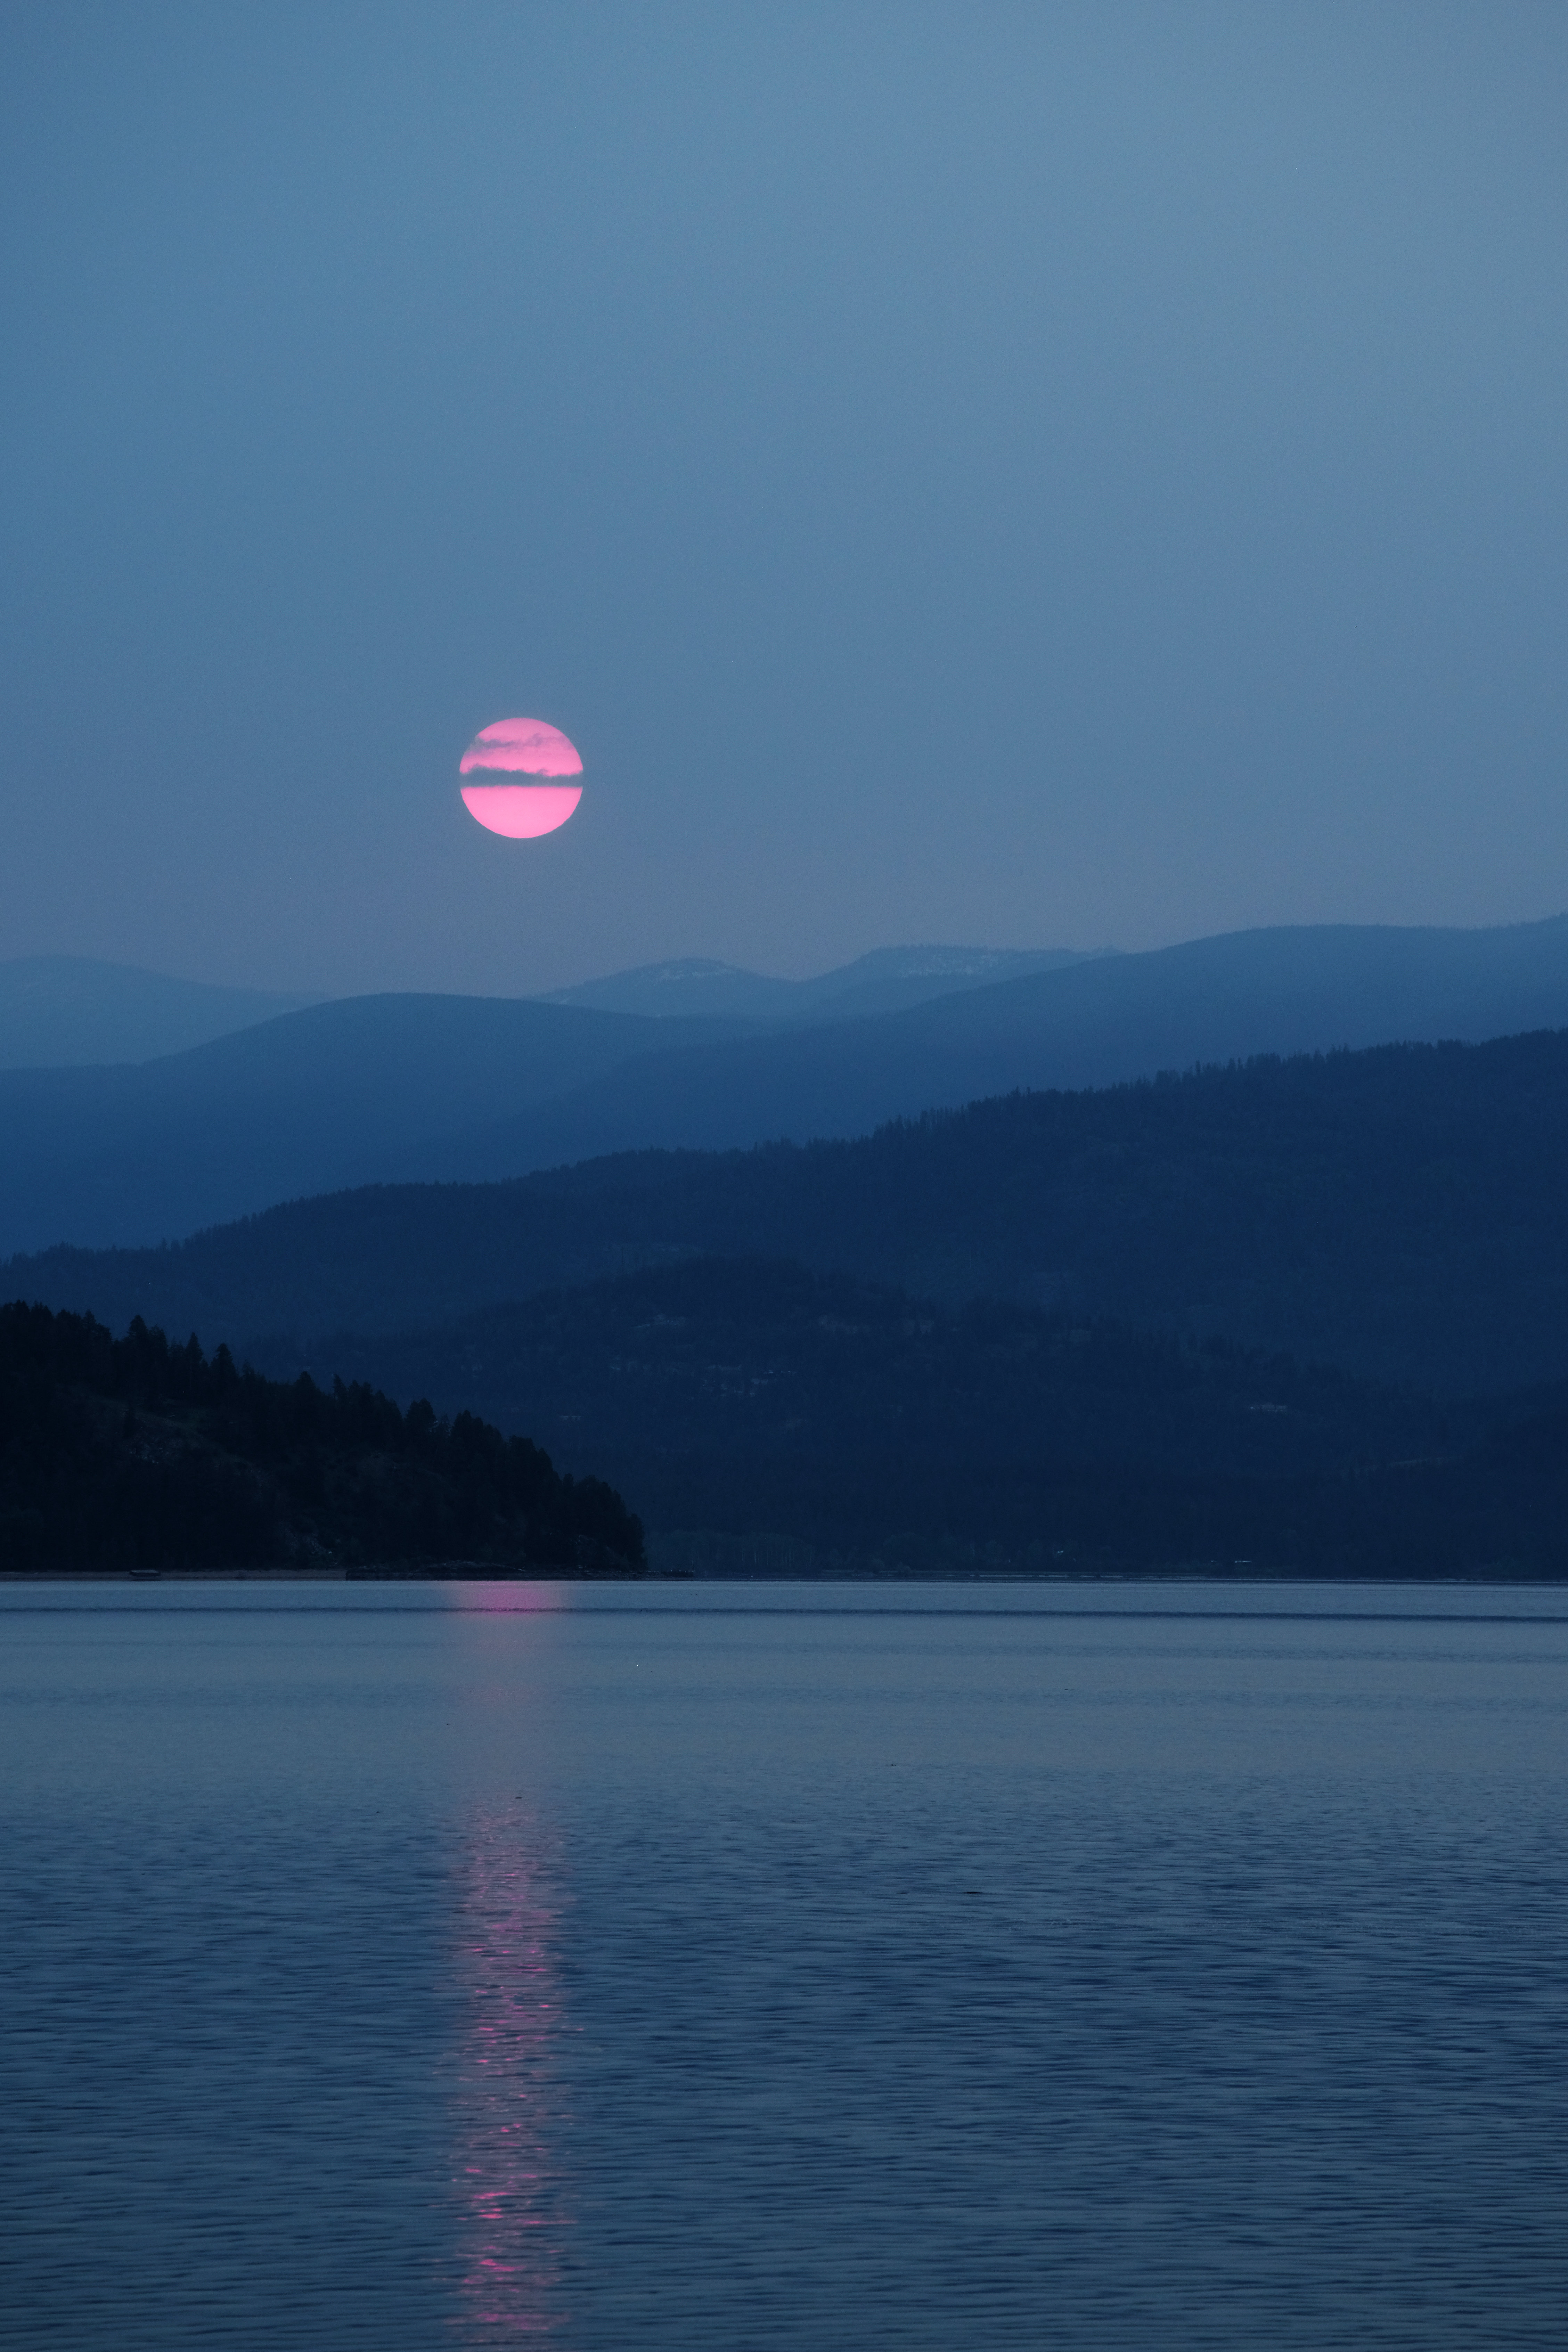
Below are some example prints. These are phone photos of my test prints under indoor lighting with a warm color temperature but it does show what I am seeing.
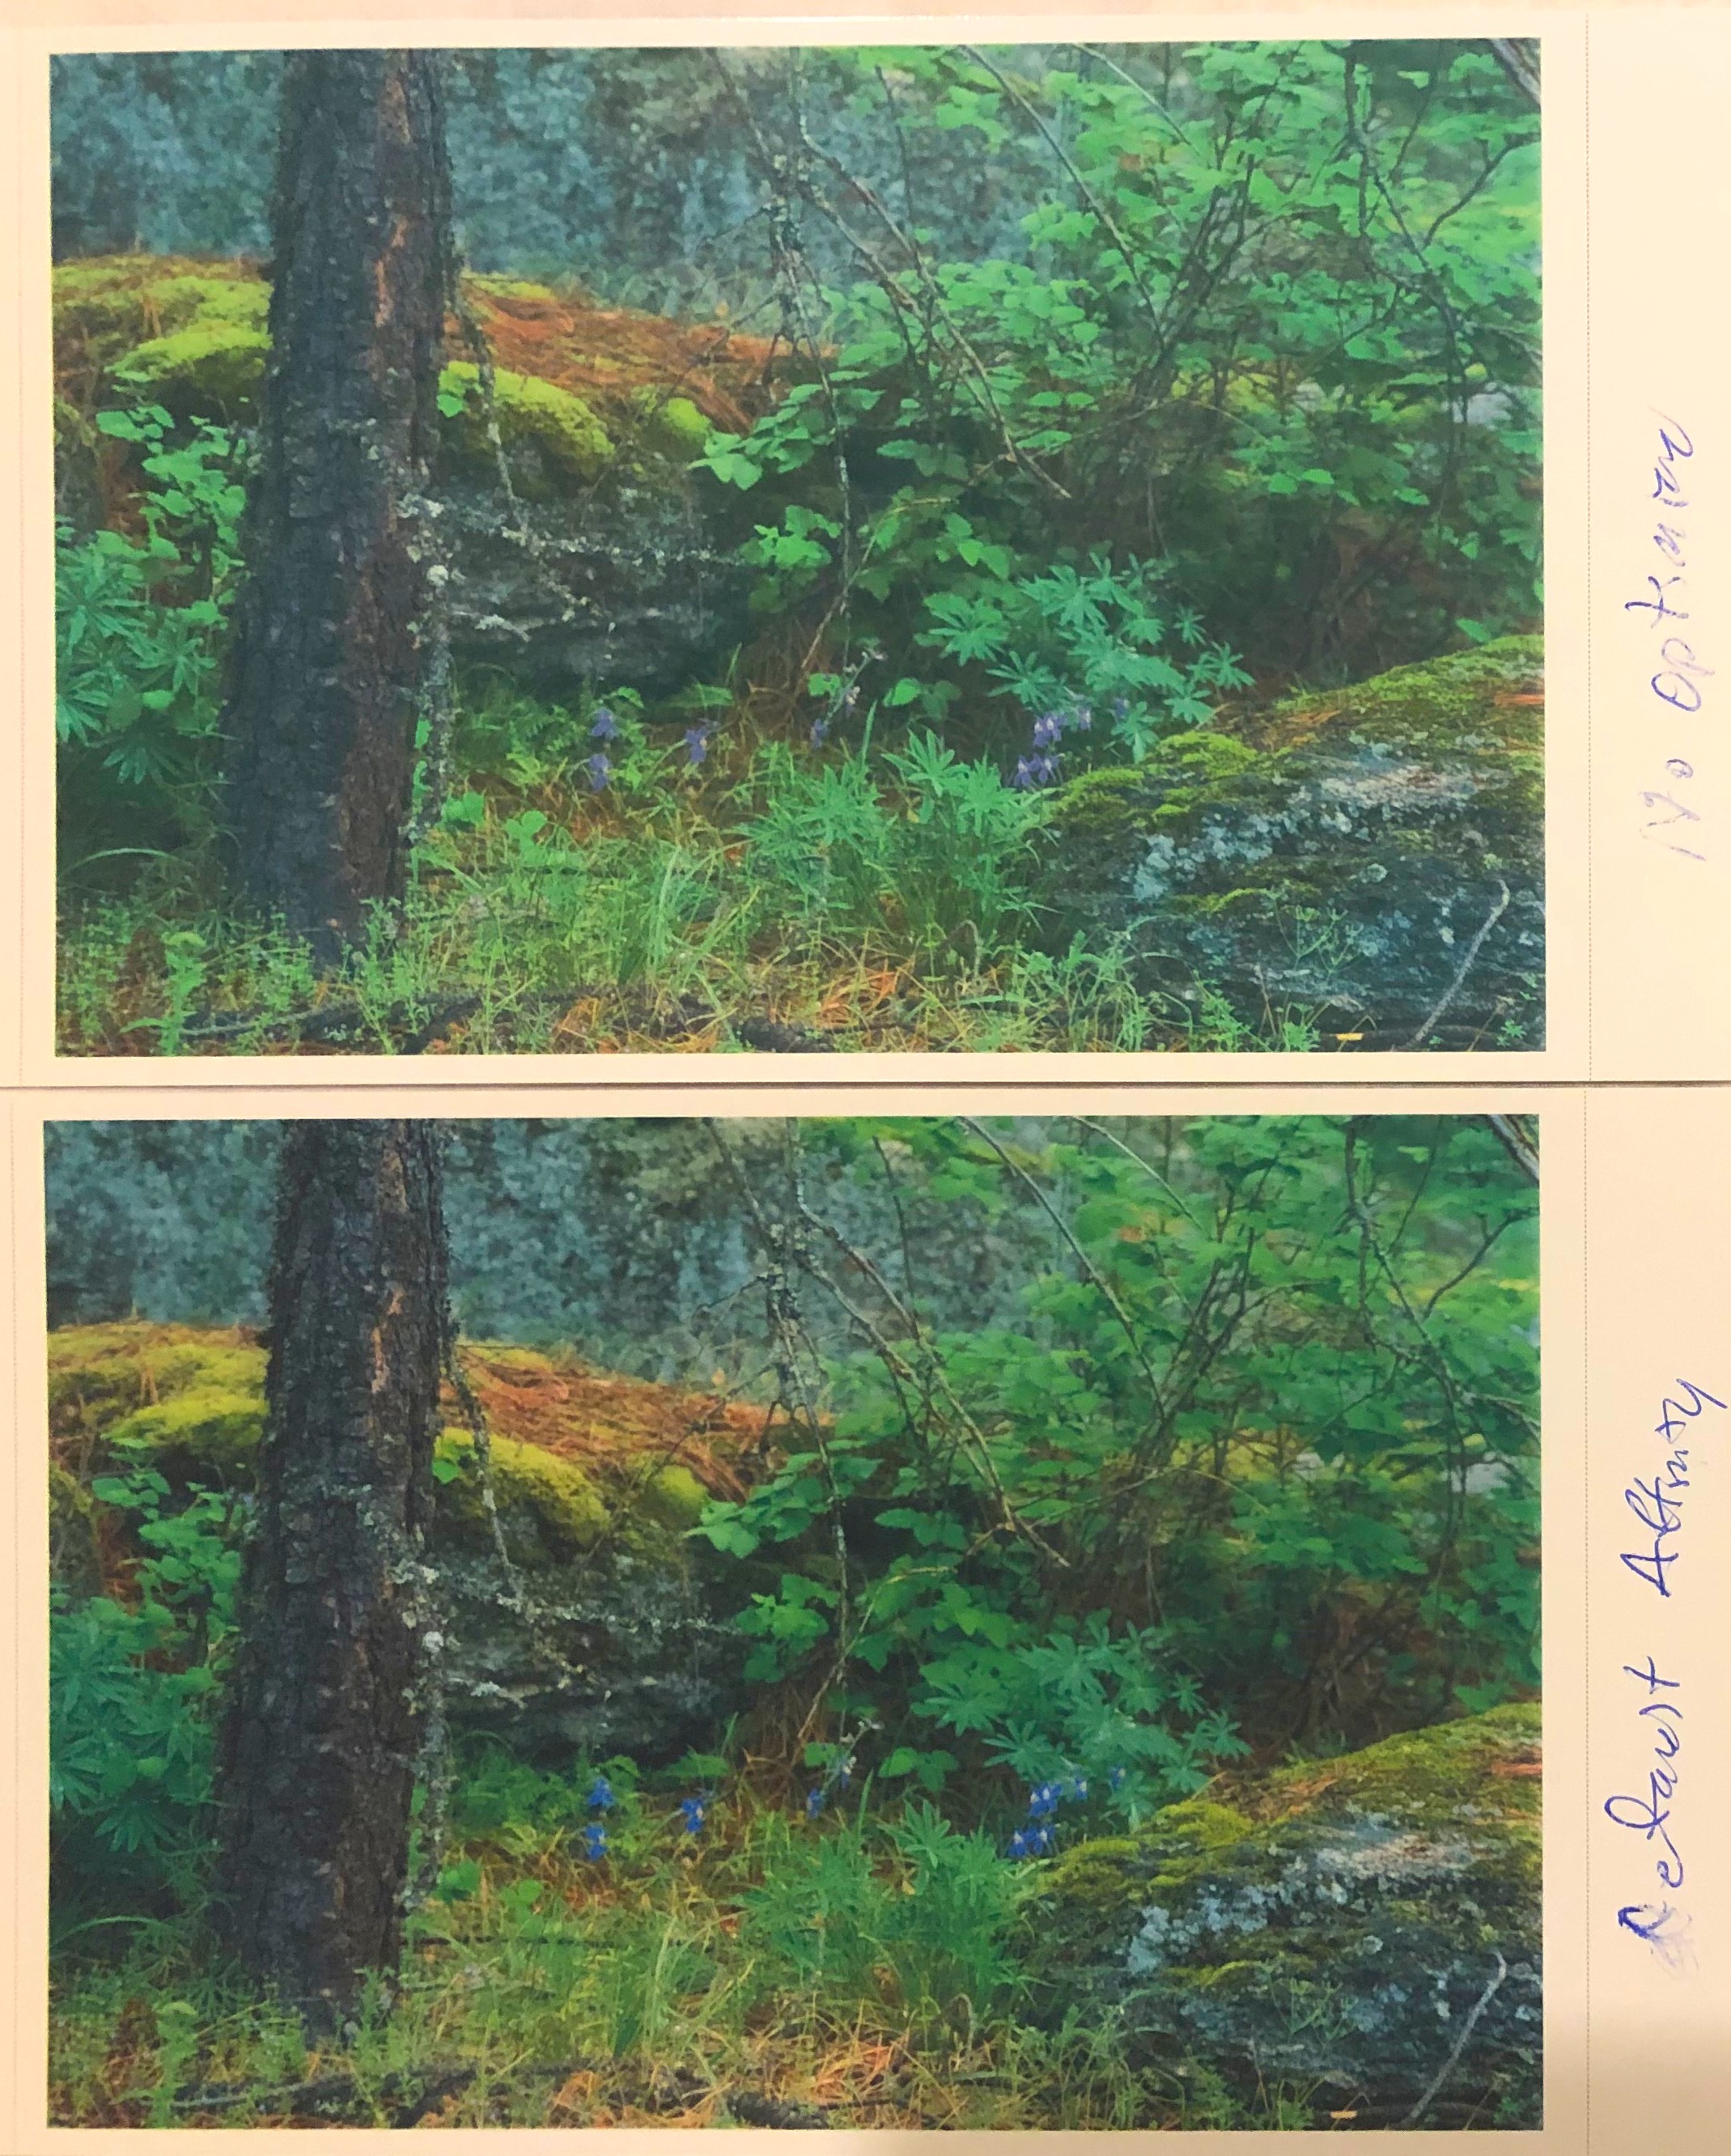
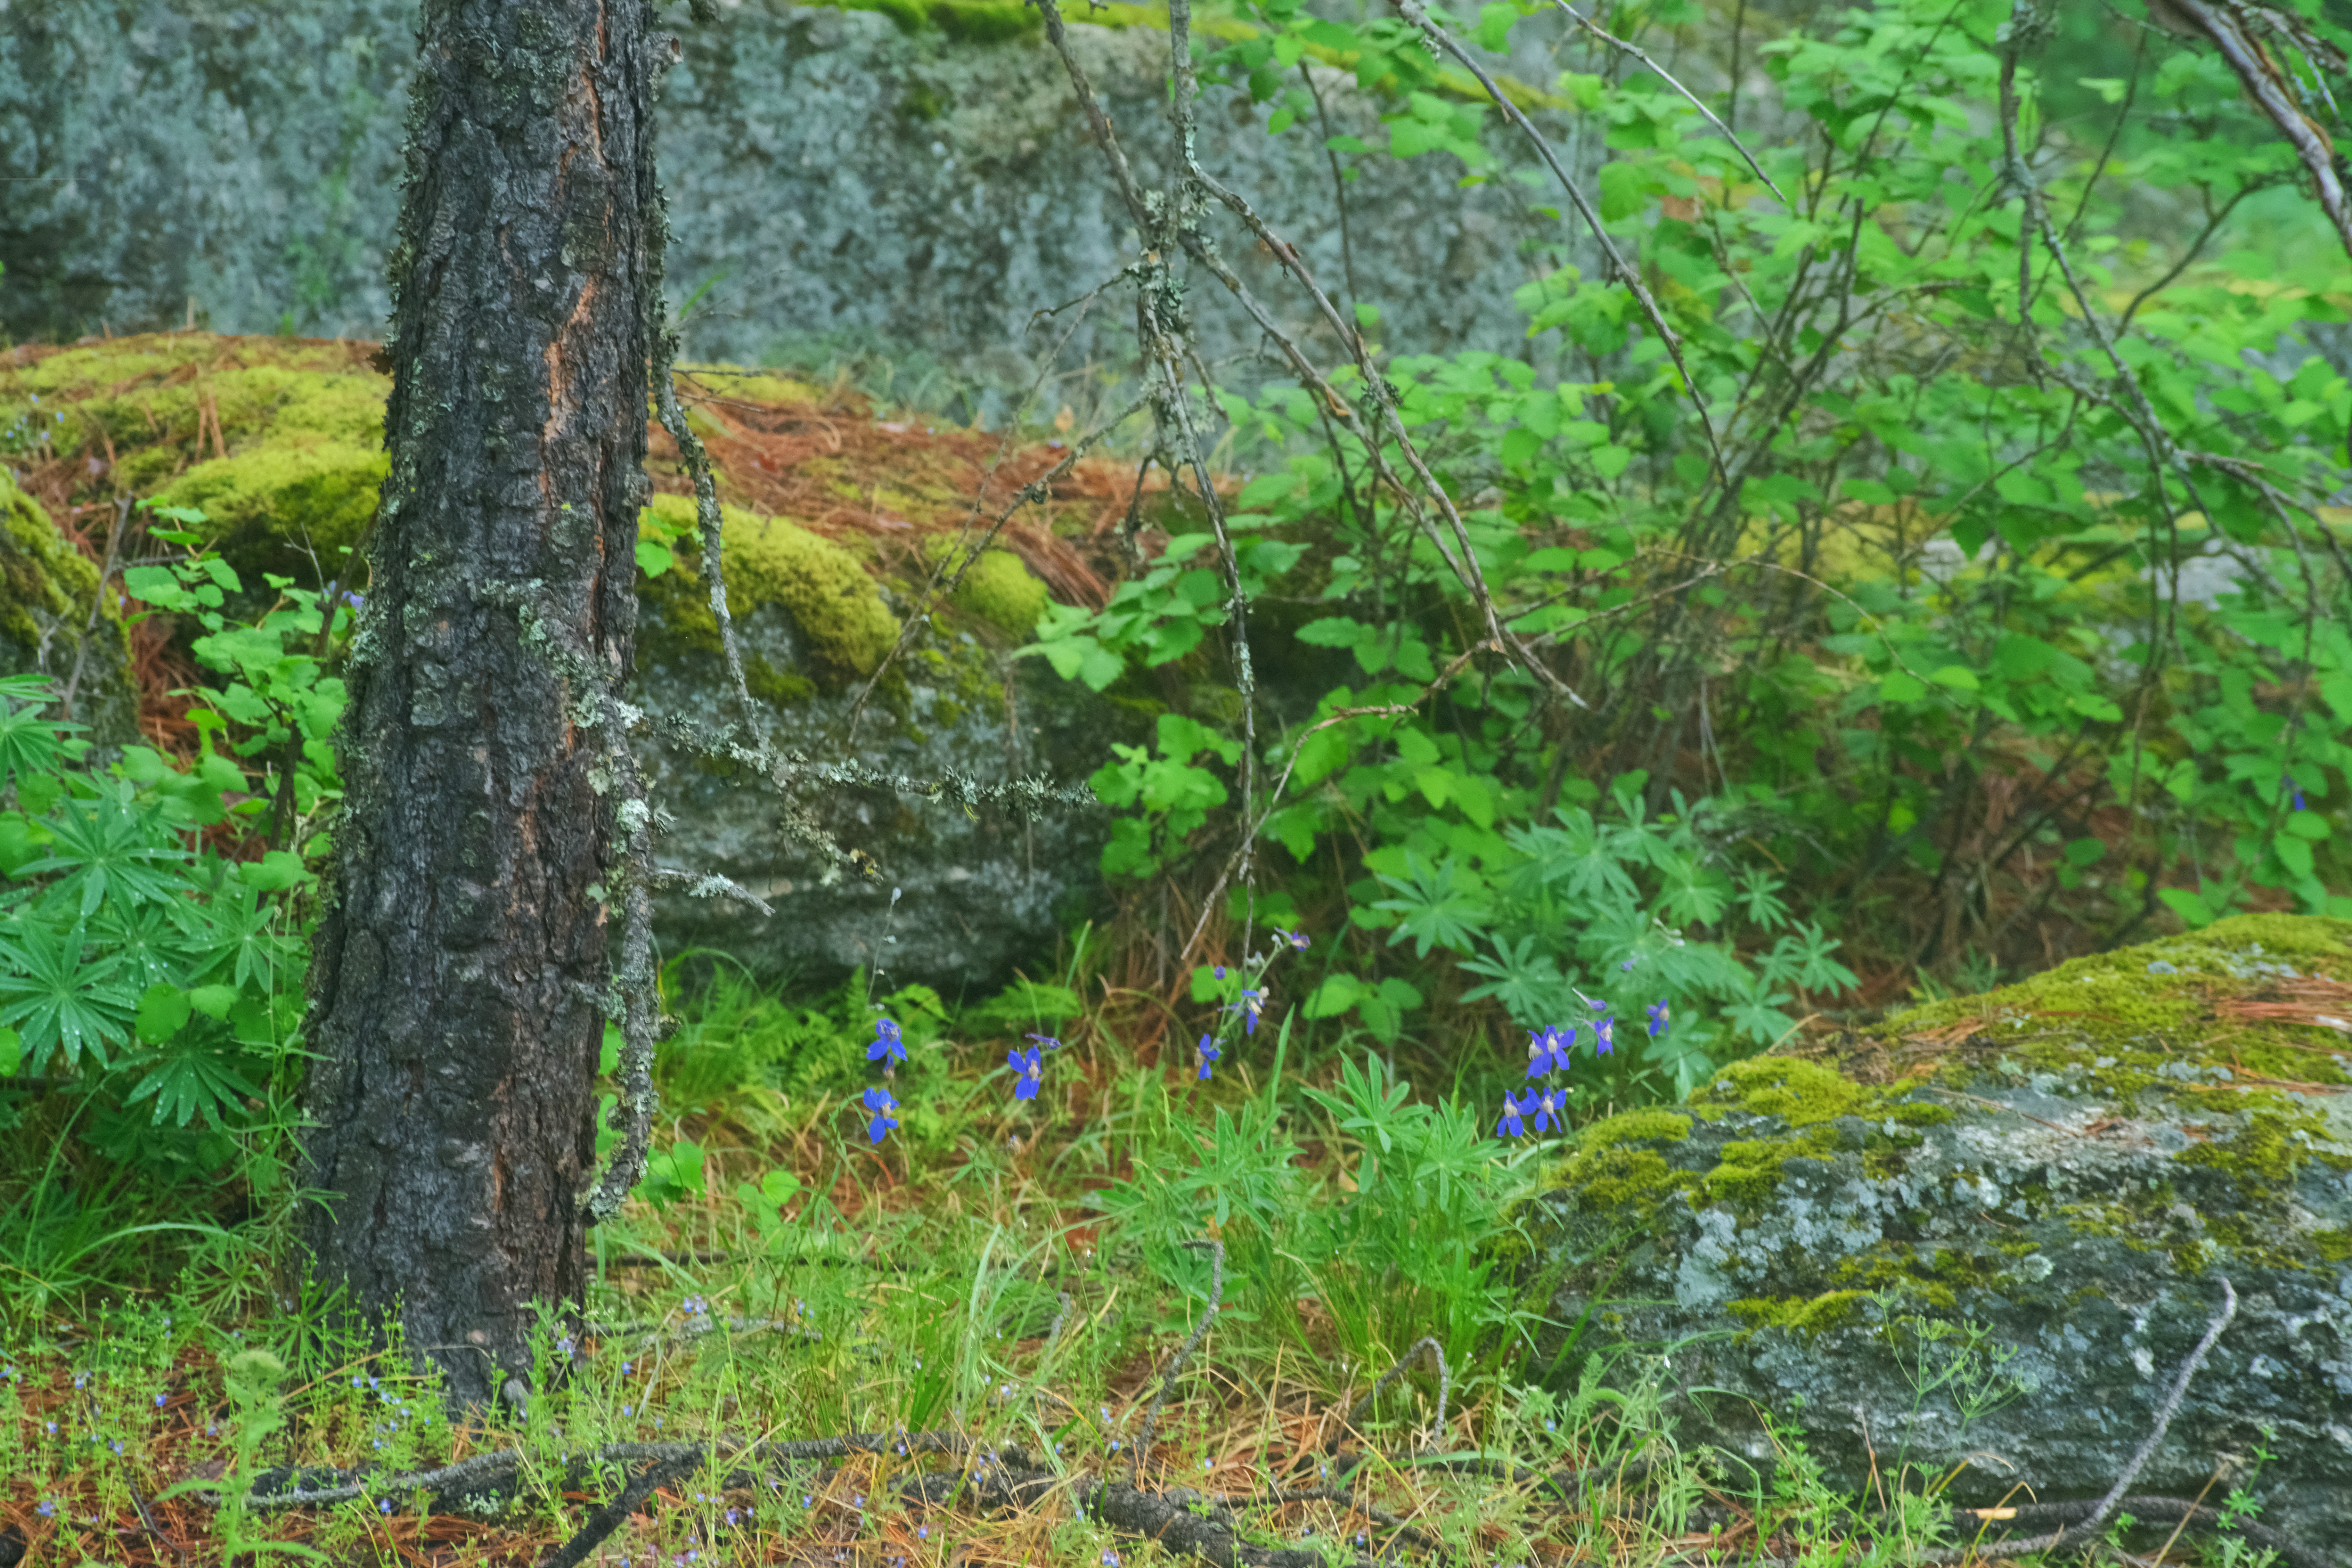
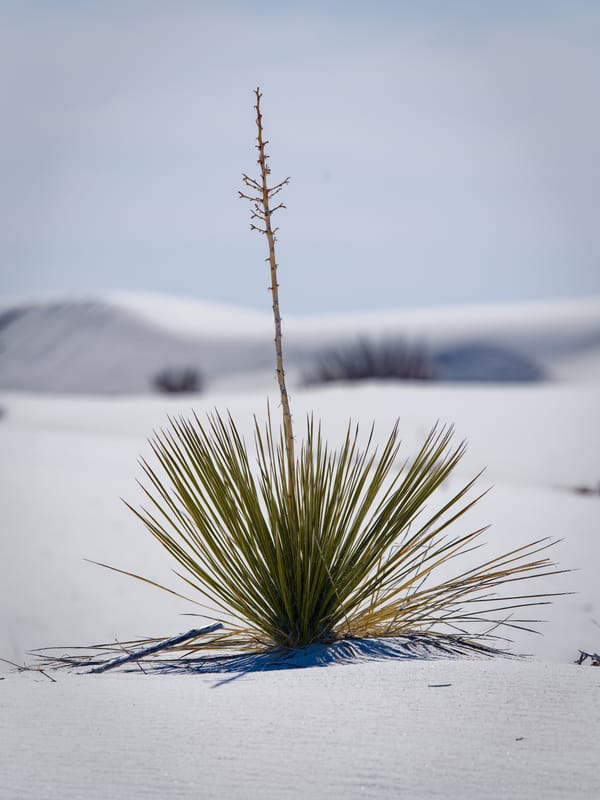
In the above image, note the color of the flowers in the original image are blue compared to the two prints above it. The default color management file (ICC) has the best color match. The prints match the rich saturation of the original image, brightness and shadows look pretty good. The shadows are not large or strong however.
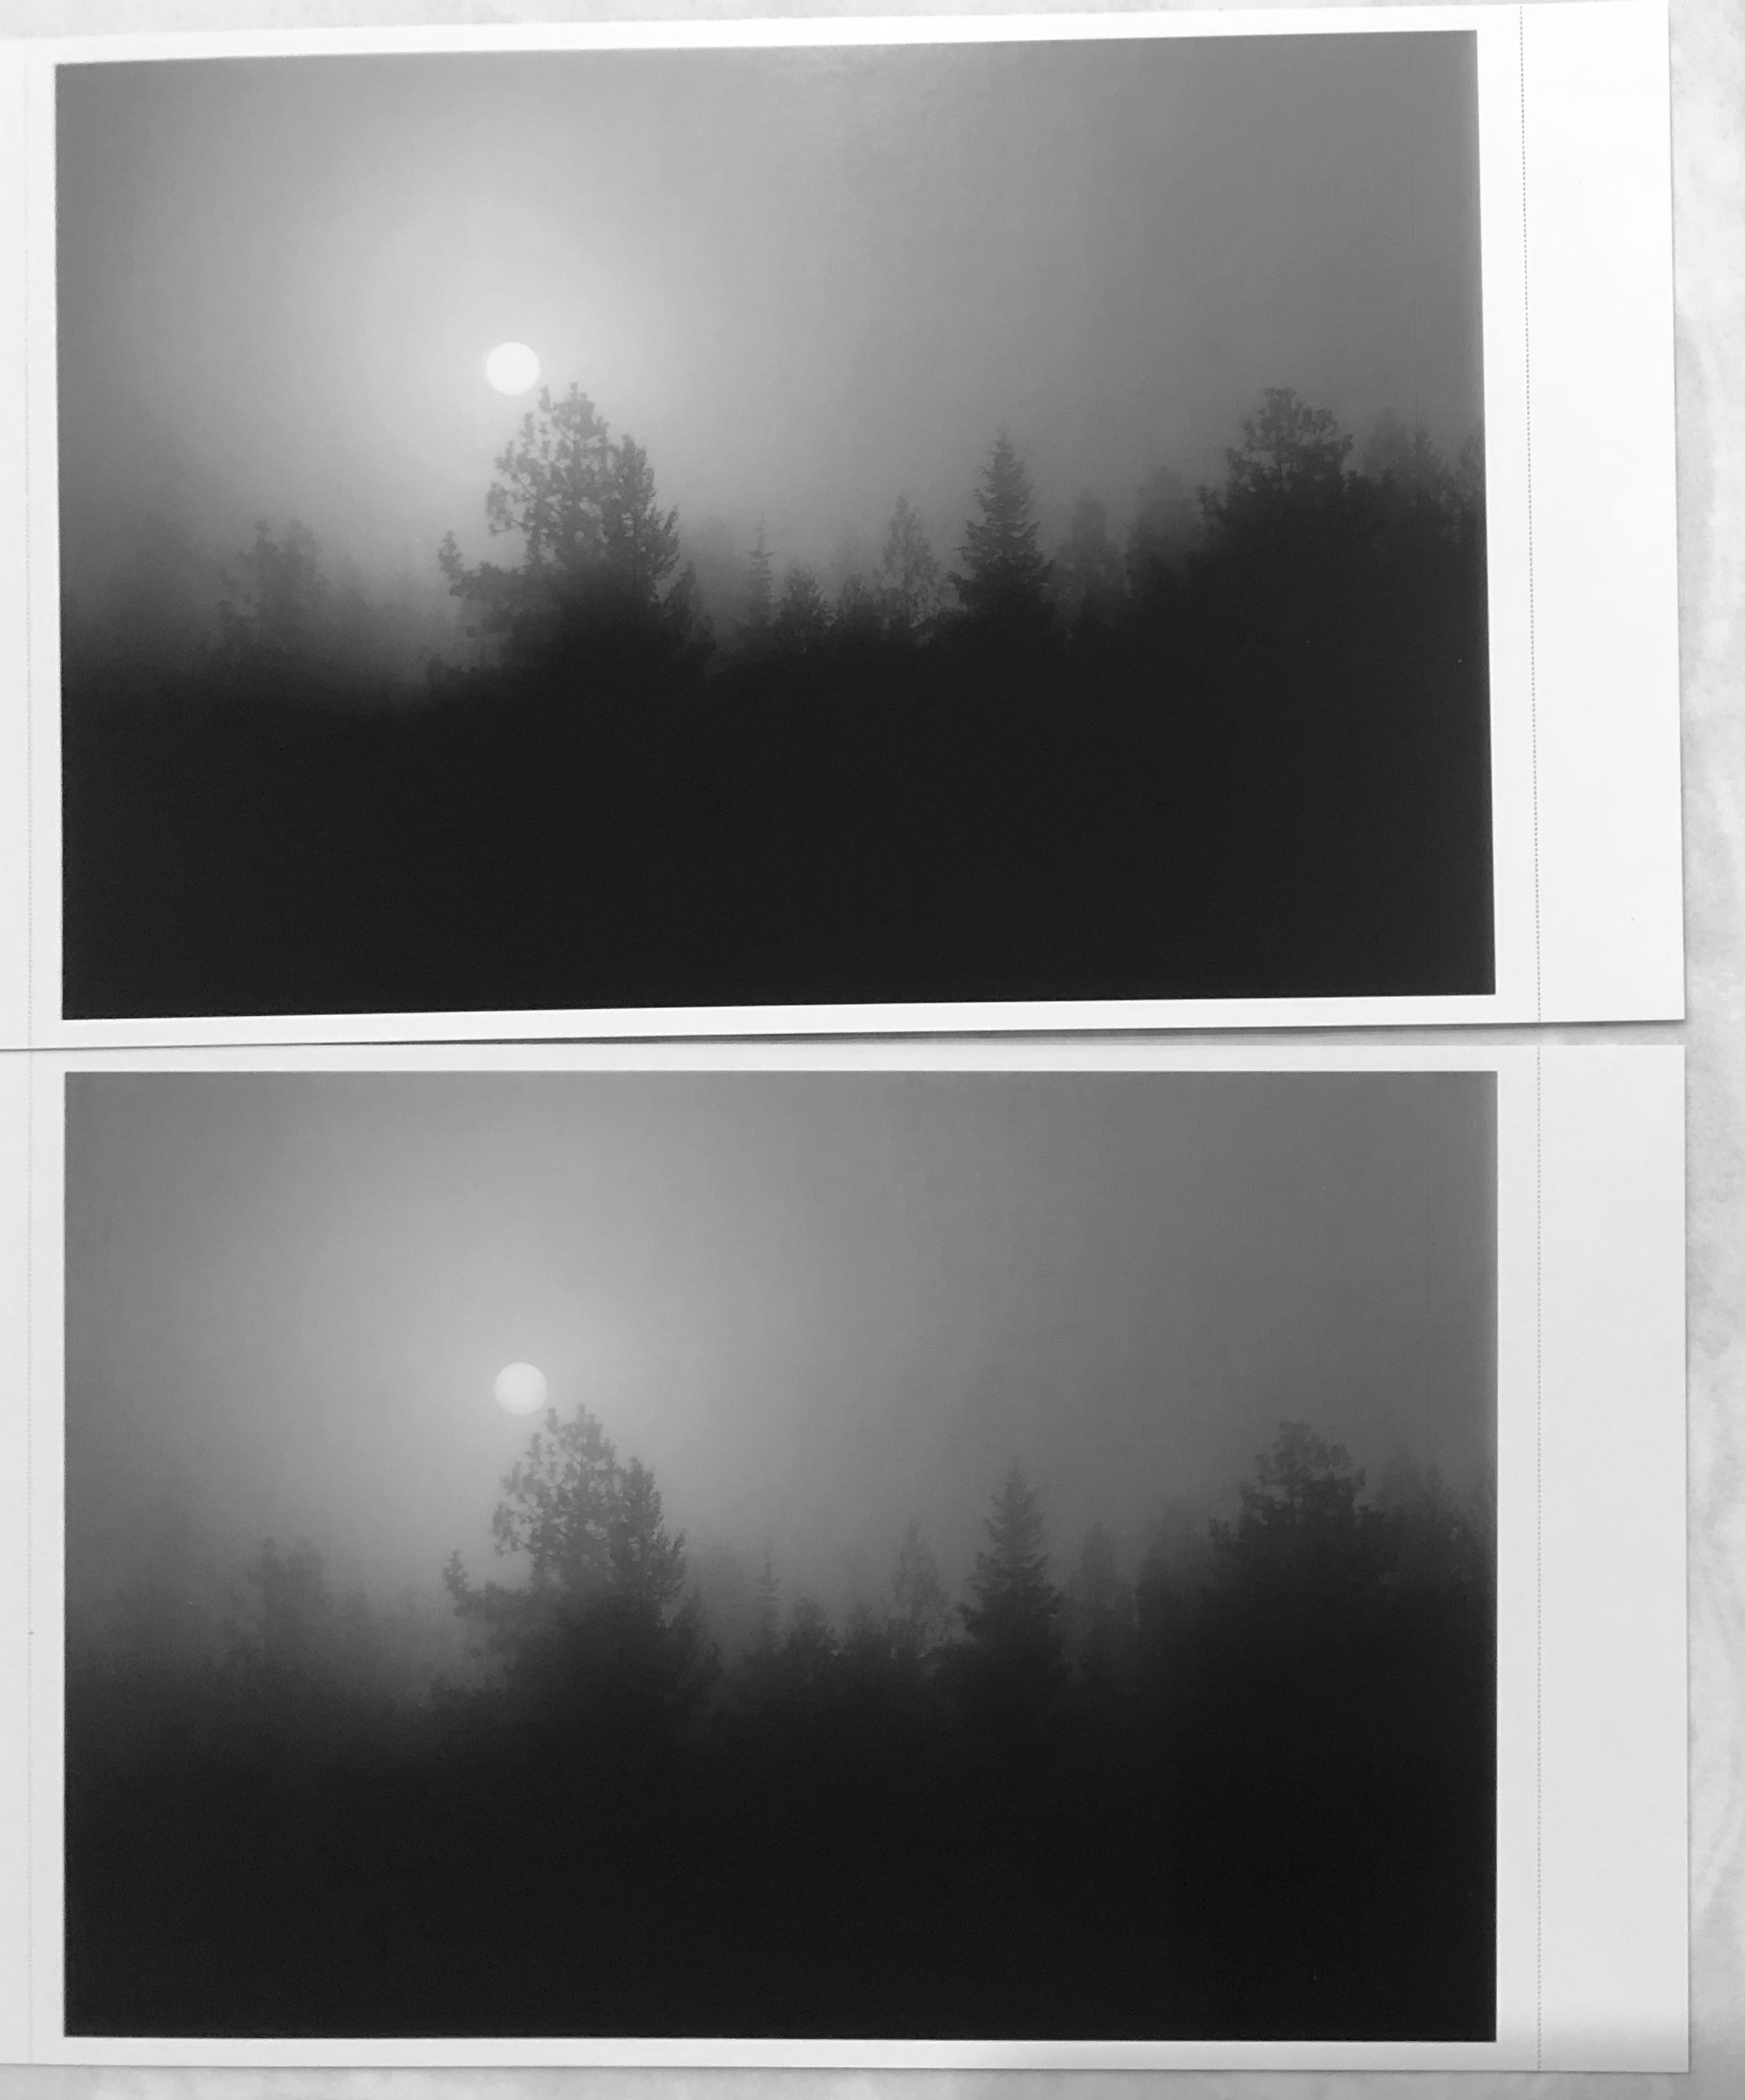
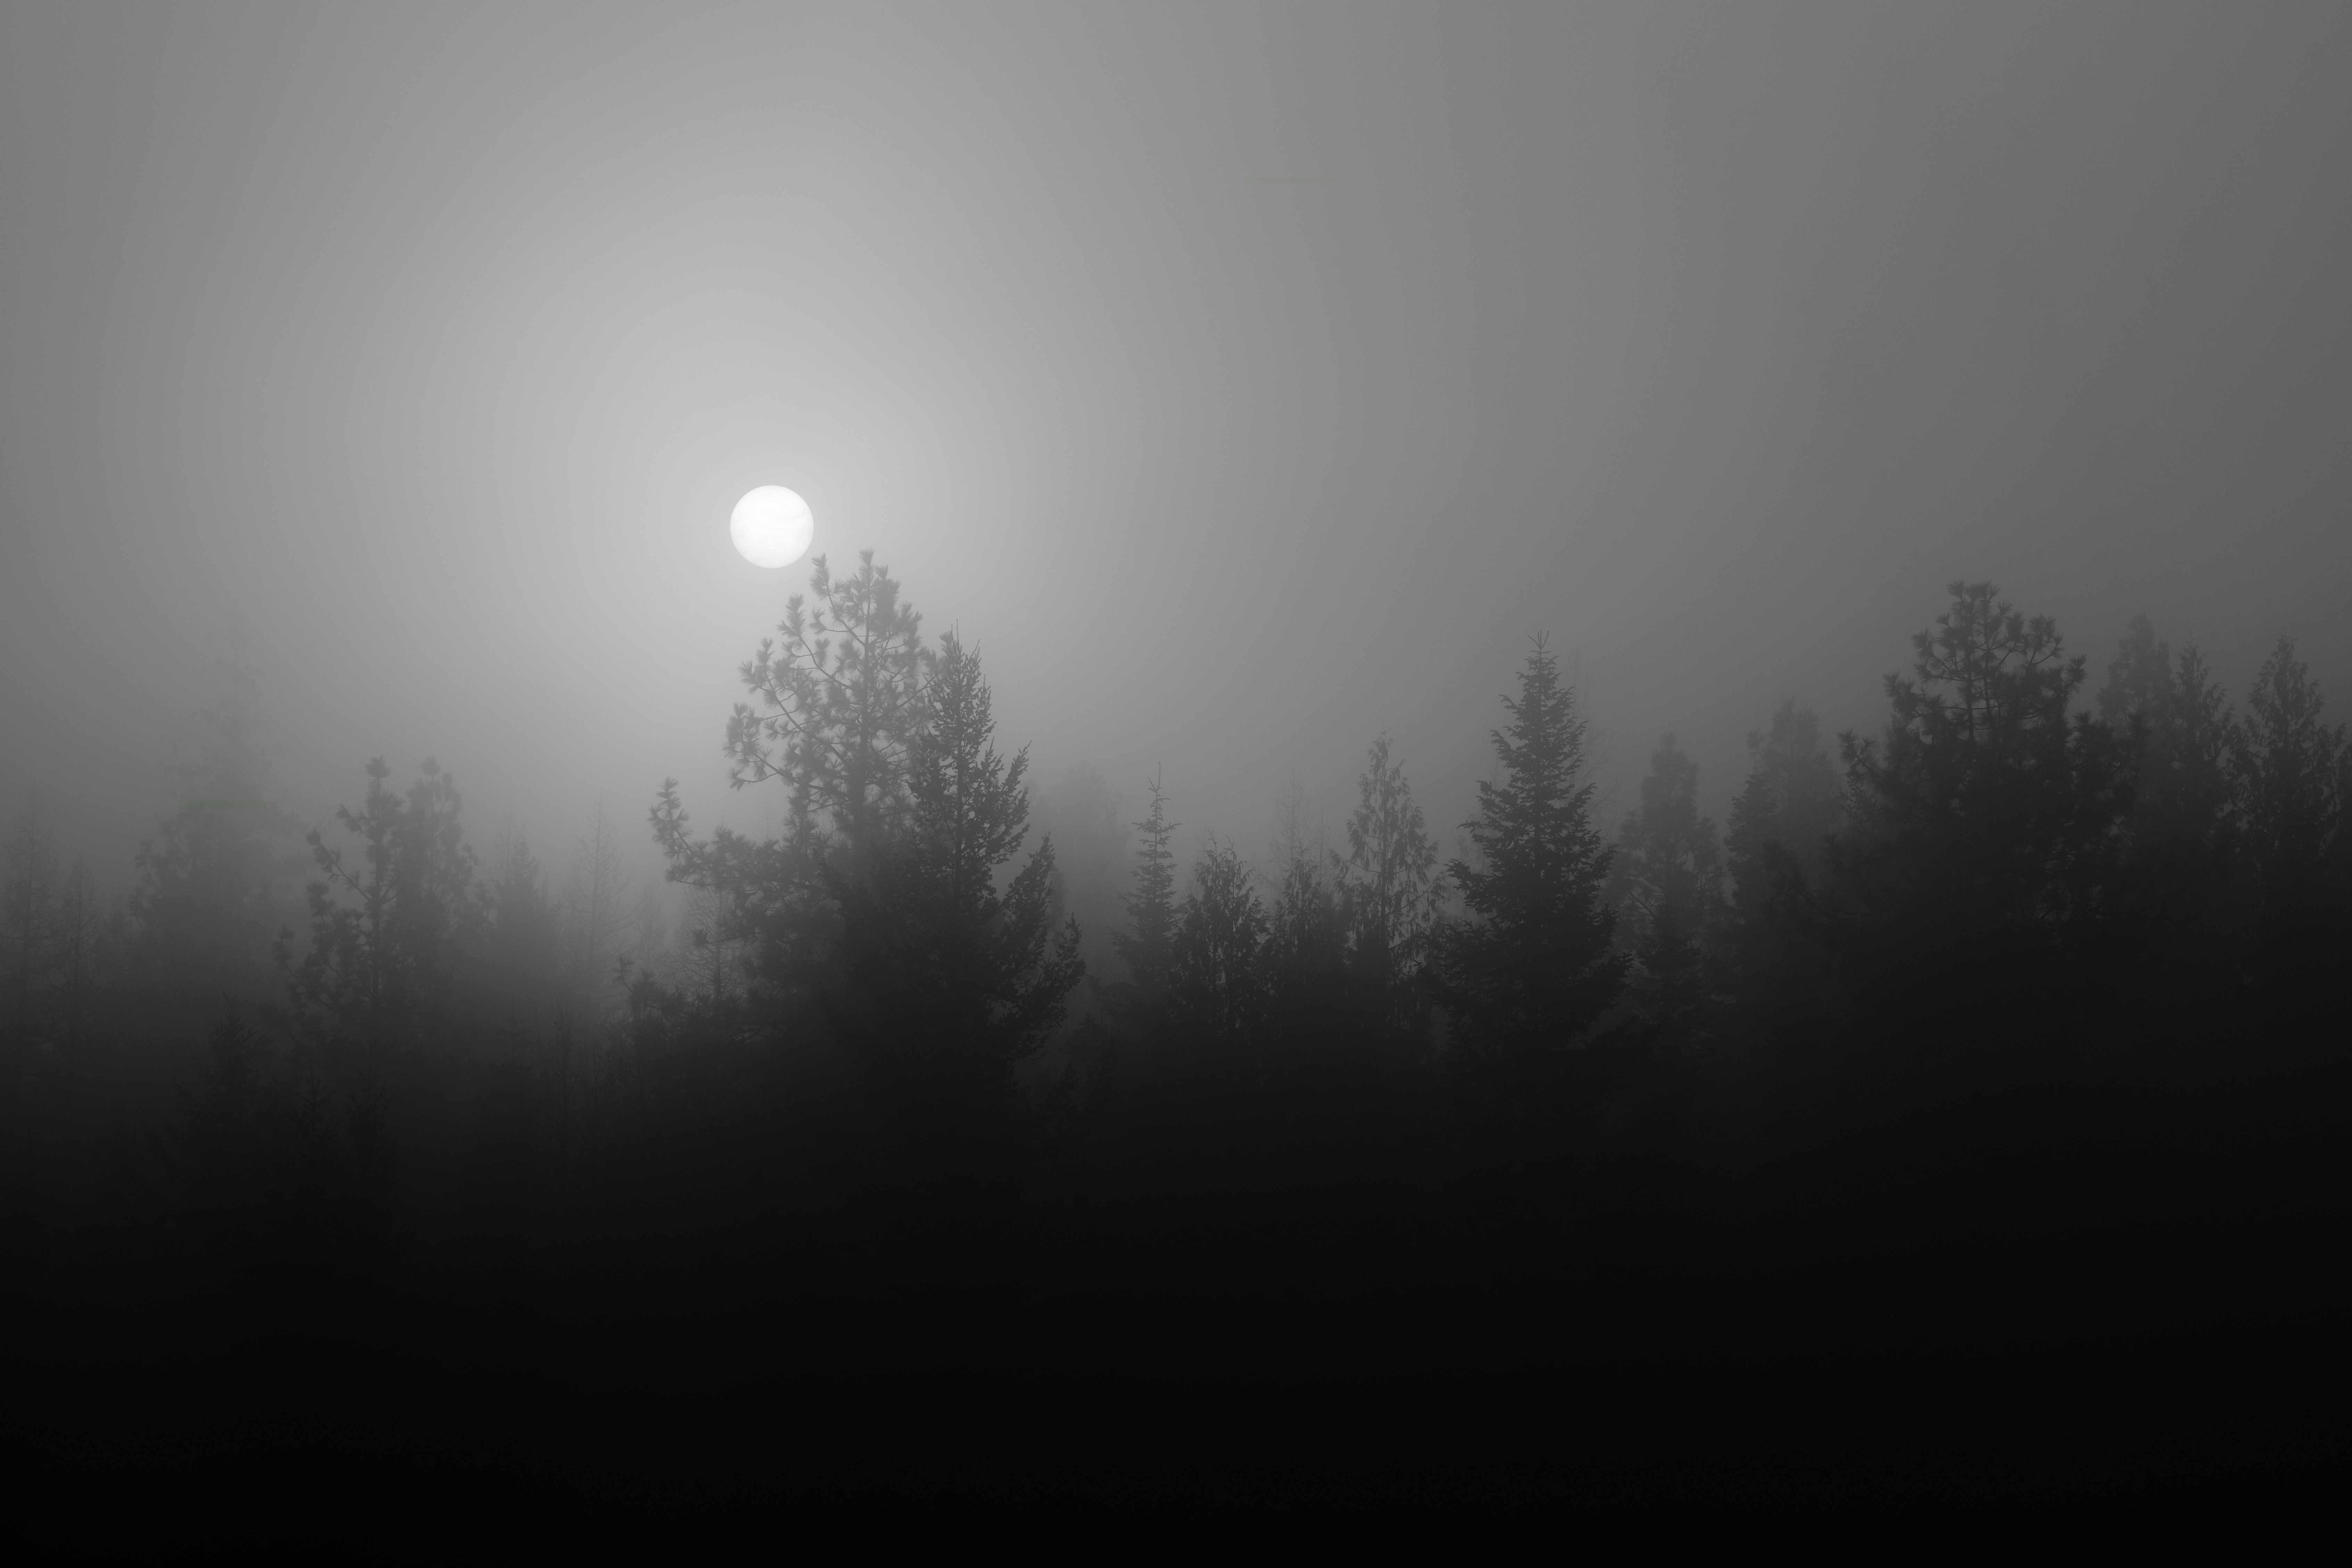
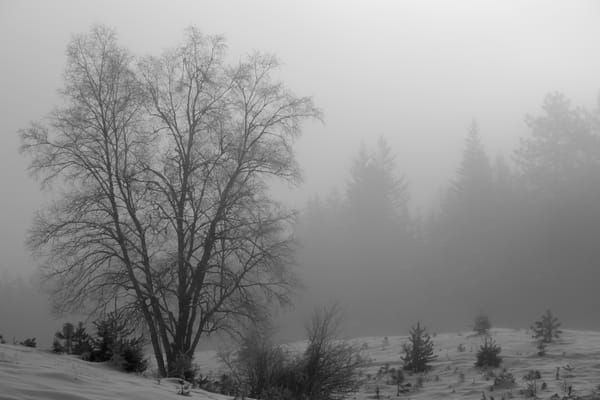
In the above image there is some slight banding around the moon due to my manipulations to increase contrast and movement of the white and black points. These were not apparent until I saw the top print which clearly exhibited them. The lower print was after I turned off the contrast and white/black point adjustments. I did keep a shadow darkening control to blacken the trees in the foreground.
While the print has more apparent banding, it is a common problem in digital printing especially in skies. This is due to the quantization that is intrinsic with digital images.
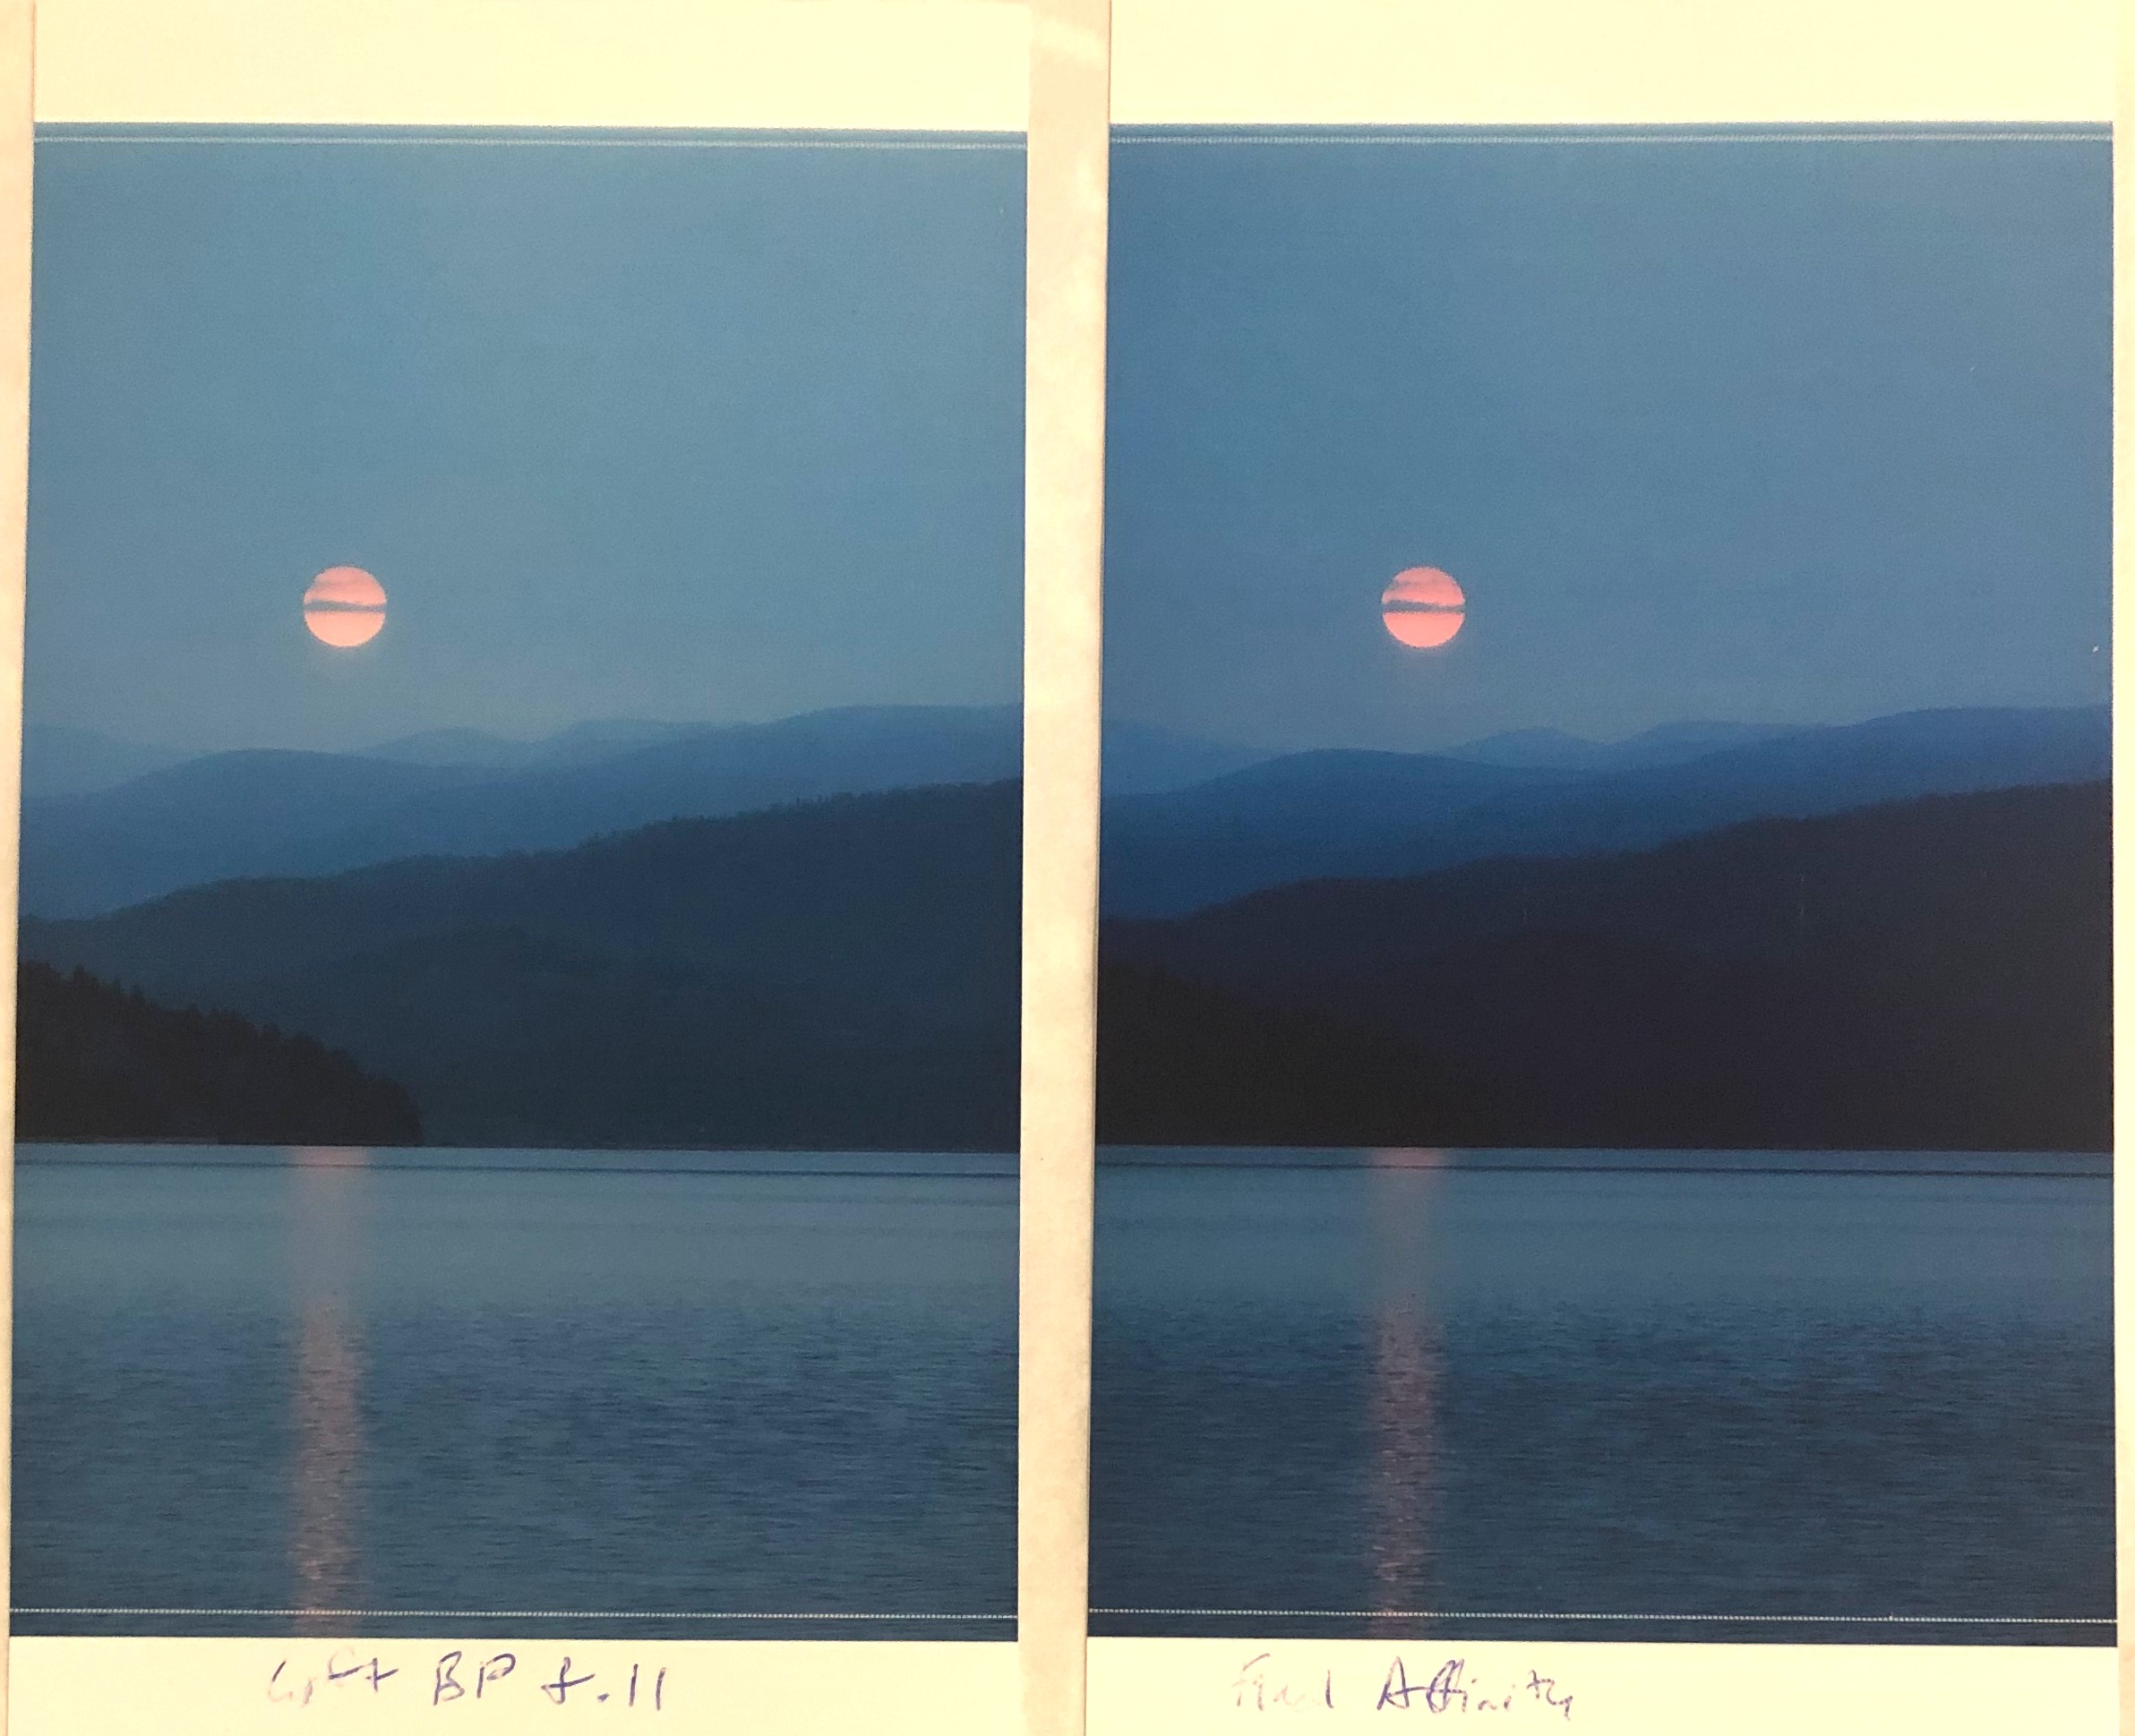
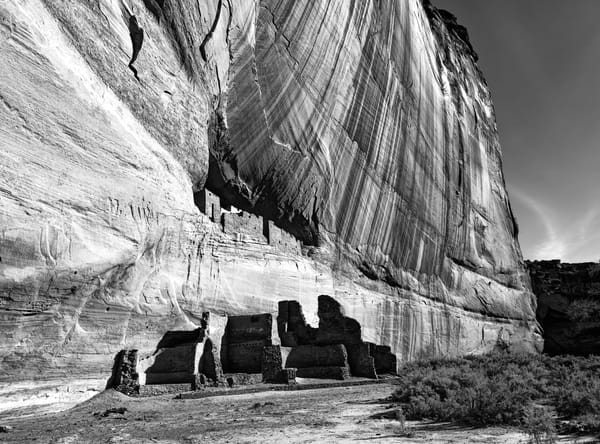
These images show the shadow blocking up in the print. The dark peninsula on the left has some slight detail in the original image. The print on the right is a print of the unmodified original and the same peninsula is virtually invisible. By lifting the shadows slightly or returning to less darkened shadows of the image in processing restores the detail in the image on the left.
More experience has told me that if you want to hold shadow detail you need to lift the shadow end of the histogram by about 15 levels or 5%.
If you experience blown highlights the same trick works by lowering the highlights about 5% in the levels setting.
Overall I am pleased with the printer so far.