A Film Approach to the Fuji GFX50s ii: Part 2
The GFX50s ii Settings I Use

This is the second part of the three-part series on this subject. Below is a link to the third part.

Details of My Setup
I place this section last as it only has interest for this specific camera model and is full of screenshots to show how I have set-up my GFX 50s ii.
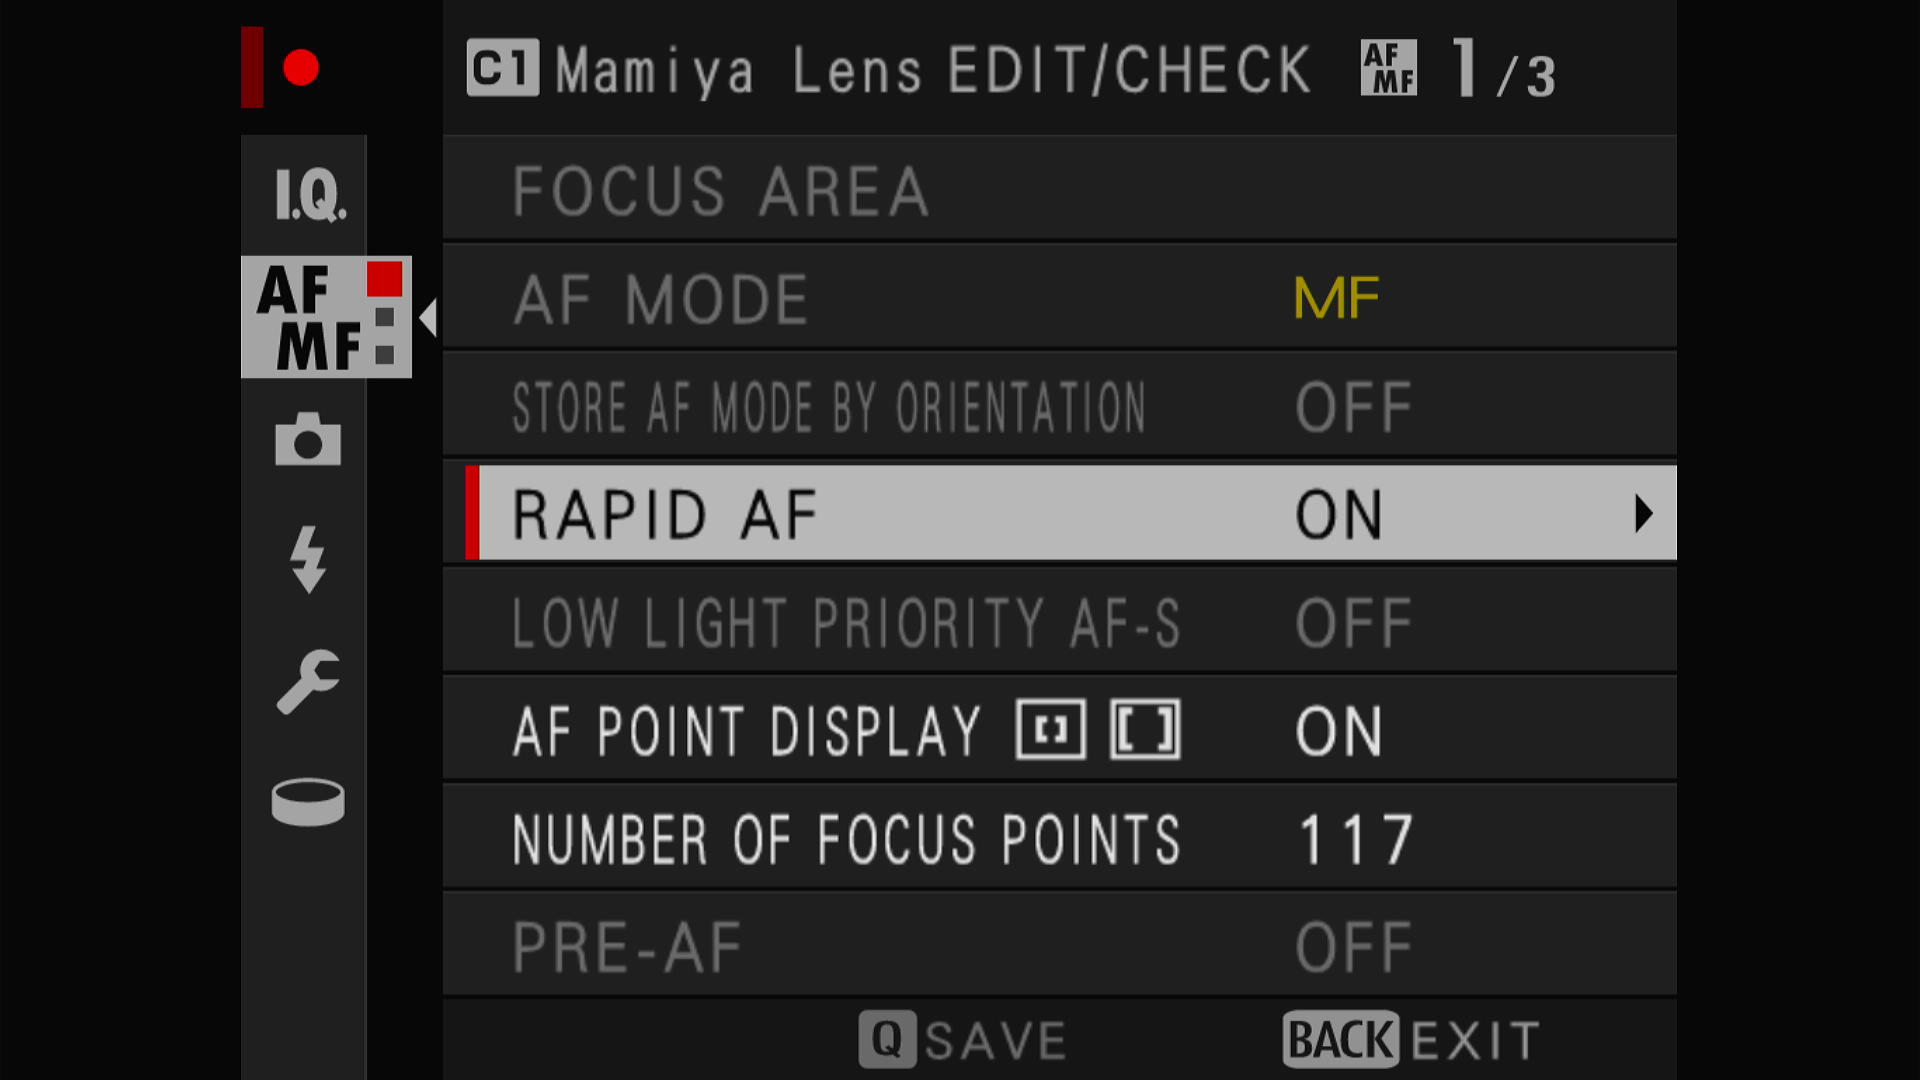
When using manual focus lenses, it is important to have the focus switch placed on M (manual) not S or C. If you fail to do this, you will not get the focus peaking to work.
Mamiya Lens Setup
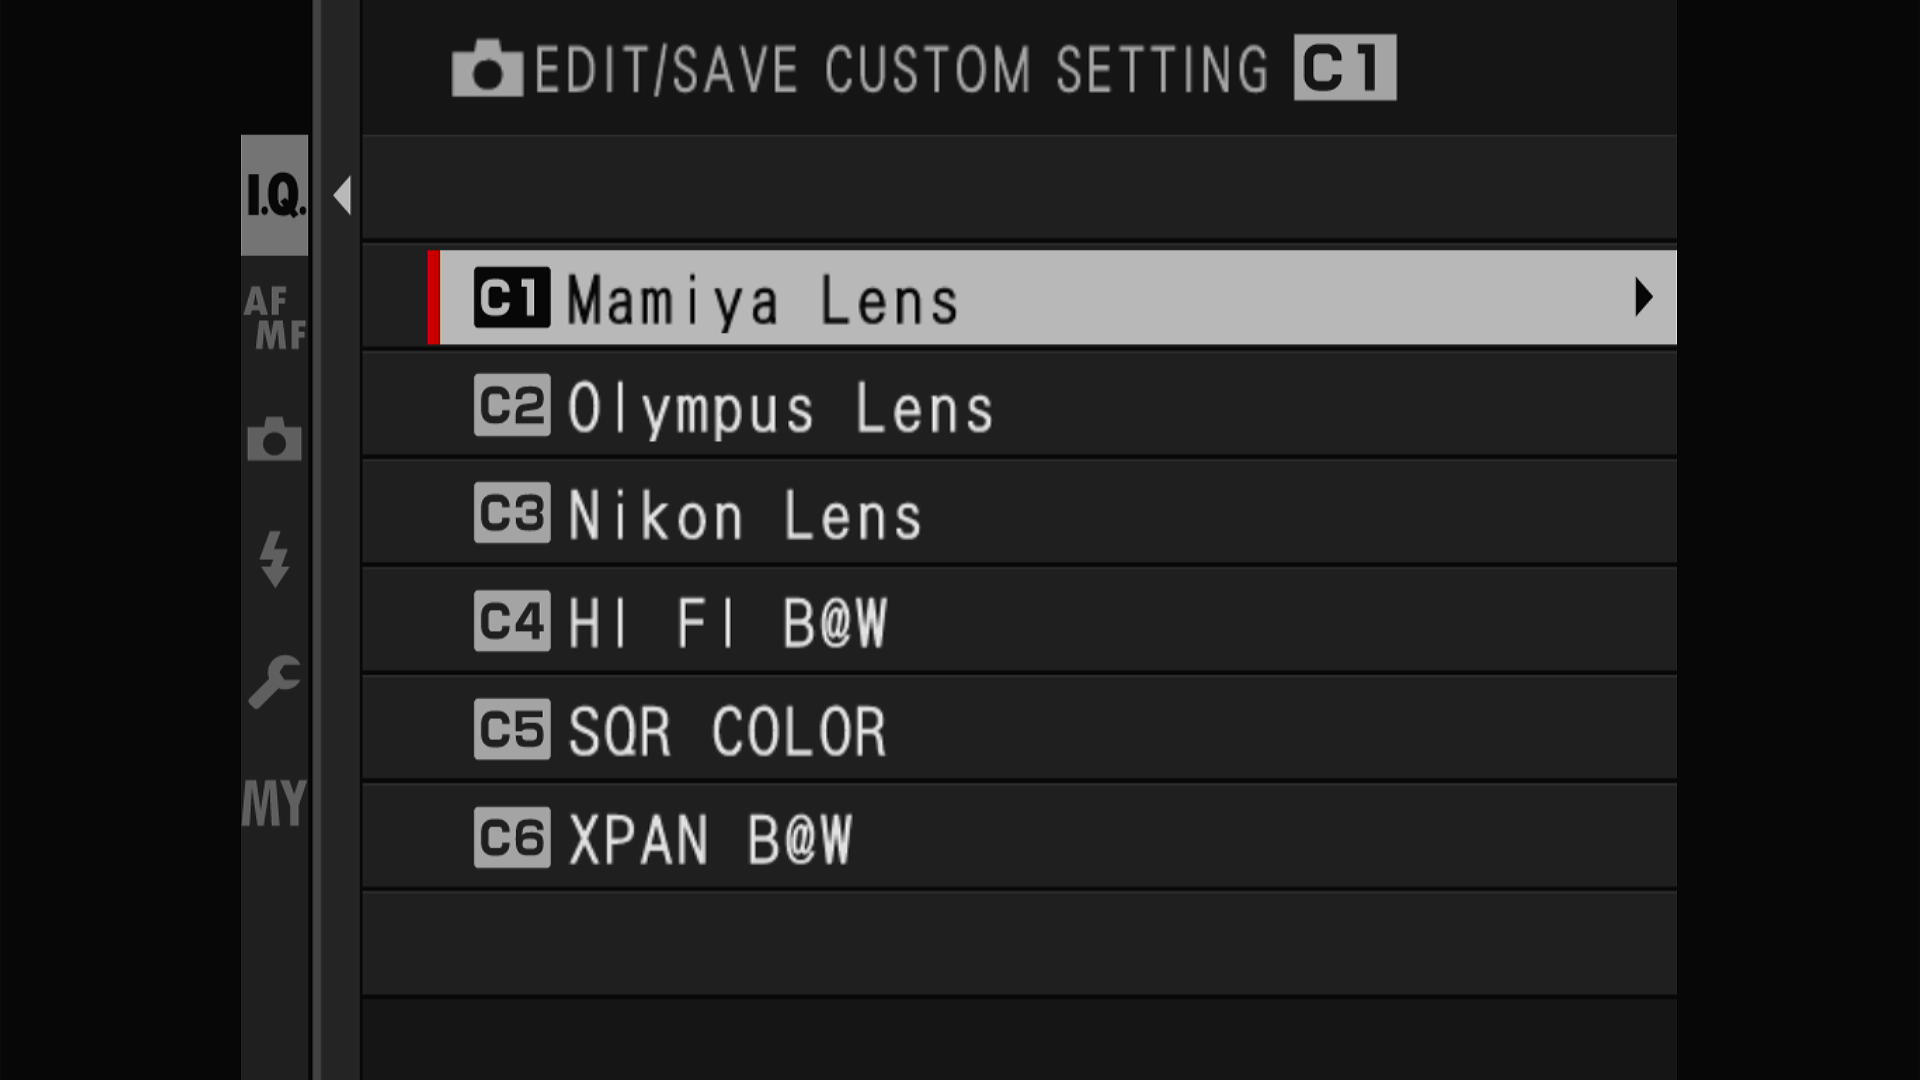
As stated above I use the custom settings (C1-C6) to organize my lenses and shooting modes. This first one is the root of all of them as it is the Mamiya 645 lens setup.
I recommend that you configure one custom setup first and ‘debug’ it in the field before creating others. The reason for this is that it can then become a template for other custom setups. Fuji allows you to copy one custom setup to another and this makes new setups much easier as you only have to make the few changes needed for each additional setup.
If you start making multiple custom modes all at the same time without understanding what works and what doesn’t you will end up chasing changes in multiple setups endlessly.
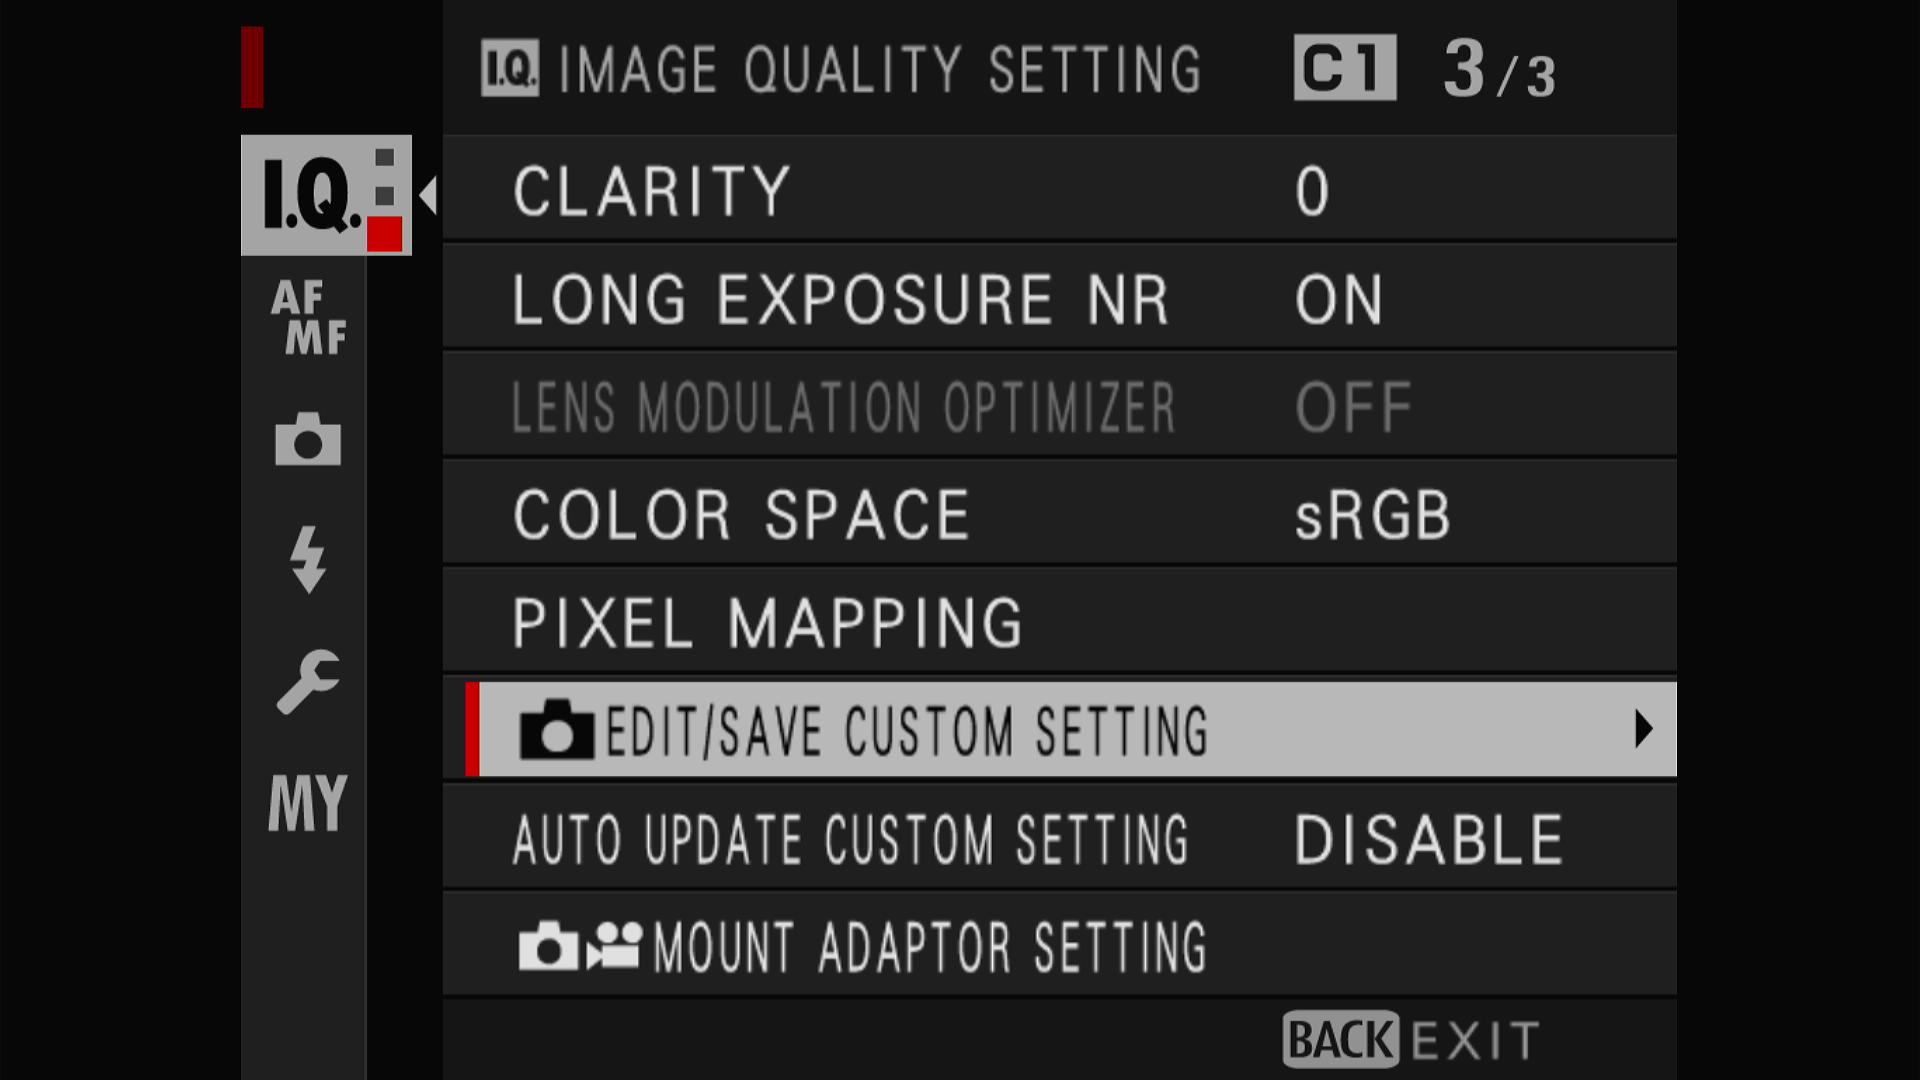
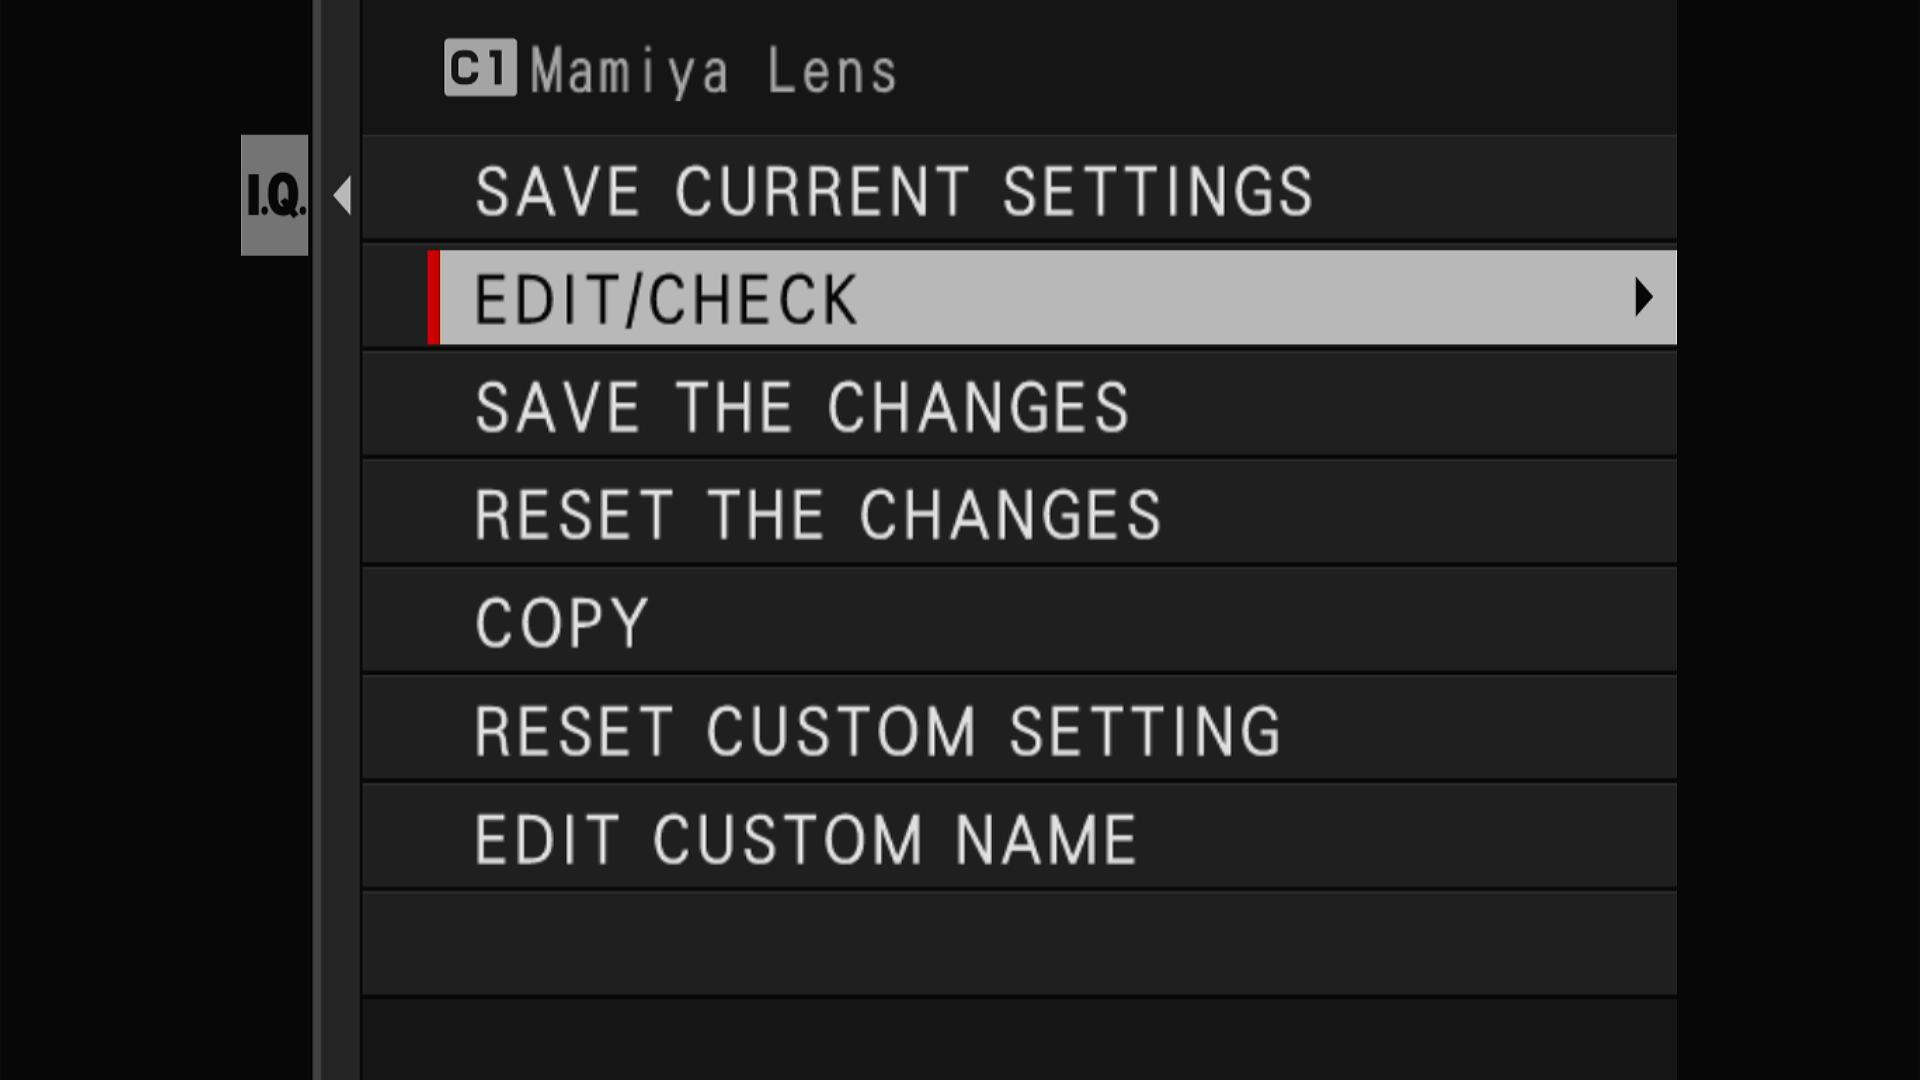
Firstly, you need to access the custom setups from the I.Q. menu at EDIT/SAVE CUSTOM SETTINGS
From here I will show each screen of settings from my Mamiya Lens C1 setup.
Next the EDIT/CHECK menu
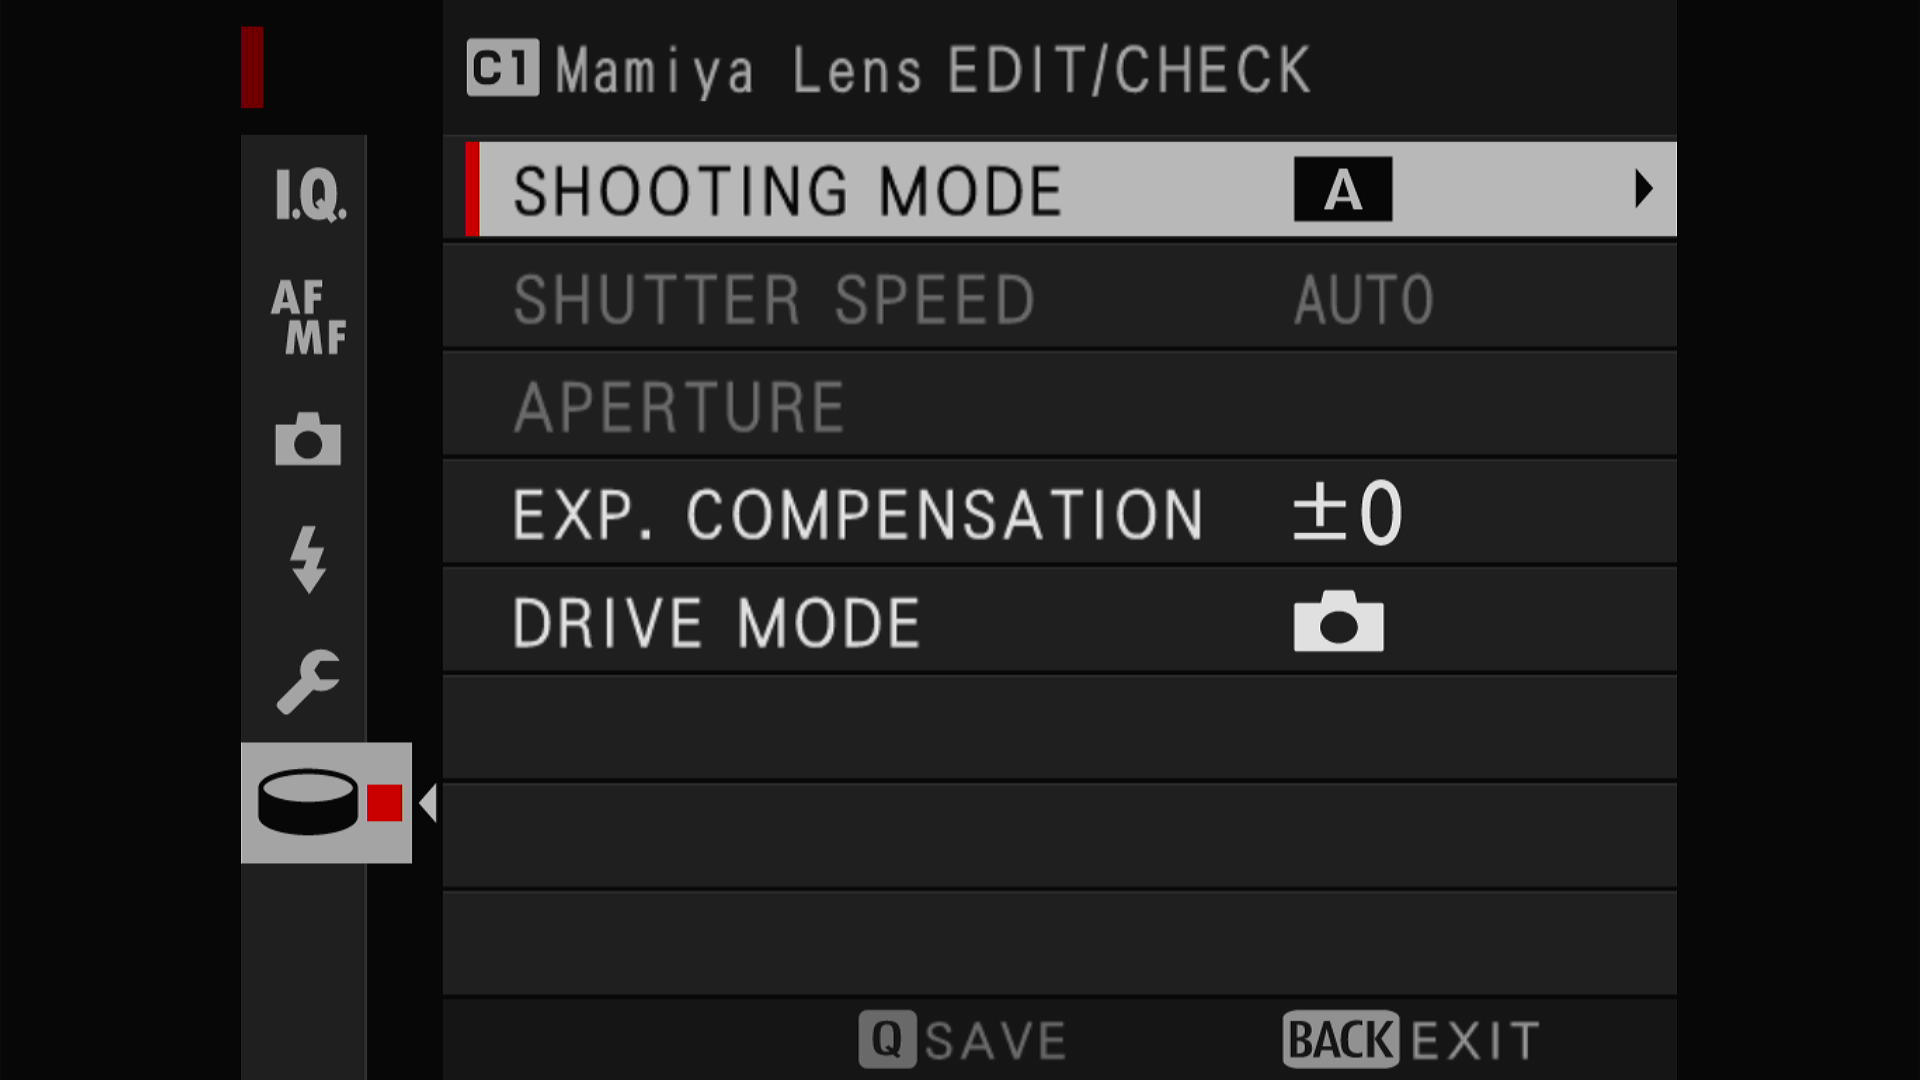
The first configuration menu shows I have set SHOOTING MODE to Aperture priority. You can of course make any other changes here.
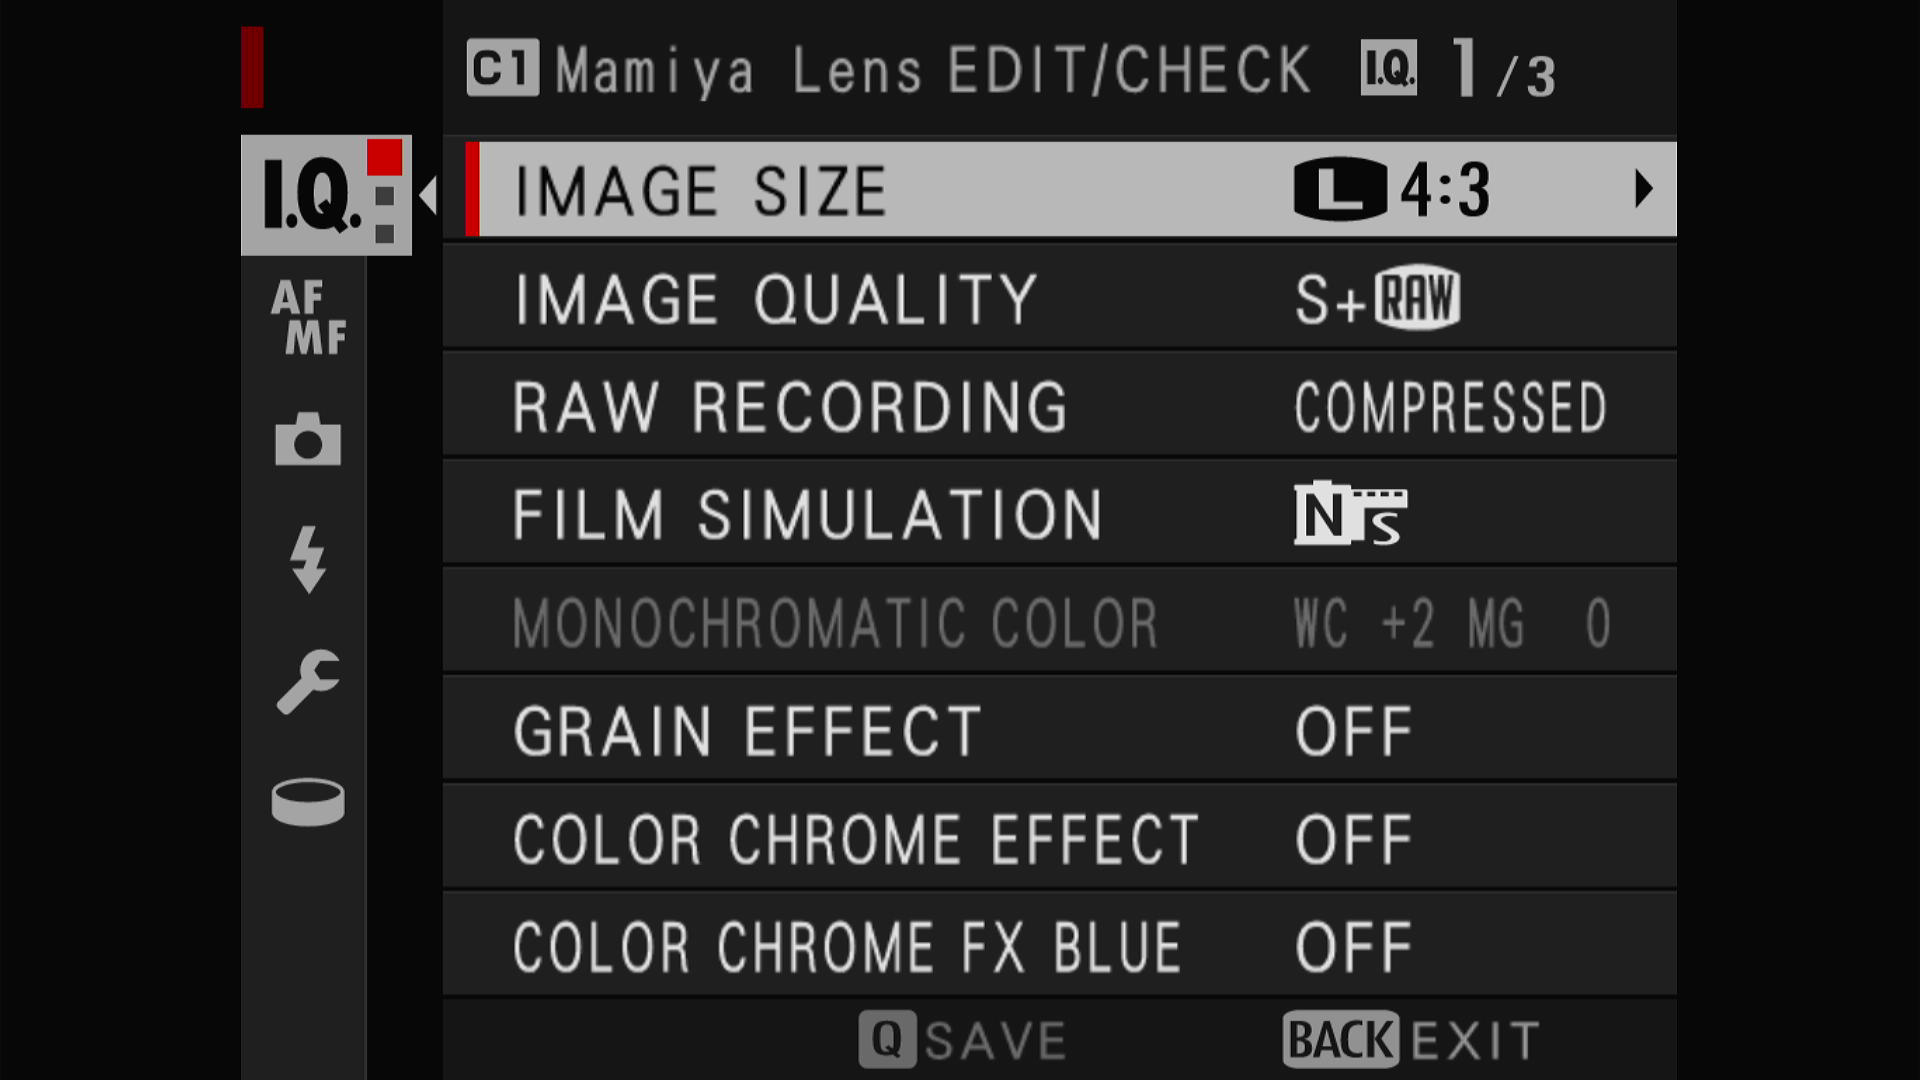
The next menu shows full image size (L 4:3). Image quality is super fine plus RAW this is where the save RAW+JPEG takes place. The film simulation is selected here as well.
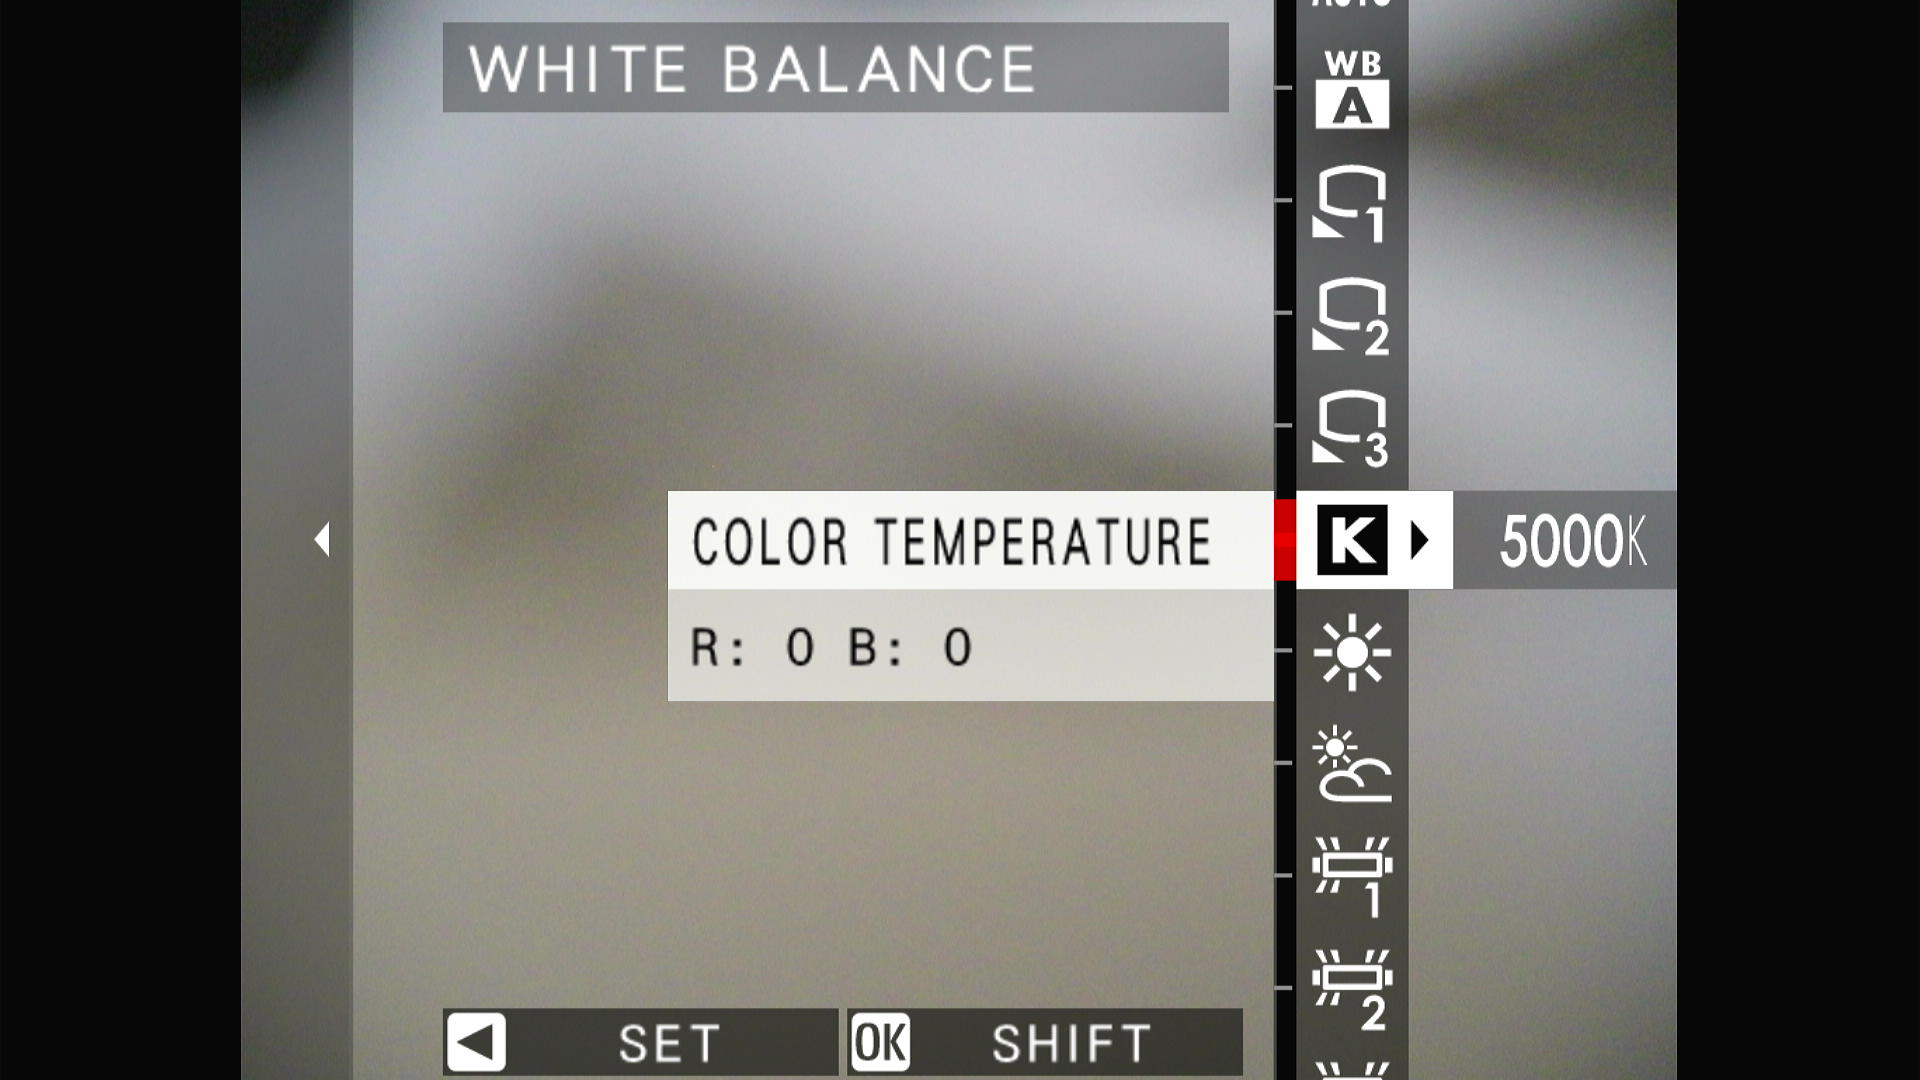
I set White Balance in the next menu.
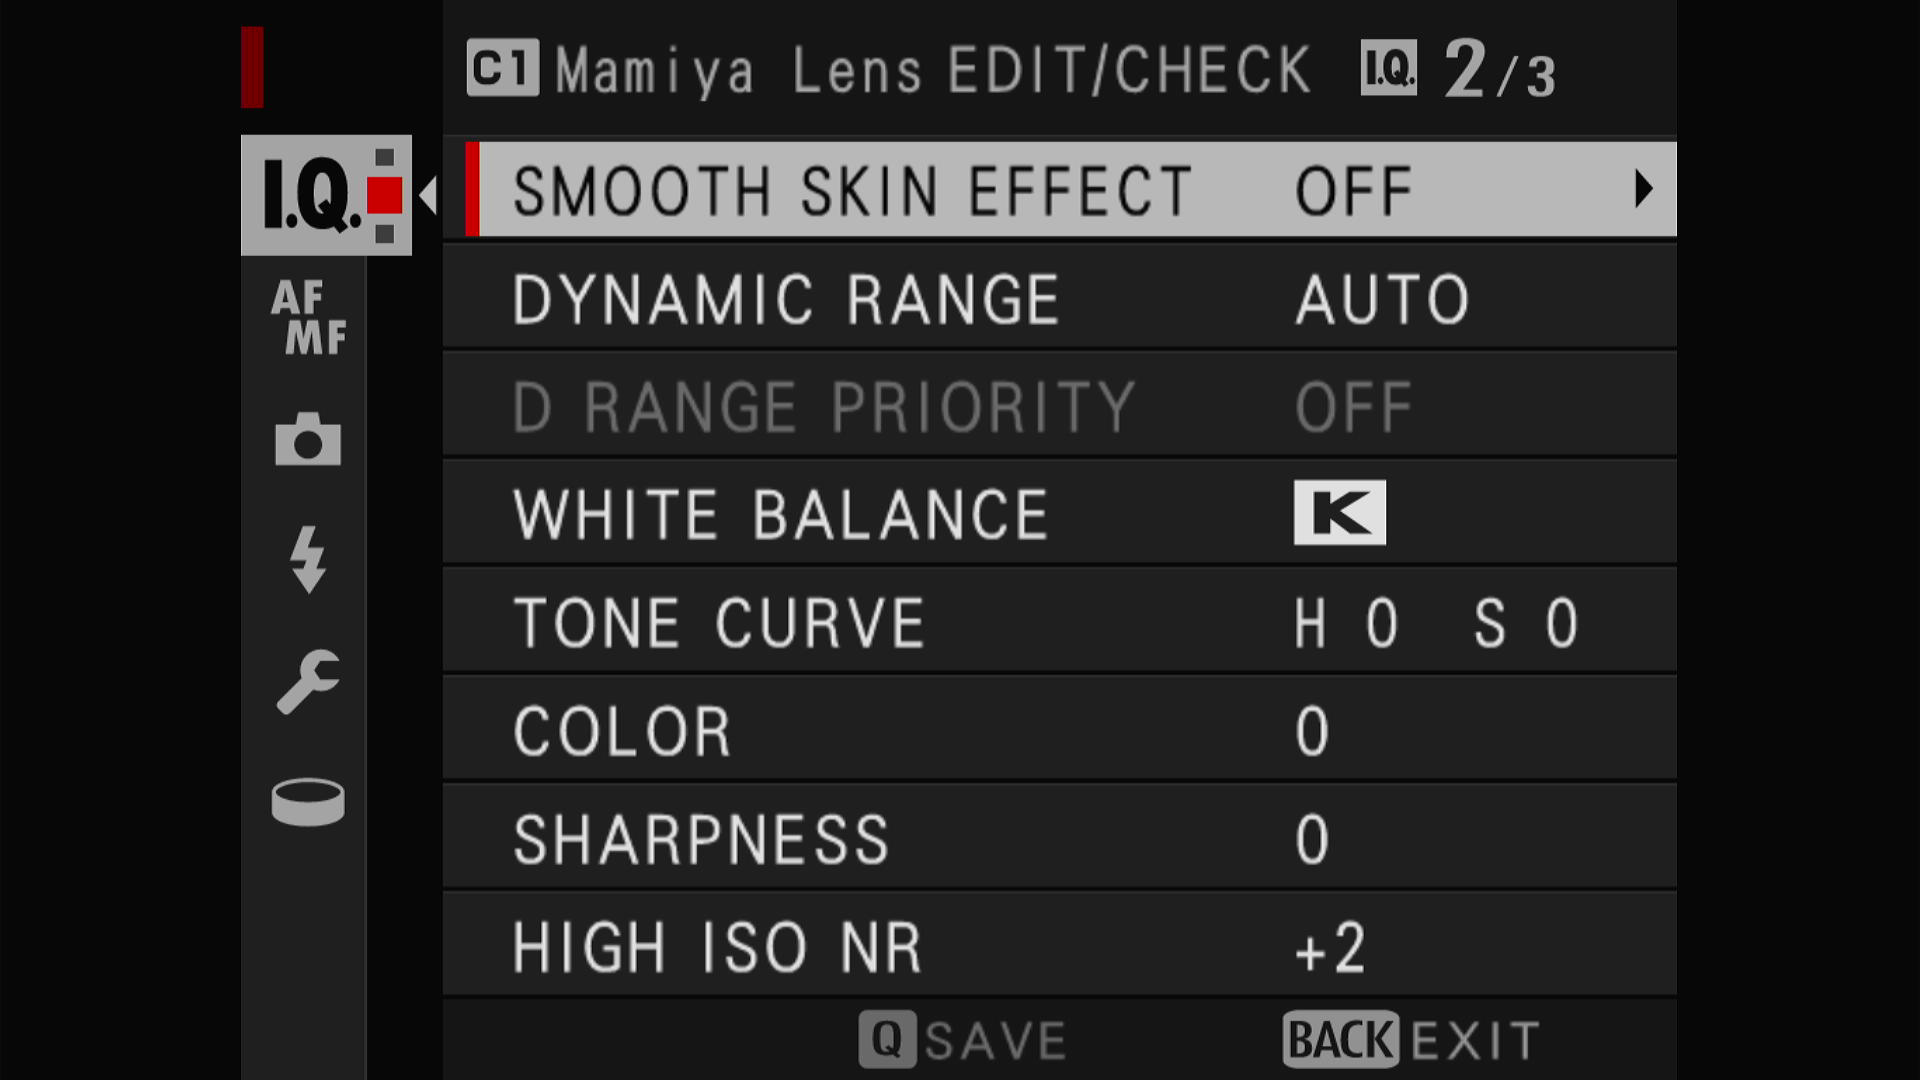
White Balance I have set to 5000K. I based this off of common daylight films. Indoor photos will be very warm as a result.
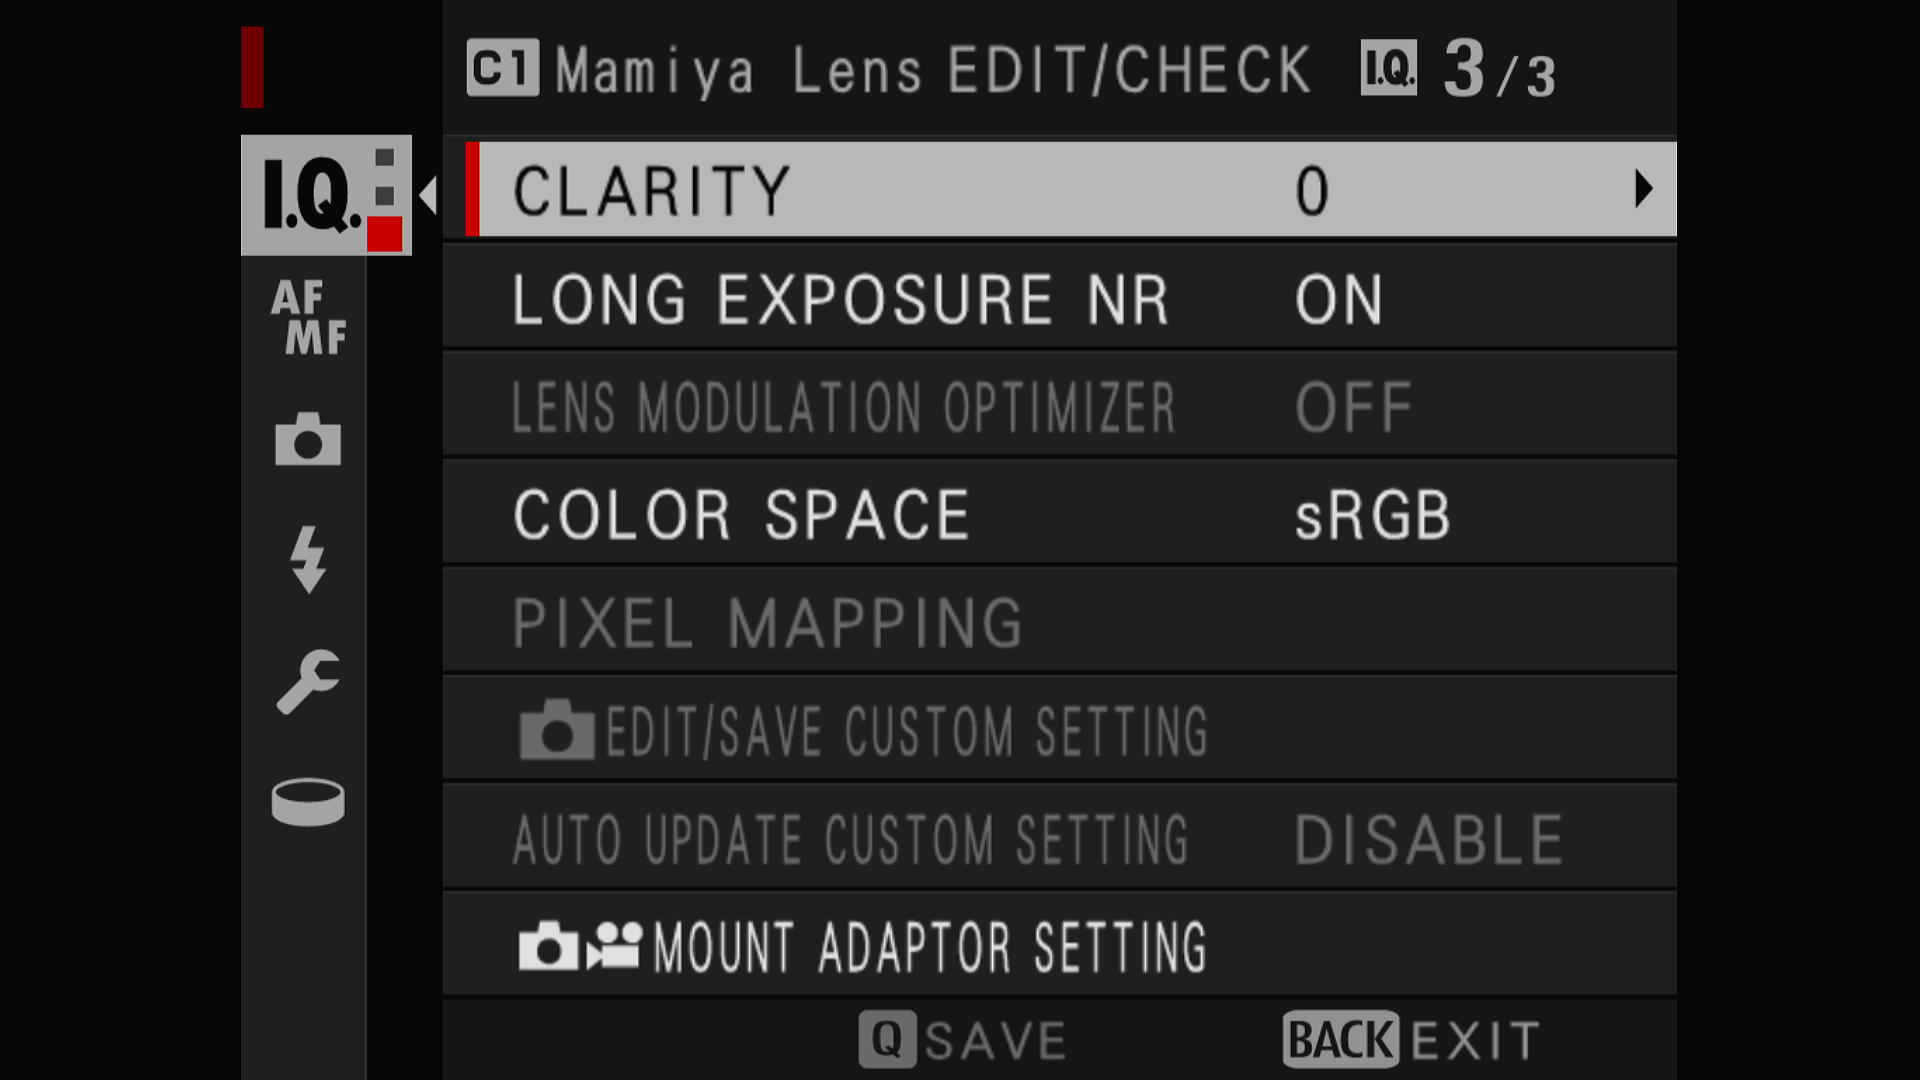
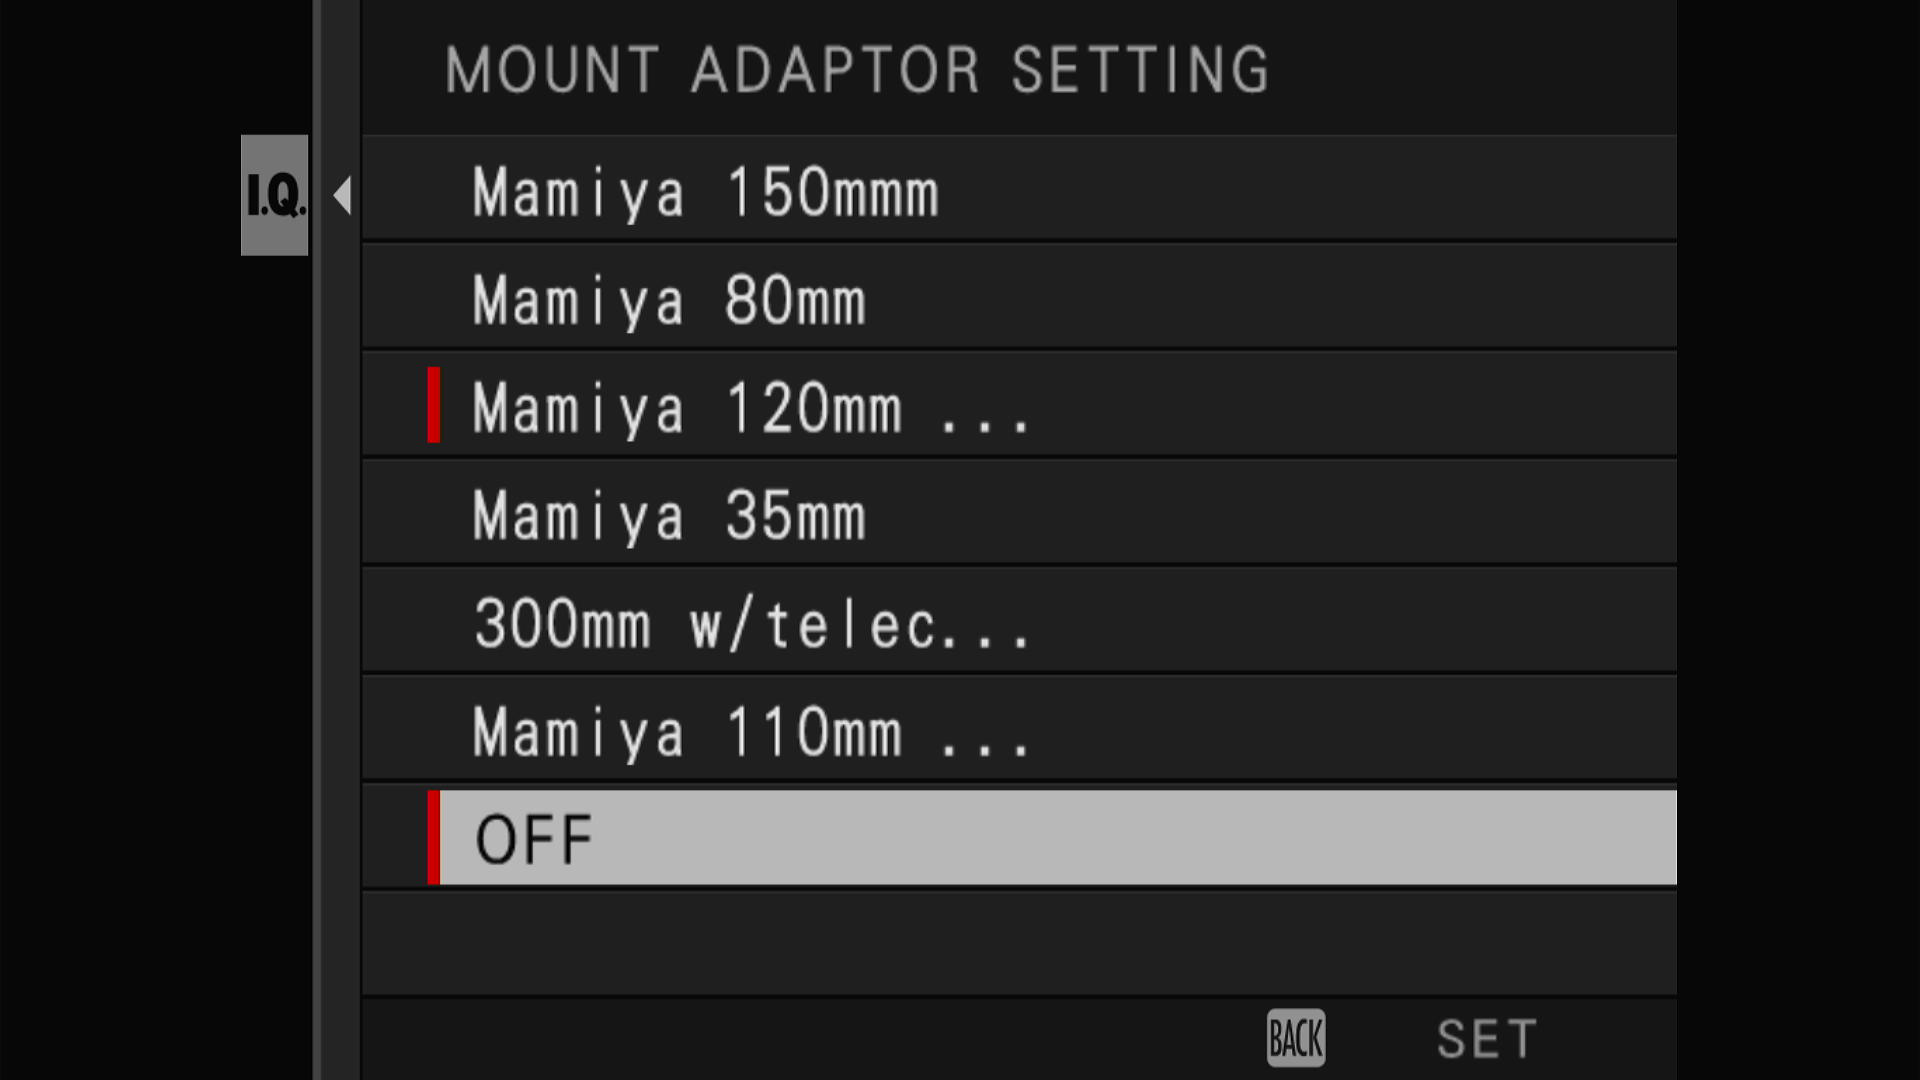
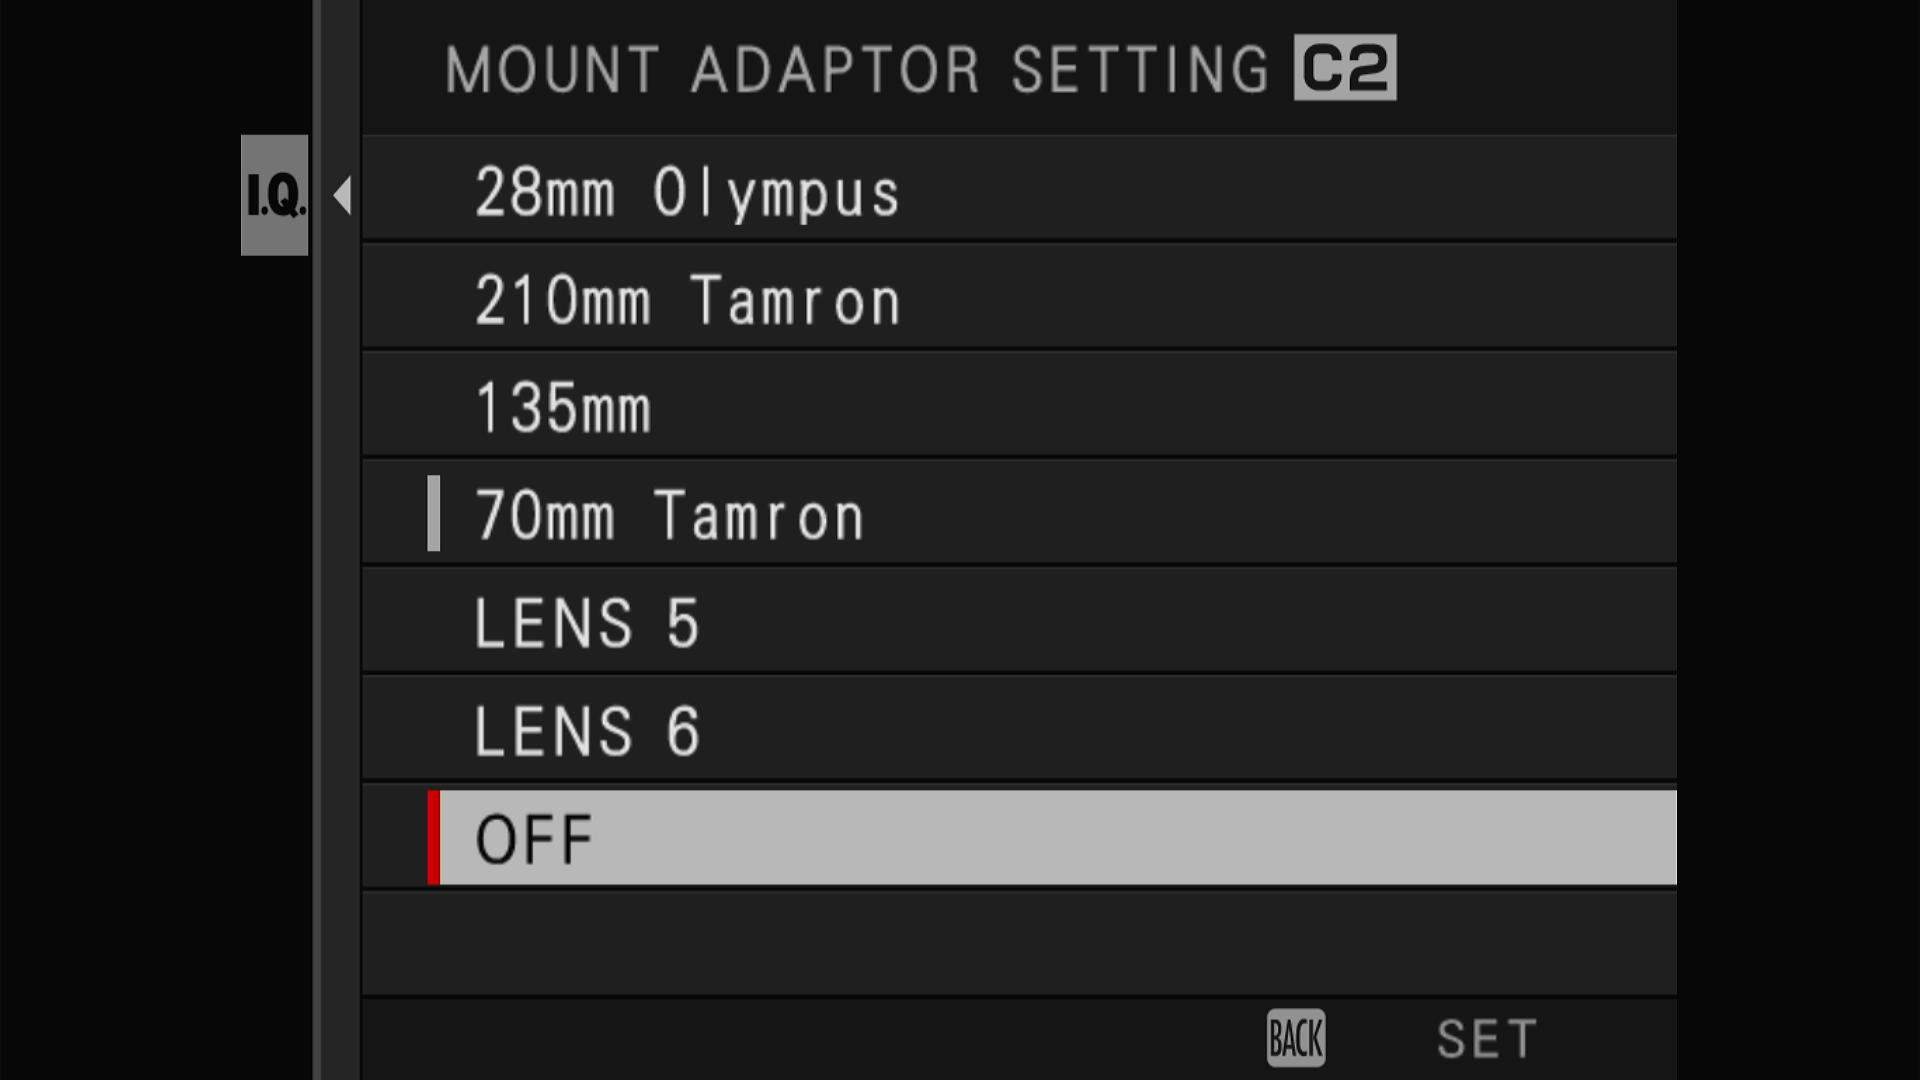
The Final I.Q. menu gets you to the MOUNT ADAPTER SETTING which is where manual lenses are set up.
Below are the different lenses I have set up starting with a 150mm f3.5 lens. I have a 2x teleconverter which I often use with my 150mm lens, so I have created a 300mm setting for that combo.
Zoom lenses are trickier. I recommend making 2 entries one for each end of the zoom if you have room. However, moving between the two can be time consuming. That is why I place the MOUNT ADAPTER SETTING menu in the ‘MY MENU’ list. If I leave MY MENU as my default menu, then I don’t need to hunt for it. The MY MENU feature is very handy, and I will show how I configure it further down.
Update: 5/30/24: I have adopted a new means of dealing with zoom lenses like the Tamron 70-210mm.
The method I originally outlined above works for me as I seem to find myself at either end of the range and the IBIS works reasonably well some distance from the end of the focal length setting. The trouble is having to dive into the menus to make the switch.
My new fix is to use two of the custom settings which are essentially identical. In one I default to the short end of the range (70mm in this case) and the long end in the other (210mm). Below I have the new Custom settings I am switching to now. C1 and C2 are for my legacy Mamiya 645 lenses. C3 and C4 for my legacy 35mm lenses.
Below are the C1 and C2 Mamiya lens mount adapter settings. These differ in only the third entry switches between 110mm and 55mm for my 55-110mm zoom lens. The other entries are just duplicates so that I can be in either C1 or C2 and find my prime lenses.
For the zoom lens I can select C1 for when I am at the long end of the range or C2 when I am at the short end of the zoom range. 80mm happens to be about half way between if I need it.
Below are the C3 and C4 custom settings which are setup with my 35mm legacy lenses. Again I duplicate the prime lenses like the Olympus 28mm and 135mm lenses. My zoom lenses are the 200mm Nikon and 210mm Tamron in C3. These become 80mm and 70mm respectively for my Nikon 80mm-200mm zoom and 70mm-210mm Tamron zoom lens.
Additionally I have a 125mm Nikon entry which is the halfway point for the 60-200mm Nikon lens. I also have 140mm for the halfway point for the Tamron lens. I am not sure how useful these halfway points will be. Experience will tell.
Now I merely switch between the two as I work the lens from long to short focal lengths. You want to make sure all the other settings are identical and the custom configuration clone feature helps. Initially when I tried this I had a different film simulation in C3 compared to C2 and of course my JPEGs looked confusing.
Some experimenting might indicate a better compromise for the long and short focal length might be found just short of either end (say 90mm and 190mm). I suspect that you are better served setting the long end exactly to the actual focal length of the lens and compromising on the short end as shorter focal lengths are more forgiving of movement. One could extend this idea to a third custom setting to use as a halfway point to better optimize the stability.
A caveat about the MOUNT ADAPTER SETTING is the function of the OFF setting. OFF means that the features to support manual lenses is no longer functional and that IBIS is disabled. If you turn off the camera with OFF selected and the camera will default to OFF when you power, it back on. This will frustrate you to no end as you may then select one of the lenses but when you turn the camera off then on it will be in the OFF setting again.
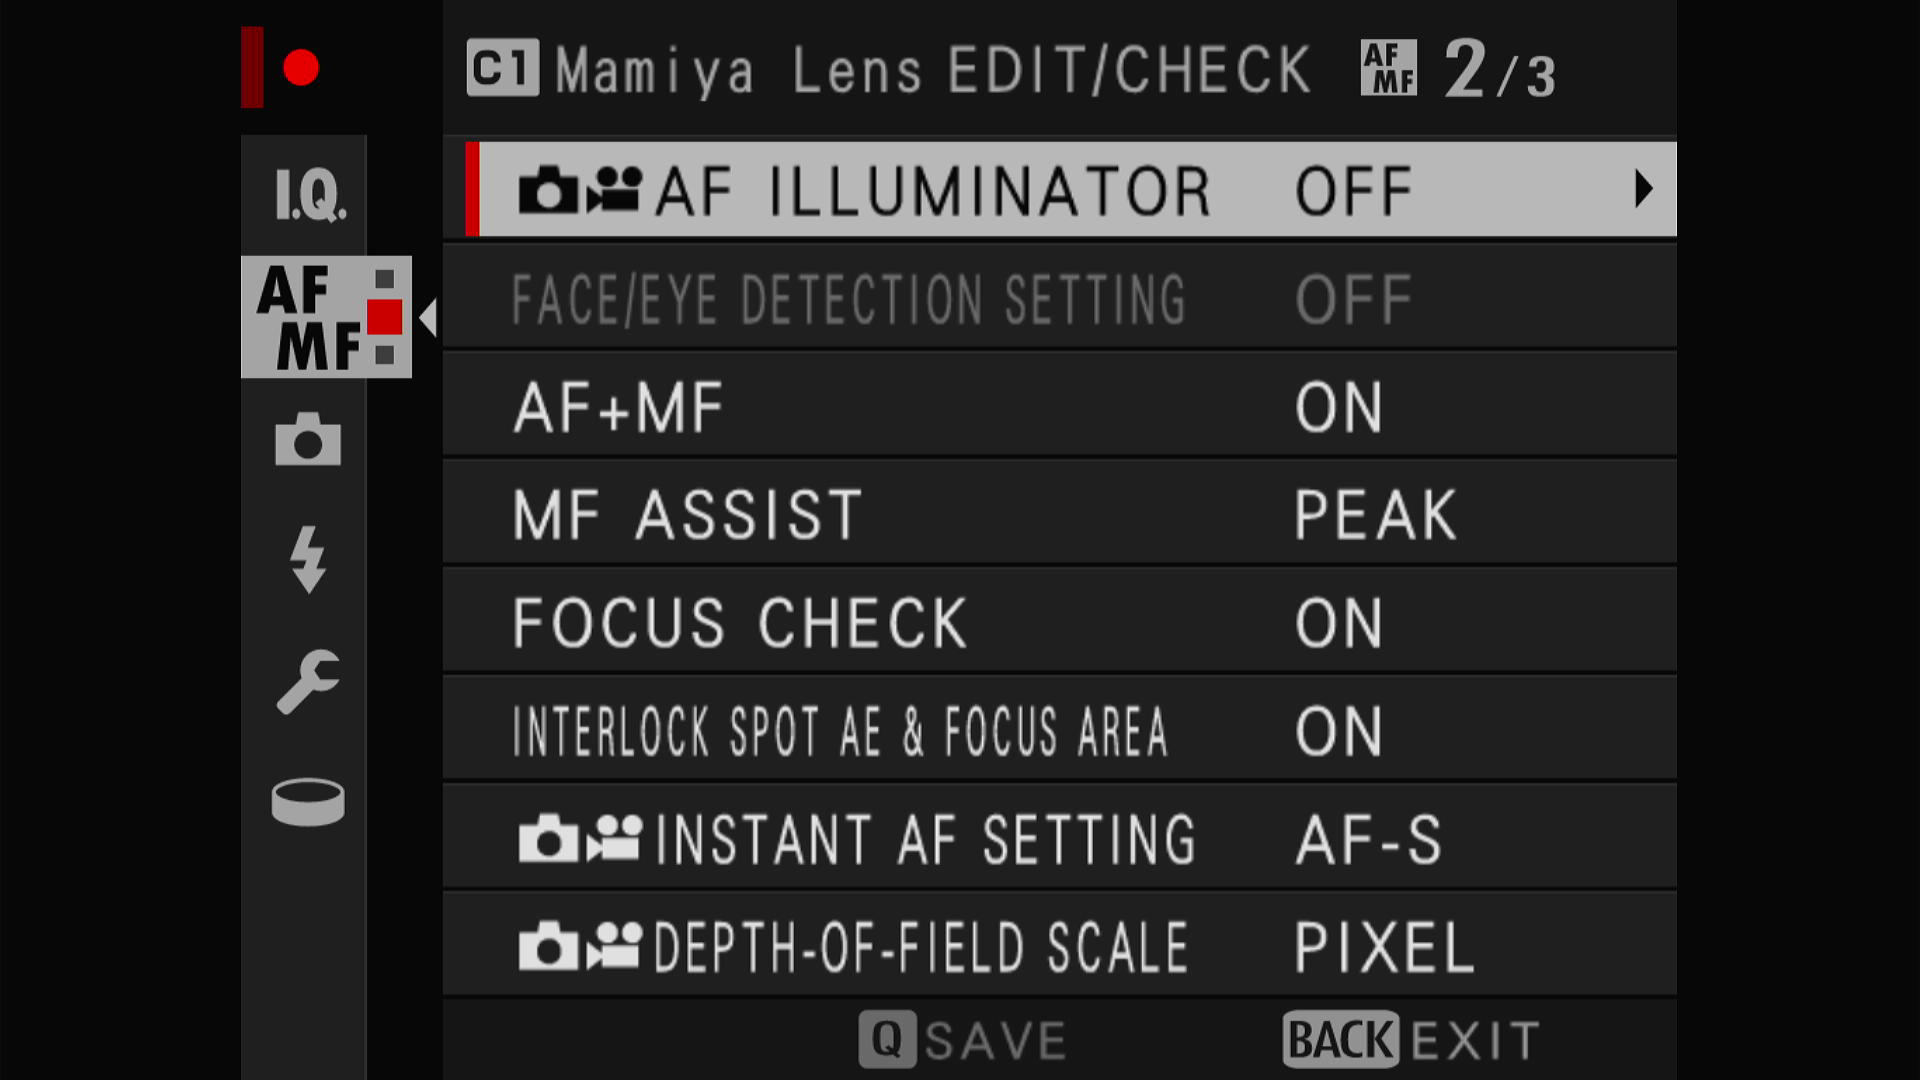
The next section is to configure the autofocus manual focus menu. For autofocus I have left the settings I wish to leave as default for when I use a GFX native lens. These settings are ignored for non-GFX lenses.
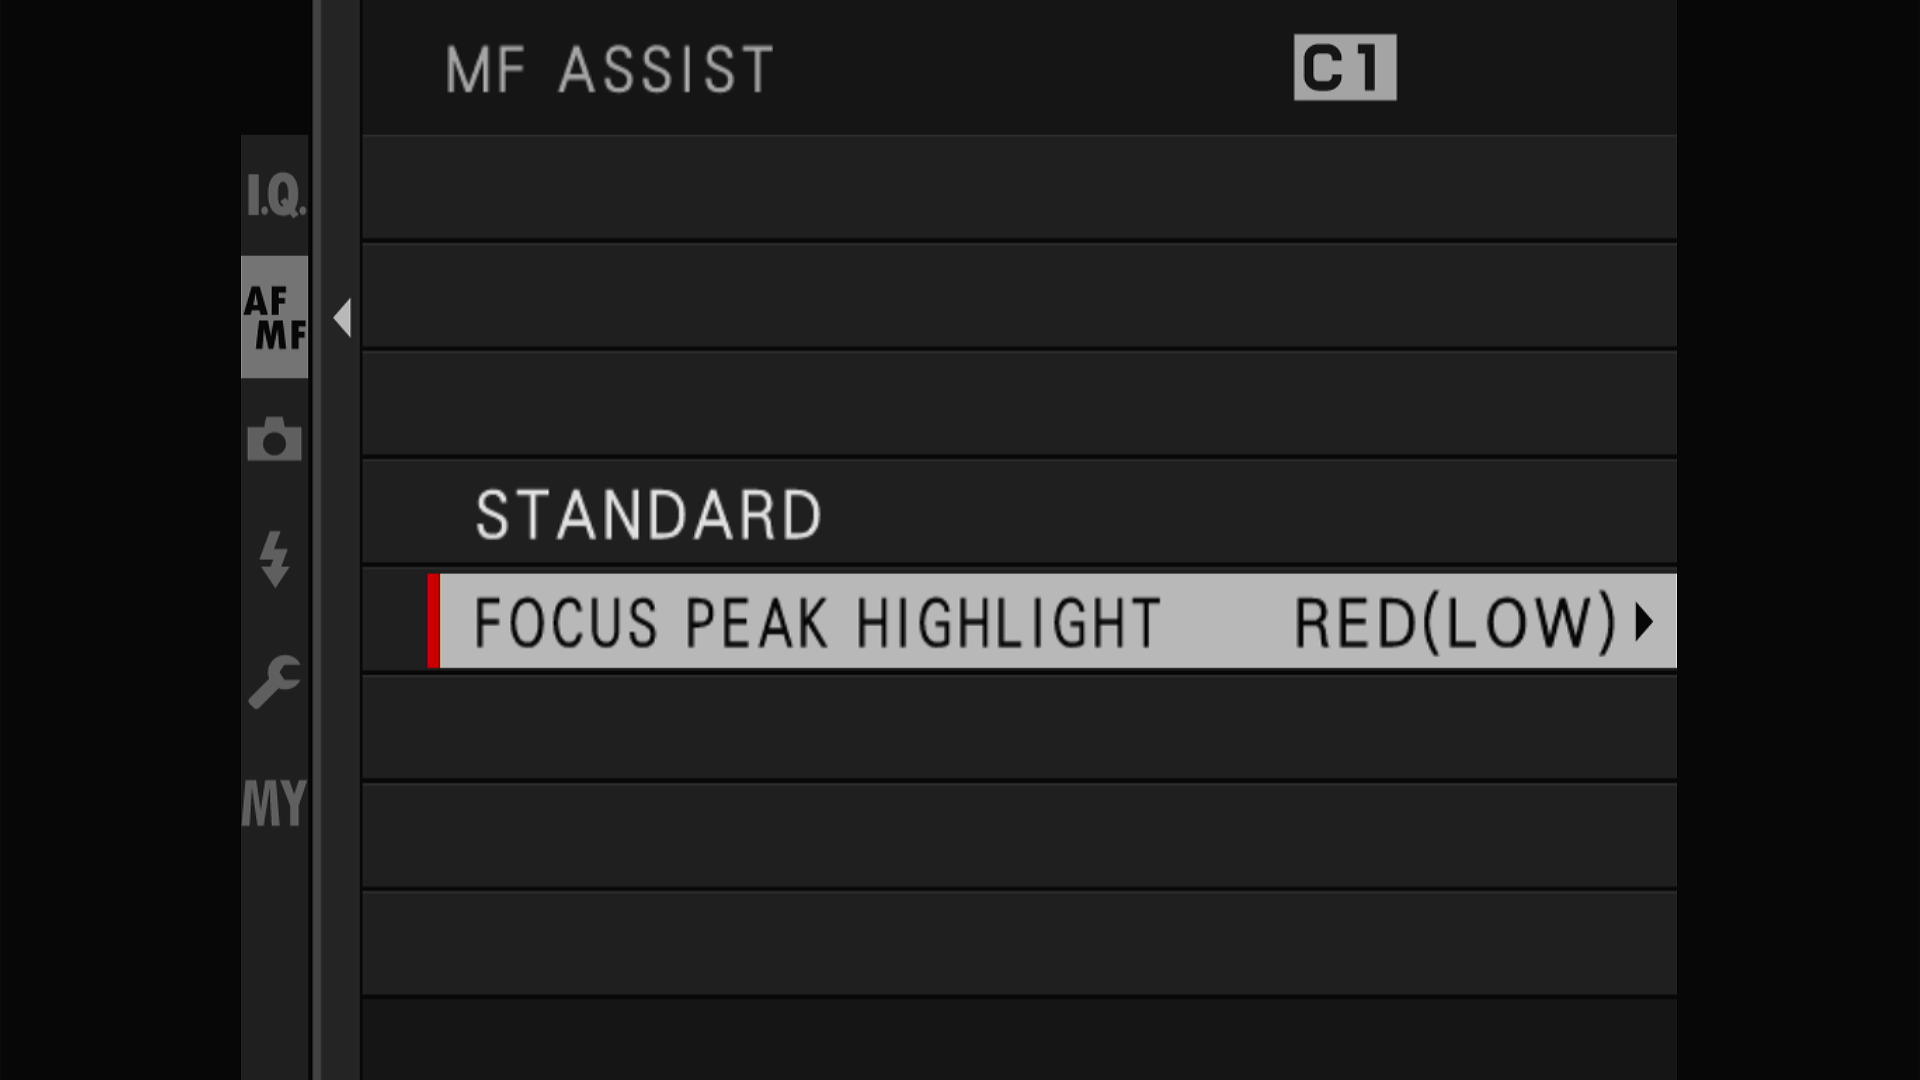
Next, I turn on AF+MF but this only affects manual focus on GFX lenses. The MF Assist is key here. This is where I turn on focus peaking which gives a visual indicator which areas of the image are in focus. Inside this menu you can configure the focus peaking. I have chosen ‘RED(LOW)’ which selects the color and intensity of the areas that have high contrast. LOW means the setting is sensitive which makes it work better for low contrast scenes but may be distracting on higher contrast subjects. If you partially press the shutter button the focus peaking is turned off in the viewfinder so you can better see the subject.
Focus peaking setup below.
The final AF/MF menu has nothing of interest. I don’t use the touchscreen as I hate fingerprints on the display.

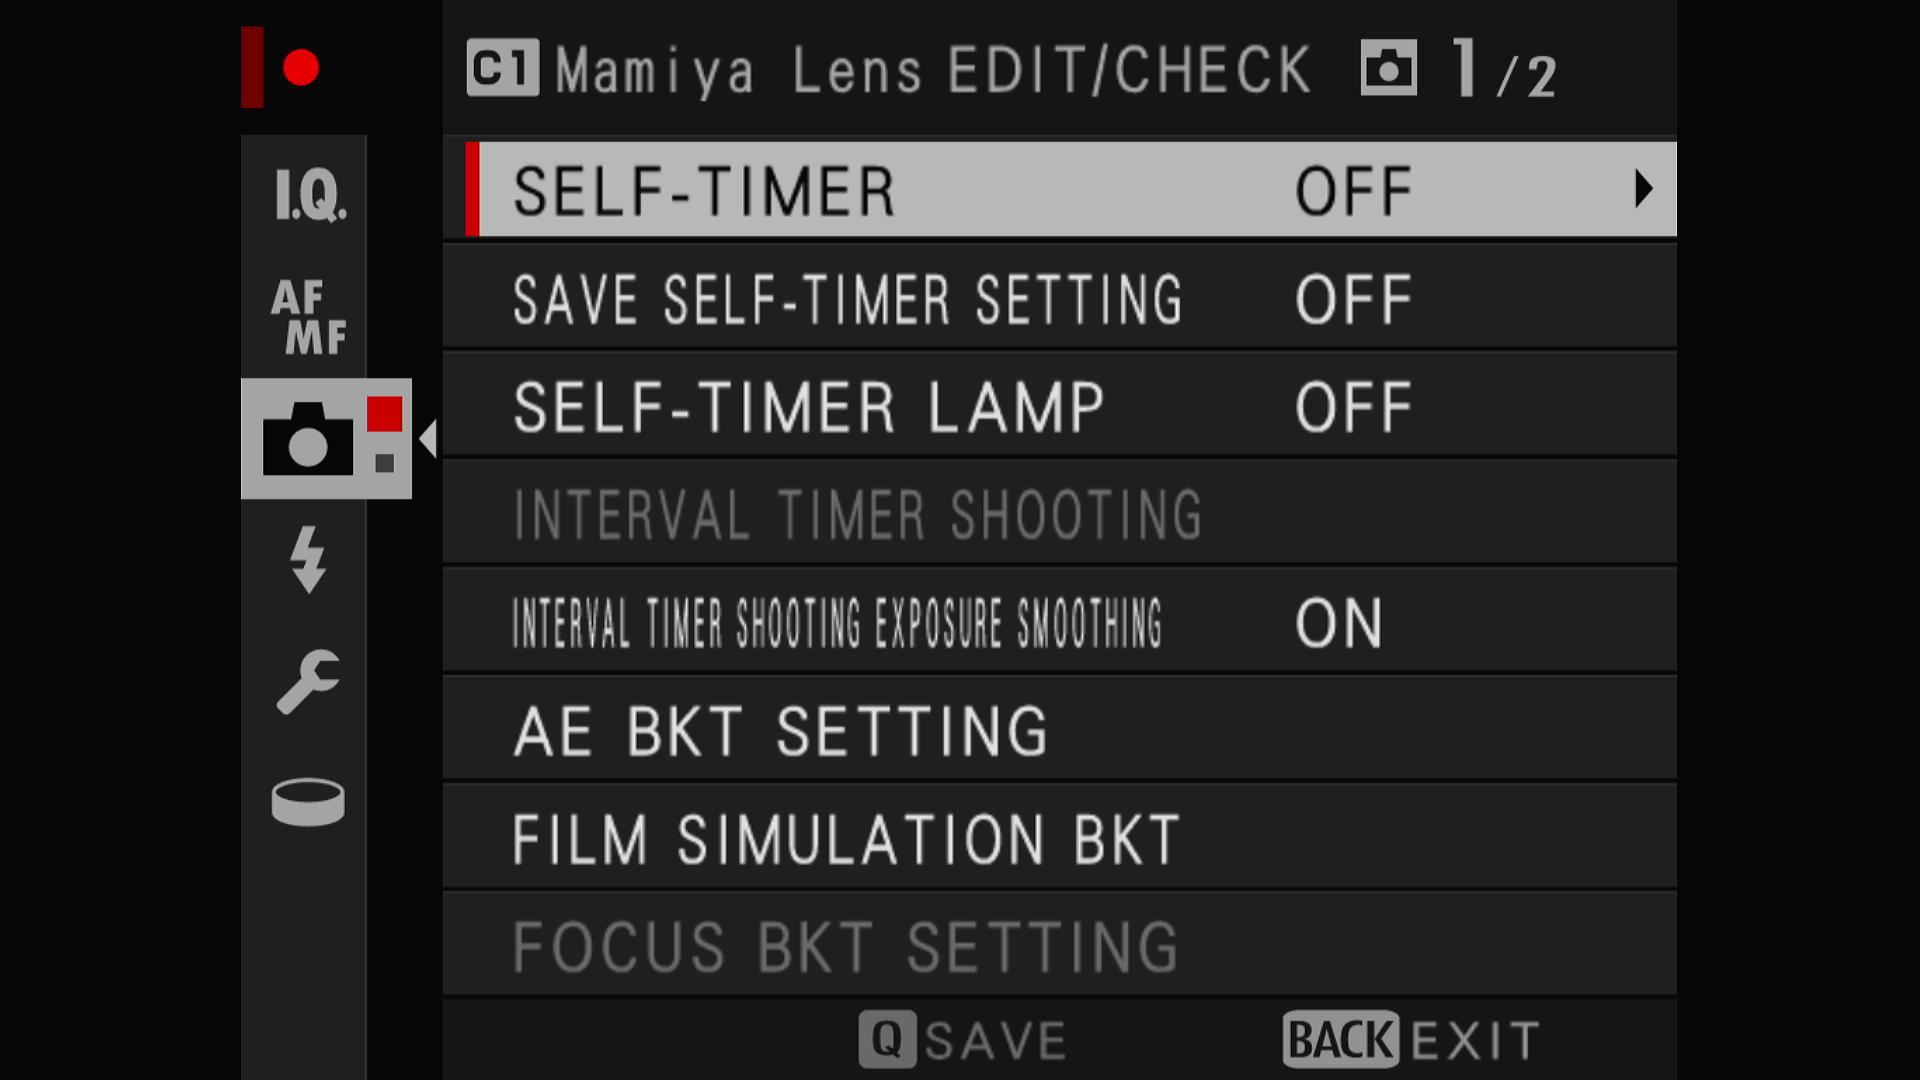
Next are the shooting menus.
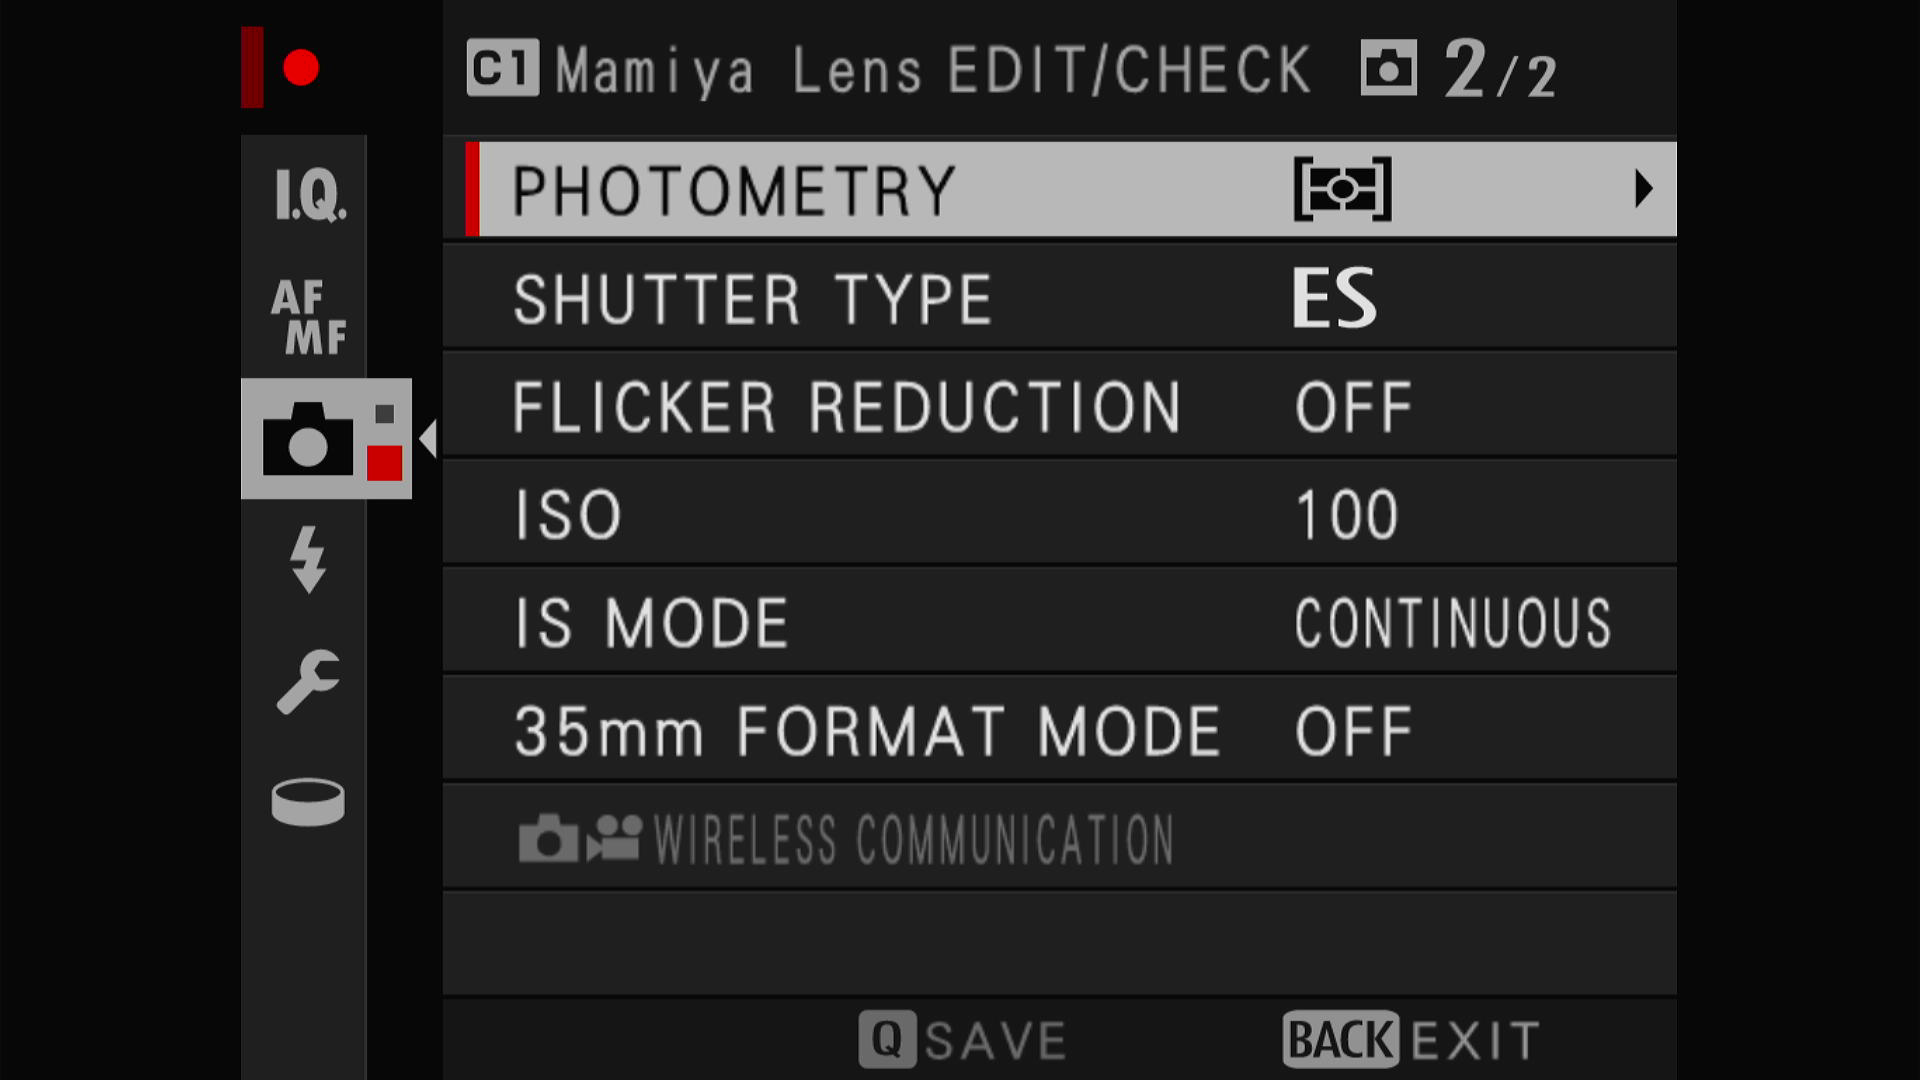
The second shooting menu is where the 35mm Format Mode would be set for 35mm lenses. It is off for the medium format Mamiya lenses.
And that completes the settings I made for my Mamiya lenses.
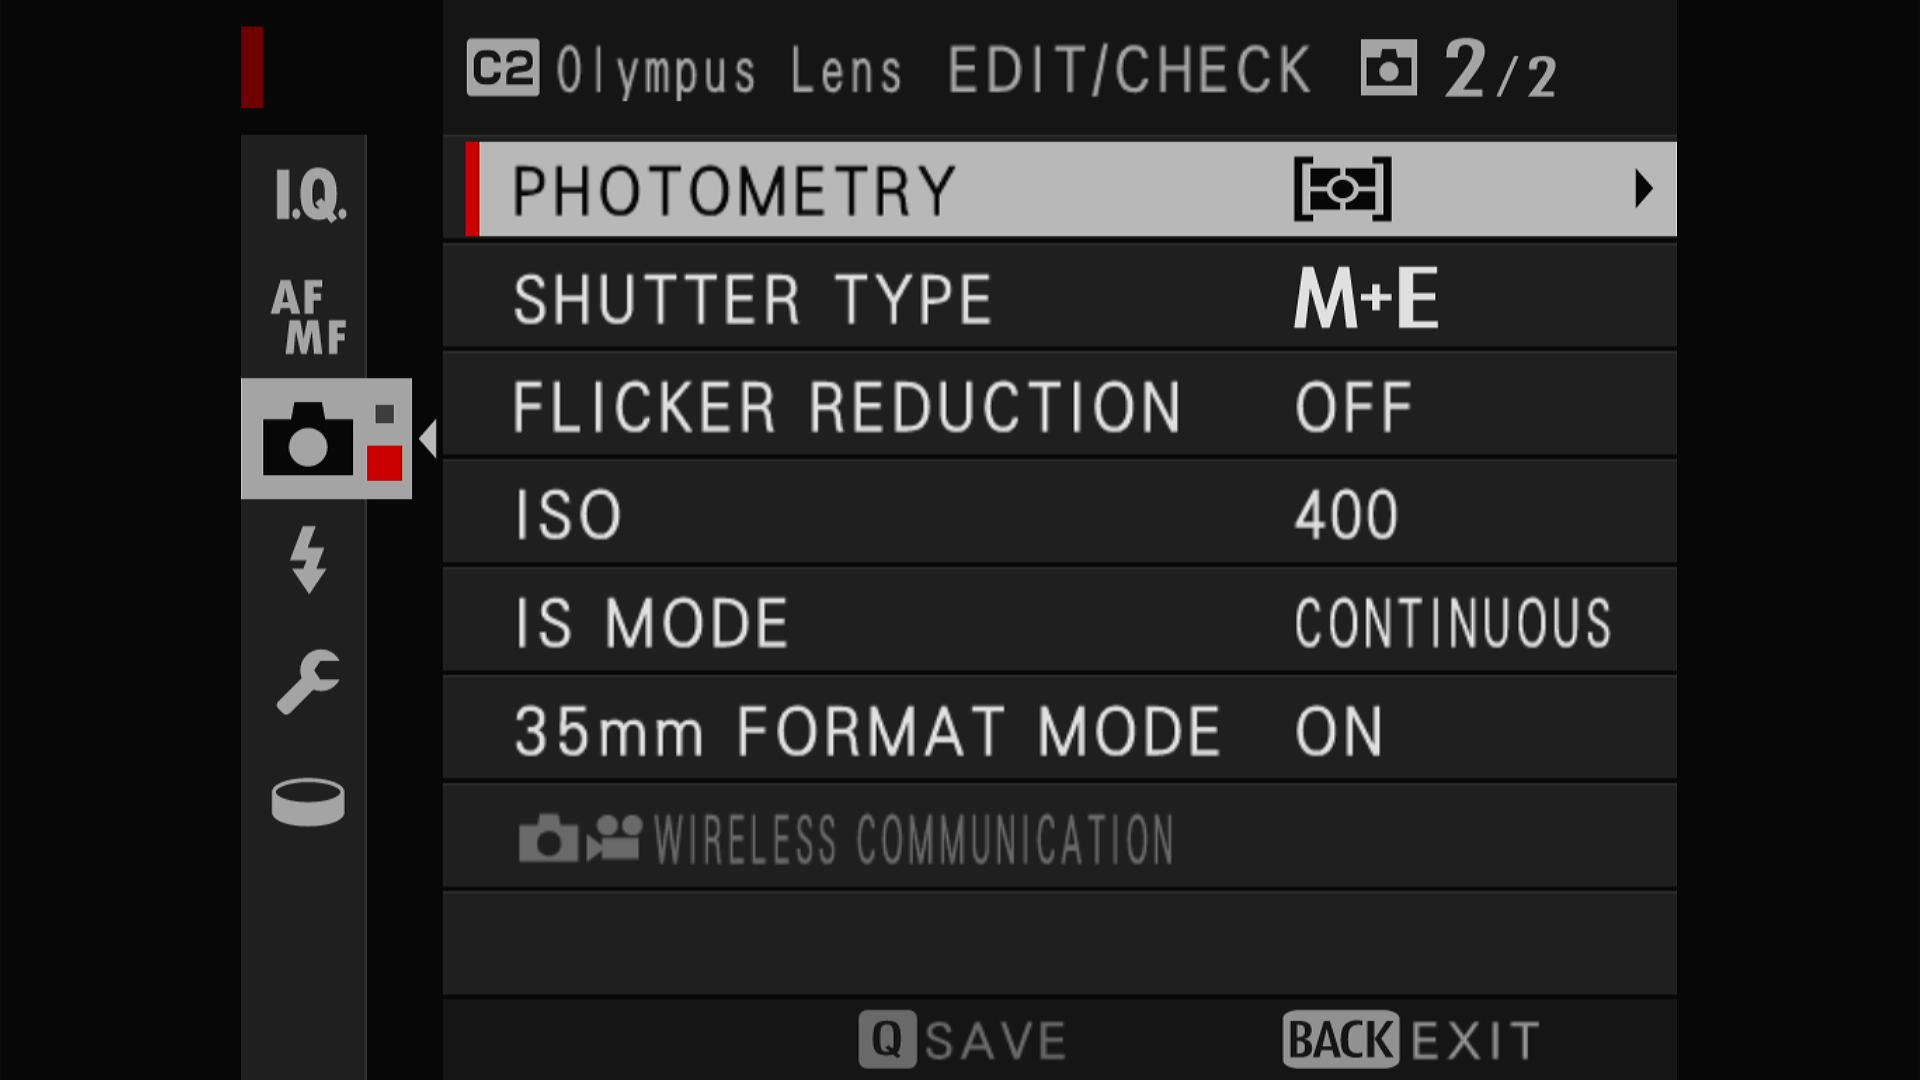
Below I have shown the differences in the settings I use for my C2 Olympus lens support. First is the Mount Adapter Setting. (Refer to the section above for the newer zoom lens method.)
And here the 35mm mode is turned on. You can leave this off and get full size images but there will be vignetting depending on the lens and aperture setting. This could allow you to crop a slightly larger image. I chose the 35mm mode as it saves time and most of my 35mm lenses have vignetting problems.
My Menu Setup
A powerful feature of the GFX is the ‘MY MENU’ feature. This is a top-level menu where you can gather frequently used menu items. This saves you from endless scrolling and searching for a function or having to descend into the depths of the menu system.
This feature combined with the custom settings means that I am no longer familiar with all the other menus. This for me is a good thing as I just pick my shooting setup and lens and fire away. I spend all my time out of the menus and that helps me stay ‘in the moment’. If you exit the menus directly from MY MENU then it is the first menu you see when you press the menu button.
Anytime I find myself having to dig into the menus I find it breaks the rhythm and fun.
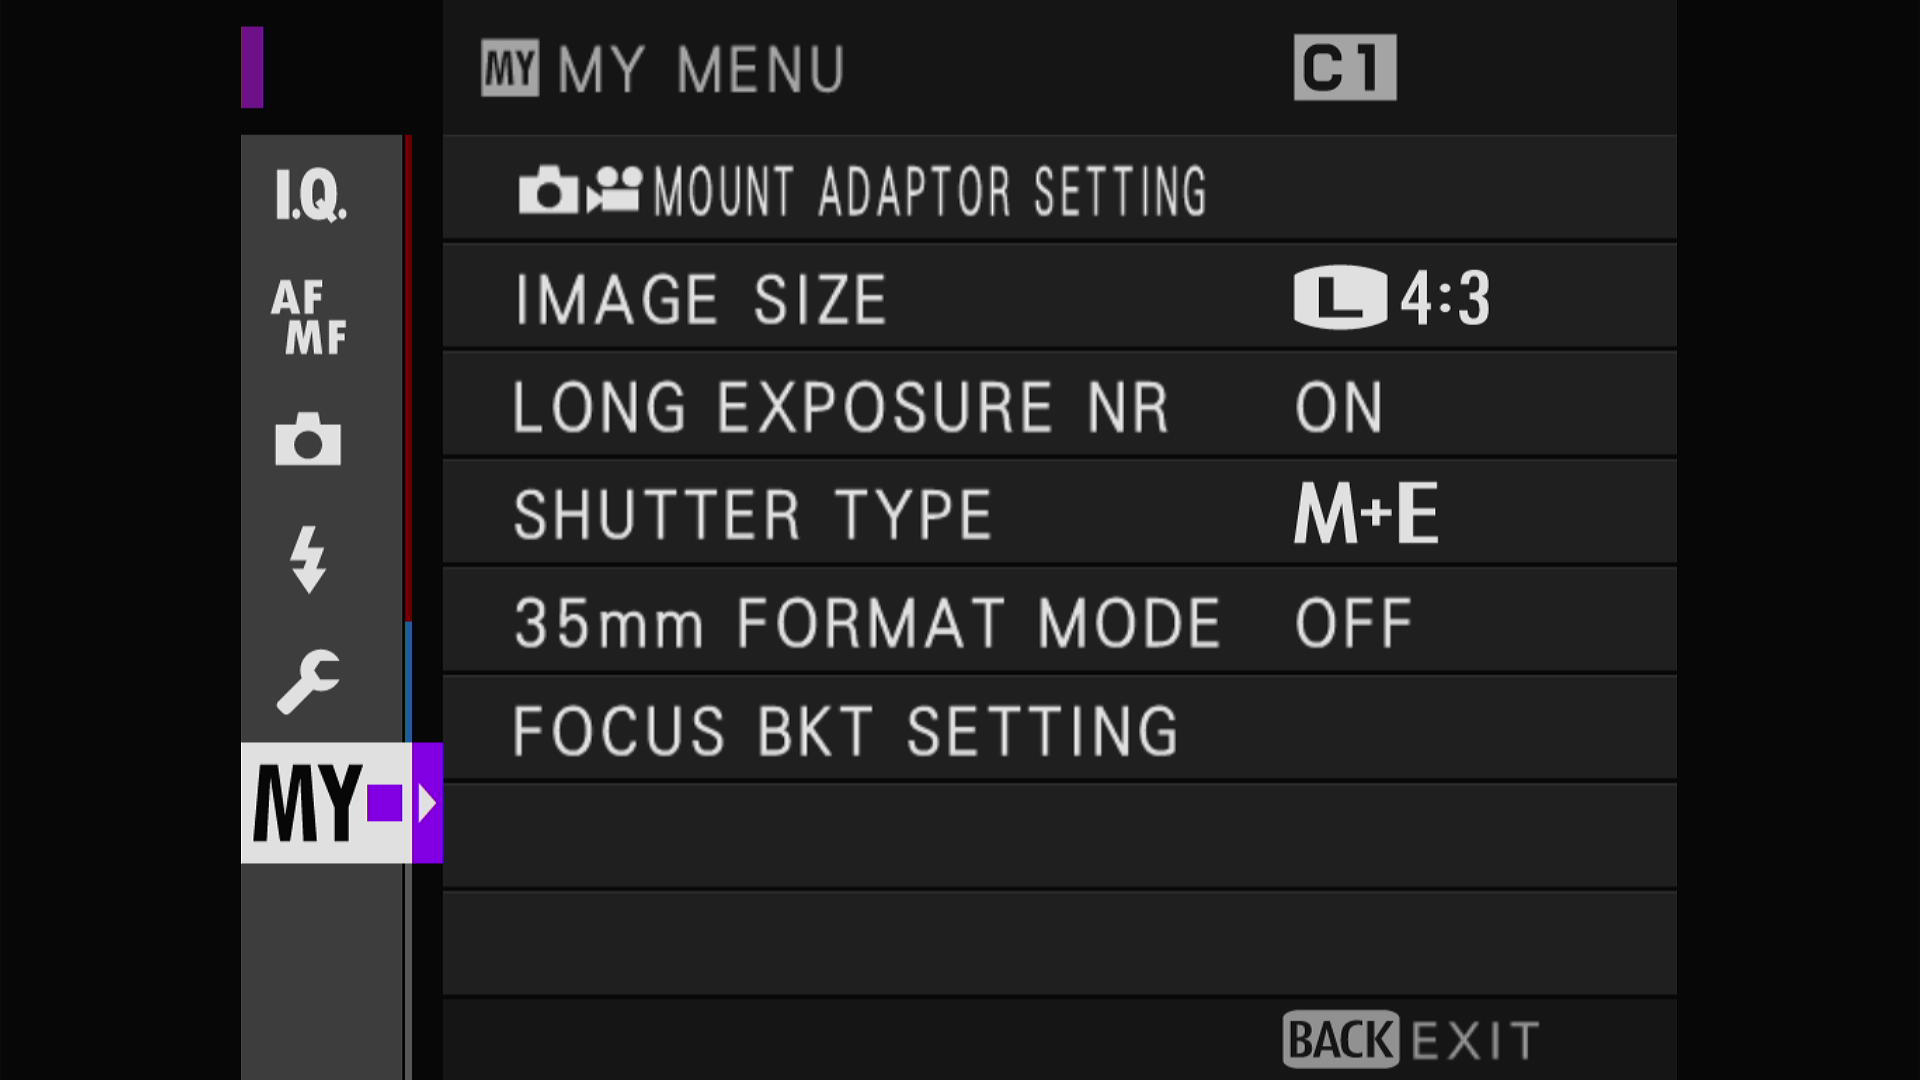
My own MY MENU is set up as follows. I placed the Mount Adapter Setting there so I can change lens setups quickly. The other relevant setting is the 35mm Format Mode so I can go full frame with the 35mm lenses if I wish. Other settings are less relevant to my shooting style and are more personal preferences.
(The Q button is a great quick way into settings as well.)
The Next Chapter…
In the next chapter I will explore a further topic to connect this workflow to the darkroom to make traditional silver gelatin prints….