A Film Approach to the Fuji GFX50s ii: Part 1
Introduction
For complex reasons I bought a used Fuji GFX50s ii which is a medium format mirrorless digital camera. The GFX 50sii has a 50-megapixel sensor in a medium format size of 45 x 32mm.
Coming from a film photography background I could justify the high cost of the camera by using my 8 different Mamiya 645 lenses. The Fuji GFX 50s ii has in-body image stabilization which is what sold me on it compared to the GFX 50r which does not.
I bought a shift adapter from Kipon for my Mamiya lenses. I also bought straight Nikon and Olympus adaptors for the few lenses I have for each of these mounts.
This article is a summary of a series of posts I did contemporaneously about my experience and development of a methodology for a film-like approach to digital.
New Rituals and Contemporaneous Impressions
Anyone who thinks digital is easy is pulling your leg.
After the first few days I am not thoroughly convinced about this whole digital thing. This is not my first encounter, but it is my first immersion in it. (Something about paying a lot of money makes me take it more seriously. :))
The first day I felt like I had just bought a box of great complexity, a headache in physical form. It drove home how relatively simple film photography is. The choices and settings on the new camera are too large to be numbered. No longer content with focus, shutter, and aperture we now have a full set of menus just for autofocus. Choices about buttons, screens, film emulations, connections, storage. It felt like a huge cognitive burden.
Still, I persisted and within a few days I had broken it down to simpler configurations and habits. Still, I found that something I had set had disappeared because perhaps I changed some other configuration or had accidentally changed the setting I intended to leave alone. I read the manual incessantly and listened to polished over-enthusiastic teachers of digital on YouTube until I could no longer stomach them any longer. Useful, but fatigue can quickly set in.
And I practiced taking photos on sunny but uninspiring days. Building some knowledge and muscle memory.
Setting up like Film
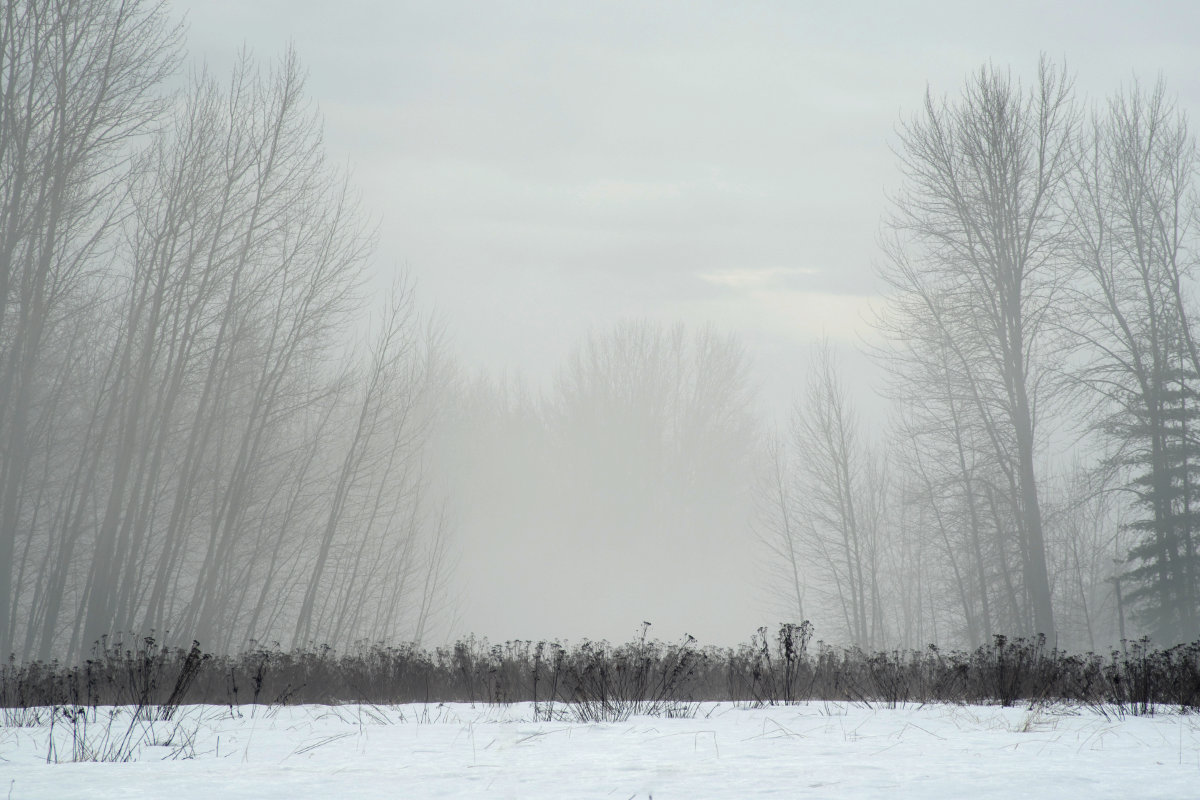
There are a few aspects of this journey that reflect a film approach to digital photography. First is that I stick with a single white balance of 5000K which is common for most daylight film. Since I shoot mostly landscape this is most appropriate. This has the added advantage of knowing the camera is not trying to second guess things and cool down warm light or vice versus.
The use of manual lenses and focus contribute to the film orthodoxy as well and I will cover that in a later section on how that works on the GFX.
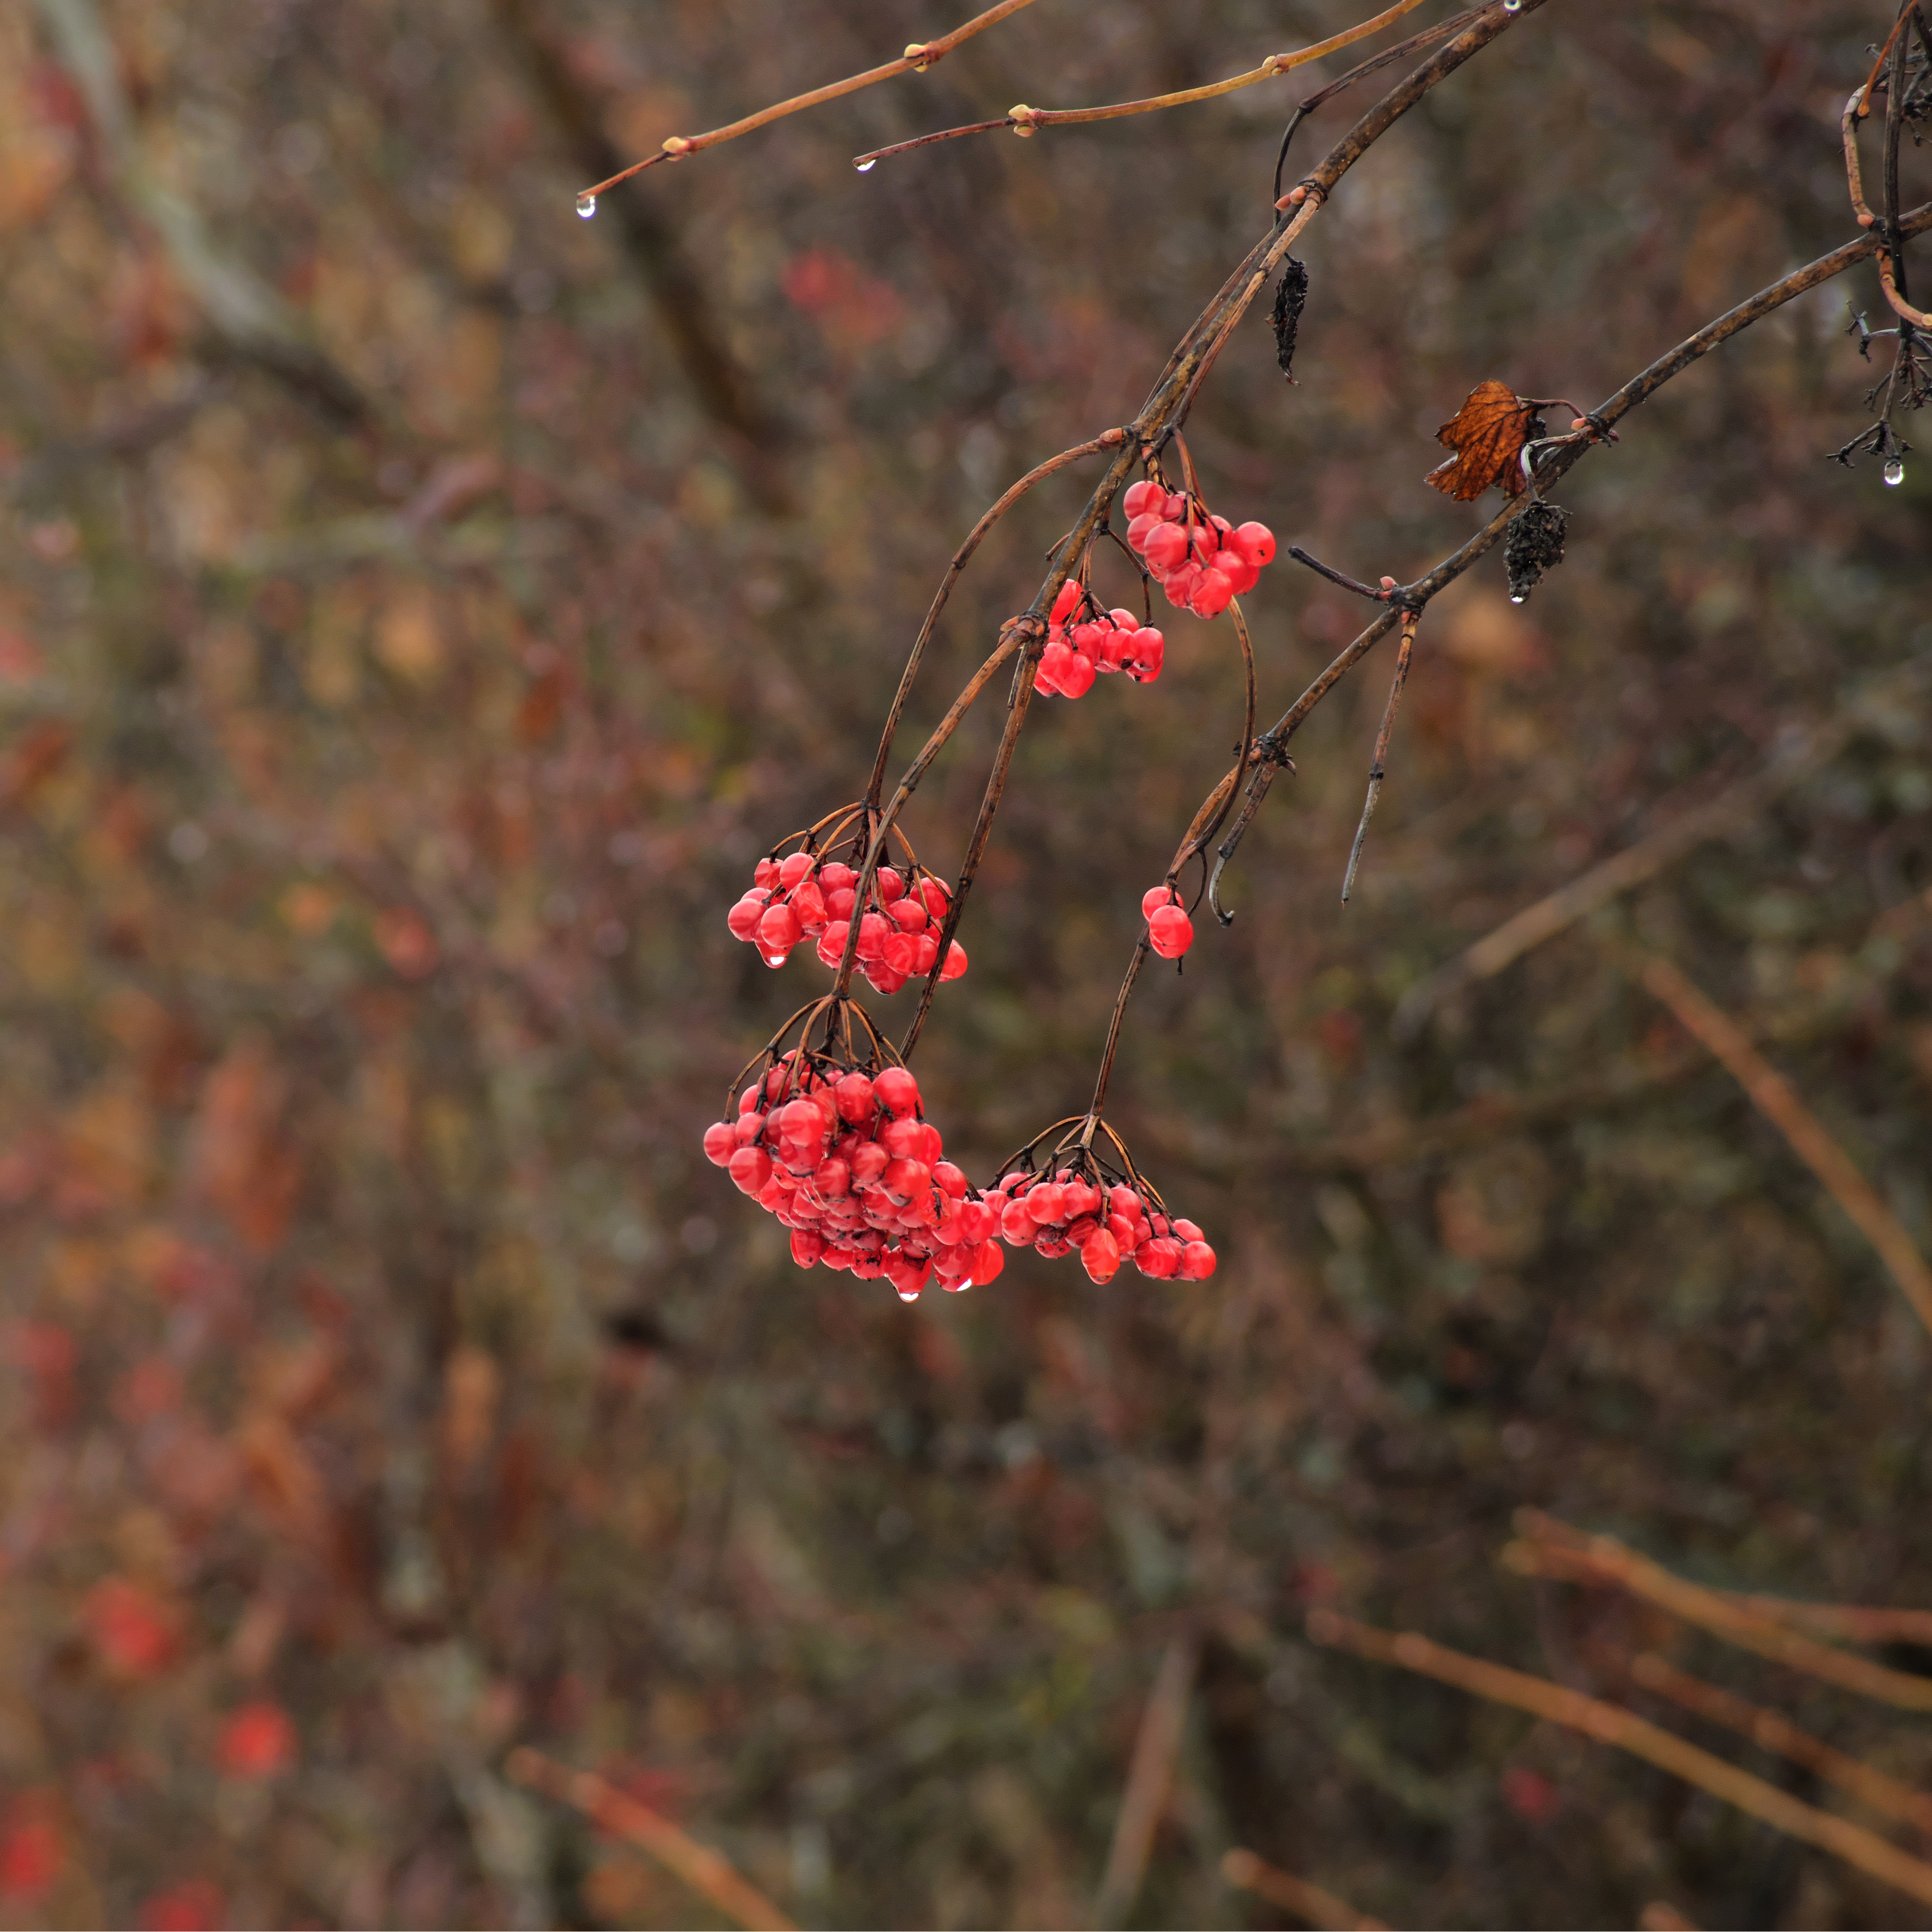
I tend to stick with a single film simulation called ProNeg Std which provides a relatively flat image without a lot of contrast. In fact, the in-camera description saws 'best for editing'. For me it mimics what I am after in the scan of film. It means I have some latitude in processing as a JPEG.
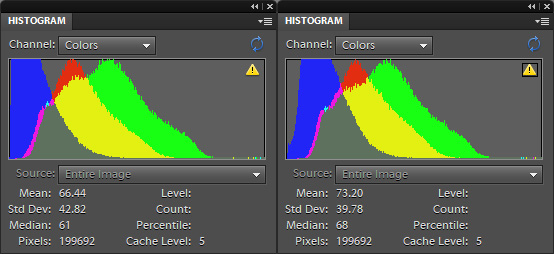
Note differences in JPEGs between Provia and Pro Neg Std film simulations. The corresponding histograms show the crushed blacks of the Provia simulation.
Sometimes, however, you want to shoot a style of film for a session and for that I still have access to all of the built-in film simulations.
I shoot RAW+JPEG which gives me the option of reprocessing in a different film type if I wish to in post. Fuji cameras allow you to reprocess a RAW file in-camera for a different set of shooting conditions such as film type, color temperature, or crop.
Aspect Ratios
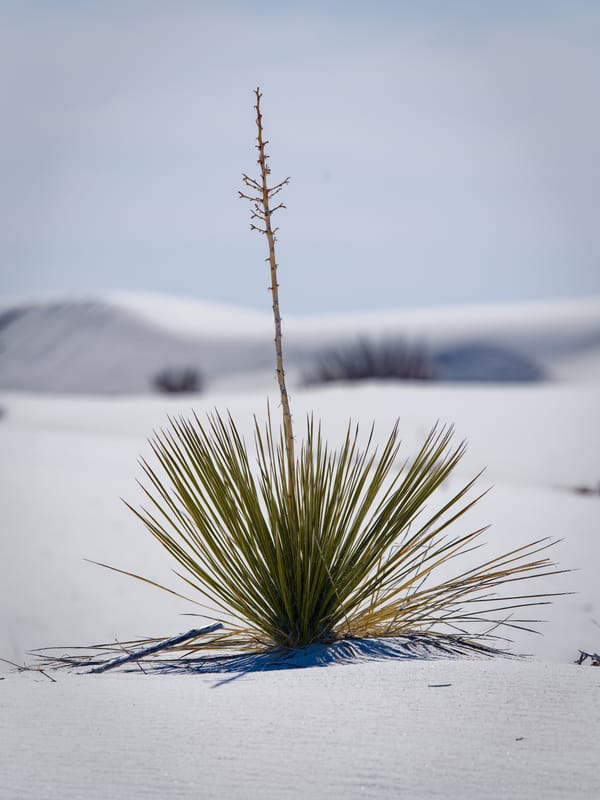
One part of film photography that I enjoy is the different cameras I own. I get a variety of different negative sizes and aspect ratios. Some of these are 6x45, 6x6, 6x9, 6x12, 6x17 and 4x5. The GFX works at 4:3 which is the same as 6x45. It also offers a square crop (6x6) and the xpan ratio 65:24 which is very close to 6x17 (about 3:1). And I can even opt for a 4x5 crop if I wish. The 16:9 cinema crop is very close to 6x12.
These crops or aspect ratios give the flexibility to shoot all of these different formats. My preference is to go out with one aspect ratio and work against the constraints that imposes on me much like selecting an individual camera to take out.
RAW + JPEG
I configure each custom setting to record JPEG and RAW. The RAW file is the get out of jail card as it captures the full frame so if I miss the composition in-camera, I still can find the full frame in the RAW file and perhaps recover or improve it. Most of the time I am happy with the JPEG though. I can also output in-camera a 16-bit tiff file so I can have the benefits of the in-camera film simulations but still have full dynamic range uncompressed images for editing without having to deal with RAW files.
Lenses and Focusing
In general, I find manual lenses work quite naturally. Having an aperture ring is more natural than the camera dials. (My GFX 35-70mm lens lacks the manual aperture of many Fujifilm lenses.) The aperture does not show up in the viewfinder for manual lenses and one has to look at the aperture ring on the lens.
Set to Aperture Priority
I would recommend setting the camera to aperture priority. This means the camera will compensate with shutter speed to make sure the viewfinder is properly exposed and so it always appears clearly. This makes composing in the viewfinder very natural.
I have no auto-focus lenses in my film camera repertoire so manual focus comes quite naturally. Focusing on a digital camera is subtly different from a film camera. The electronic viewfinder is more difficult to focus with. Though at least you can see something in low light on the digital camera. The quality of the viewfinder degrades with lower light and the refresh rate slows down as well which can require extra care and patience.
There is a single button zoom function which helps but becomes quite fuzzy due to sensor resolutions limitations.
Turn on Focus Peaking
I turn on focus peaking which highlights higher contrast areas that are in focus. For high contrast scenes and some higher contrast lenses this works really well. Under low light and foggy conditions or lower contrast lenses the peaking does not show up well or at all in many cases.
When using focus peaking move the peaked areas completely through the subject so you can see the range of focus indicated. I find that for any given subject with narrow depth of field, it is best to focus on the ‘front end’ of the peaking indication as you sweep the focus from closer to farther.
Open the Aperture
One tip is to open the aperture all the way up when focussing. One difference from most film cameras (the exception being large format), is that there is no ability to have the camera operate the aperture lever that closes the aperture to its selected value when the shutter is released. This means the lens must be set to always having the aperture active. For my Mamiya lenses this means setting them to ‘M’ manual aperture. For the Olympus and Nikon lenses they default to this type of operation.
By opening up the aperture all the way before focusing you avoid being fooled by the depth of field improvement that comes with smaller apertures. Now you can focus on the object and then see the depth of field improvement by manipulating the aperture ring.
I inevitably find myself chimping for critical focus. It may take me a couple of shots to get the focus exactly right. Thats fine as the cost is just time. It is curious that I almost always nailed the focus on my film cameras.
I find the viewfinder best for the focus review. It works in all lighting conditions and has enough magnification to show focus pretty well. The viewfinder to very crisp in the center but the corners get soft. One can see some mosquito noise compression artifacts on some edges if you look closely. It seems Fuji uses JPEGS in the viewfinder.
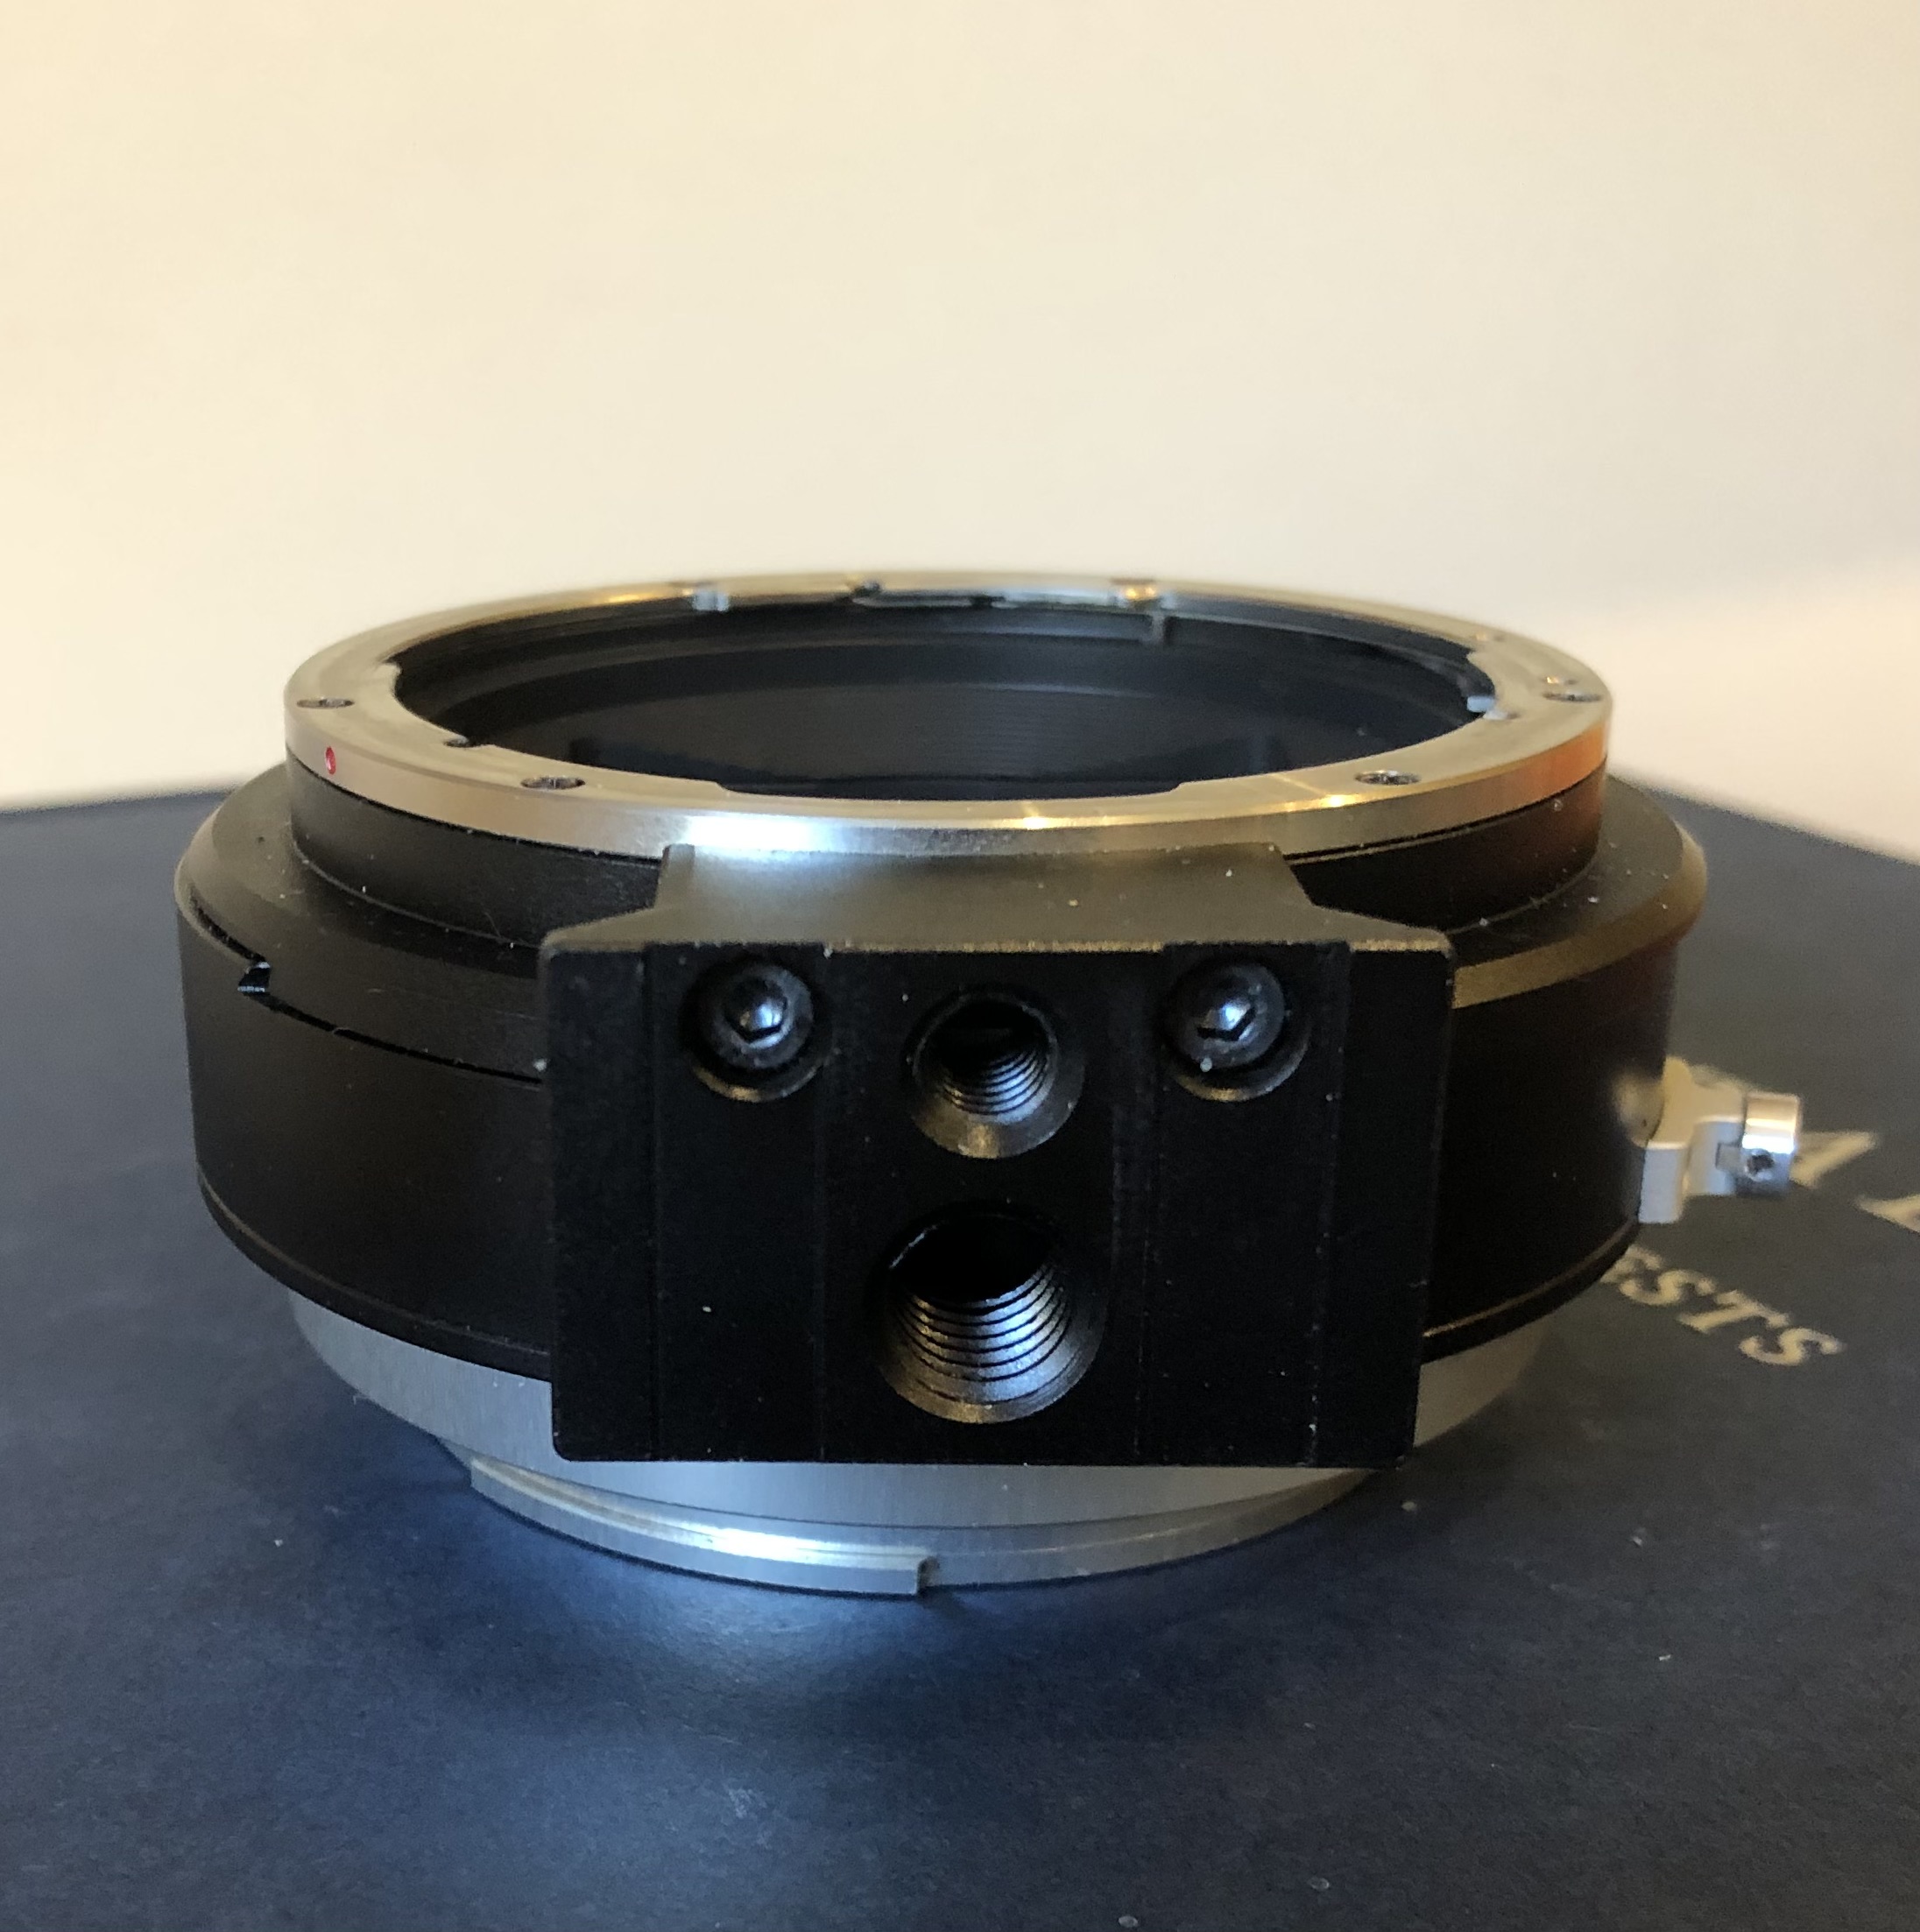
Shift Adapters
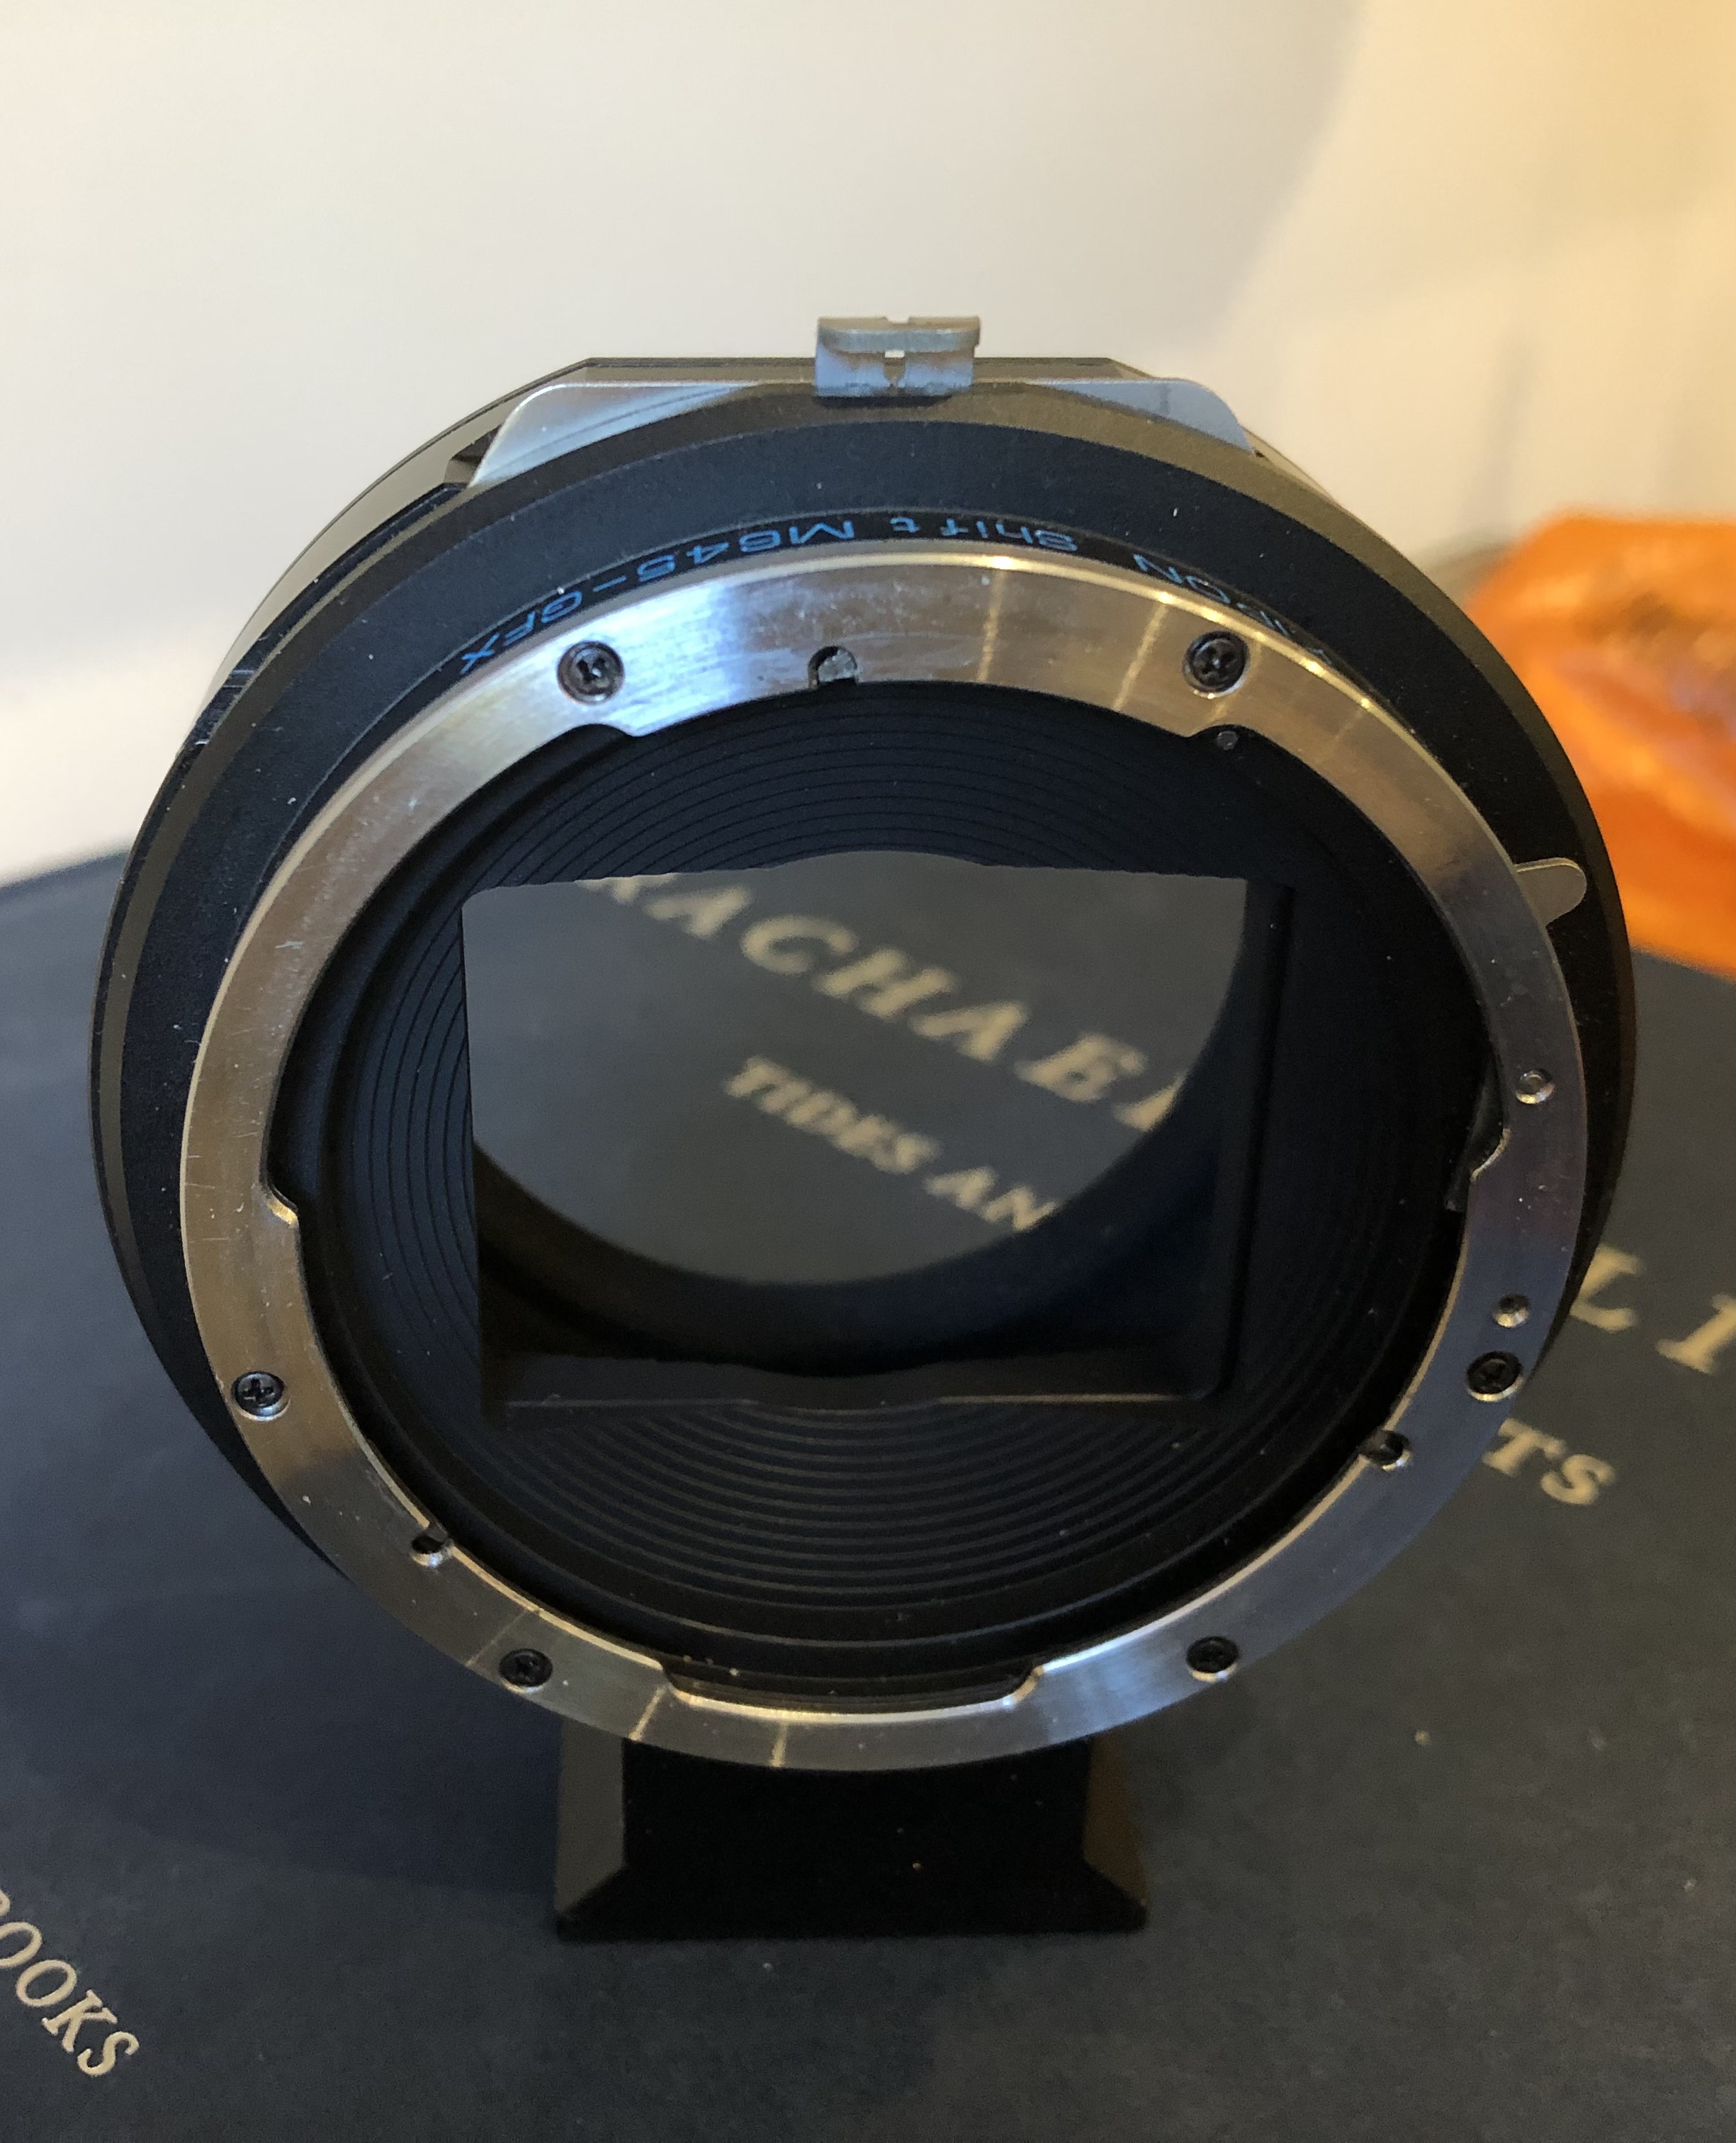
I recommend shift adapters for medium format lenses. Because the sensor is smaller than the film format for my Mamiya 645 lenses (32 x 45mm vs 45 x 60mm) most lenses cover very well especially in the vertical axis.
There are some limits on the horizontal axis depending on the lens and adapter. My Kipon adapter offers +/-15mm of shift. I can expect to use about +/-10mm of that shift before vignetting occurs.
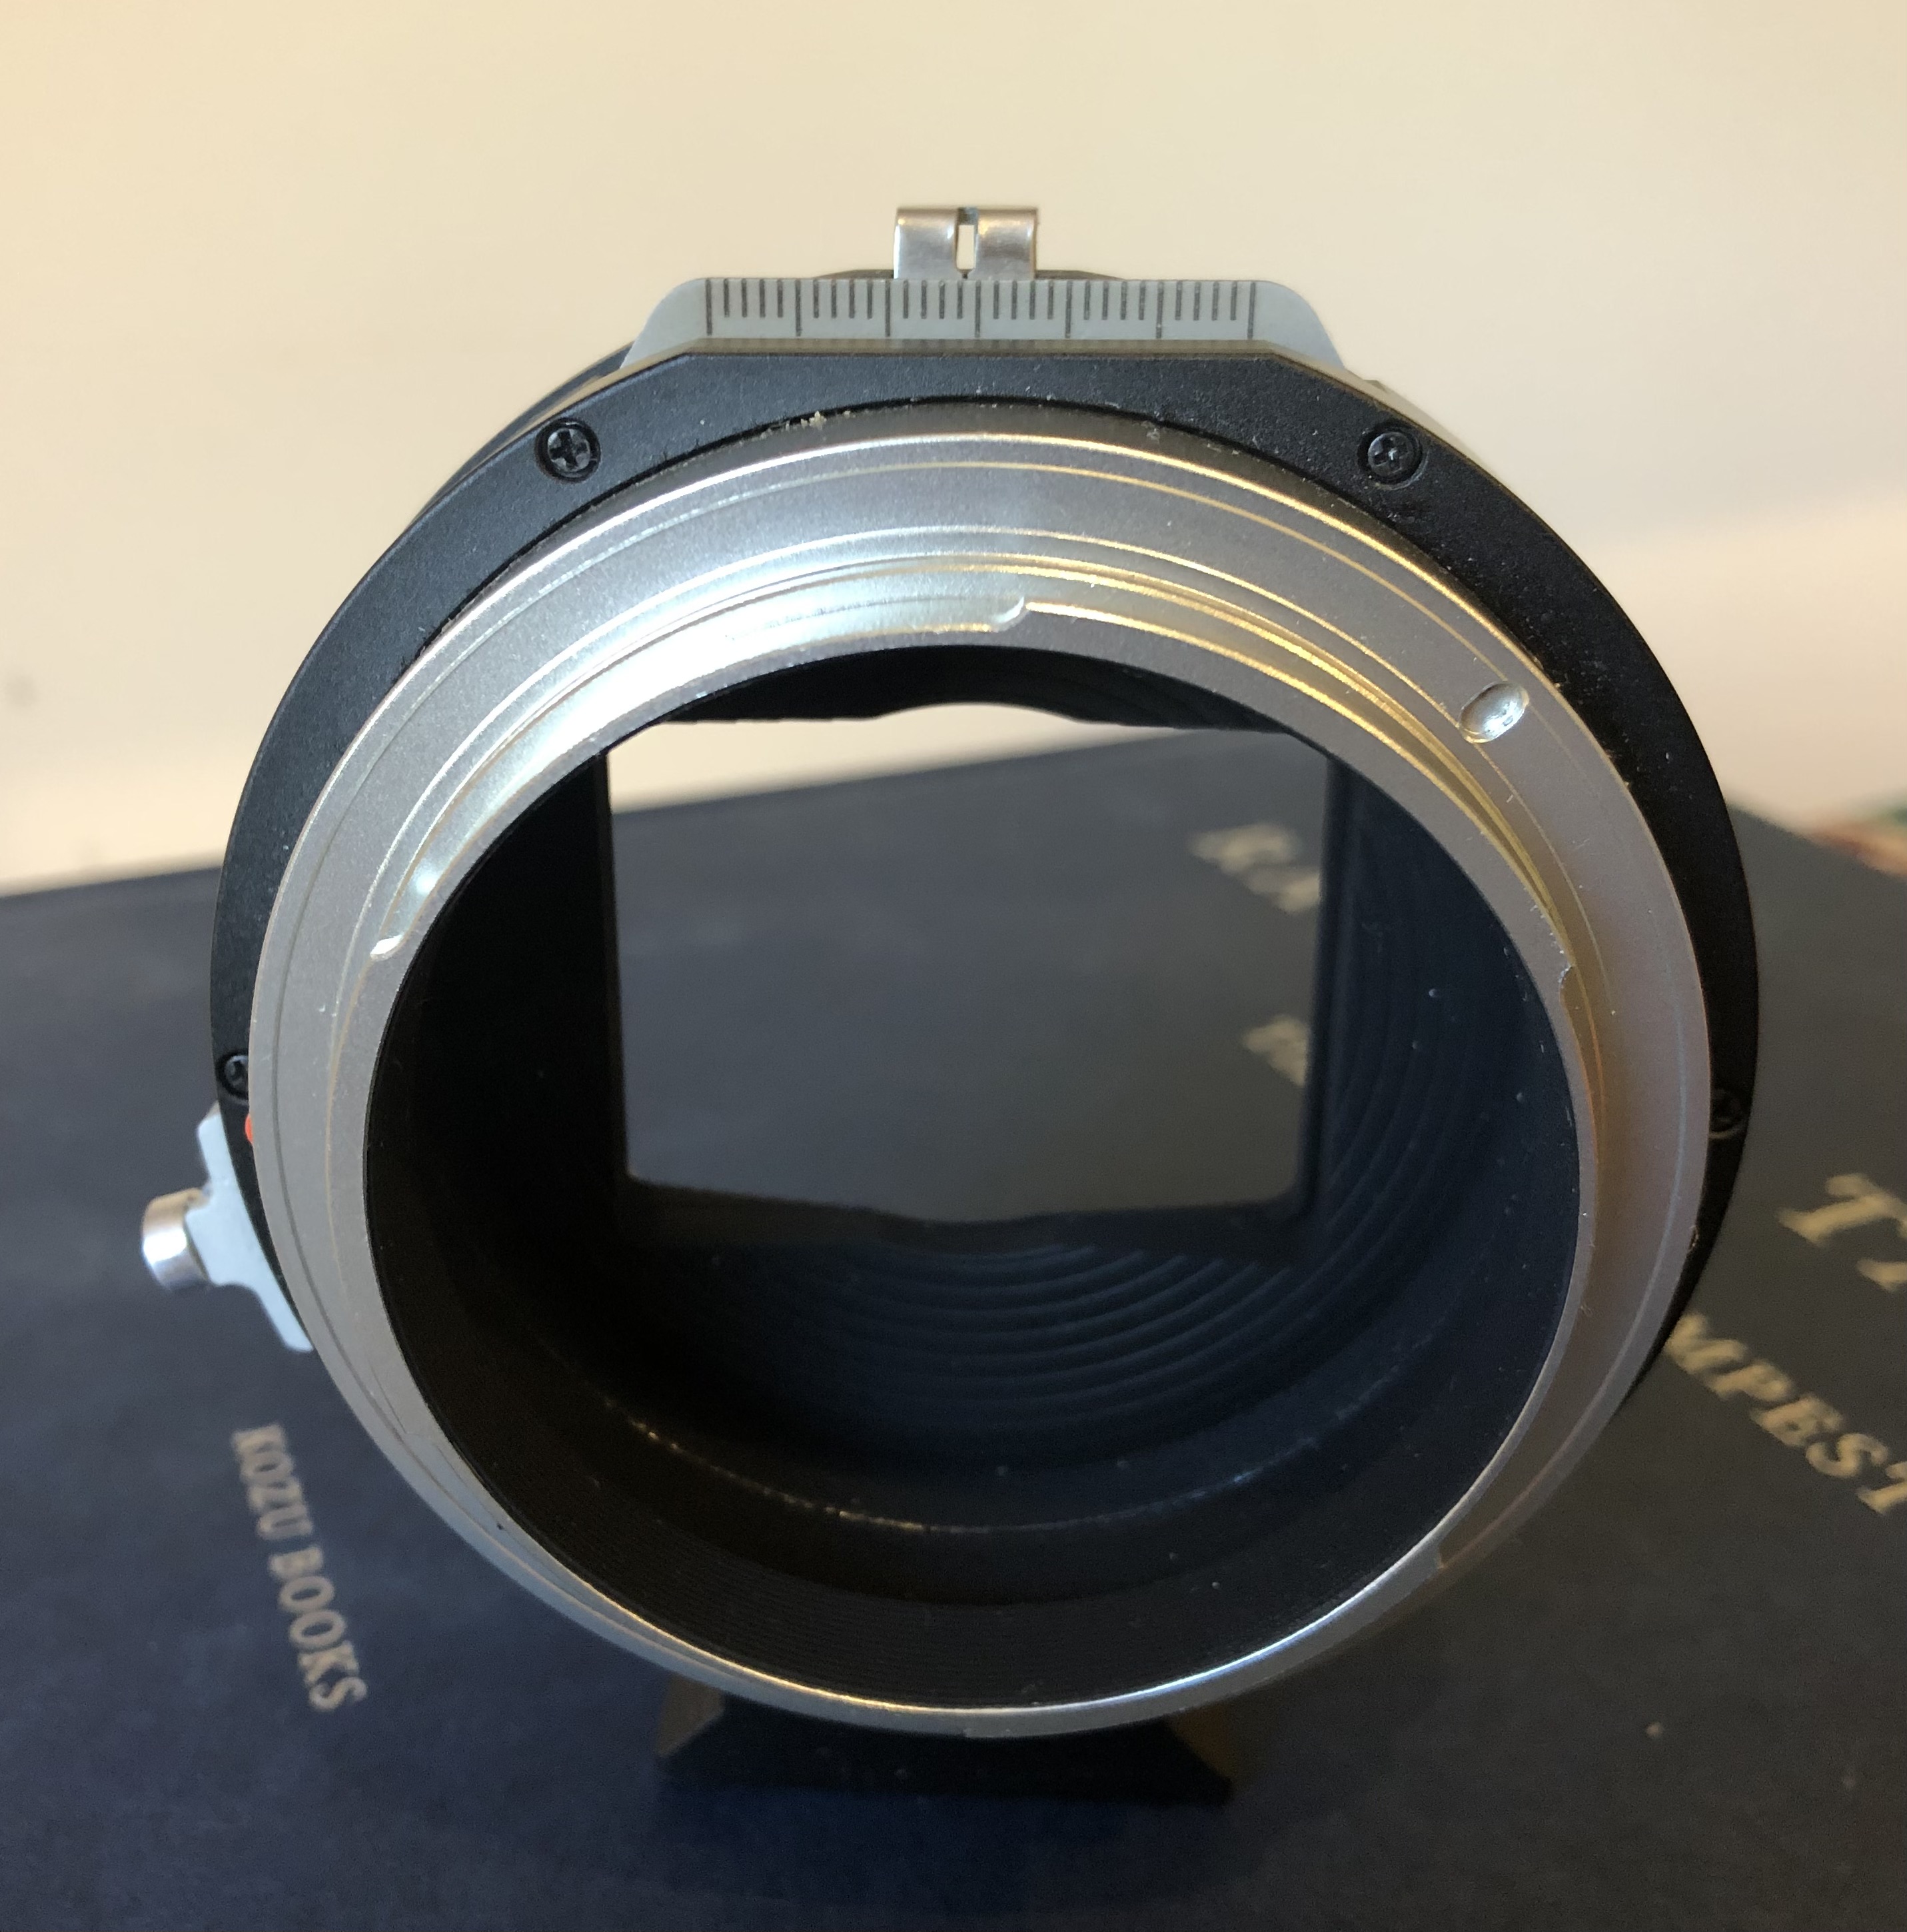
With vertical shift I see virtually no limits. When the adapter rotates you get the 45mm lens dimension on the horizontal axis. This works well as the sensor is just 45mm wide. You get the full 60mm+ image dimension on the vertical axis and since the GFX sensor is only 32mm in that dimension lots more coverage results for vertical shift. (Some Mamiya 645 lenses have a rectangular baffle that means the image circle is squashed in one dimension. The adapter itself does as well.)
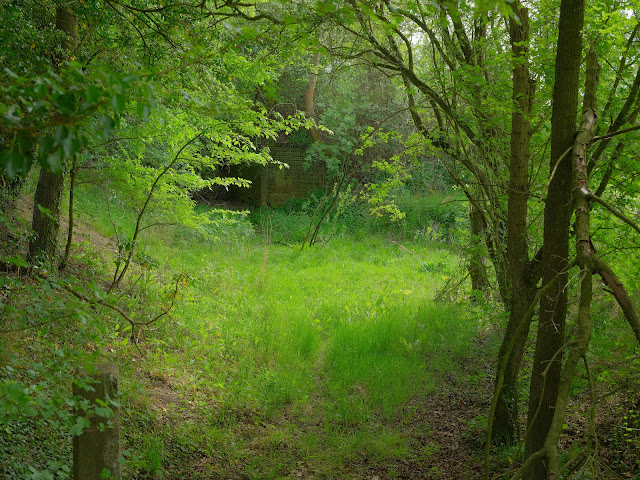
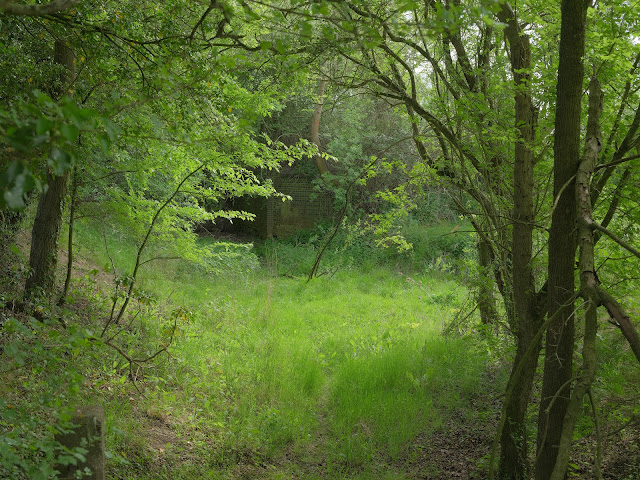
The benefits are primarily about achieving a composition that may not be possible due to an inability to move to a better position. This may mean getting over the top of some foreground elements, getting a lower perspective than you could without stooping or getting on the ground. It can radically change a composition.
I go into this in more detail here…

Given I bought the shift adapter with the idea of using it to stitch larger panoramas I find it almost indispensable. It is heavier and bulkier but also has a tripod mount which is useful to keep stress off the lens mount with longer lenses.
35mm Lenses
35mm lenses require some special consideration. Firstly, the GFX 50 sensor is larger than a 35mm frame. This means one can expect some vignetting for most lenses. You can ignore this, shoot the full sensor size and crop in post. Since the vignetting depends on the lens and aperture you may be able to rescue most of the frame by cropping in post.
The easiest way to avoid vignetting is to configure the camera to a 35mm frame mode. This still leaves a very respectable 30-megapixel image size. This is my default solution for 35mm lenses.
Another interesting partial solution is to use the 65:24 ‘xpan’ aspect ratio. This avoids most of the vignetting by avoiding the far corners of the standard 4:3 aspect ratio. This makes a fun shooting mode for landscapes.
Manual Lens Support
The Fuji GFX 50s ii has good support for manual lenses. You can enter a table of lens focal lengths complete with custom text labels. This allows the cameras IBIS to work correctly for different lenses. This is well worth doing as the IBIS allows these lenses to work down to 1/5th of second shutter speed handheld if you are careful.
These old legacy manual lenses, especially the medium format ones are much heavier than the GFX lenses. There is generous use of brass, virtually no plastic, and more glass to cover the larger film area in these old lenses. To carry a lot of lenses means much more weight in the pack. Carrying around a Mamiya 645 Pro with film backs and lenses means I am already used to this though.
Weight is where the 35mm lenses come in. If I find myself in need of lighter kit (The GFX is not a small camera!) or something smaller, then I opt for my Olympus adapter. The optimal simple setup is to use my Tamron 70-210mm f4 zoom lens. It is a very small setup and is quite versatile. It is a very sharp little lens with pretty good close up focus as well. If I need wide angle then a 28mm prime doesn’t take much extra space at all.
Custom Settings
The Fuji GFX 50s ii has 6 custom configurations and this feature redeems the complexity of managing all of the different settings and options. I assigned one Custom setting to each class of lenses, though depending on the number of lenses you use it may make sense to put them all in one setting.
For instance, I use C1 for the Mamiya lenses and enter each lens focal length for these lenses there. I also use this setting for my one GFX lens 35-70mm as the camera detects the lens and disables the manual lens functions.

C2 is the Olympus lenses and C3 is the Nikon lenses, and both of these are configured for 35mm frame sizes to avoid vignetting.
C3 is for my Nikon lenses.
The other settings I use for different types of photography I might do. C4 right now is a full frame black and white with Fuji Acros simulation with yellow filter. It works with the Mamiya lenses.
C5 is a square format aspect ratio mode I am experimenting with configured for Olympus lenses.
C6 is a 65:24 aspect ratio mode with Fuji Acros simulation with a red filter. Again, this uses Olympus lens settings. No 35mm mode is used as I depend on the short vertical axis to avoid the vignetted corners.
Next Chapter…
In the next chapter I detail the menu settings I use to achieve what I have described above…